
 TixFin
Project leads
From sign-up to the first sold ticket and the money in your account, in the right order
This guide is for the person who runs a project: the Project Owner who created it, or a Project Admin who sets it up with them. It takes you through every step once, in the order that works. Each step says where to go, who may do it, what goes wrong most often, and where the details are.
TixFin is in beta. The live dashboard is beta.tixfin.com. Beta projects stay in testing mode and cannot sell live.
The order at a glance
Steps 3 to 9 match the Ready to sell checklist on the project overview, so you can always see what is still missing there.
1. Create your account and turn on two-factor authentication
Where: beta.tixfin.com/register, then account menu → Account → Security Who can do this: anyone
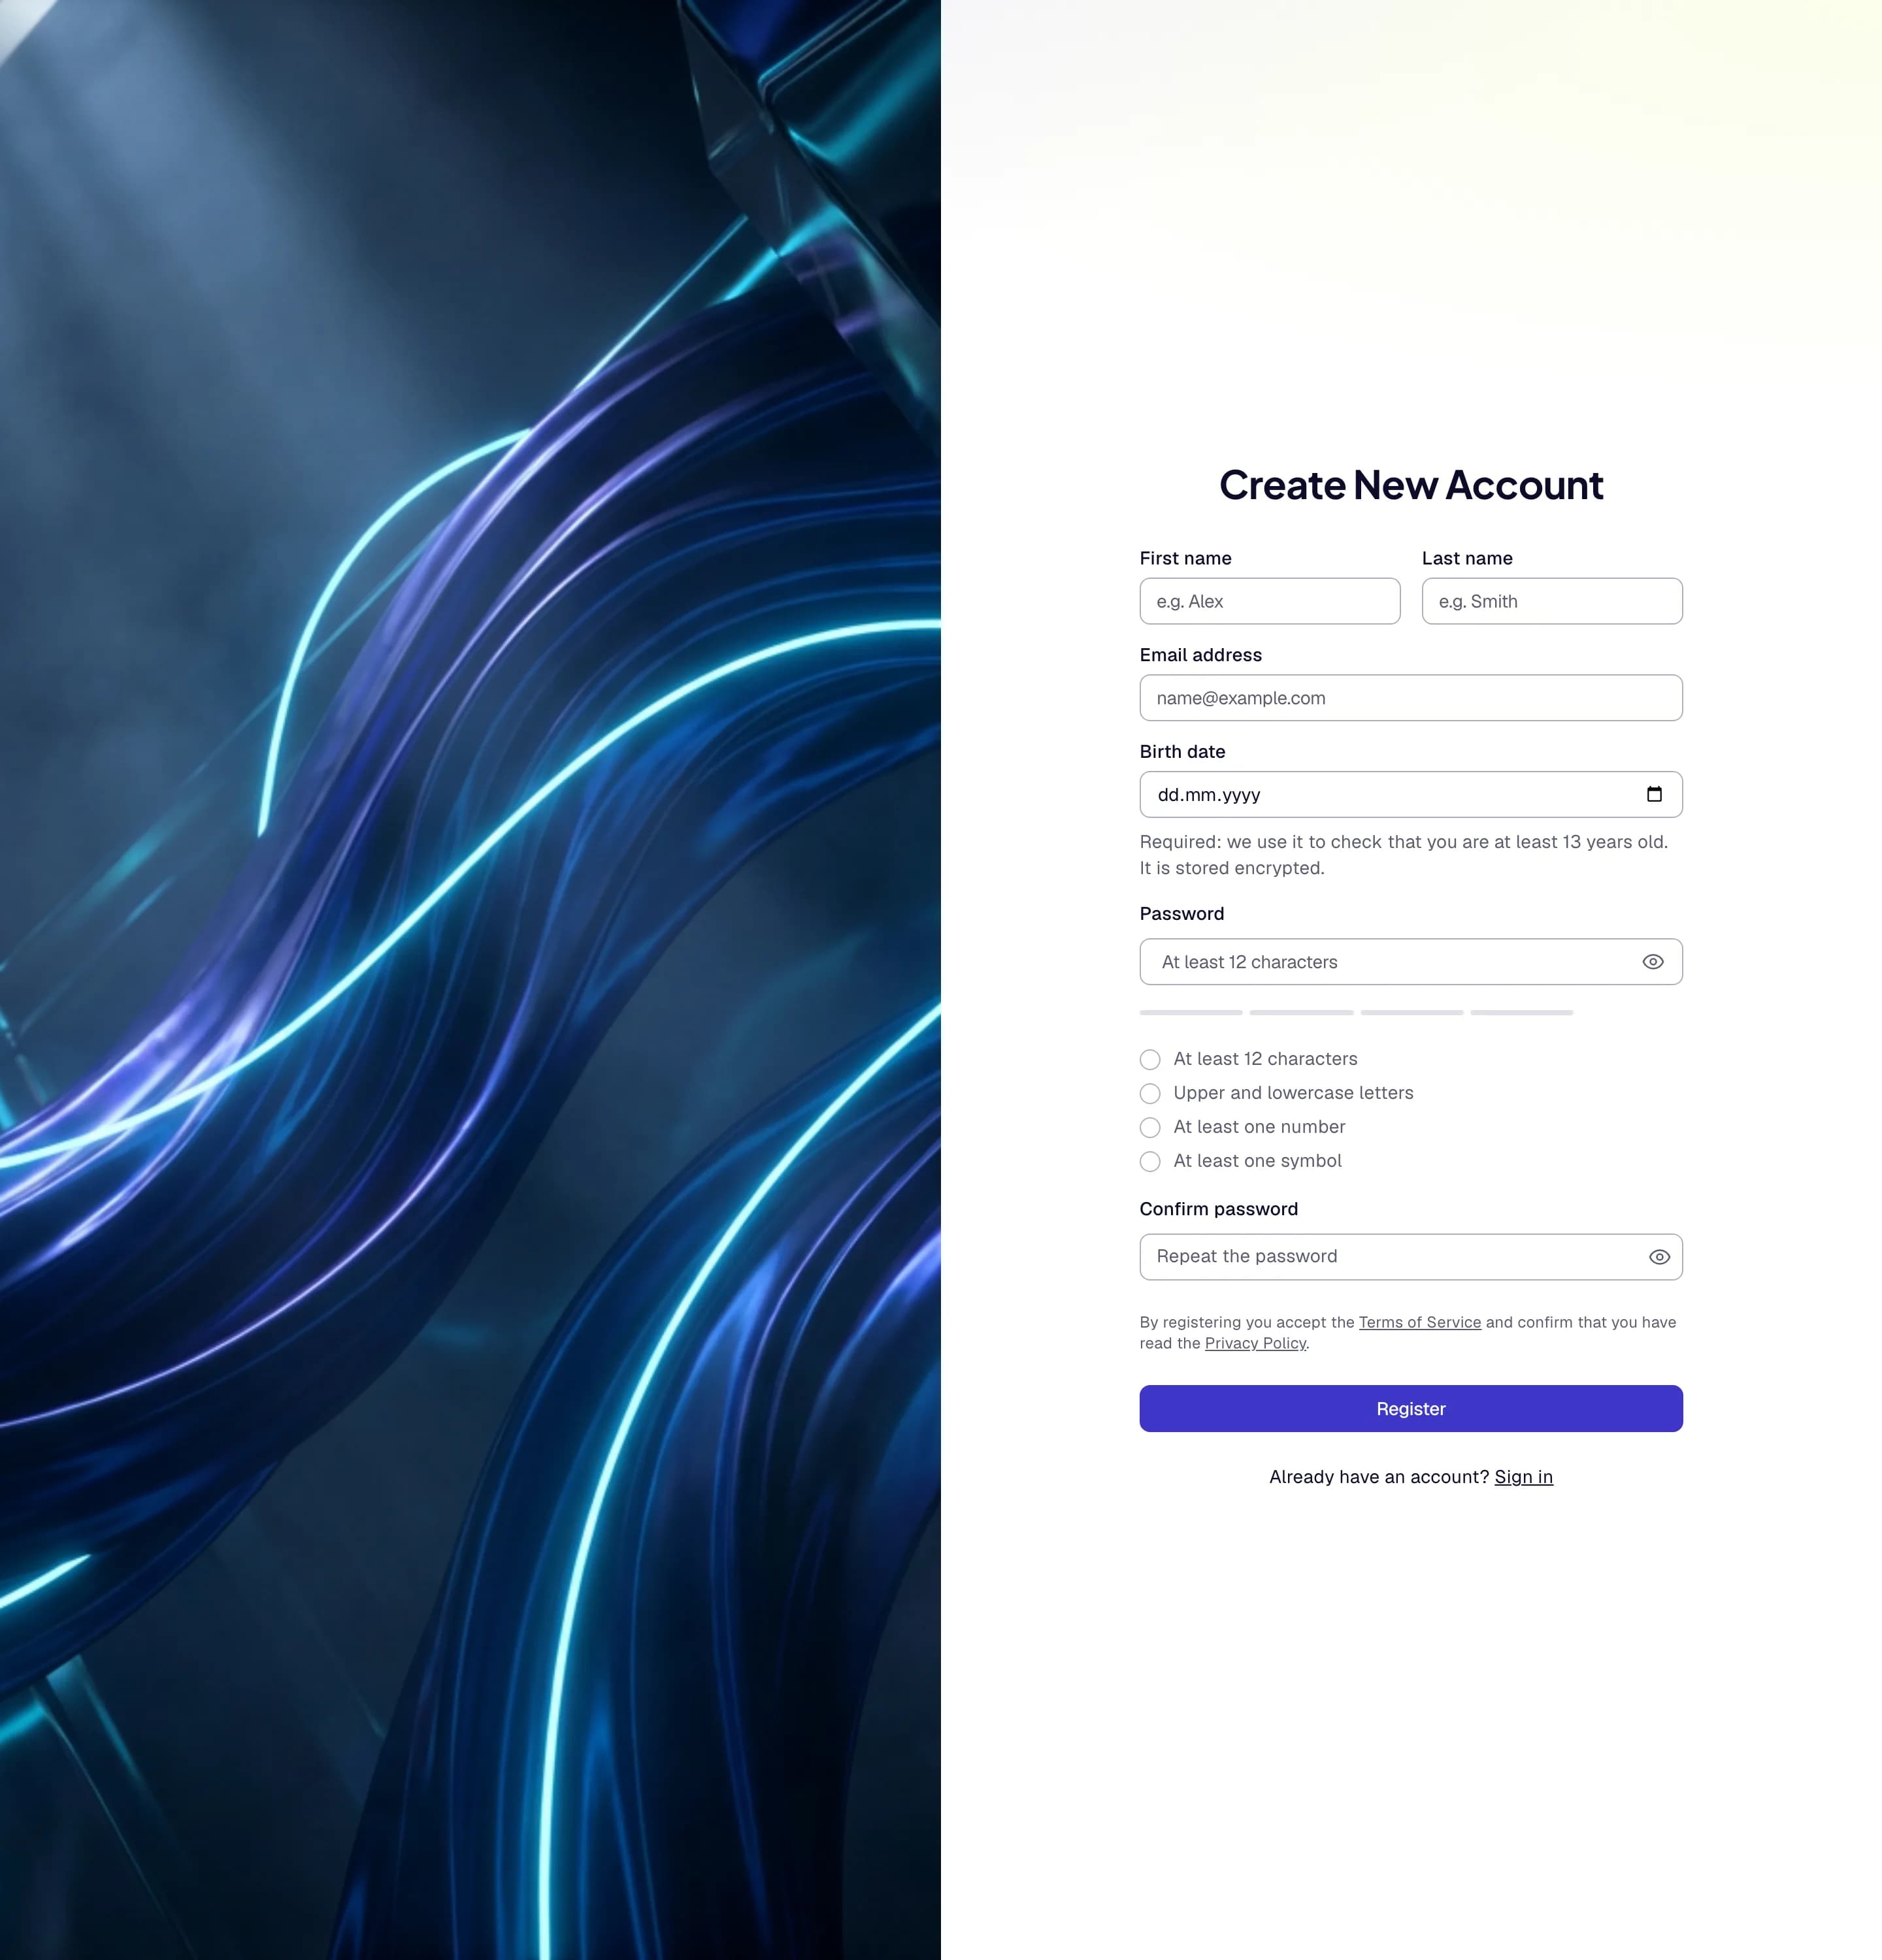
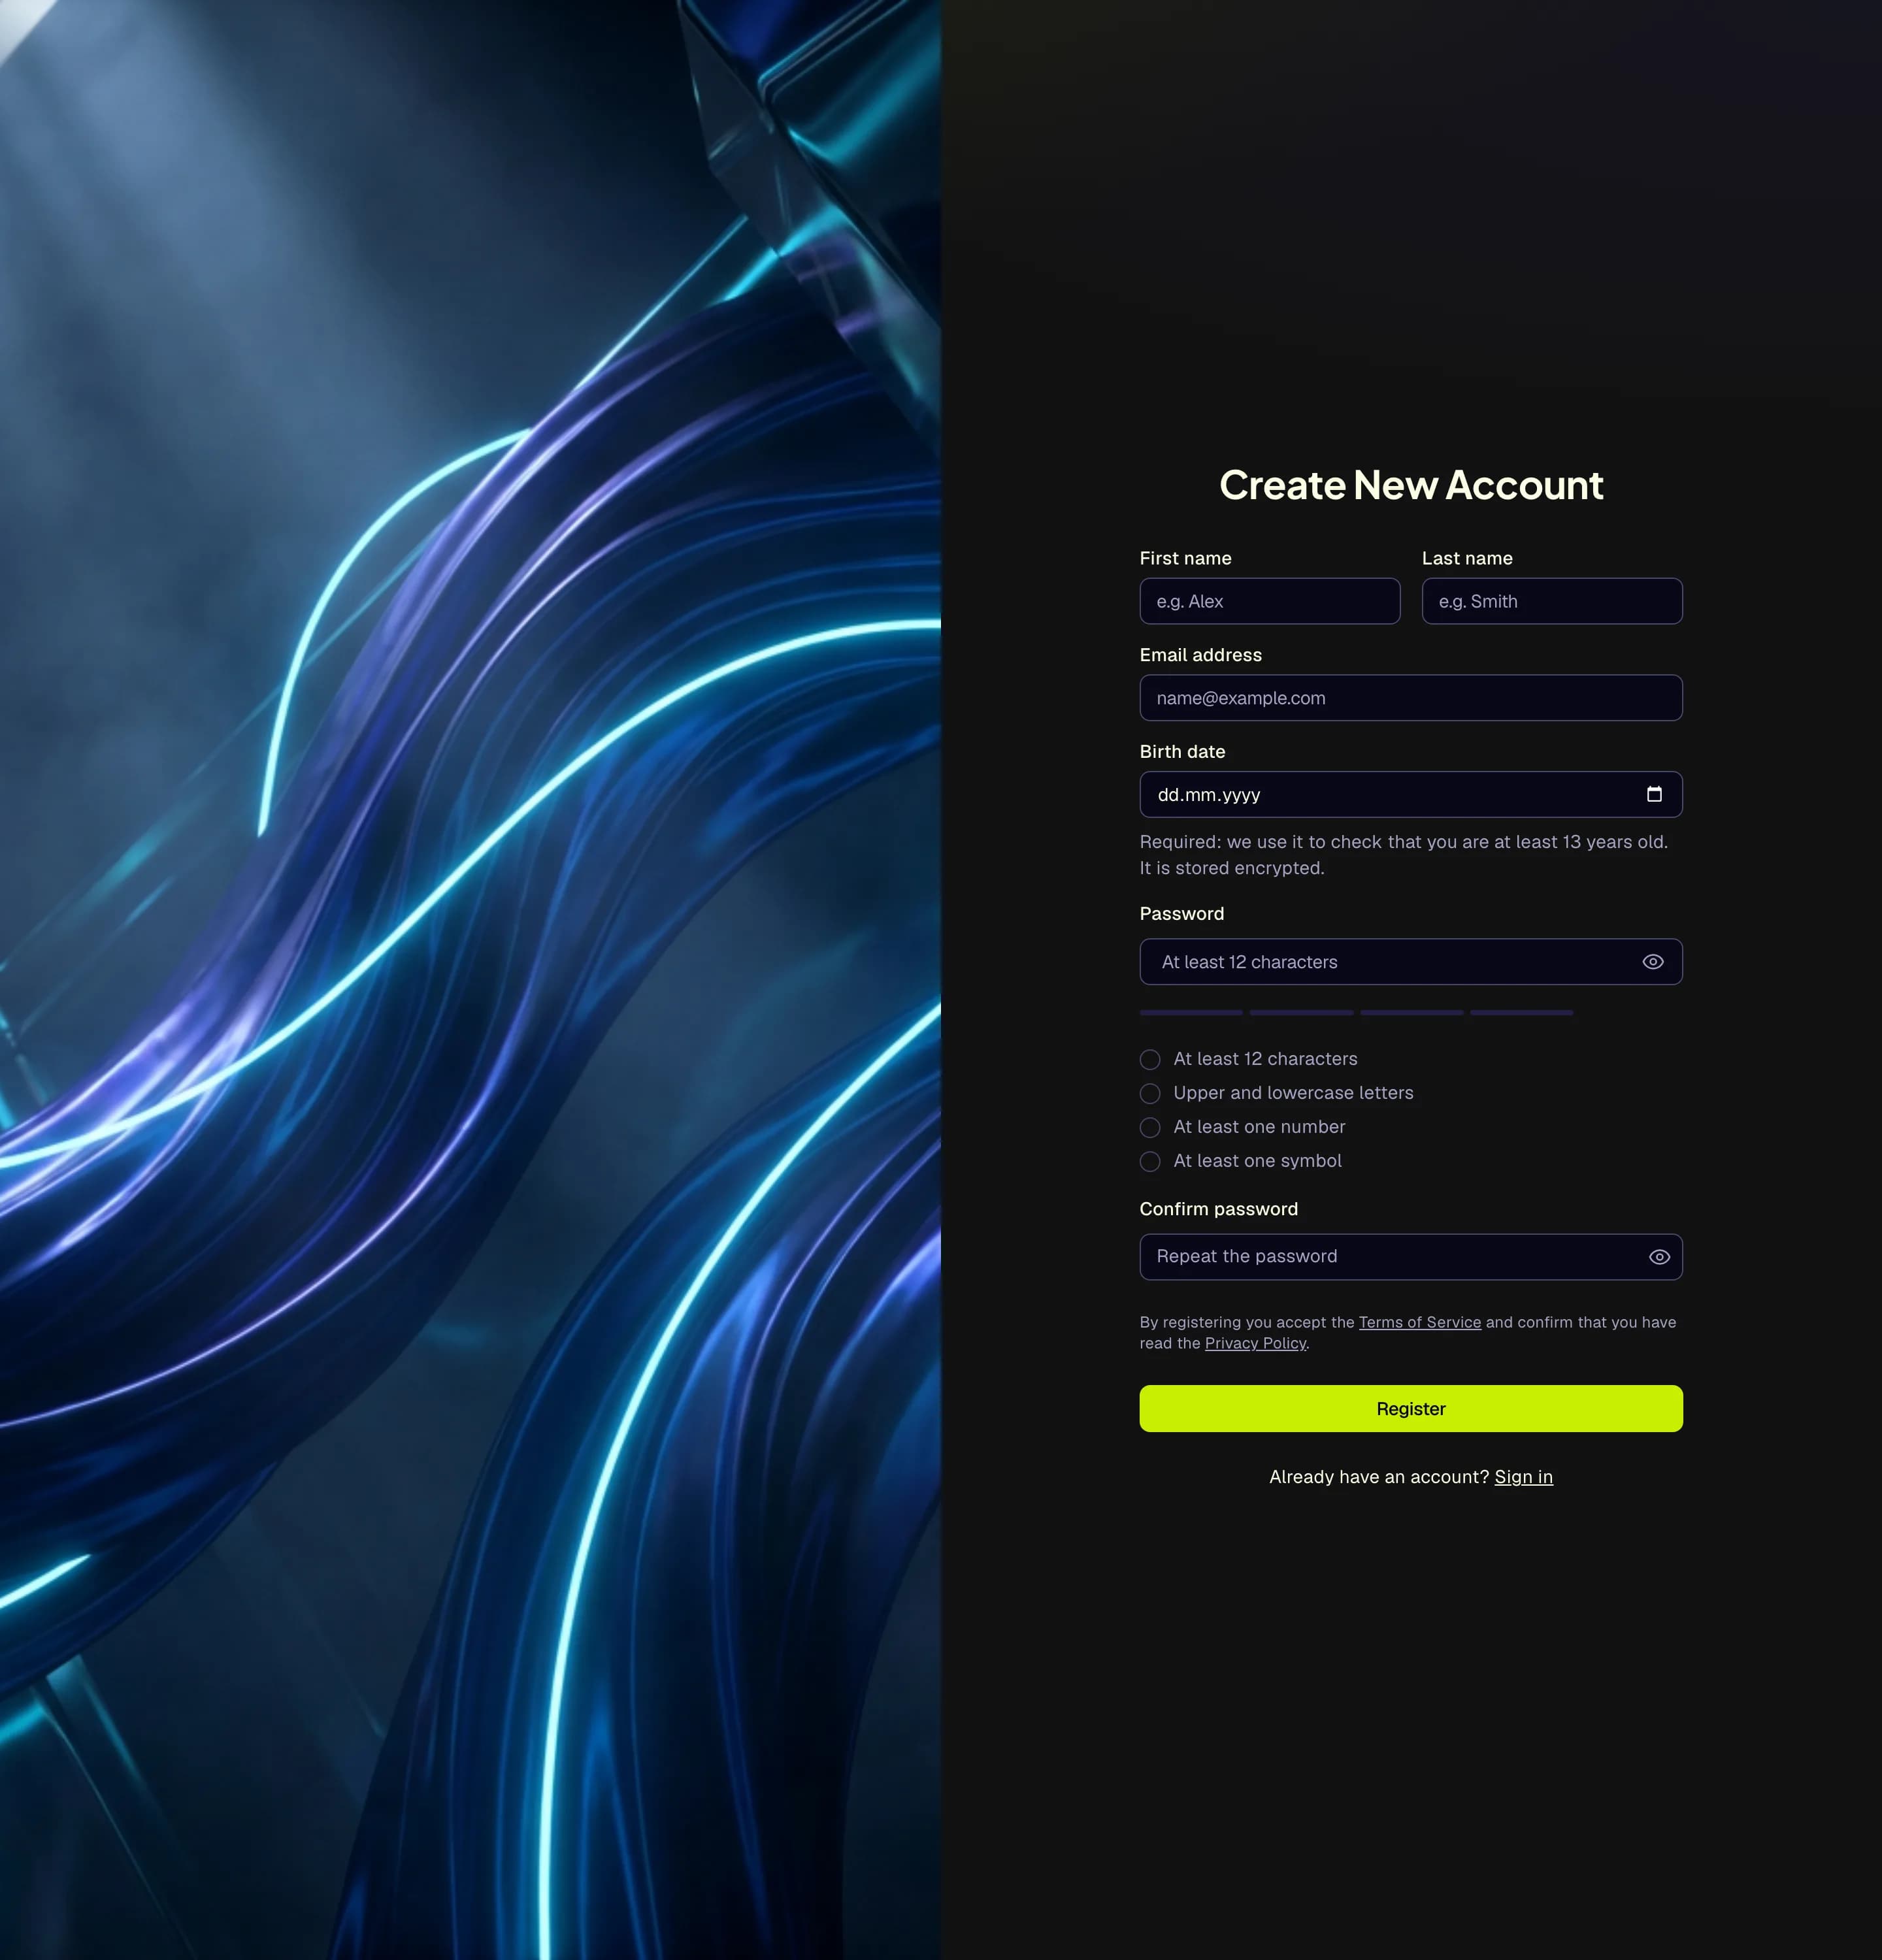
- Your name
- Email address
- Birth date
- Password, at least 12 characters
- Register
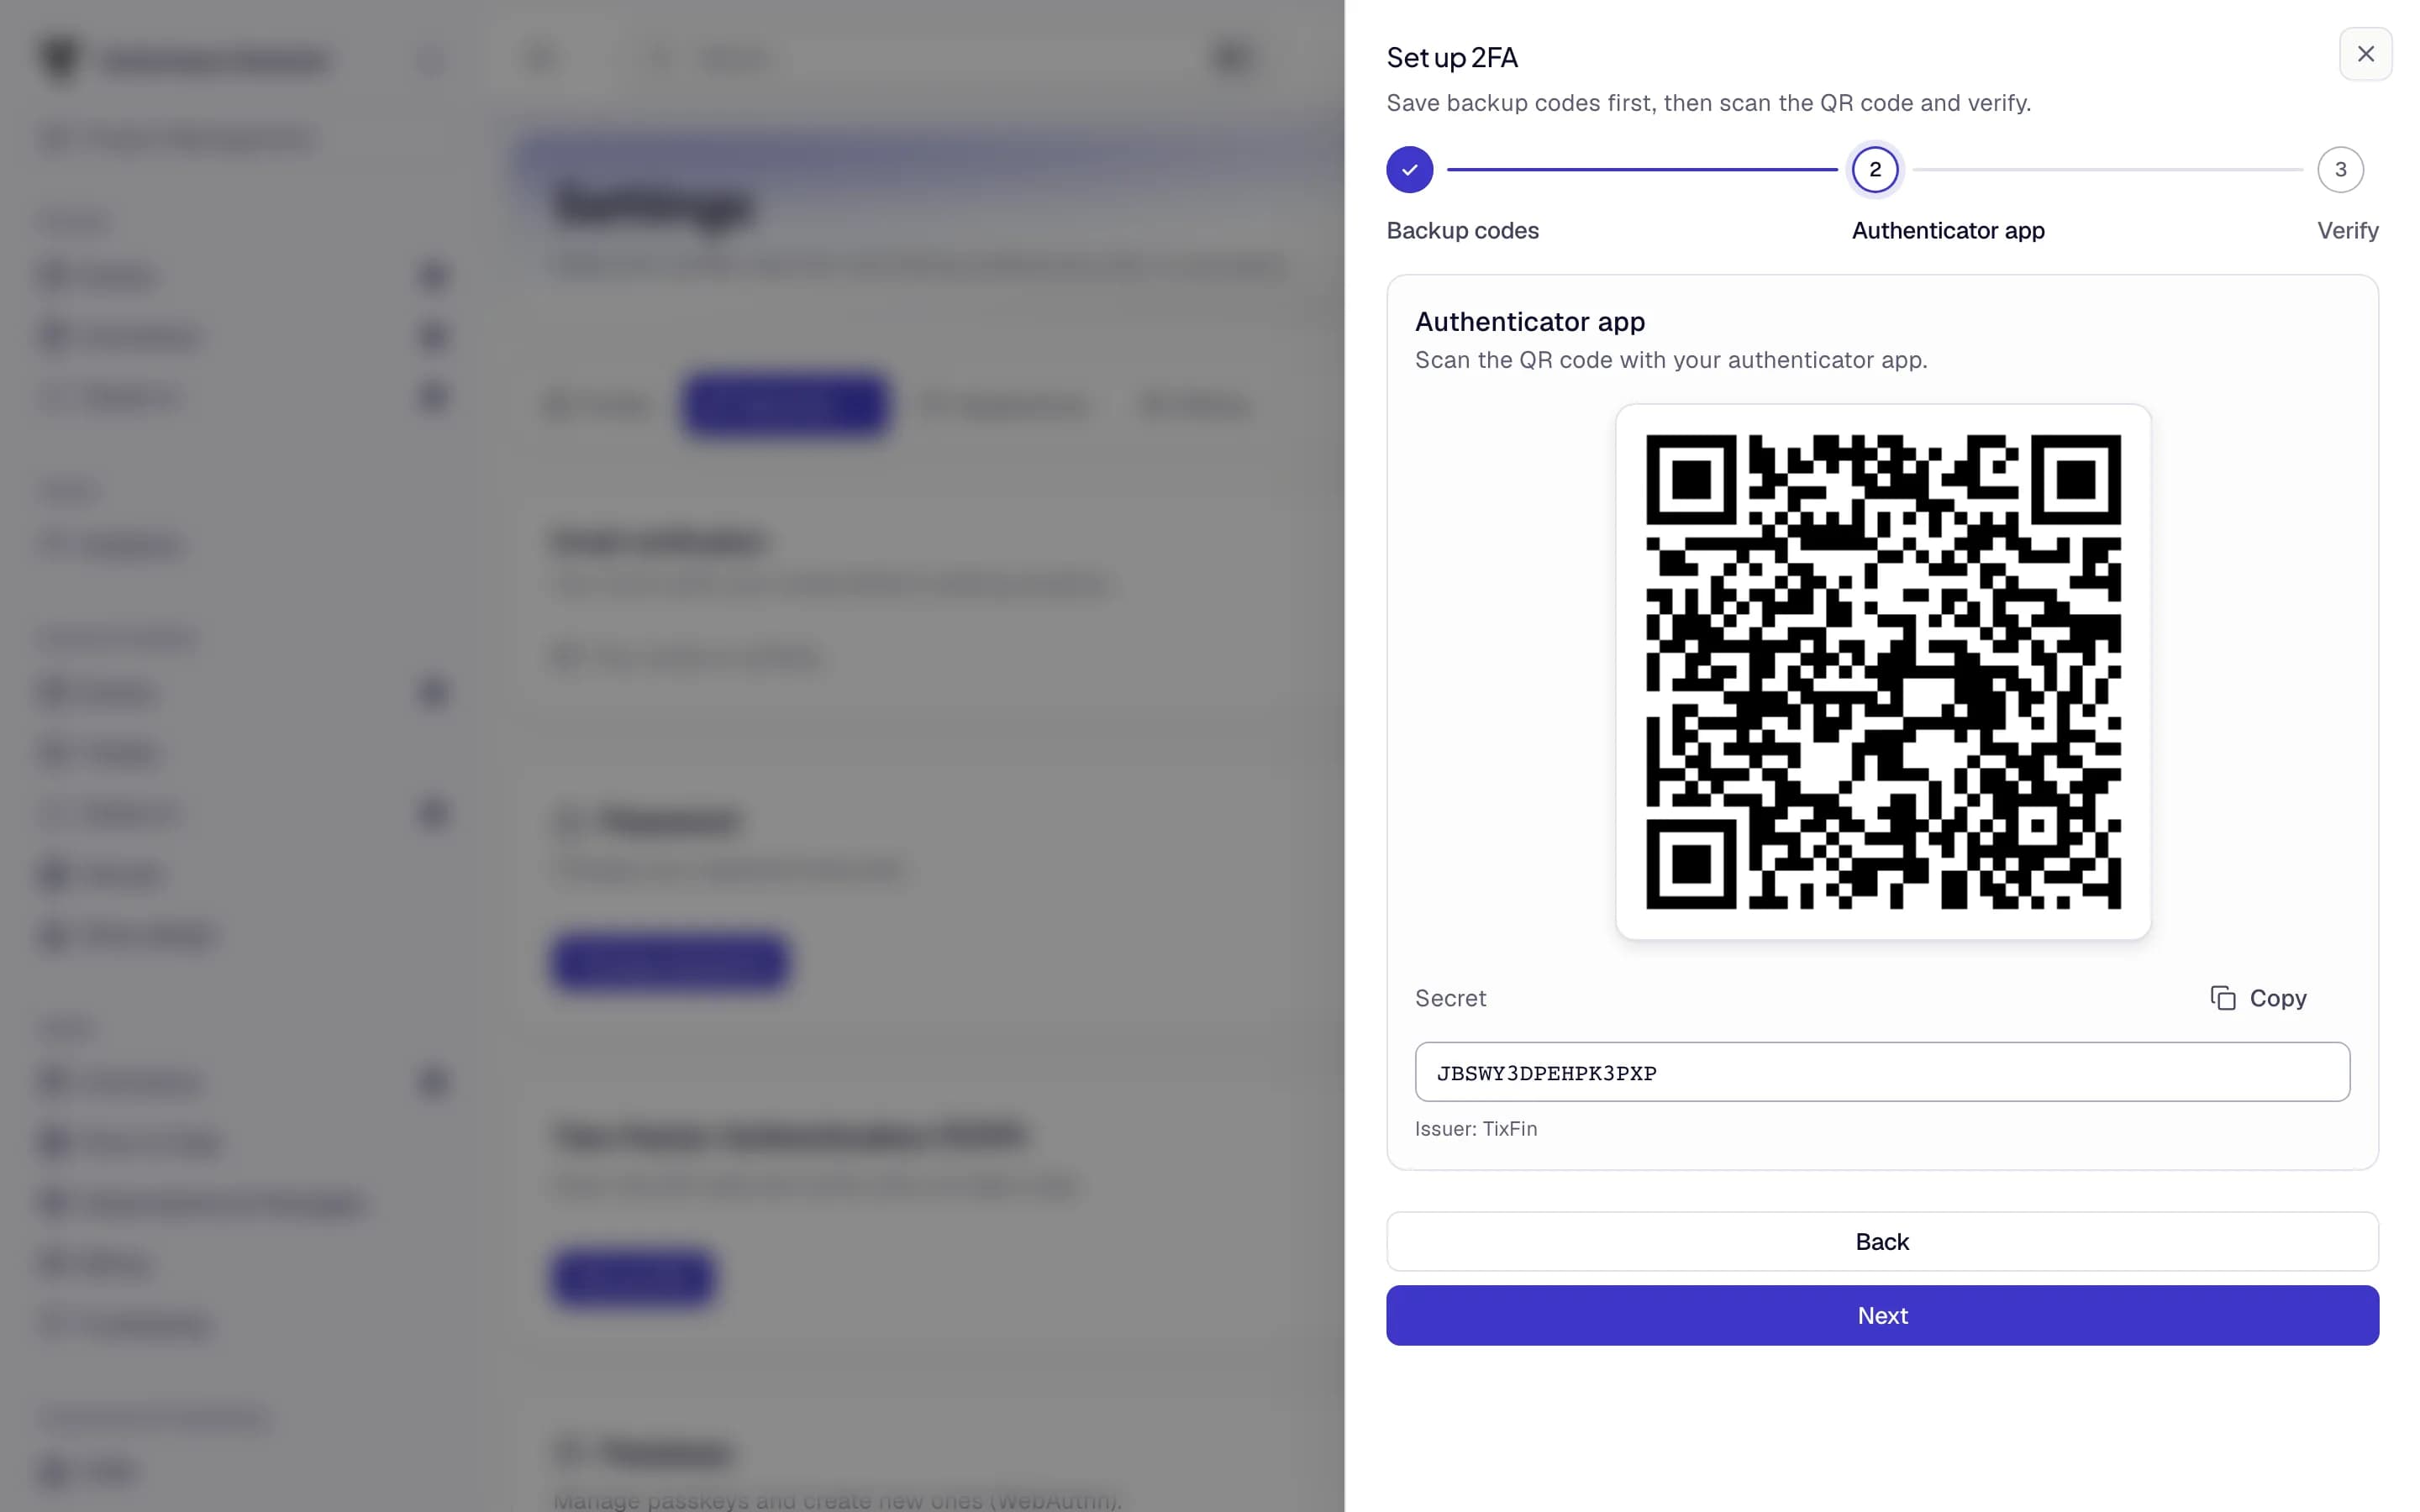
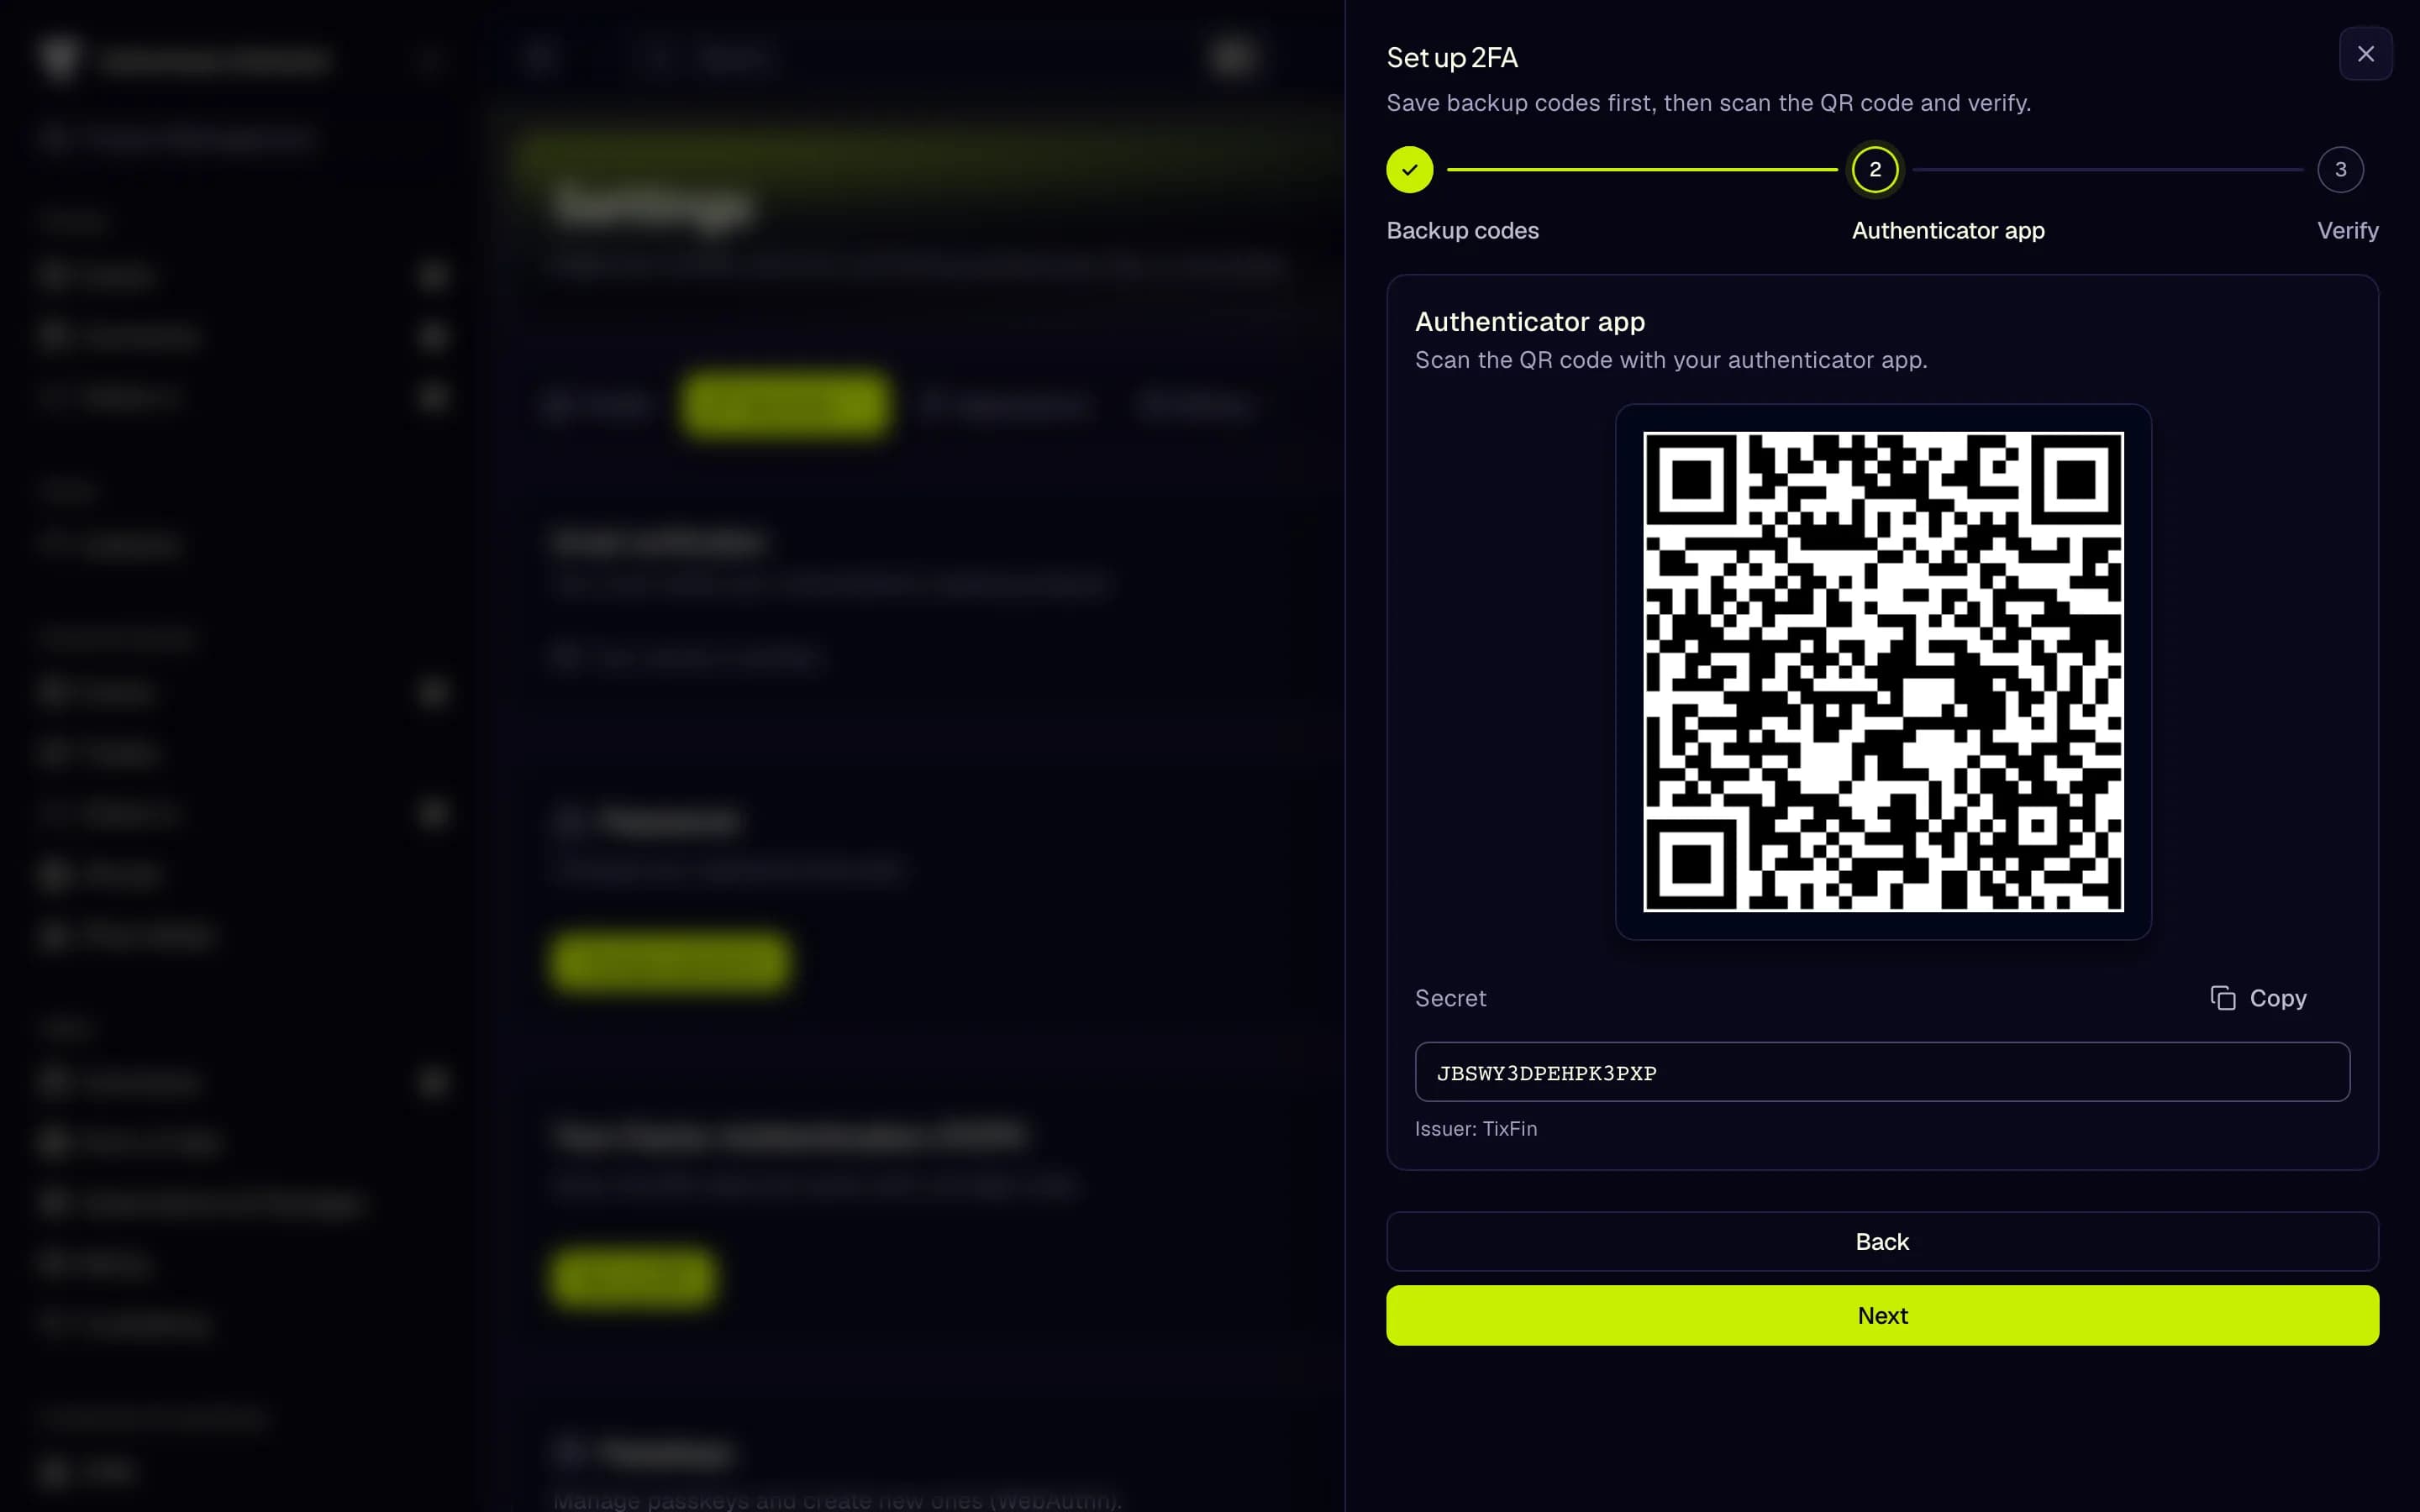
- Save your backup codes
- Scan the QR code
- Secret for manual entry
- Next
- Without two-factor authentication you cannot work in a project. The sidebar only shows your personal pages and Security until it is active.
- Store the backup codes away from your phone. They are the only way back in if you lose it.
- Use an address you check. Your team, TixFin support and payment notices reach you there.
Details: Account security
2. Create the project
A project is your organisation, venue or promoter account. Events, tickets, the shop, your team and billing all belong to it.
Where: project switcher at the top of the sidebar → New Project Who can do this: any signed-in organiser. You become the project's Project Owner.
You land in Project settings. The overview shows the Ready to sell checklist with a button for each open step.
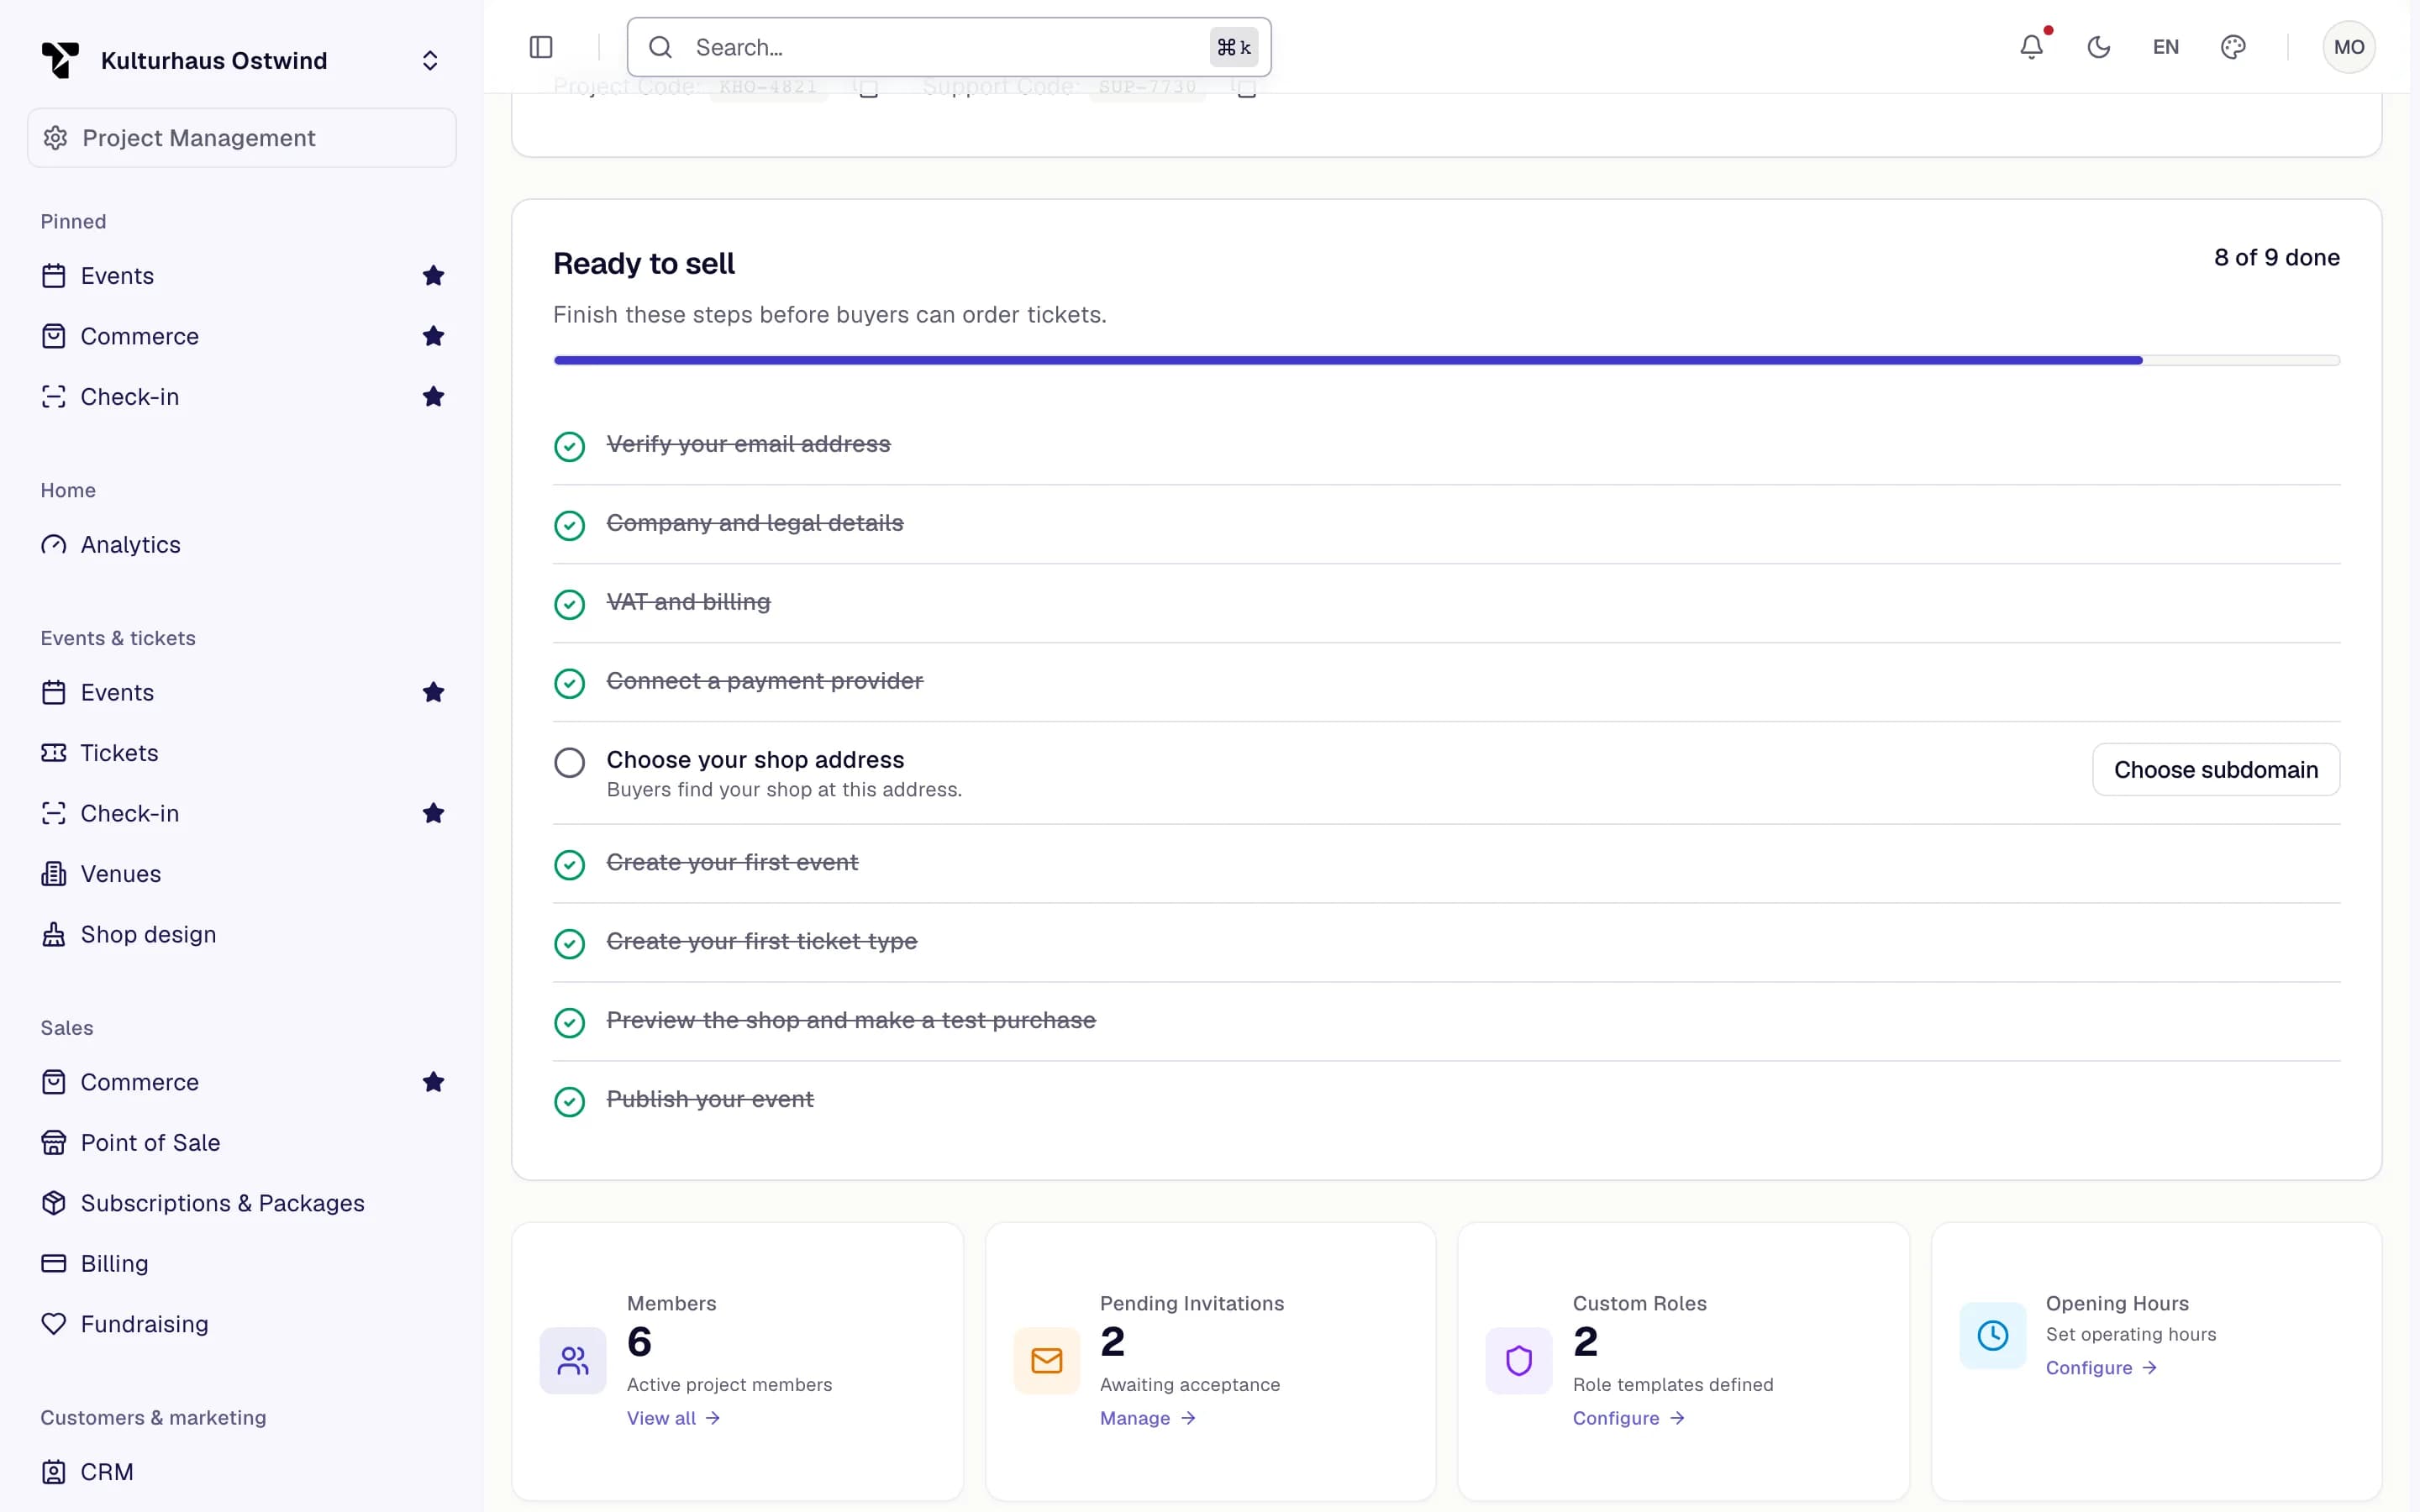
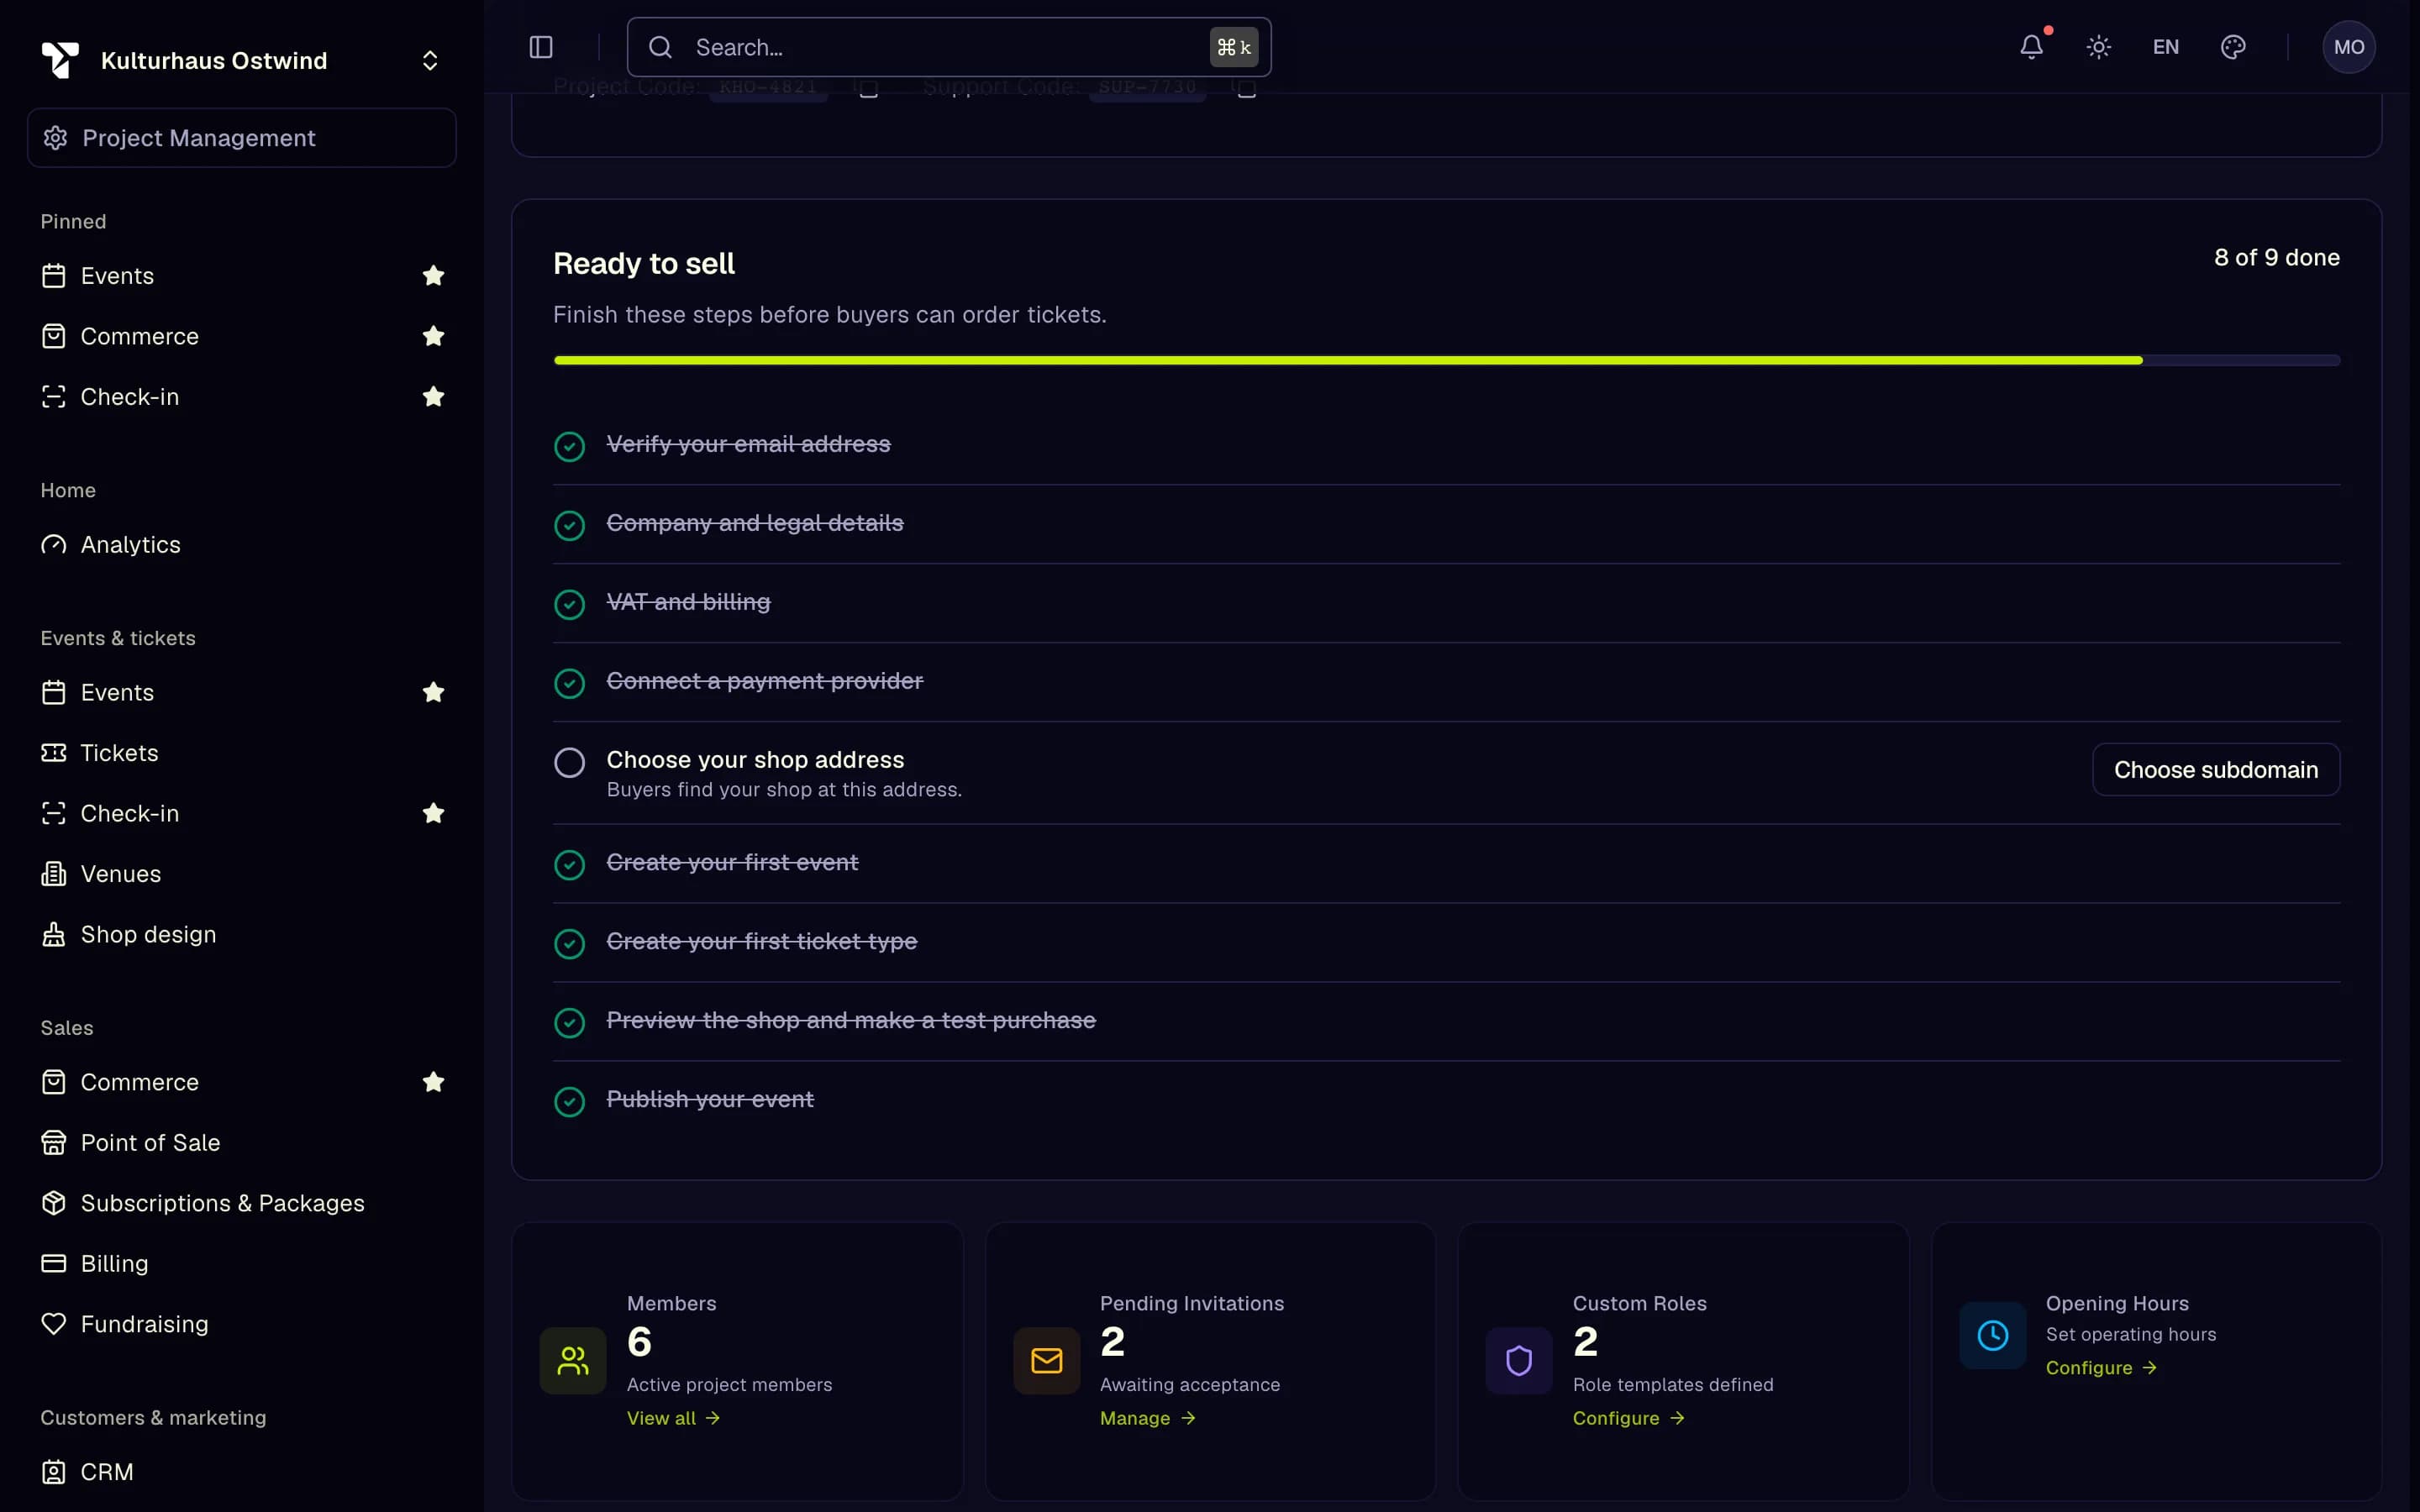
- Project switcher: New Project
- Ready to sell checklist
- Setup progress
- Open the next setup step
- The project type cannot be changed later. Pick Club only for a venue that runs on opening hours.
- Create one project per organisation, not per event. Every event of the organisation goes into the same project, so your team, shop and invoices stay in one place.
Details: Projects
3. Enter your company and tax details
Every invoice and order confirmation carries these details. You cannot publish an event before they are complete.
Where: Project → Project settings → Billing & Legal, and Sales → Billing → tab Compliance Who can do this: members with Manage billing (Project Owner, Project Admin, Project Accountant)
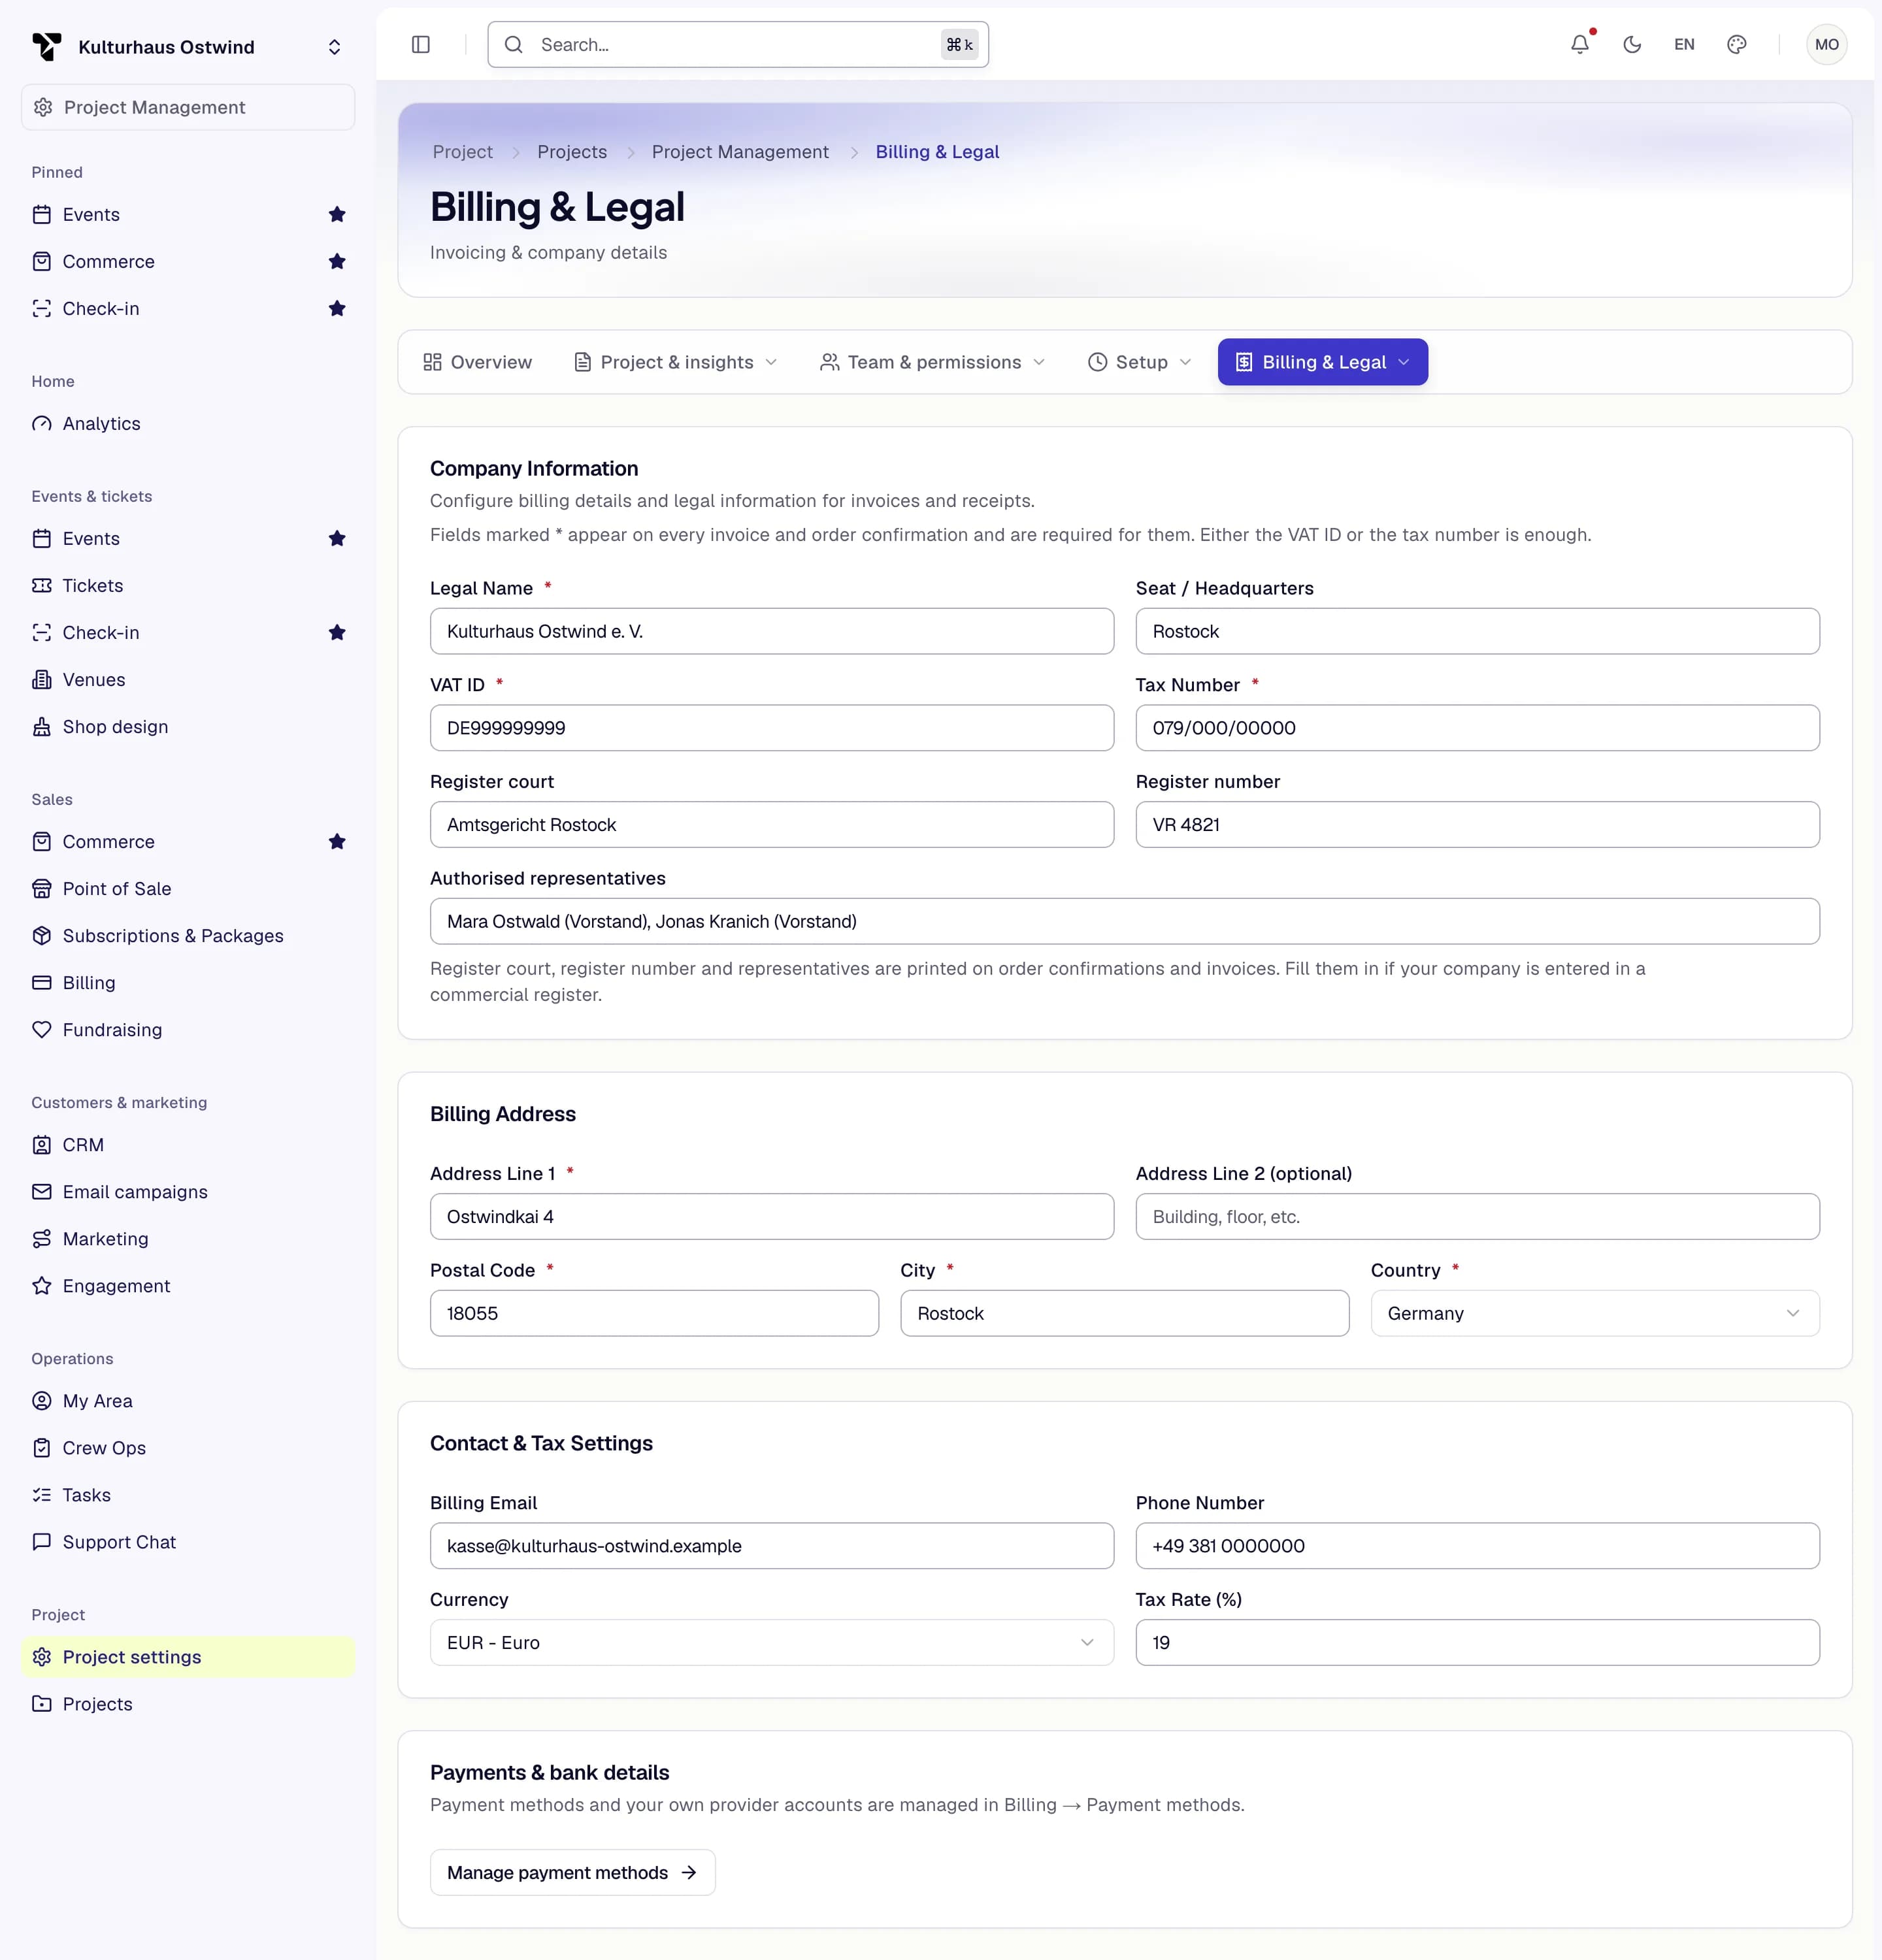
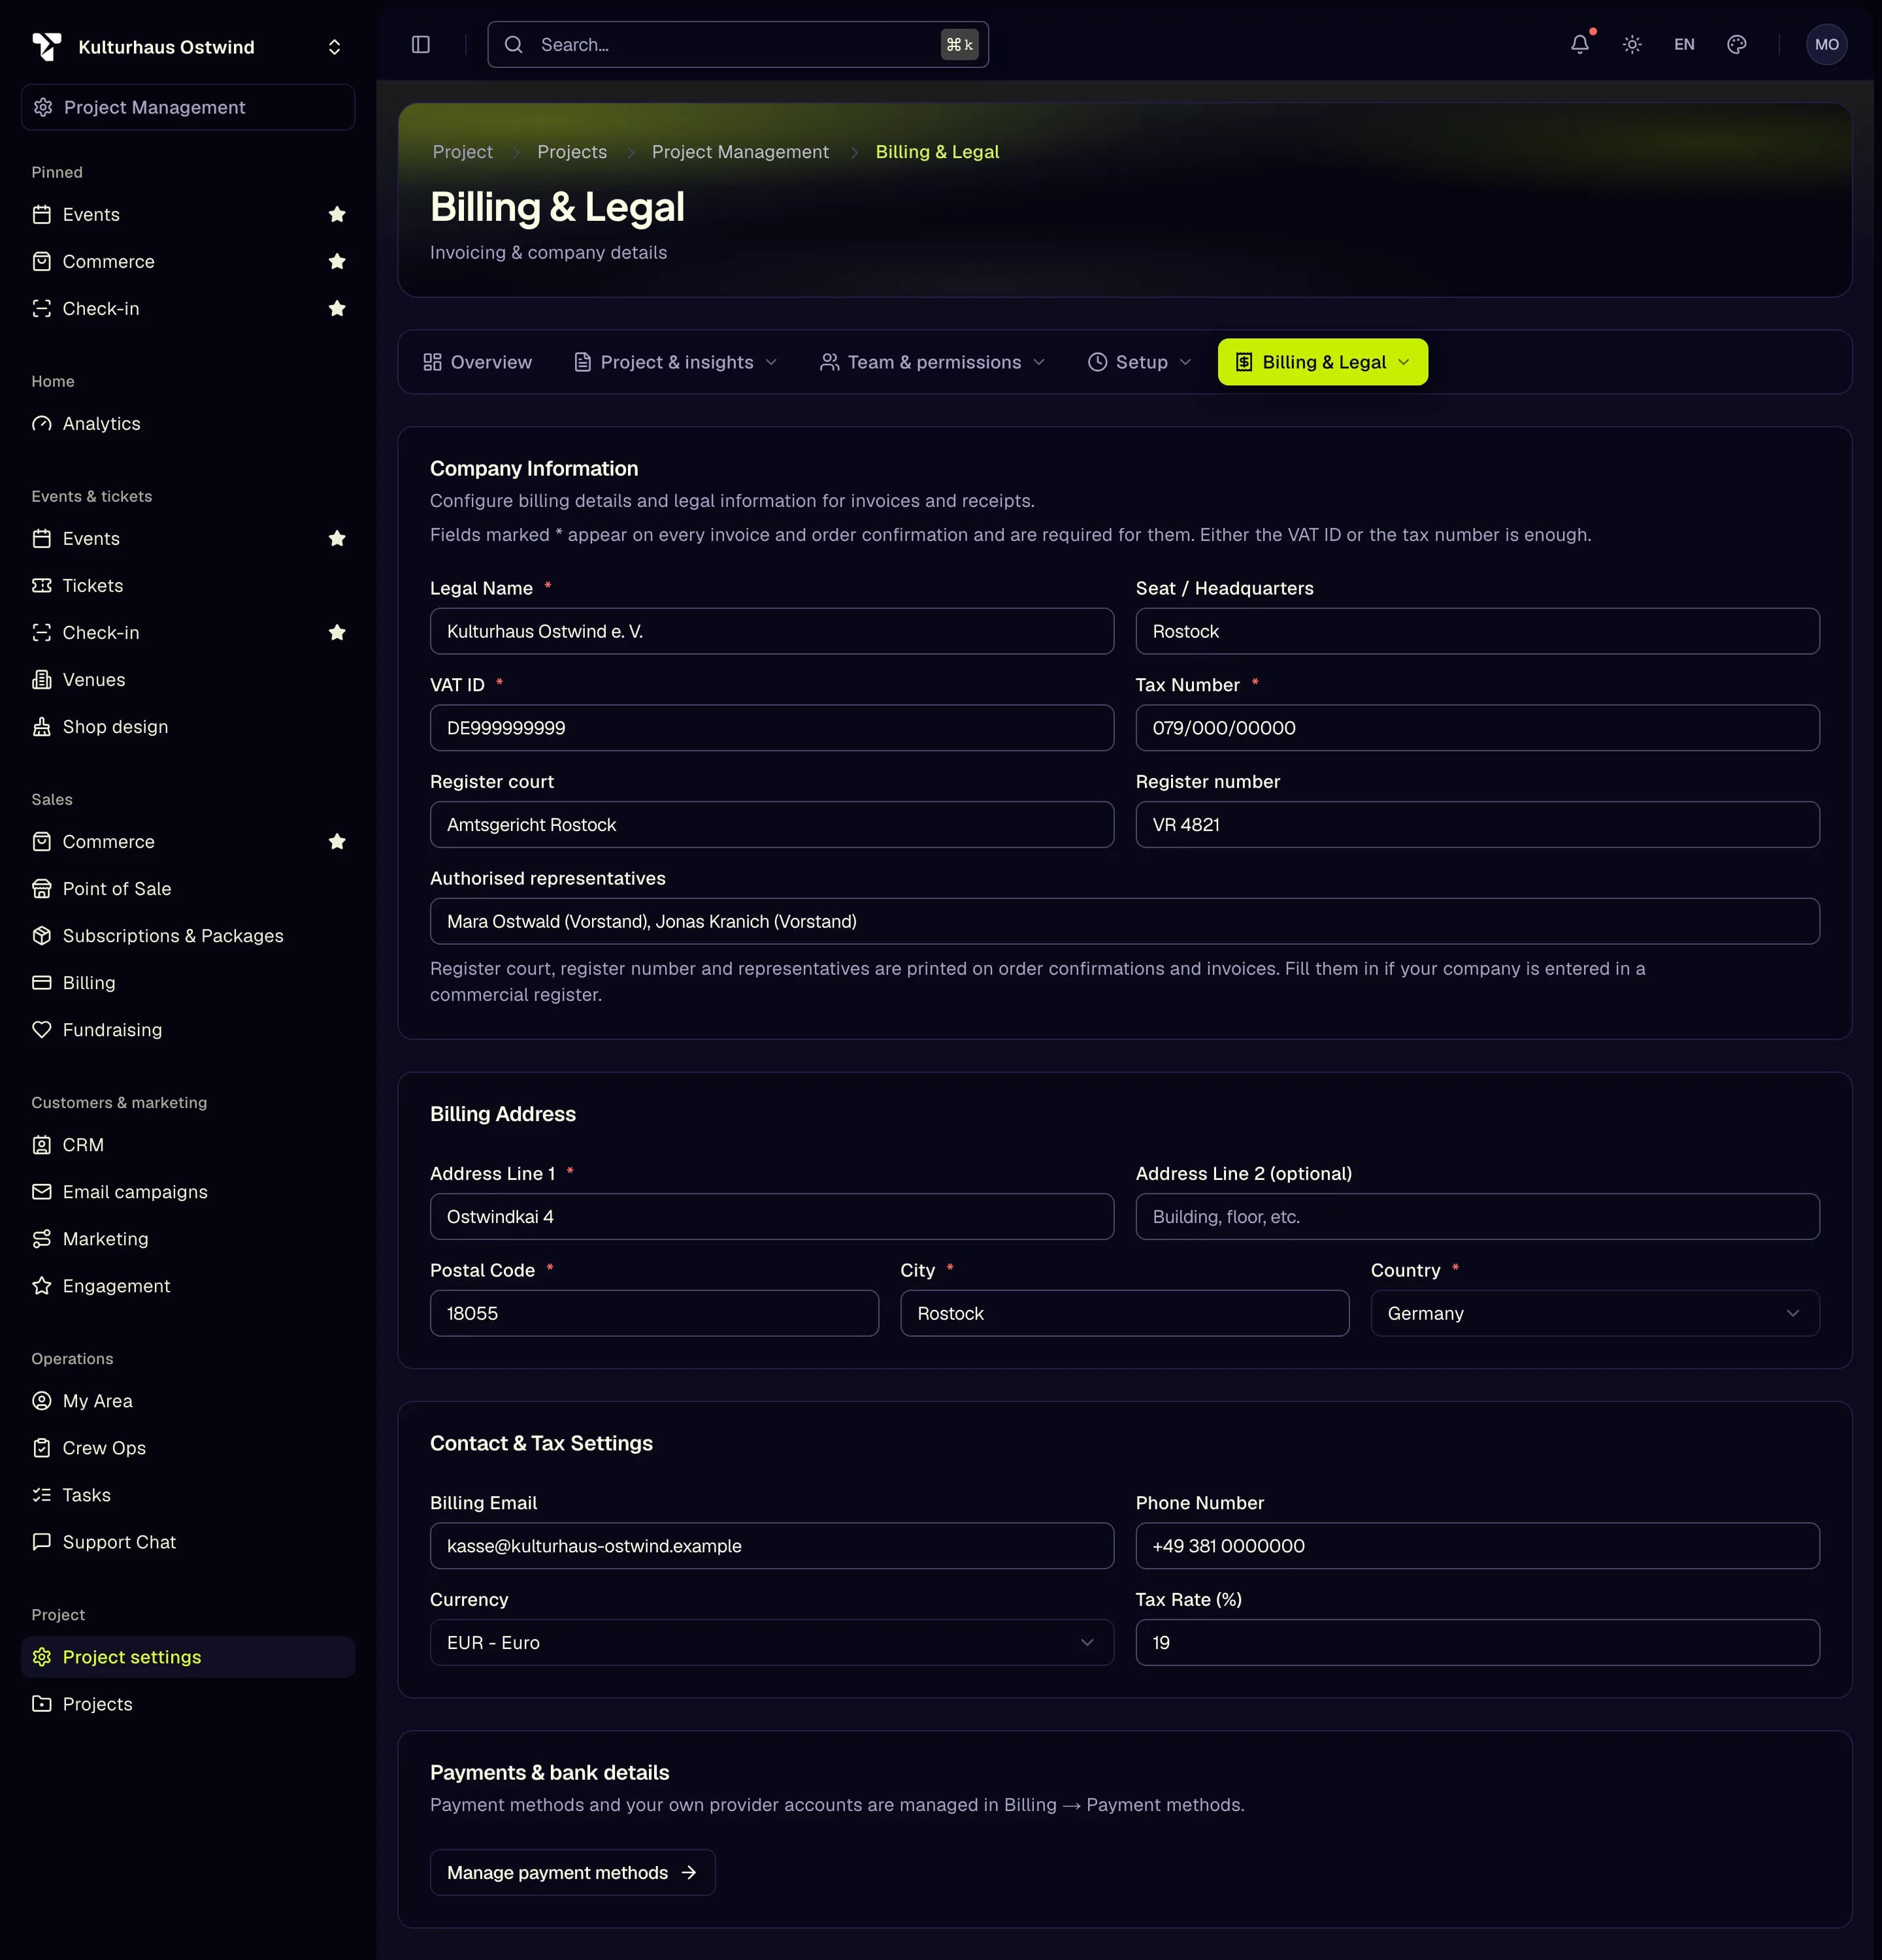
- Billing & Legal
- Legal Name
- VAT ID or Tax Number
- Billing Address
- Tax Rate (%)
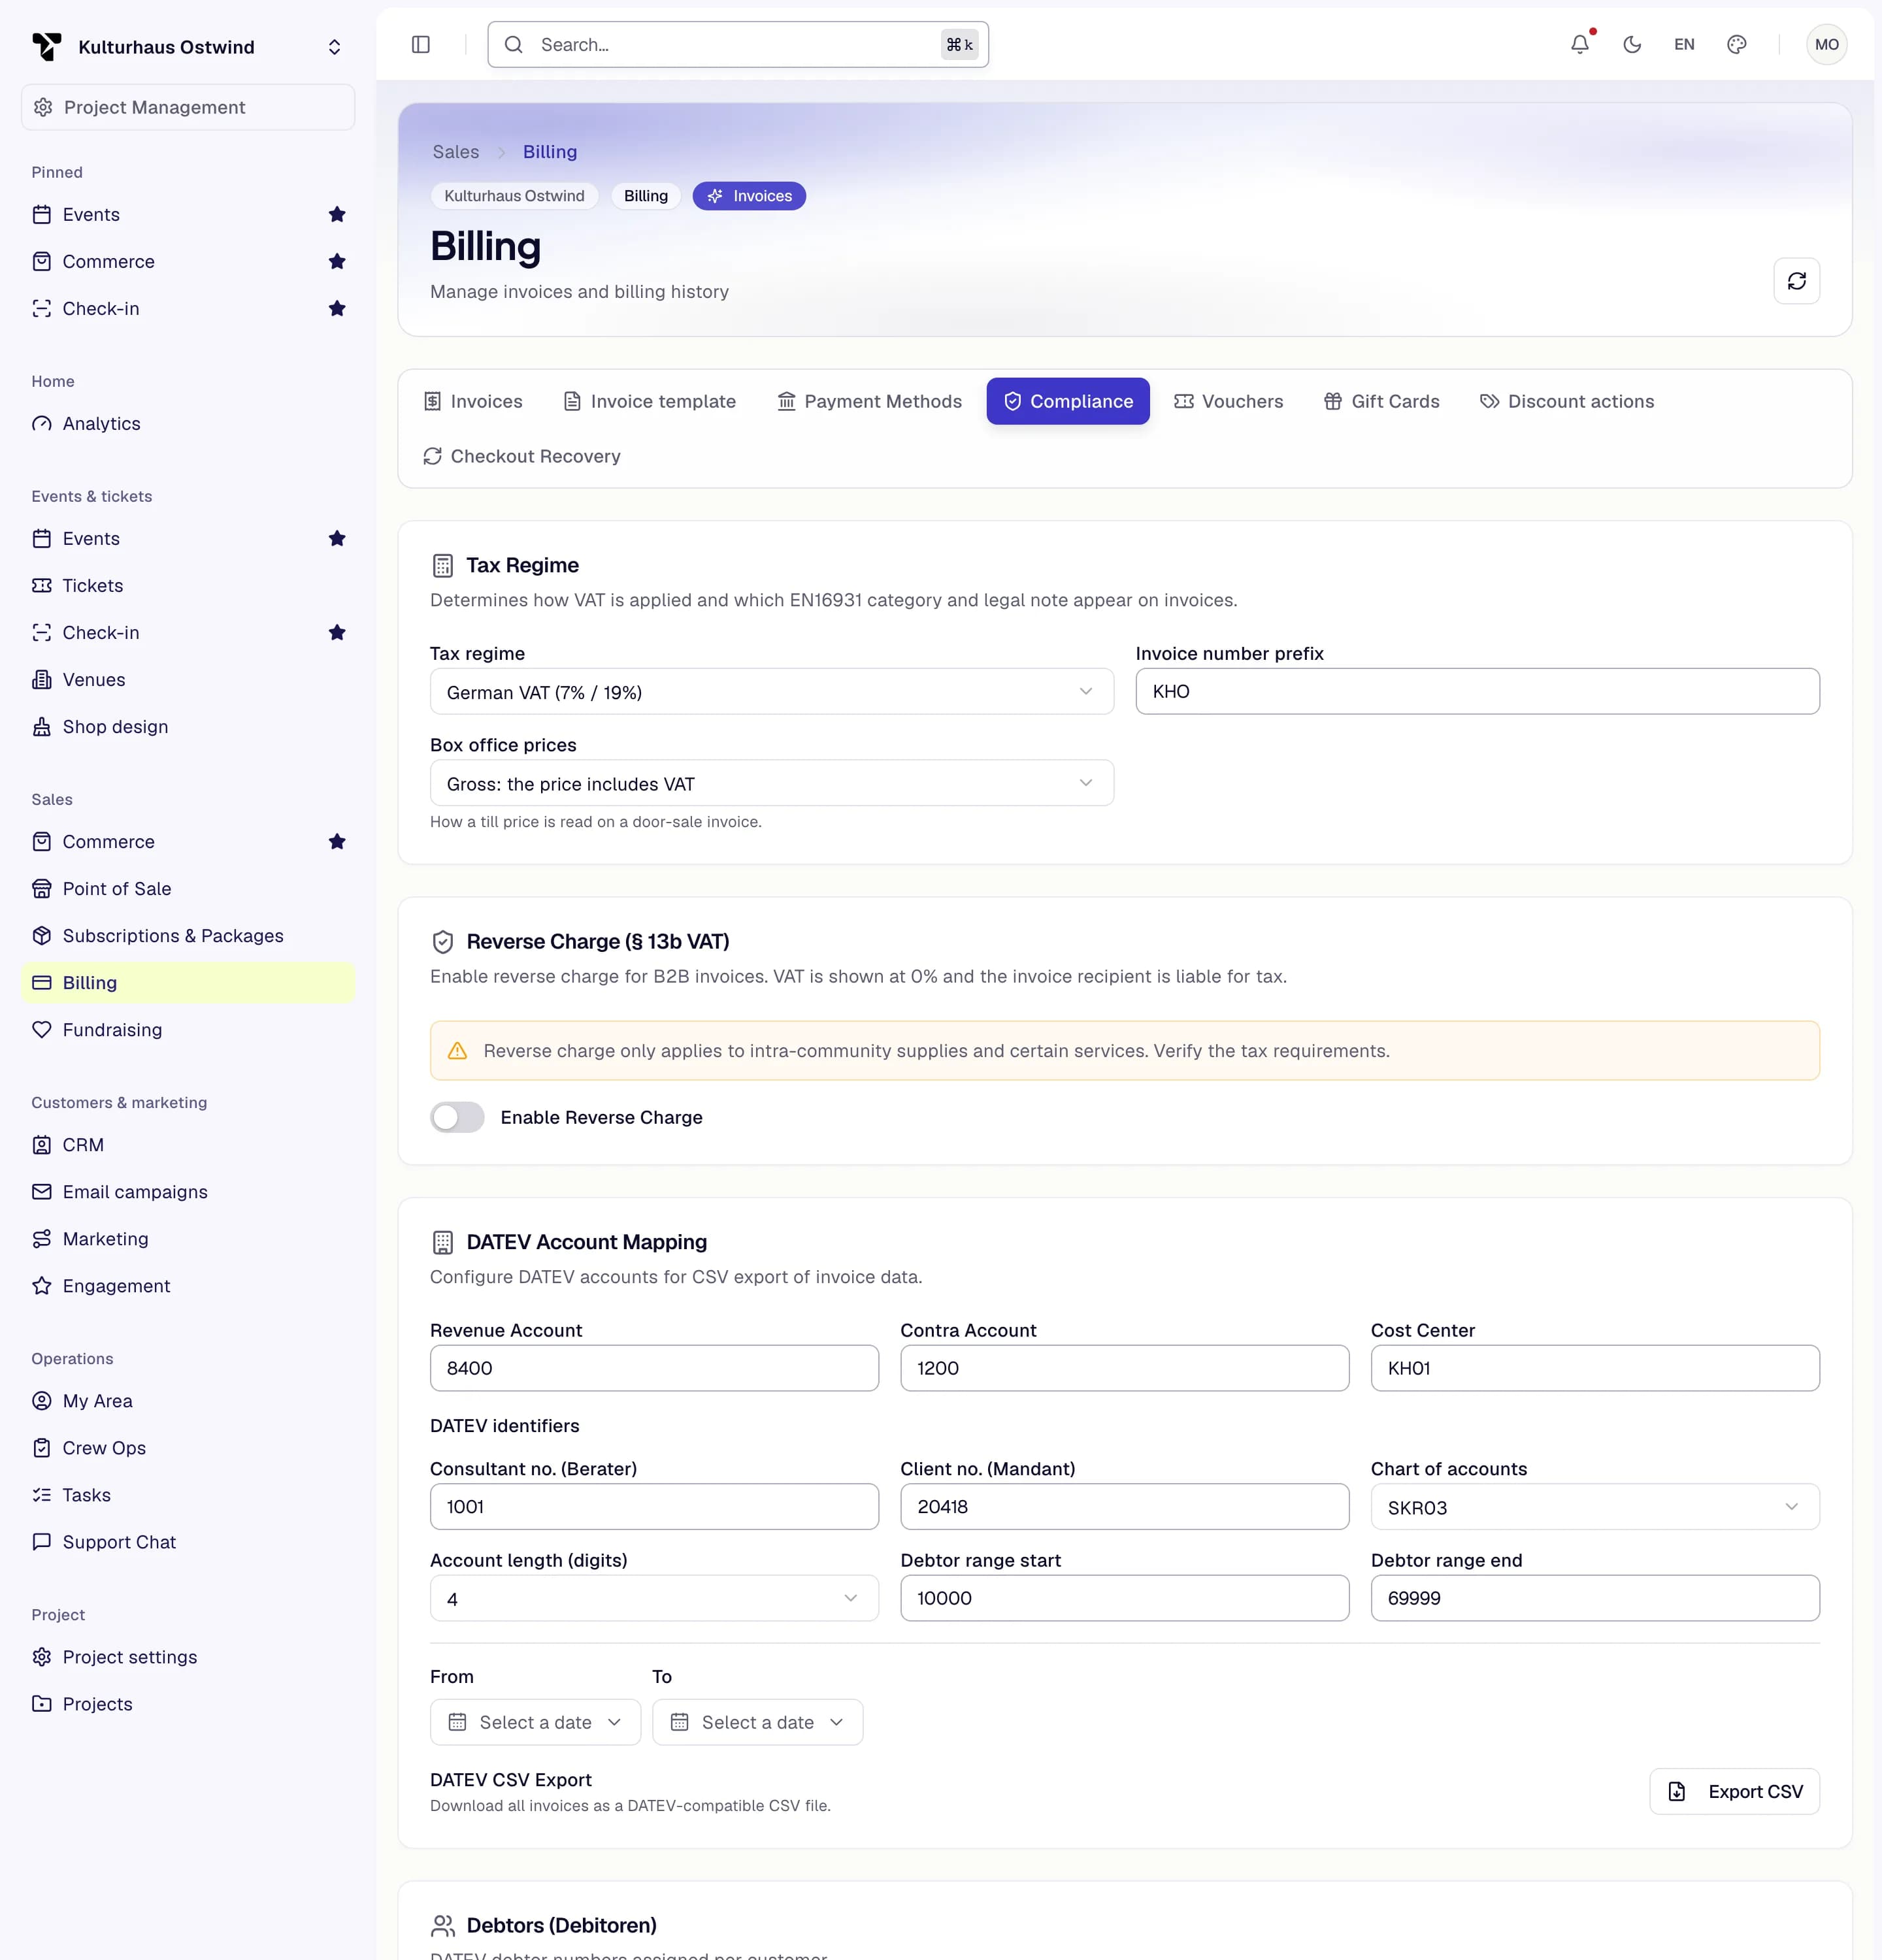
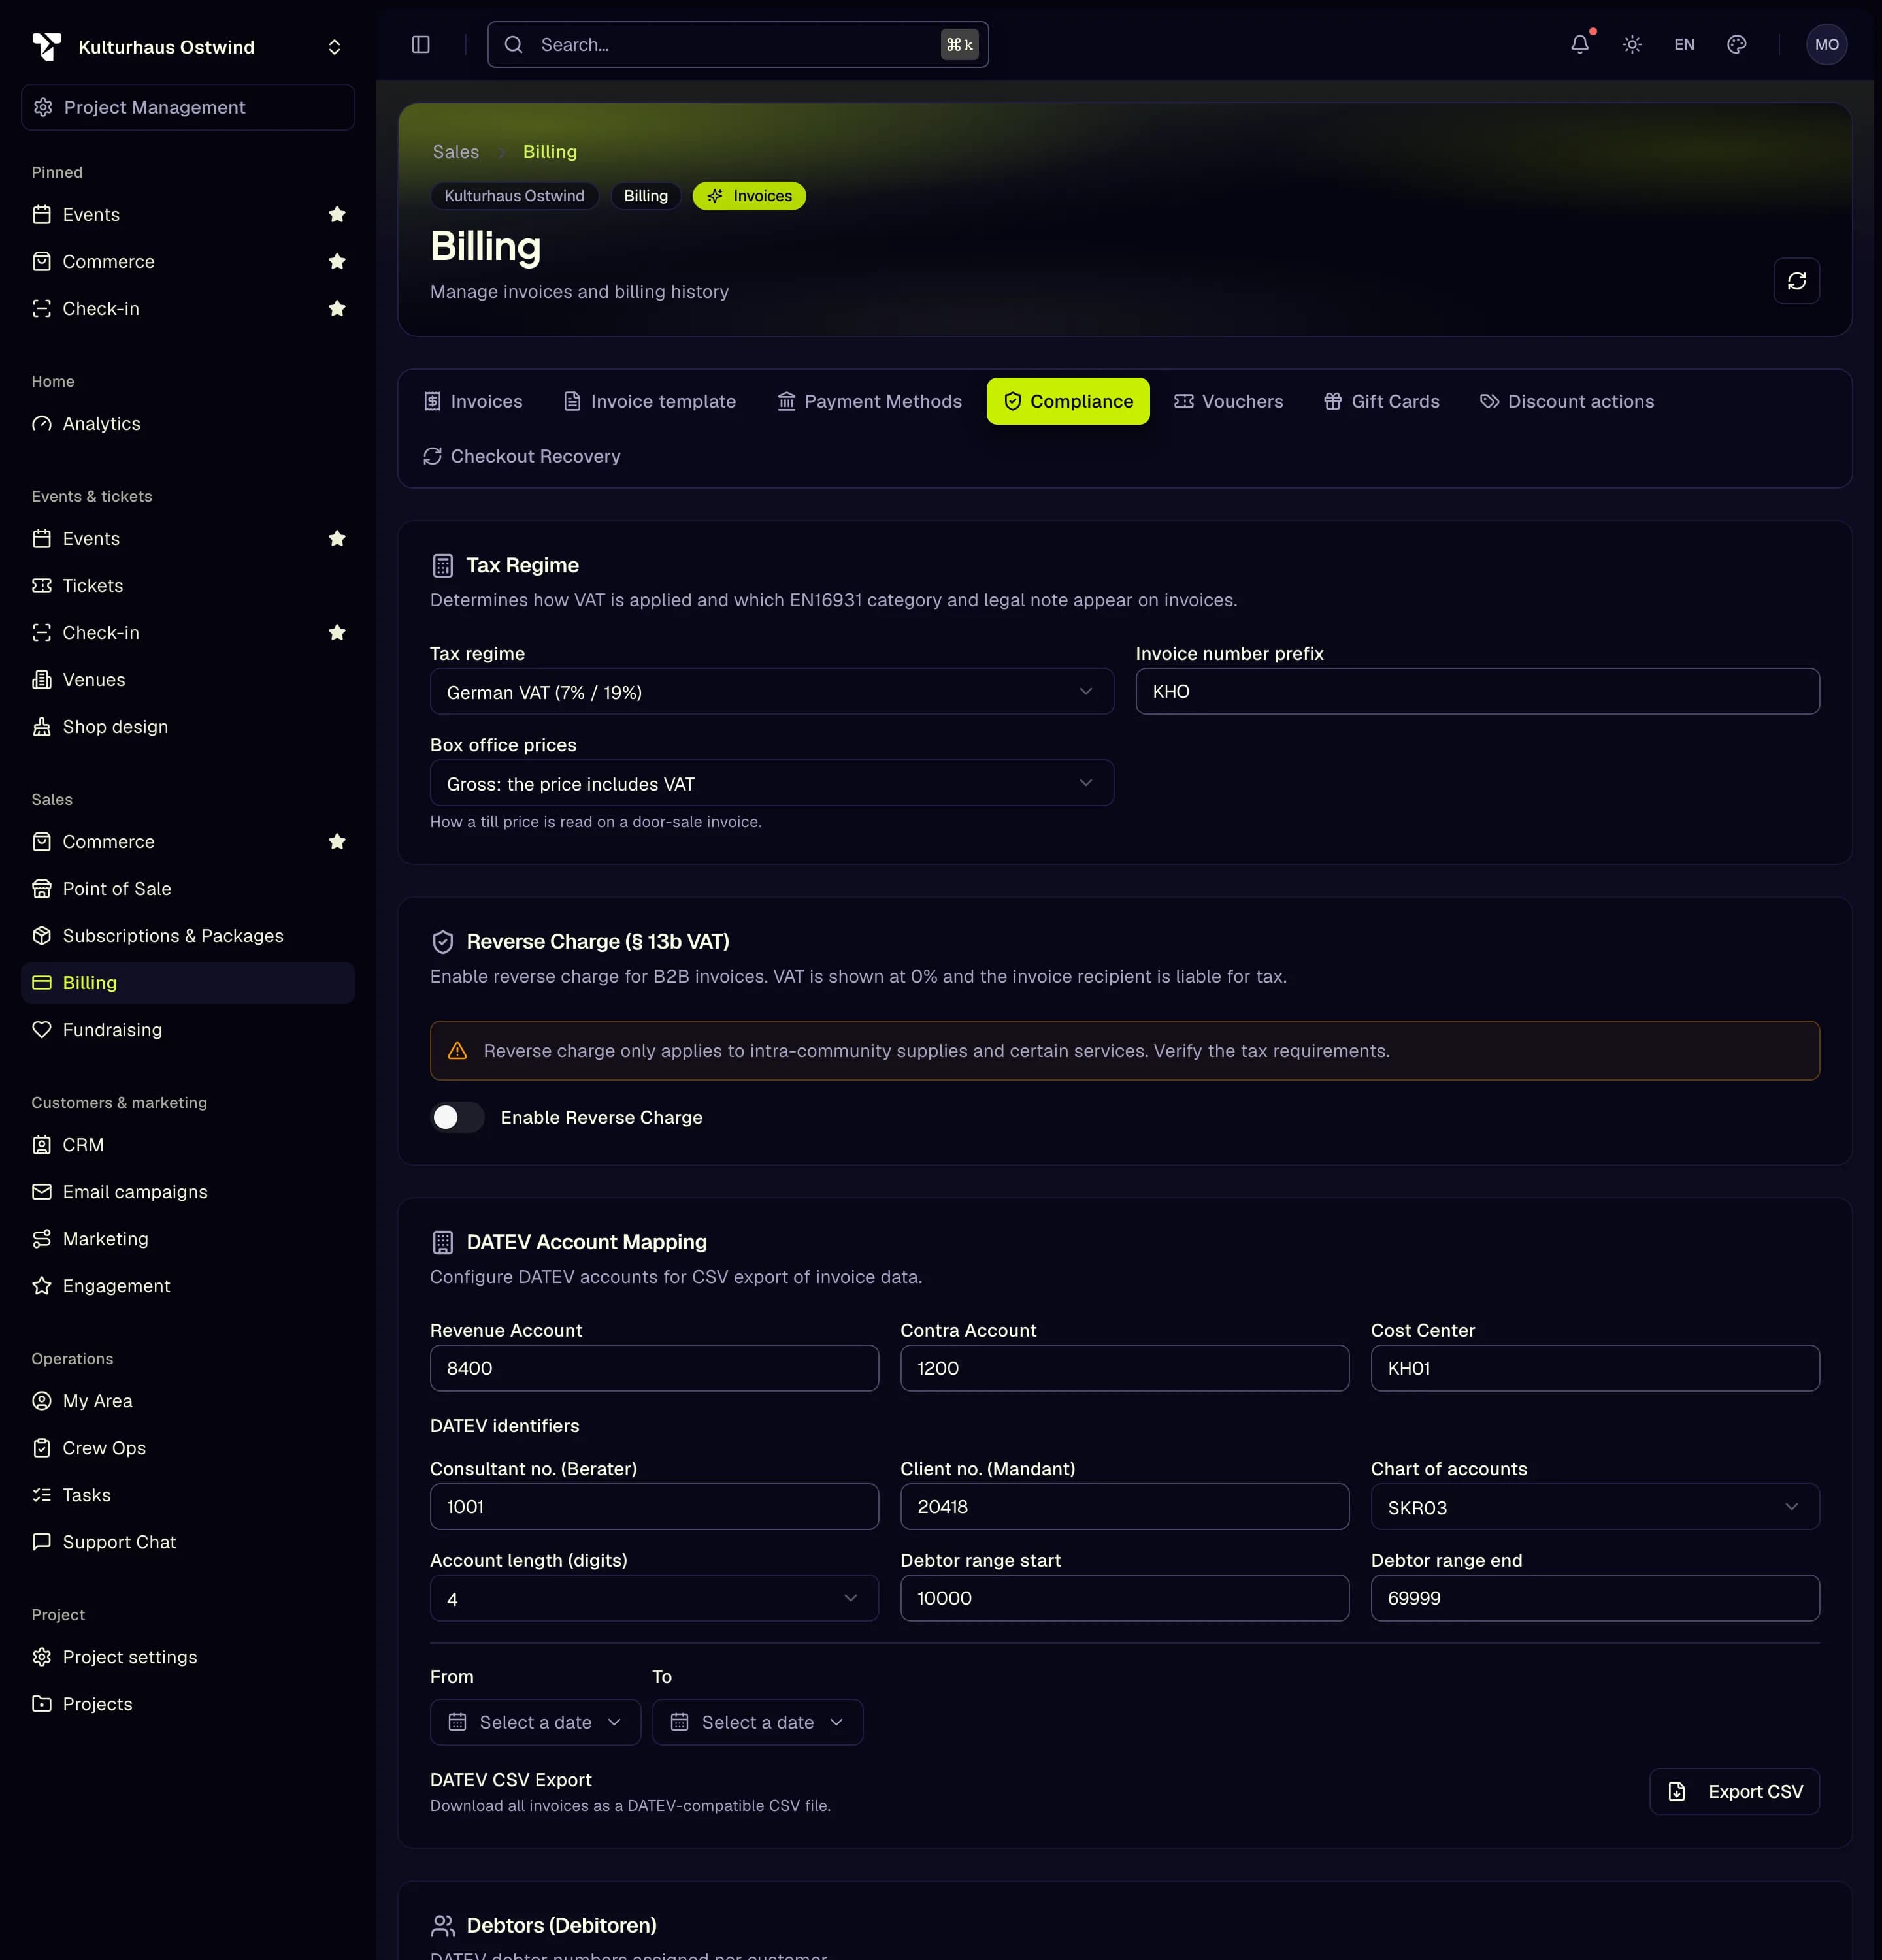
- Compliance tab
- Choose the tax regime
- Invoice number prefix
- DATEV account mapping
- Account length (digits)
- Enter the legal name exactly as registered. It is printed on every invoice you issue to buyers.
- The tax regime decides how VAT appears on invoices. Ask your tax adviser which one applies before the first sale. An issued invoice can never be edited, only cancelled with a credit note.
4. Connect your payment provider
Buyers pay into your own payment provider account. TixFin never holds your money.
Where: Sales → Billing → tab Payment Methods Who can do this: members with Manage billing
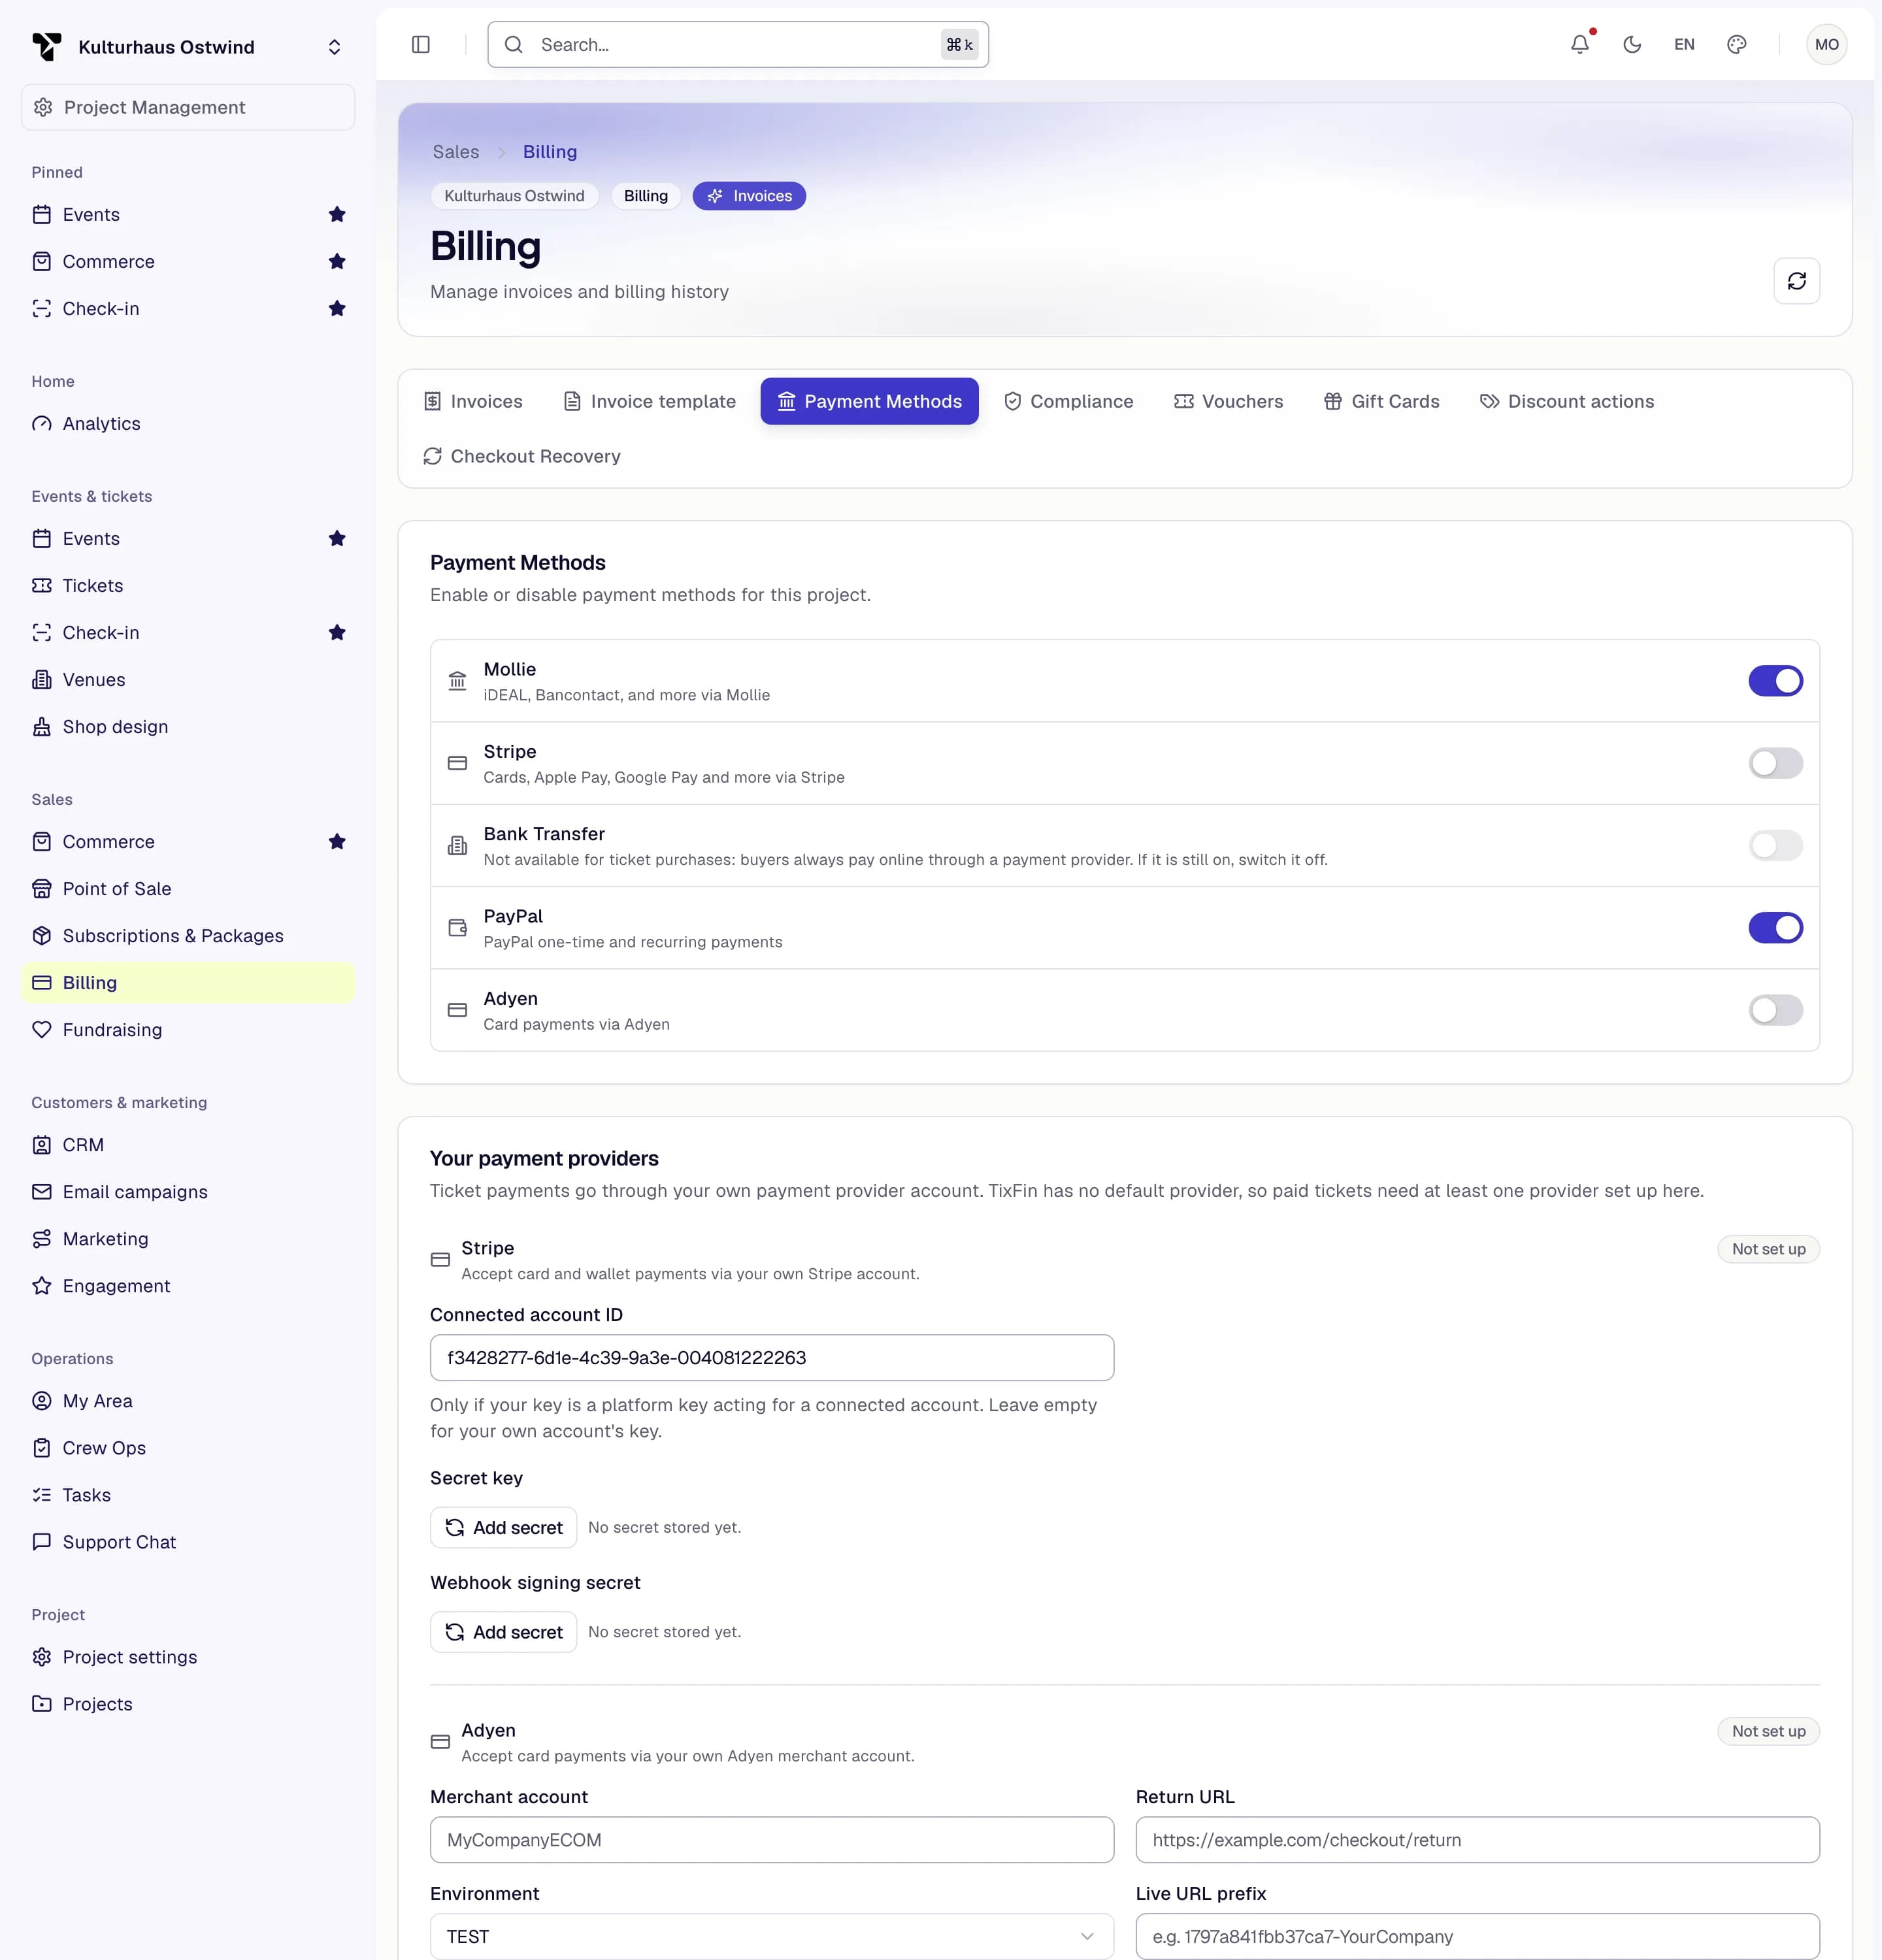
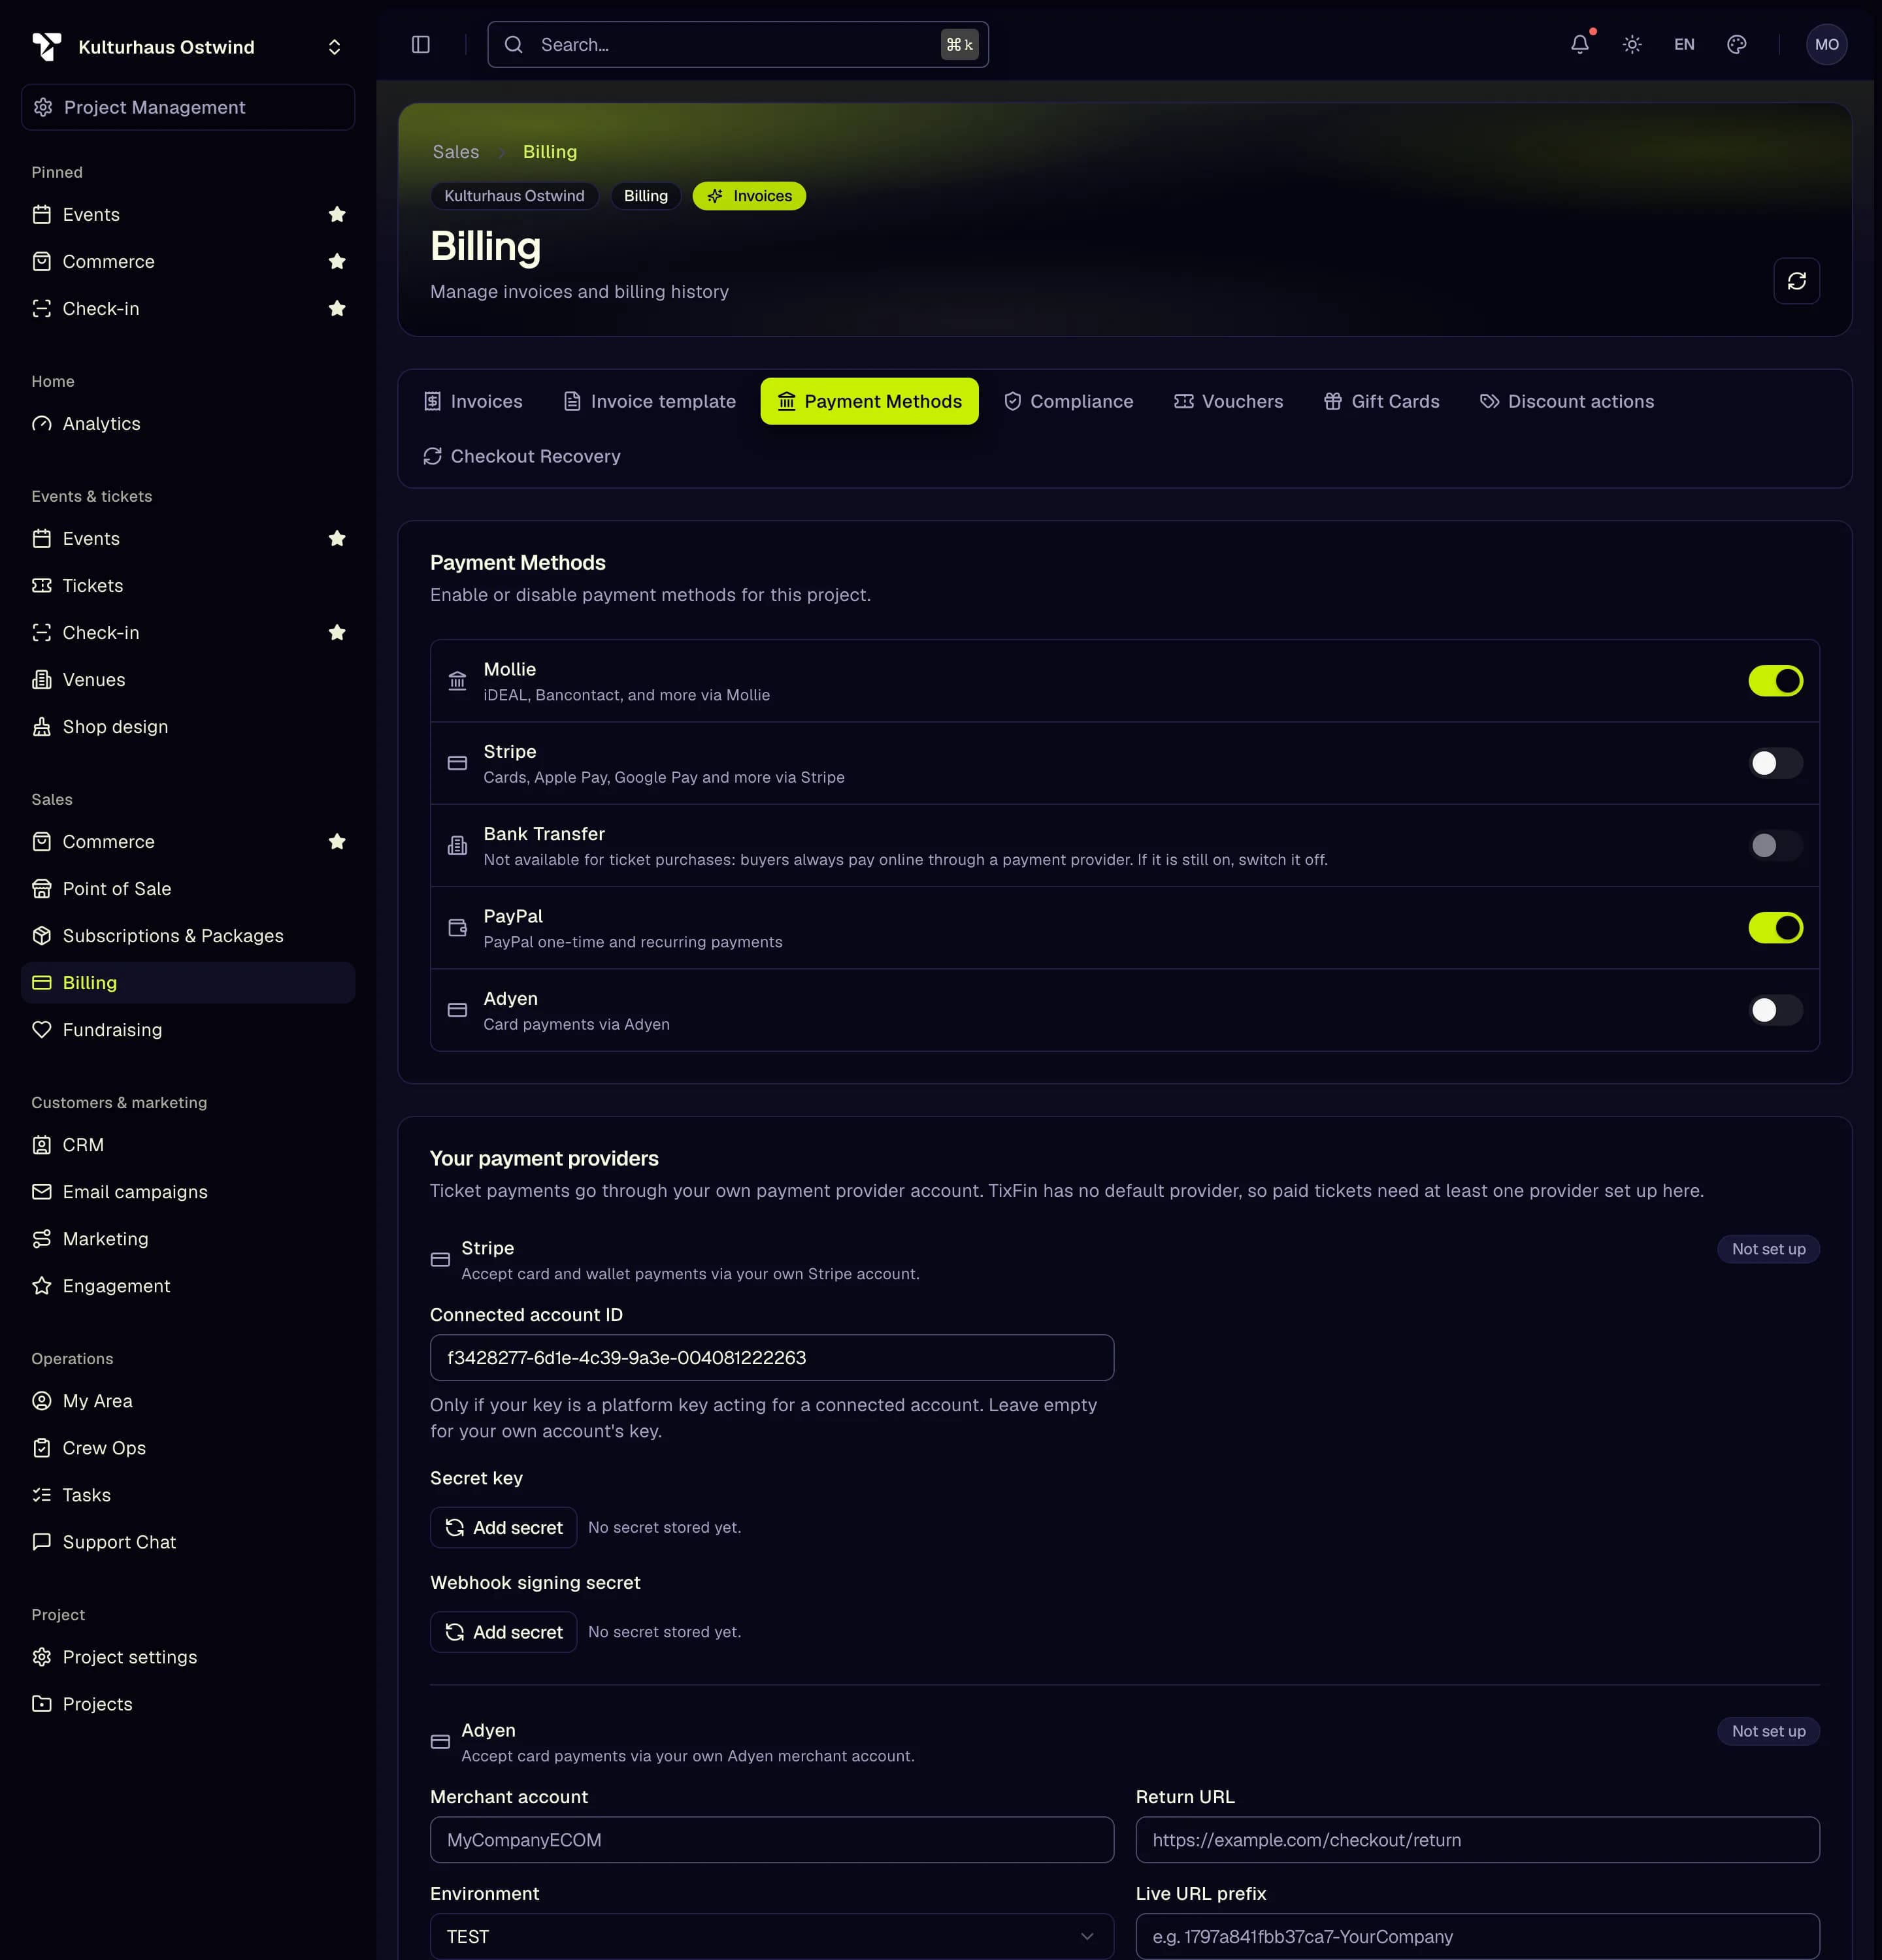
- Sales → Billing
- Payment Methods tab
- Switch a method on
- Add secret
- Provider status
- The keys are only checked at checkout, not when you save. Use your provider's test or sandbox mode and make a test purchase (step 9) before you go live.
- Without a provider you can only issue free tickets. An event with only paid tickets cannot be published.
- Bank transfer is not available for tickets. If Bank Transfer is still switched on, switch it off.
Details: Payments
5. Optional: create a venue and a seat map
Skip this step for events without assigned seats.
Where: Events & tickets → Venues Who can do this: members with Manage venues and seatmaps
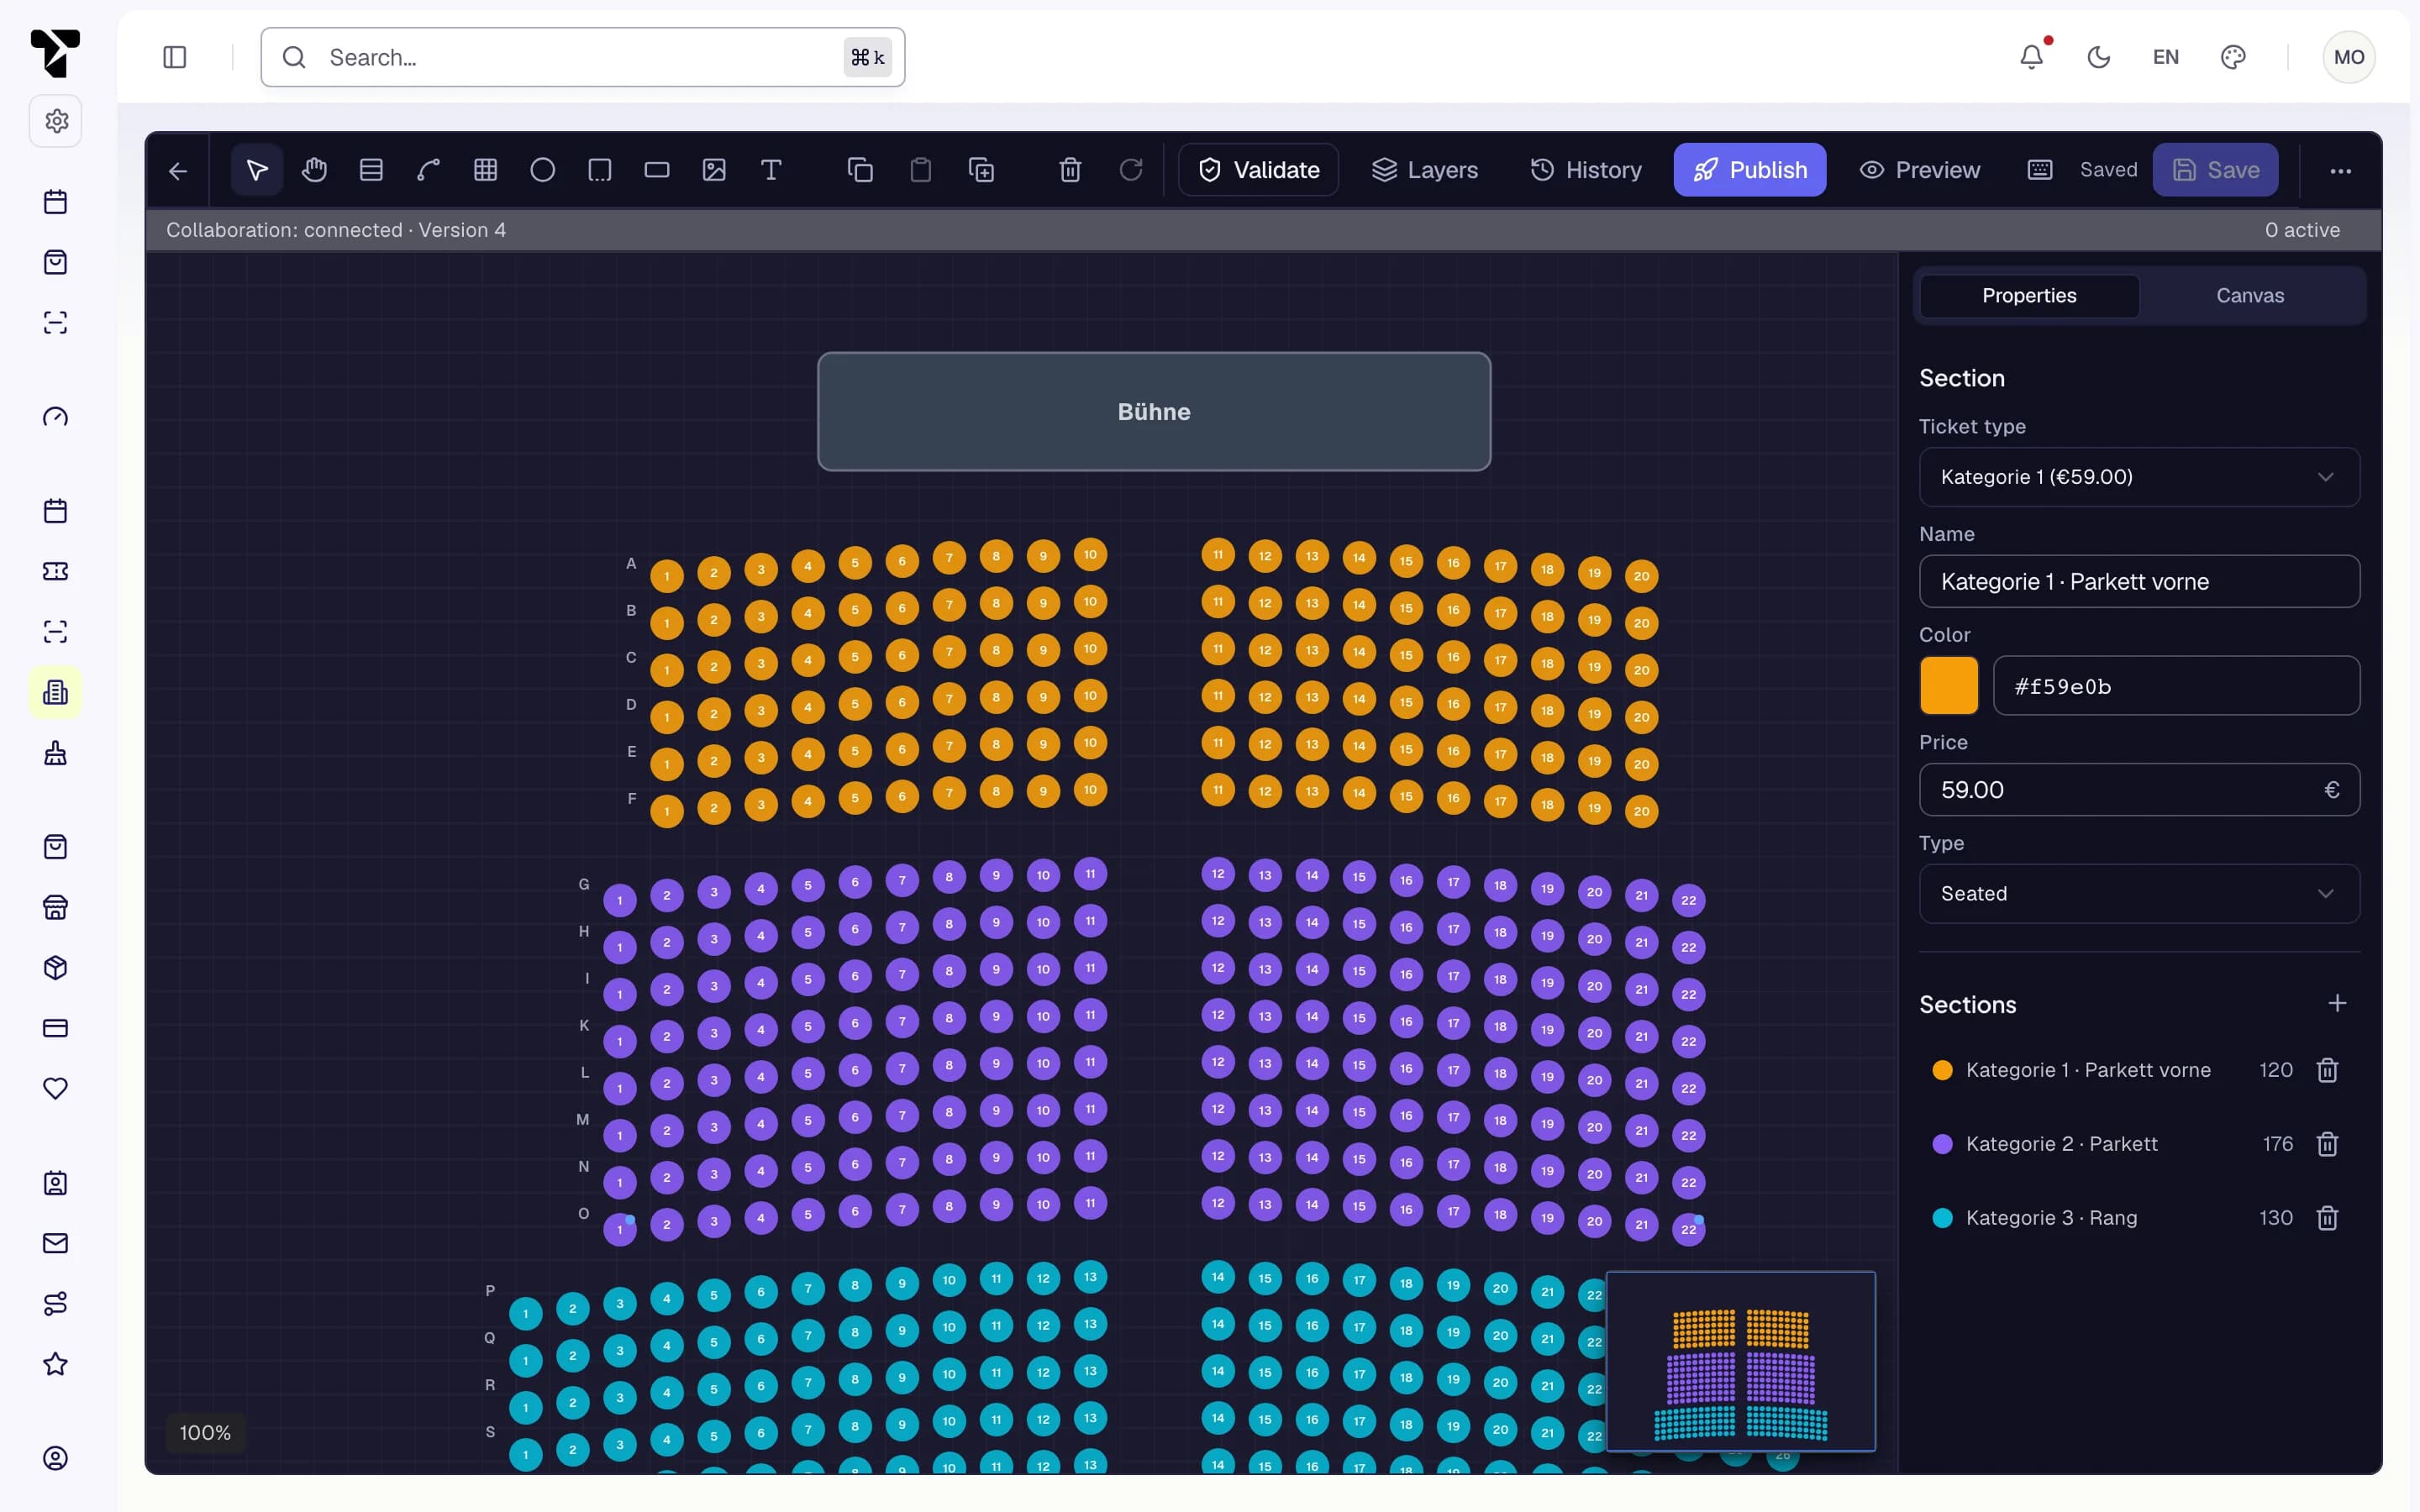
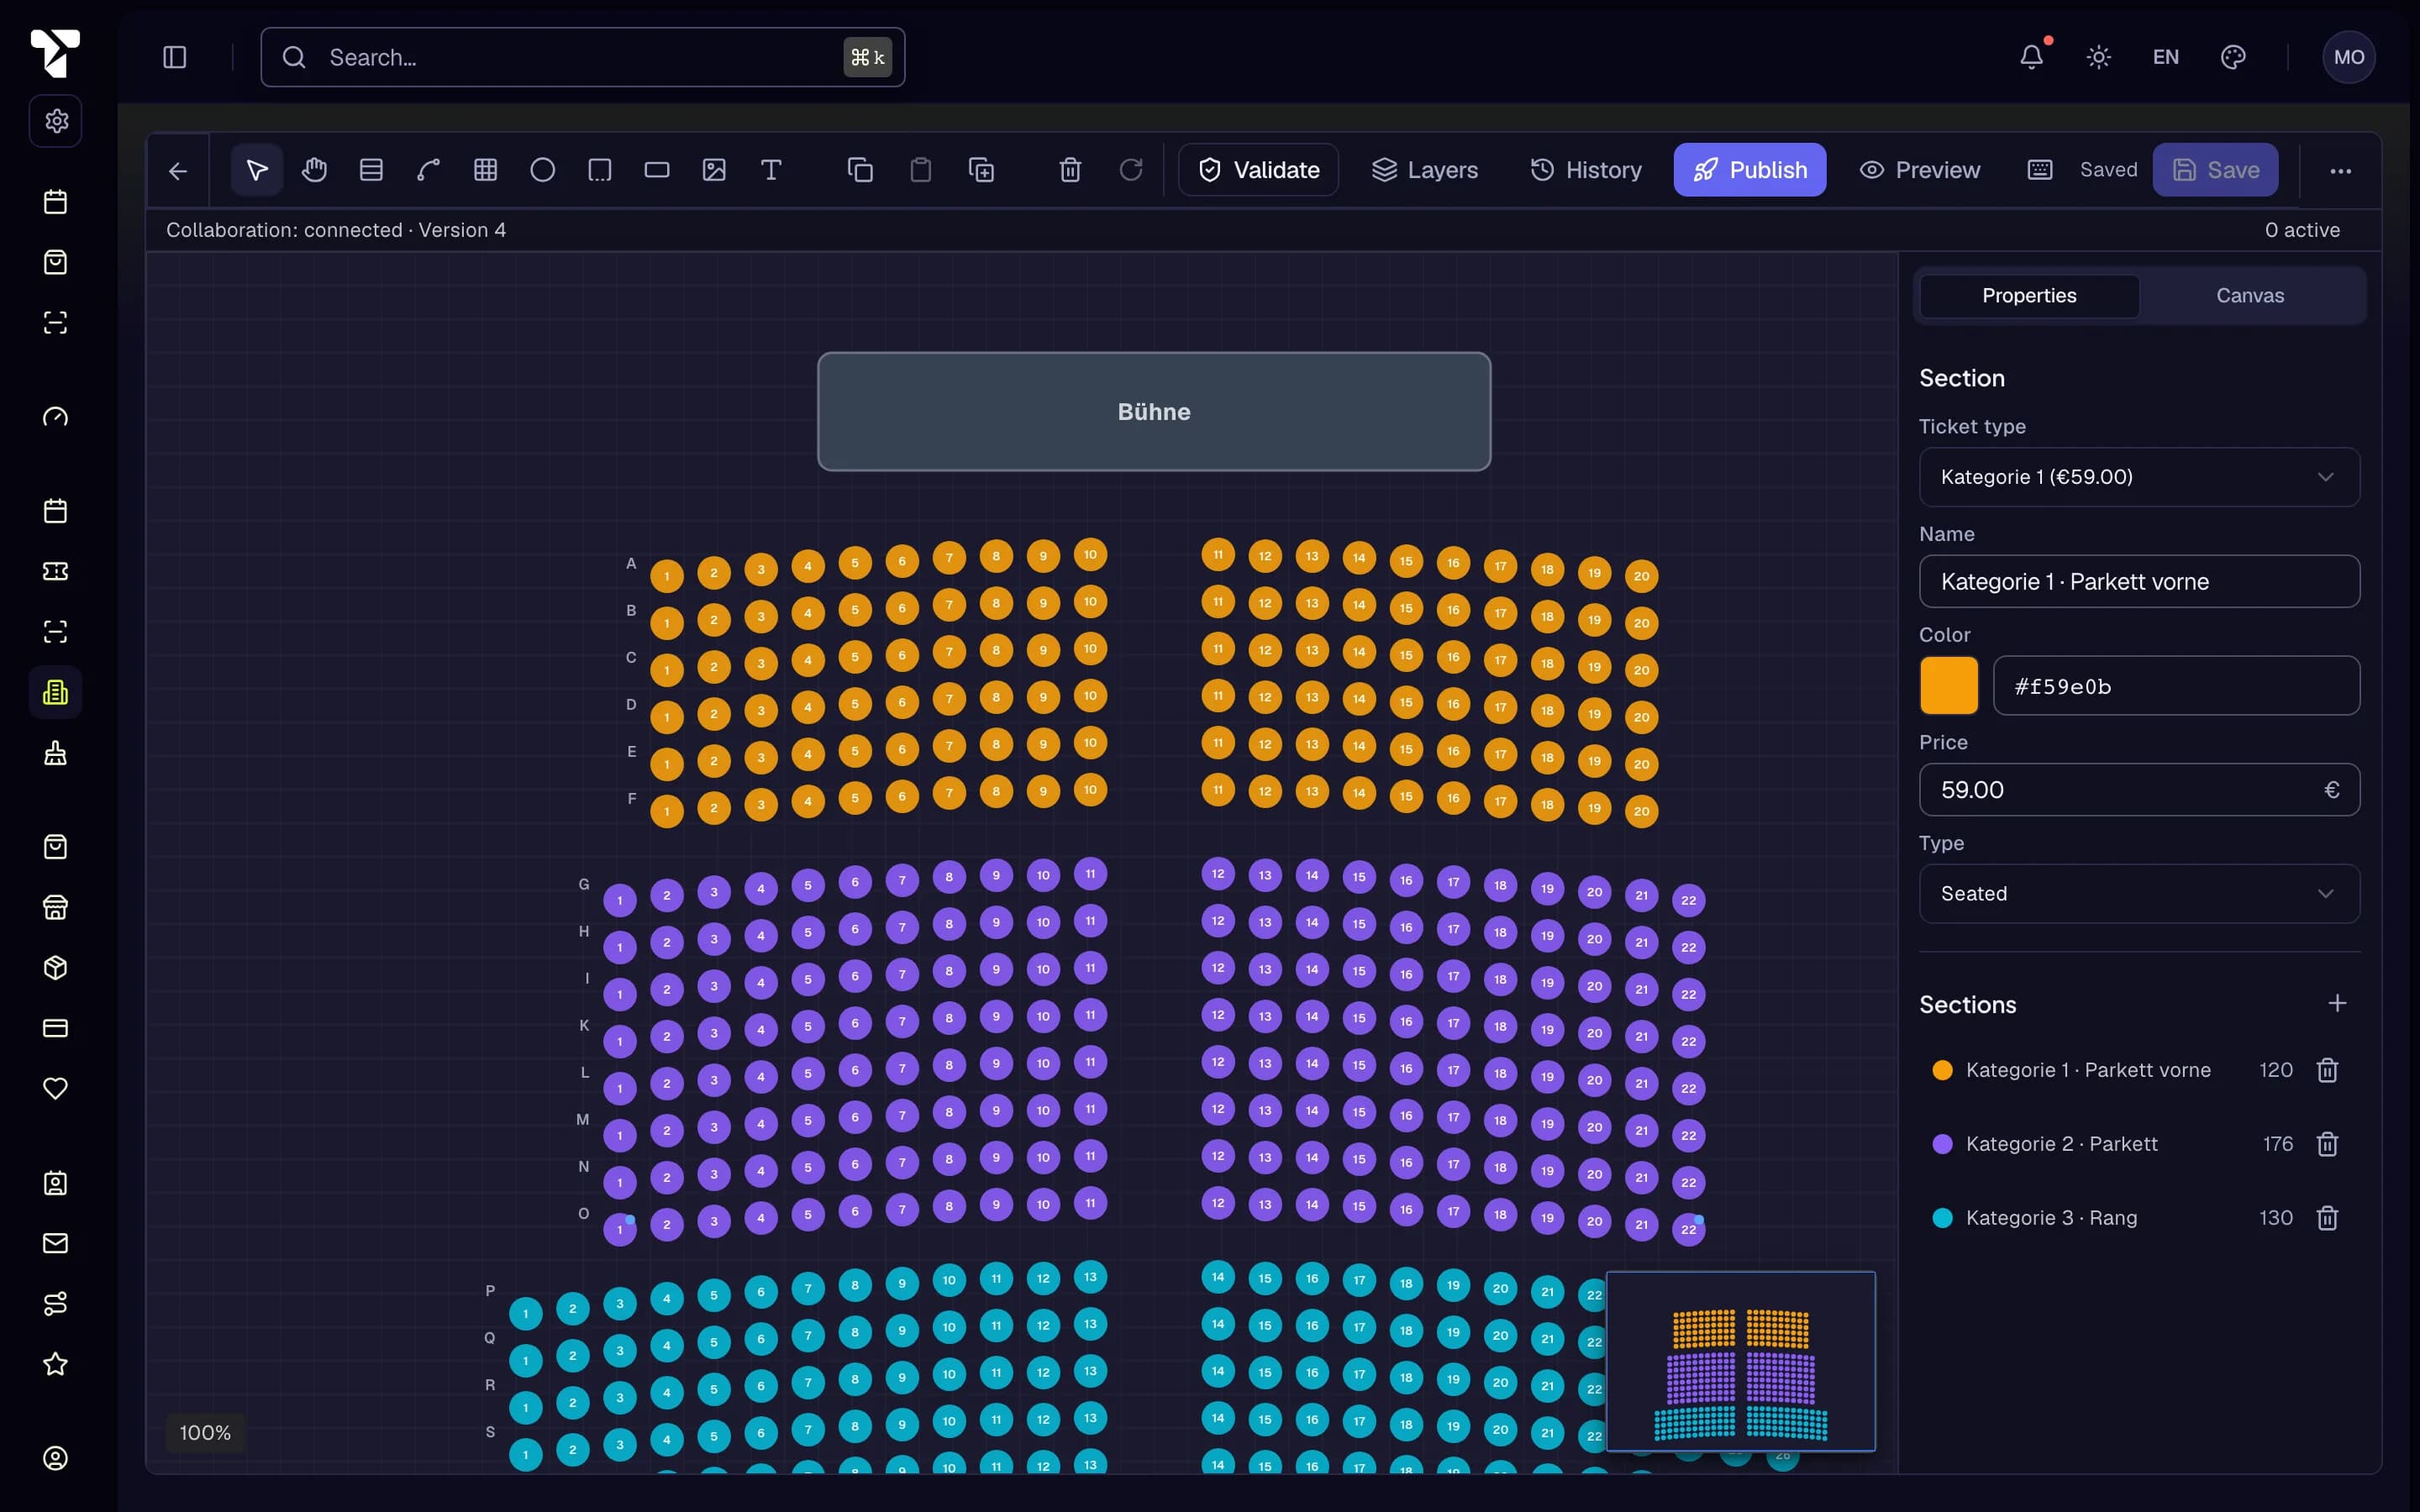
- Drawing tools
- Save
- Ticket type of the section
- Validate
- Publish
- Create the seat map before the event. A ticket type can only be made seated once its event has a seat map.
- Seat maps depend on your plan. If the area is missing, check Project settings → Plan & Features.
Details: Venues and seat maps
6. Create the event
Where: Events & tickets → Events → New event Who can do this: members with Create events
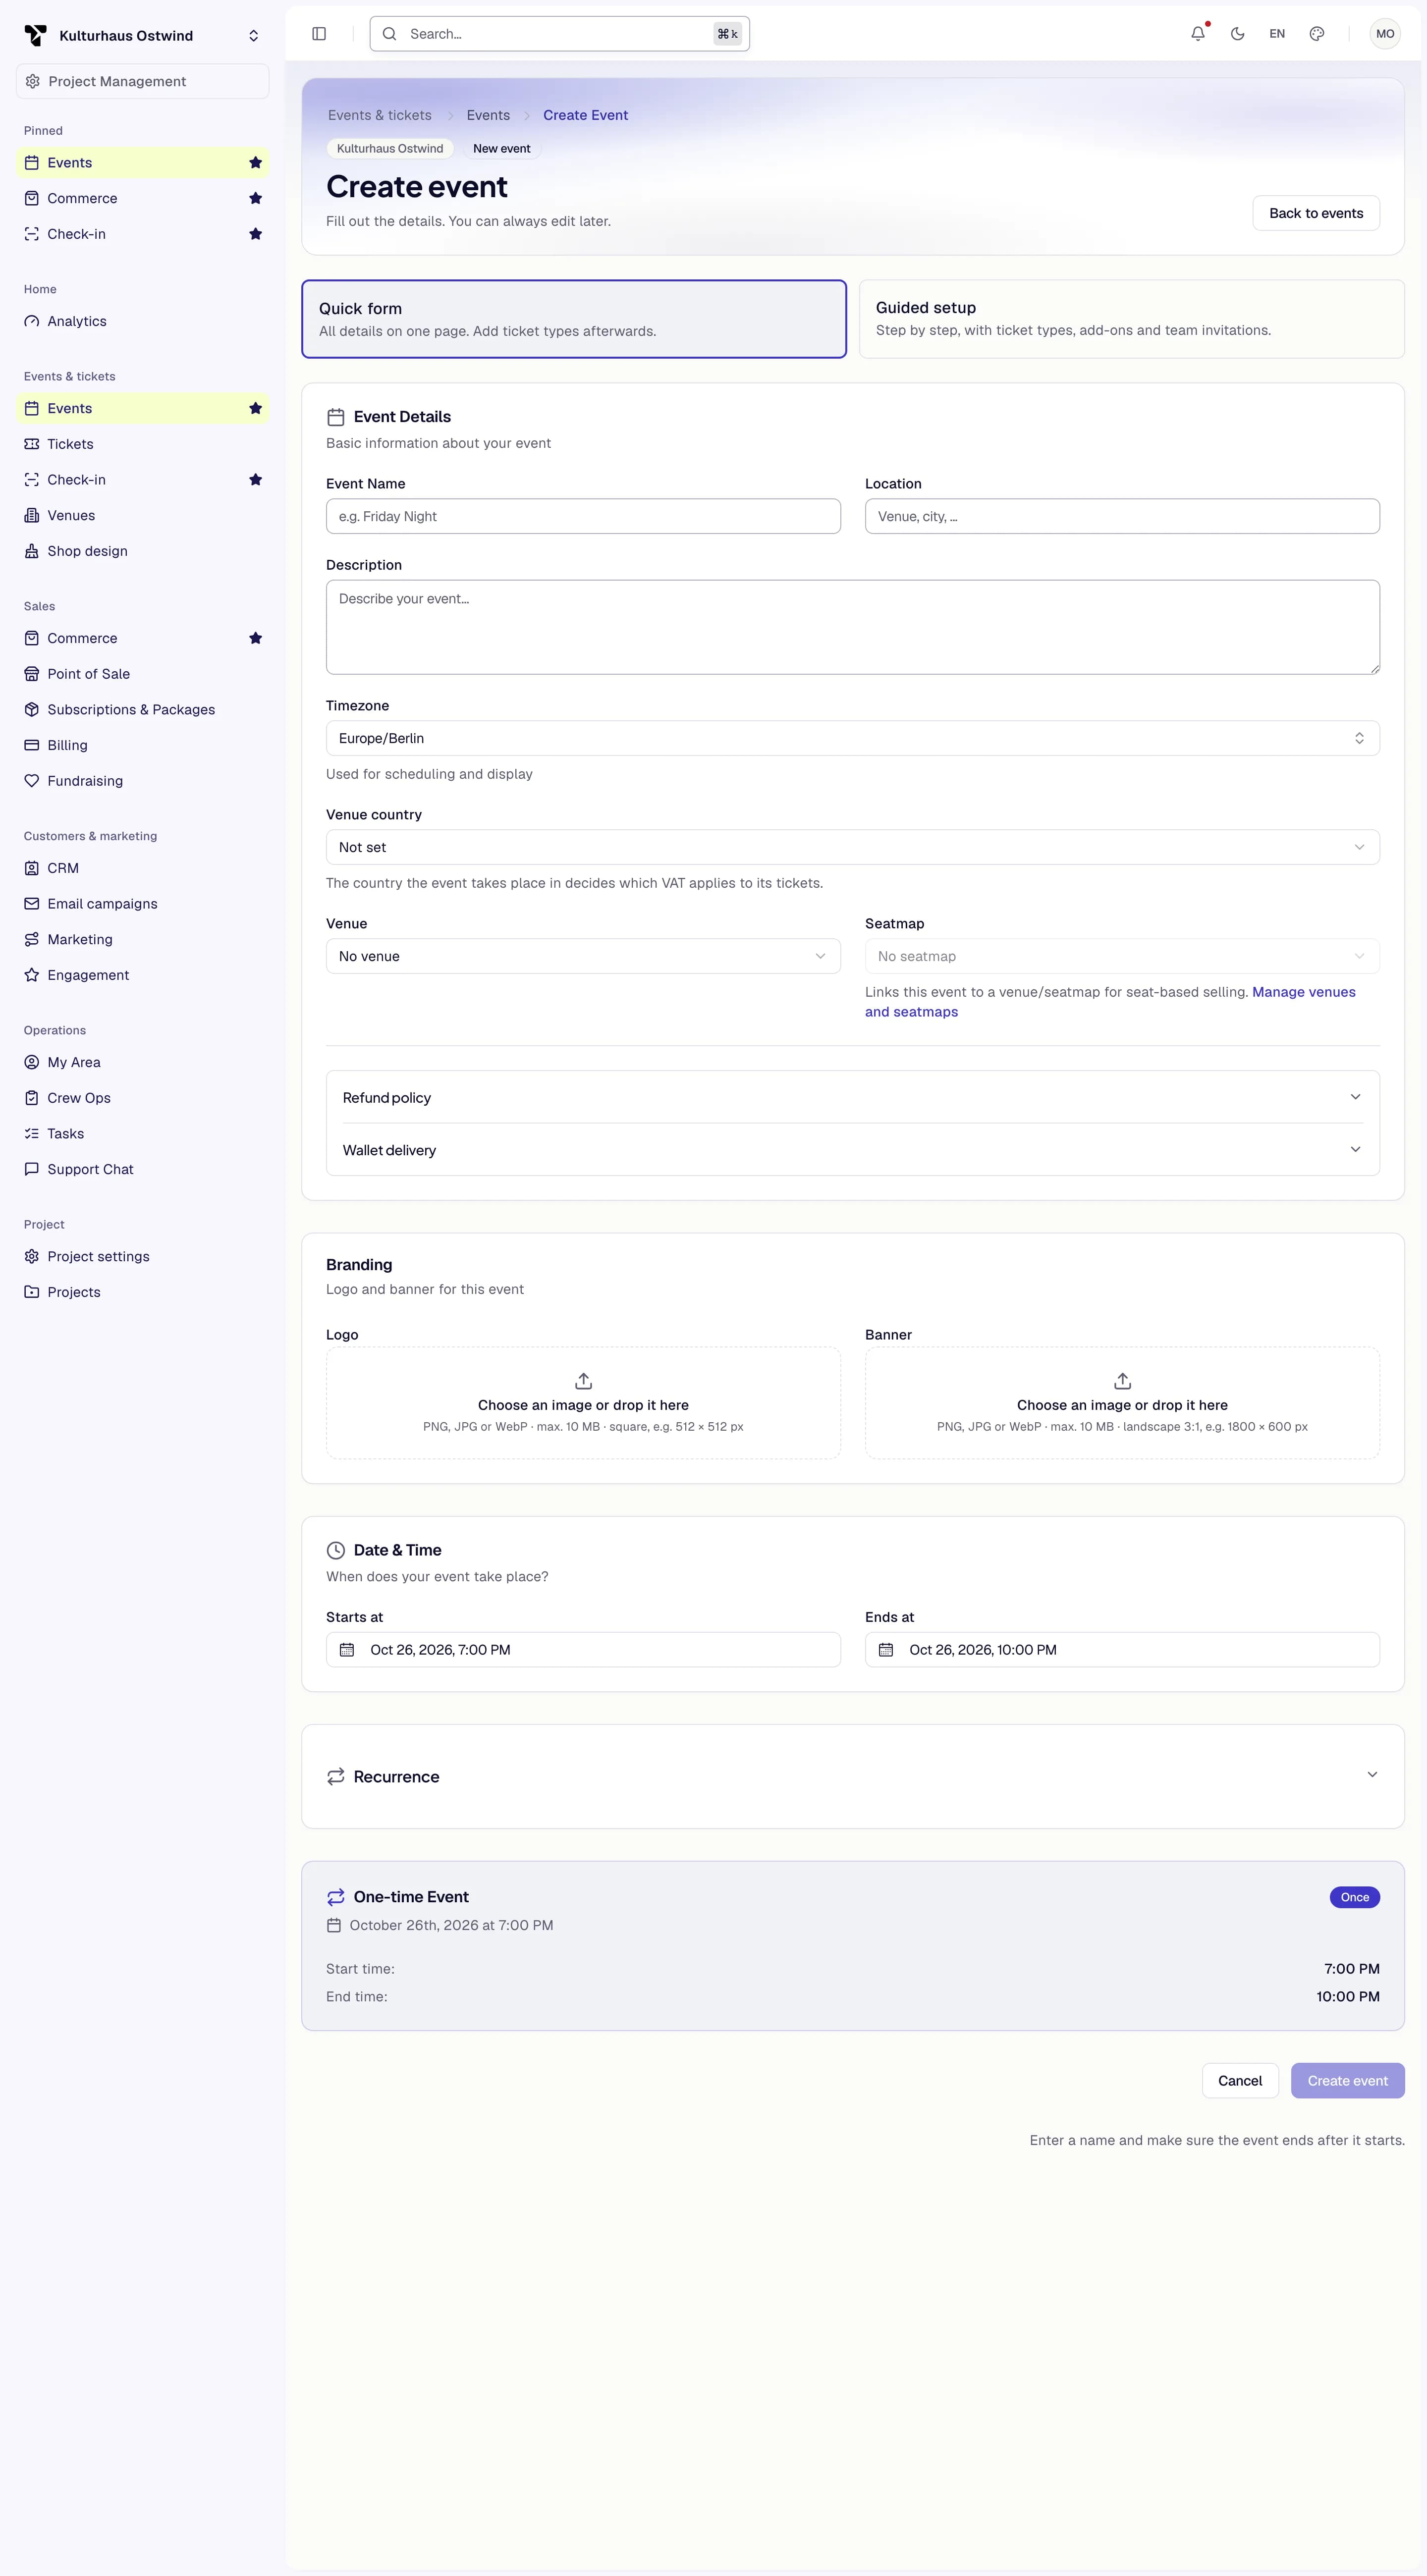
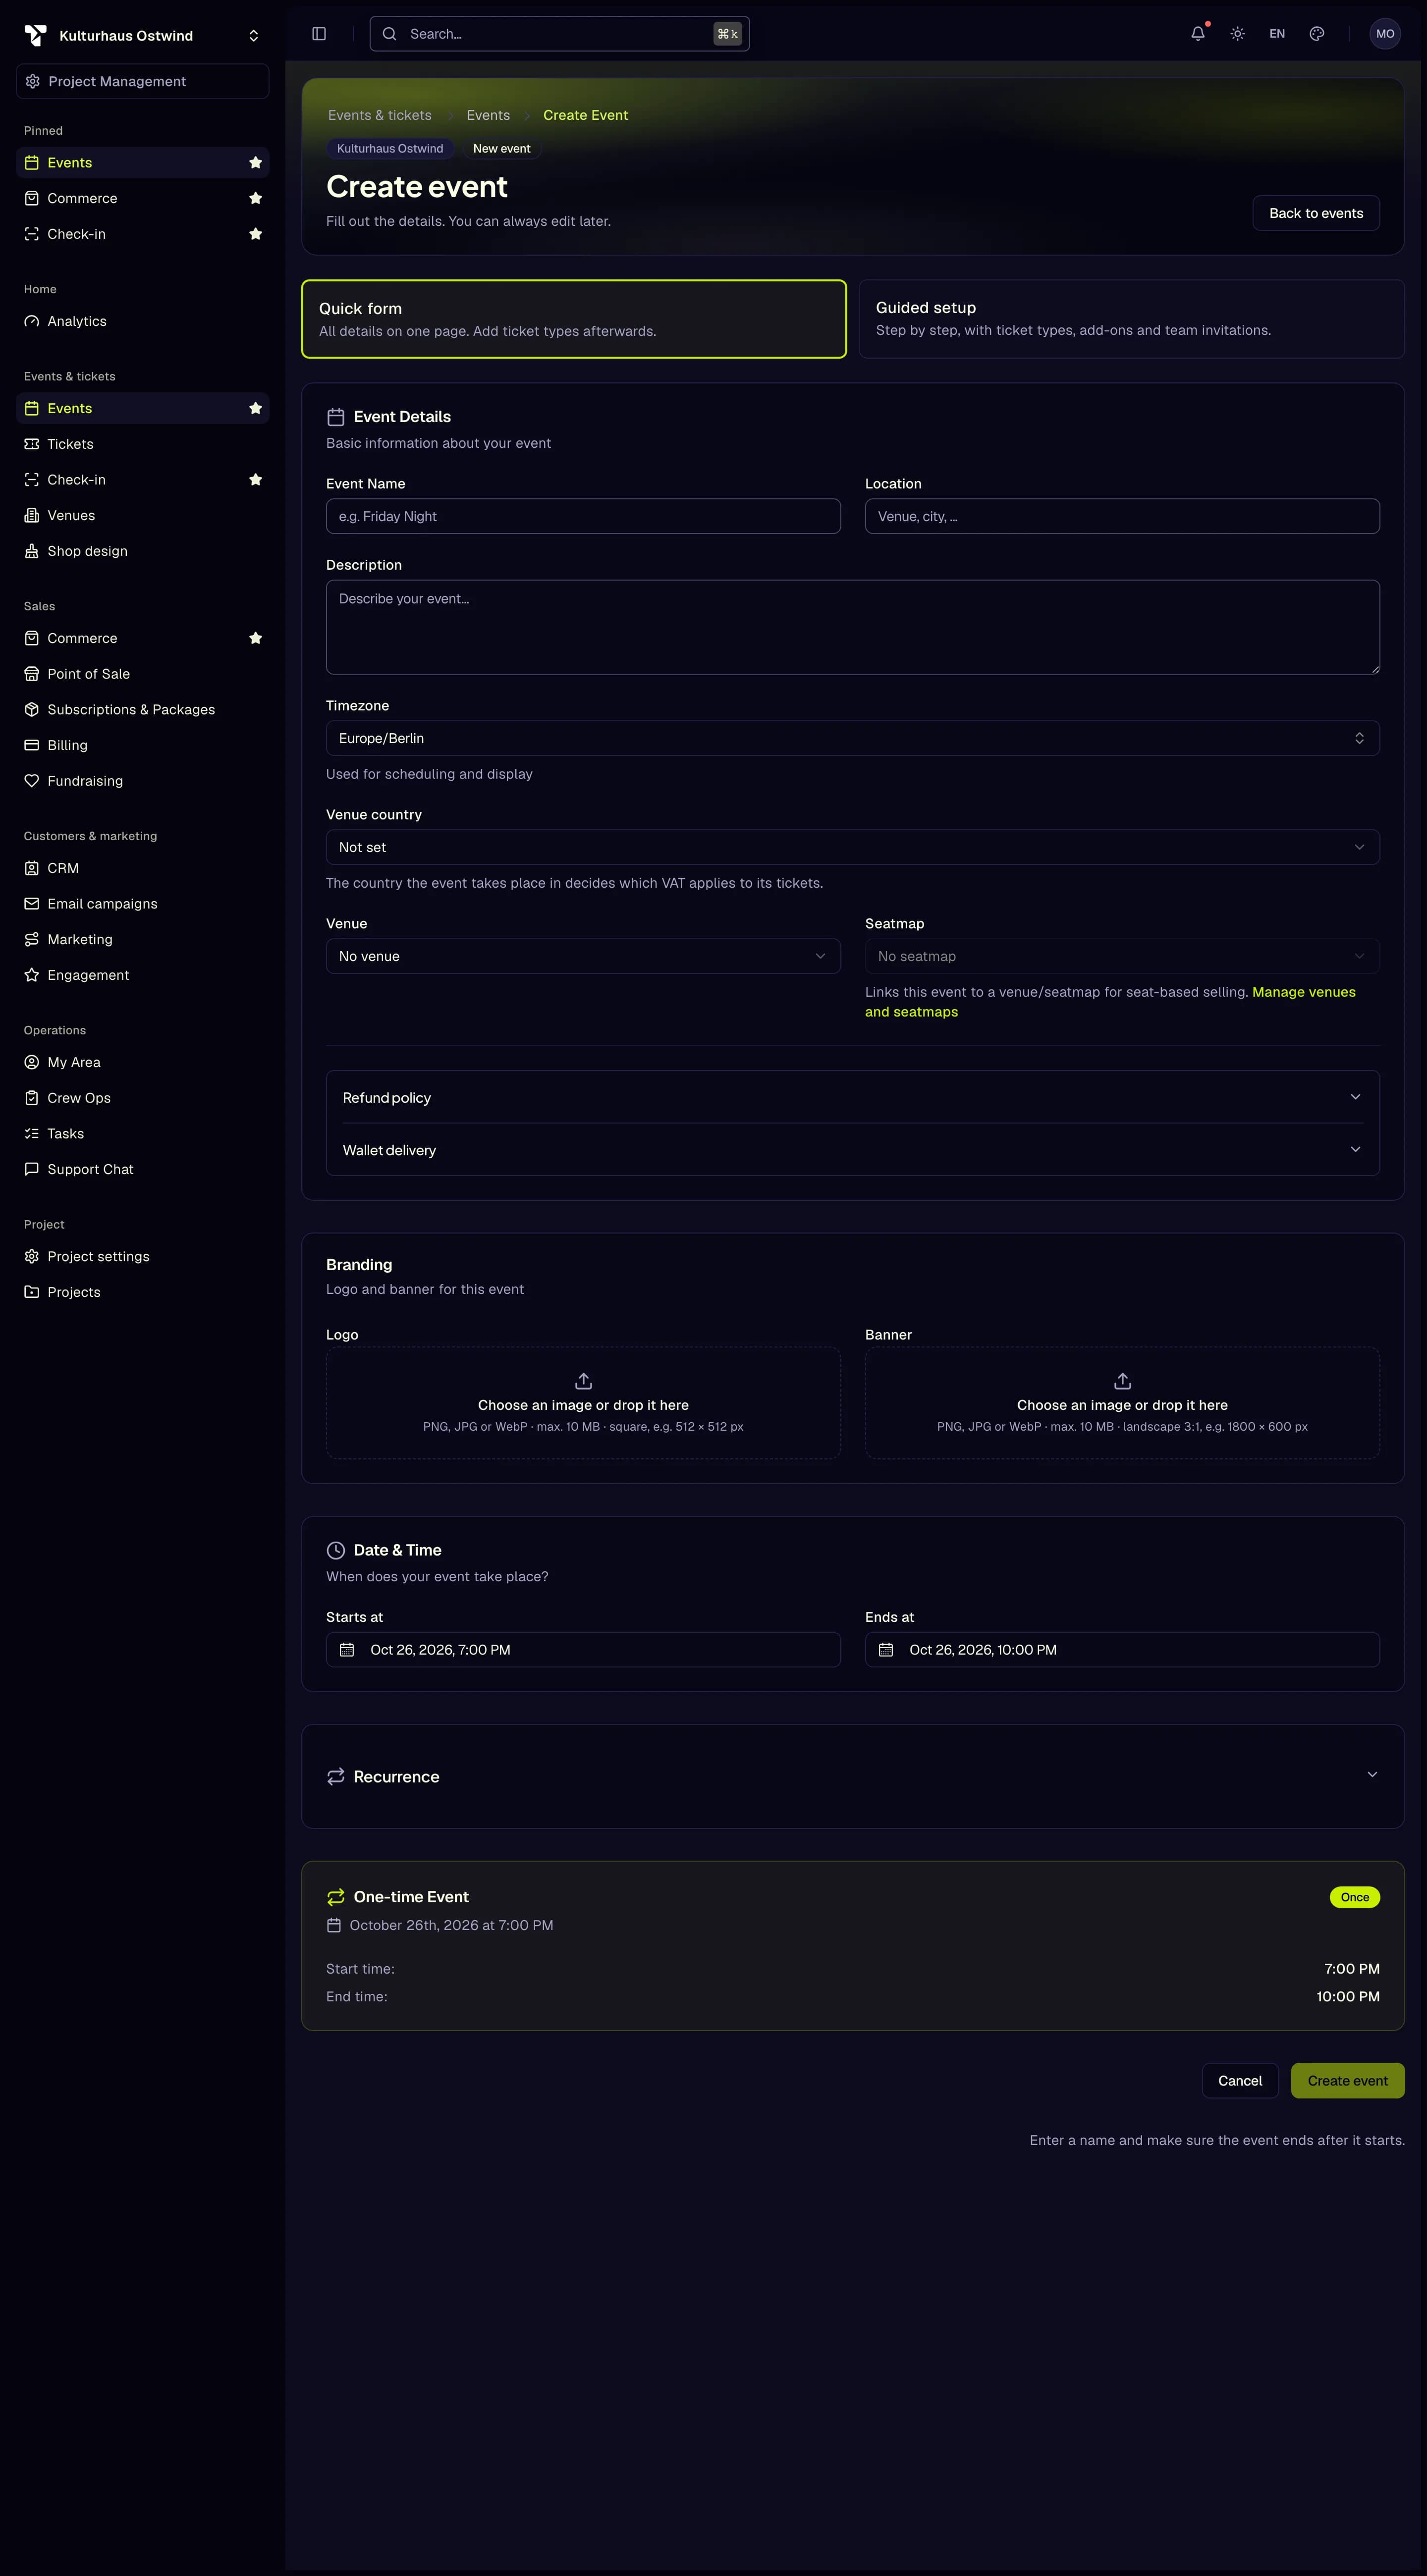
- Event Name (required)
- Starts at and Ends at
- Venue and Seatmap
- Create event
- Check the time zone. The start and end times are shown to buyers and decide when tickets are valid.
- Decide the refund policy before you sell. Buyers can only refund themselves within the rules set here.
Details: Events · Change an event
7. Create ticket types and prices
Where: Events & tickets → Tickets → Configuration → Types, with the event picked in the page header Who can do this: members with Create ticket types
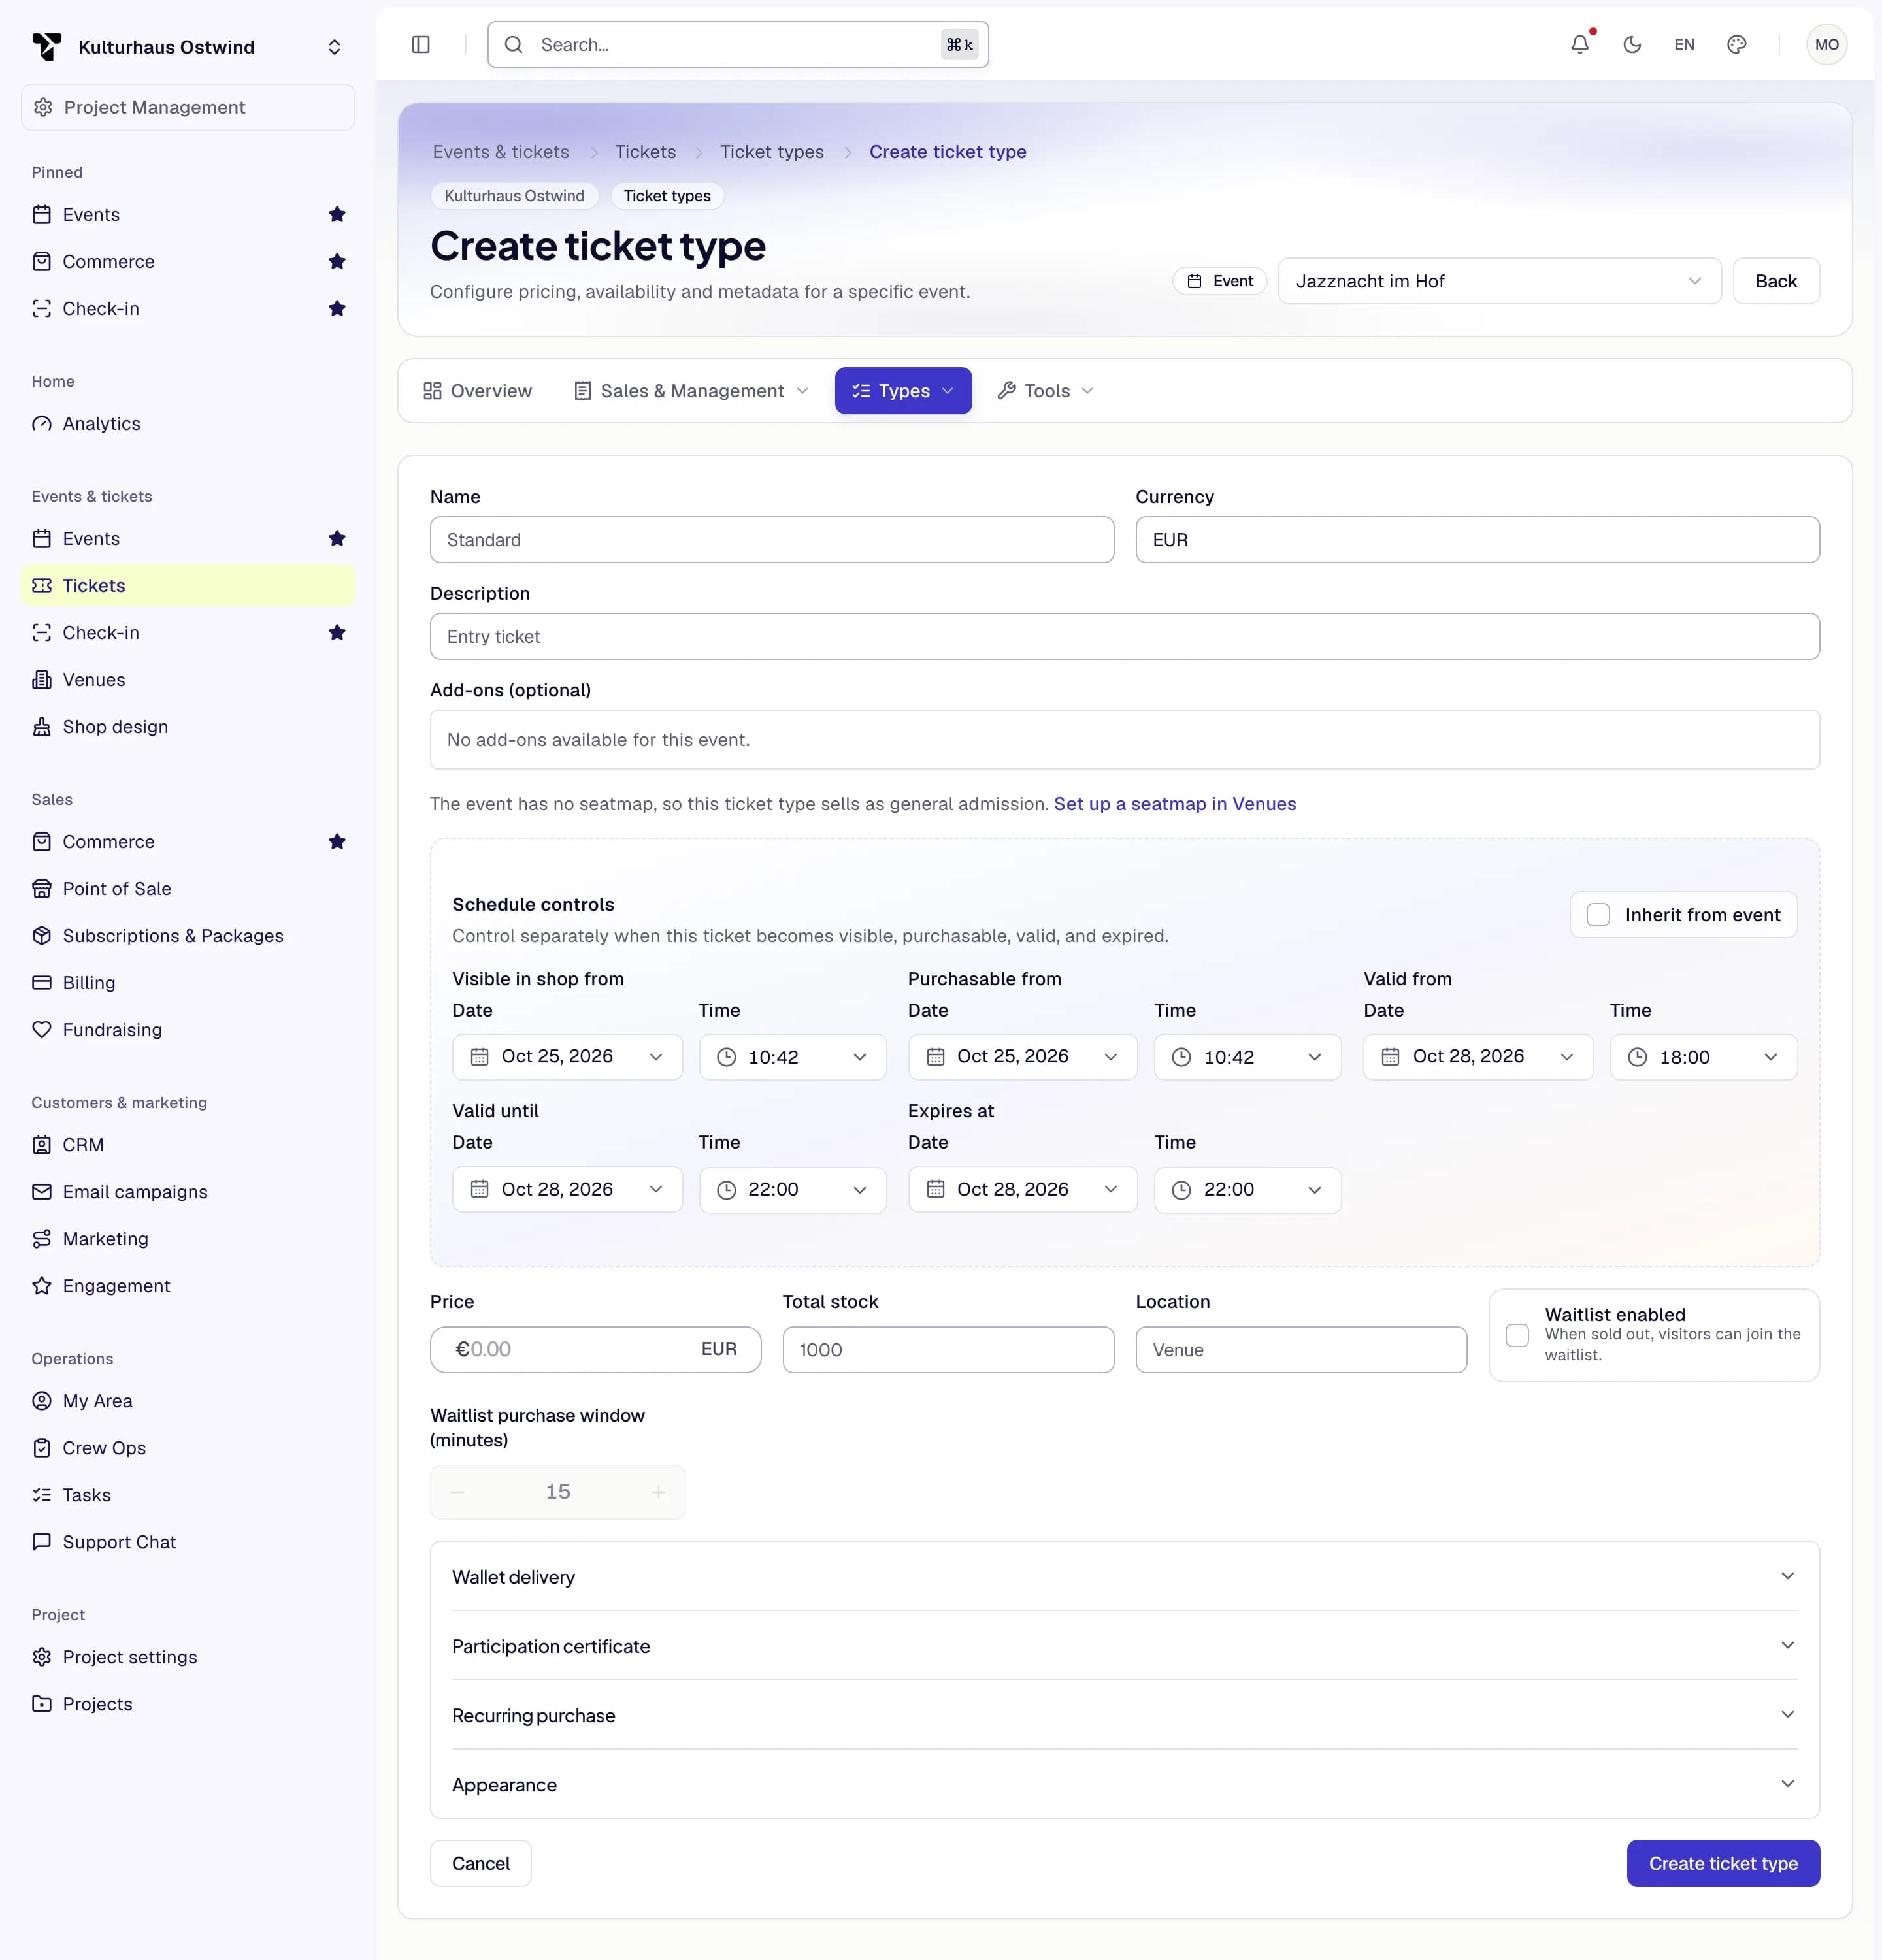
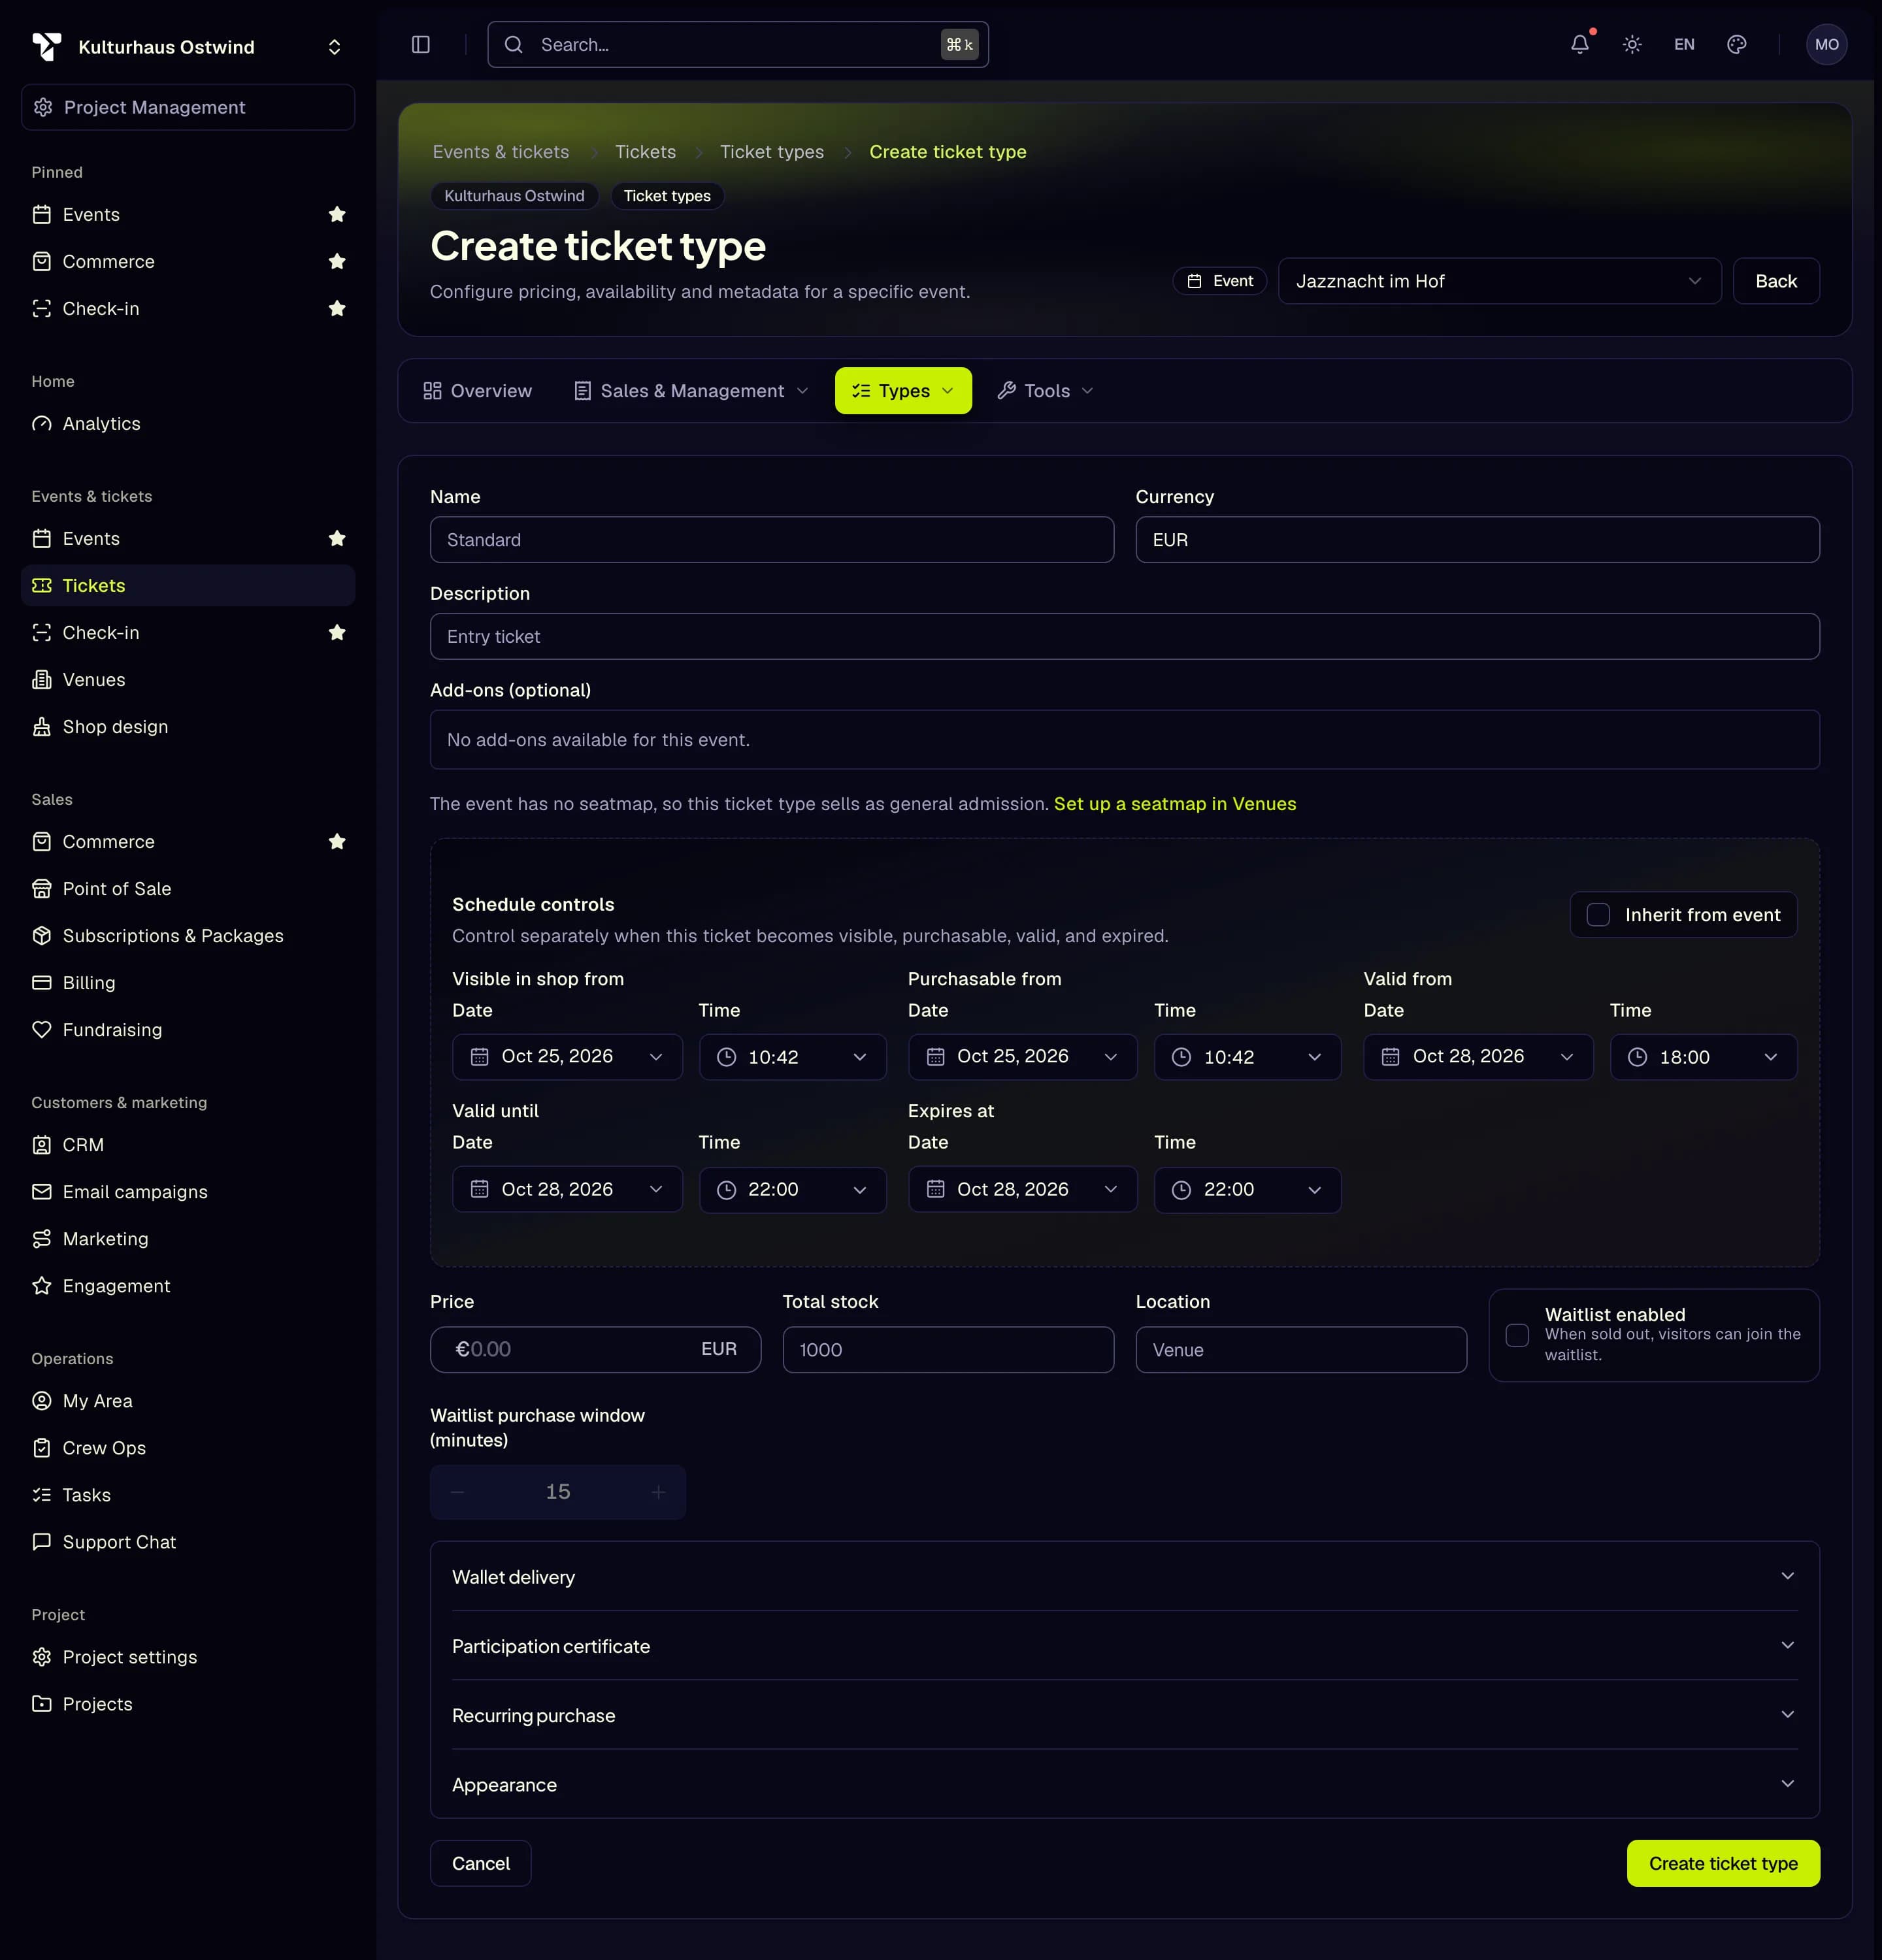
- Pick the event
- Name
- Price
- Total stock
- Create ticket type
- Check every price before you publish. The Price field shows the amount in euros. Compare it with the ticket list and the shop preview.
- Check the sale window. A ticket type whose Valid from and Valid until don't cover the event is refused at the door.
Details: Tickets · Price, stock and sale window
8. Set up the shop and your legal pages
Where: Project settings → Subdomain, and Events & tickets → Shop design (with Shop pages in the top bar) Who can do this: members with Customize shop design (the subdomain also with Manage project)
imprint or terms, and turn on Serve page in the shop.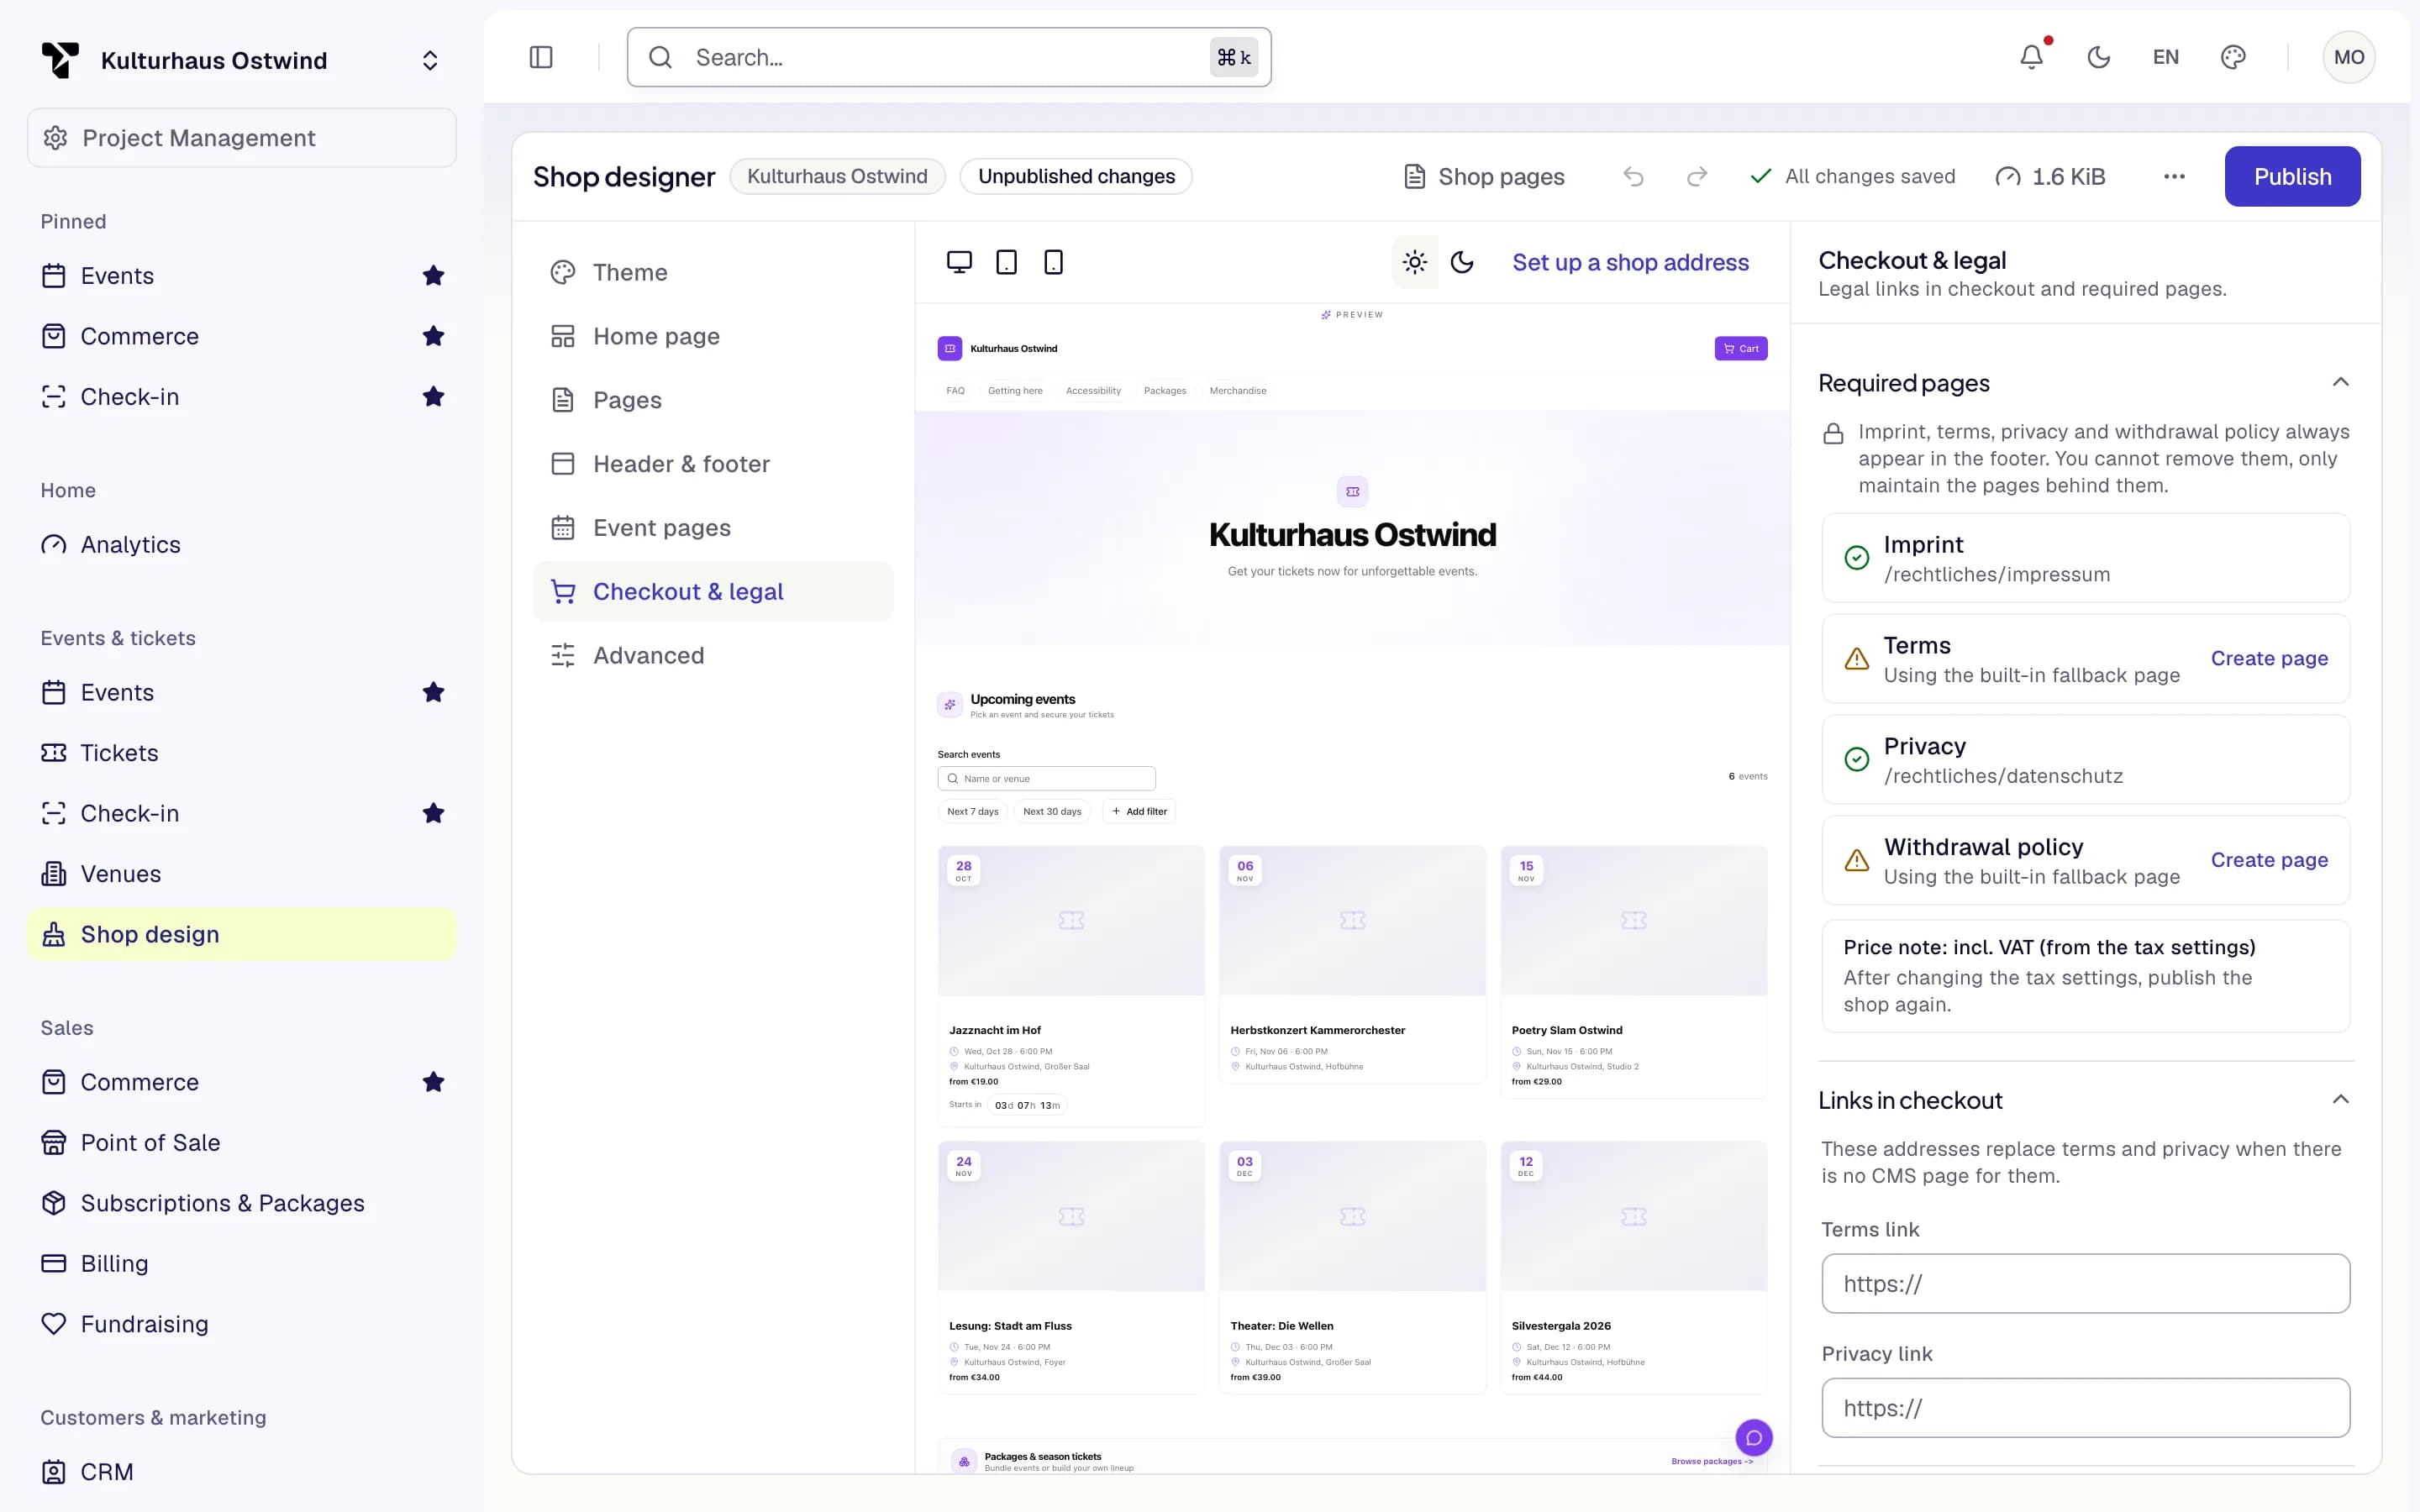
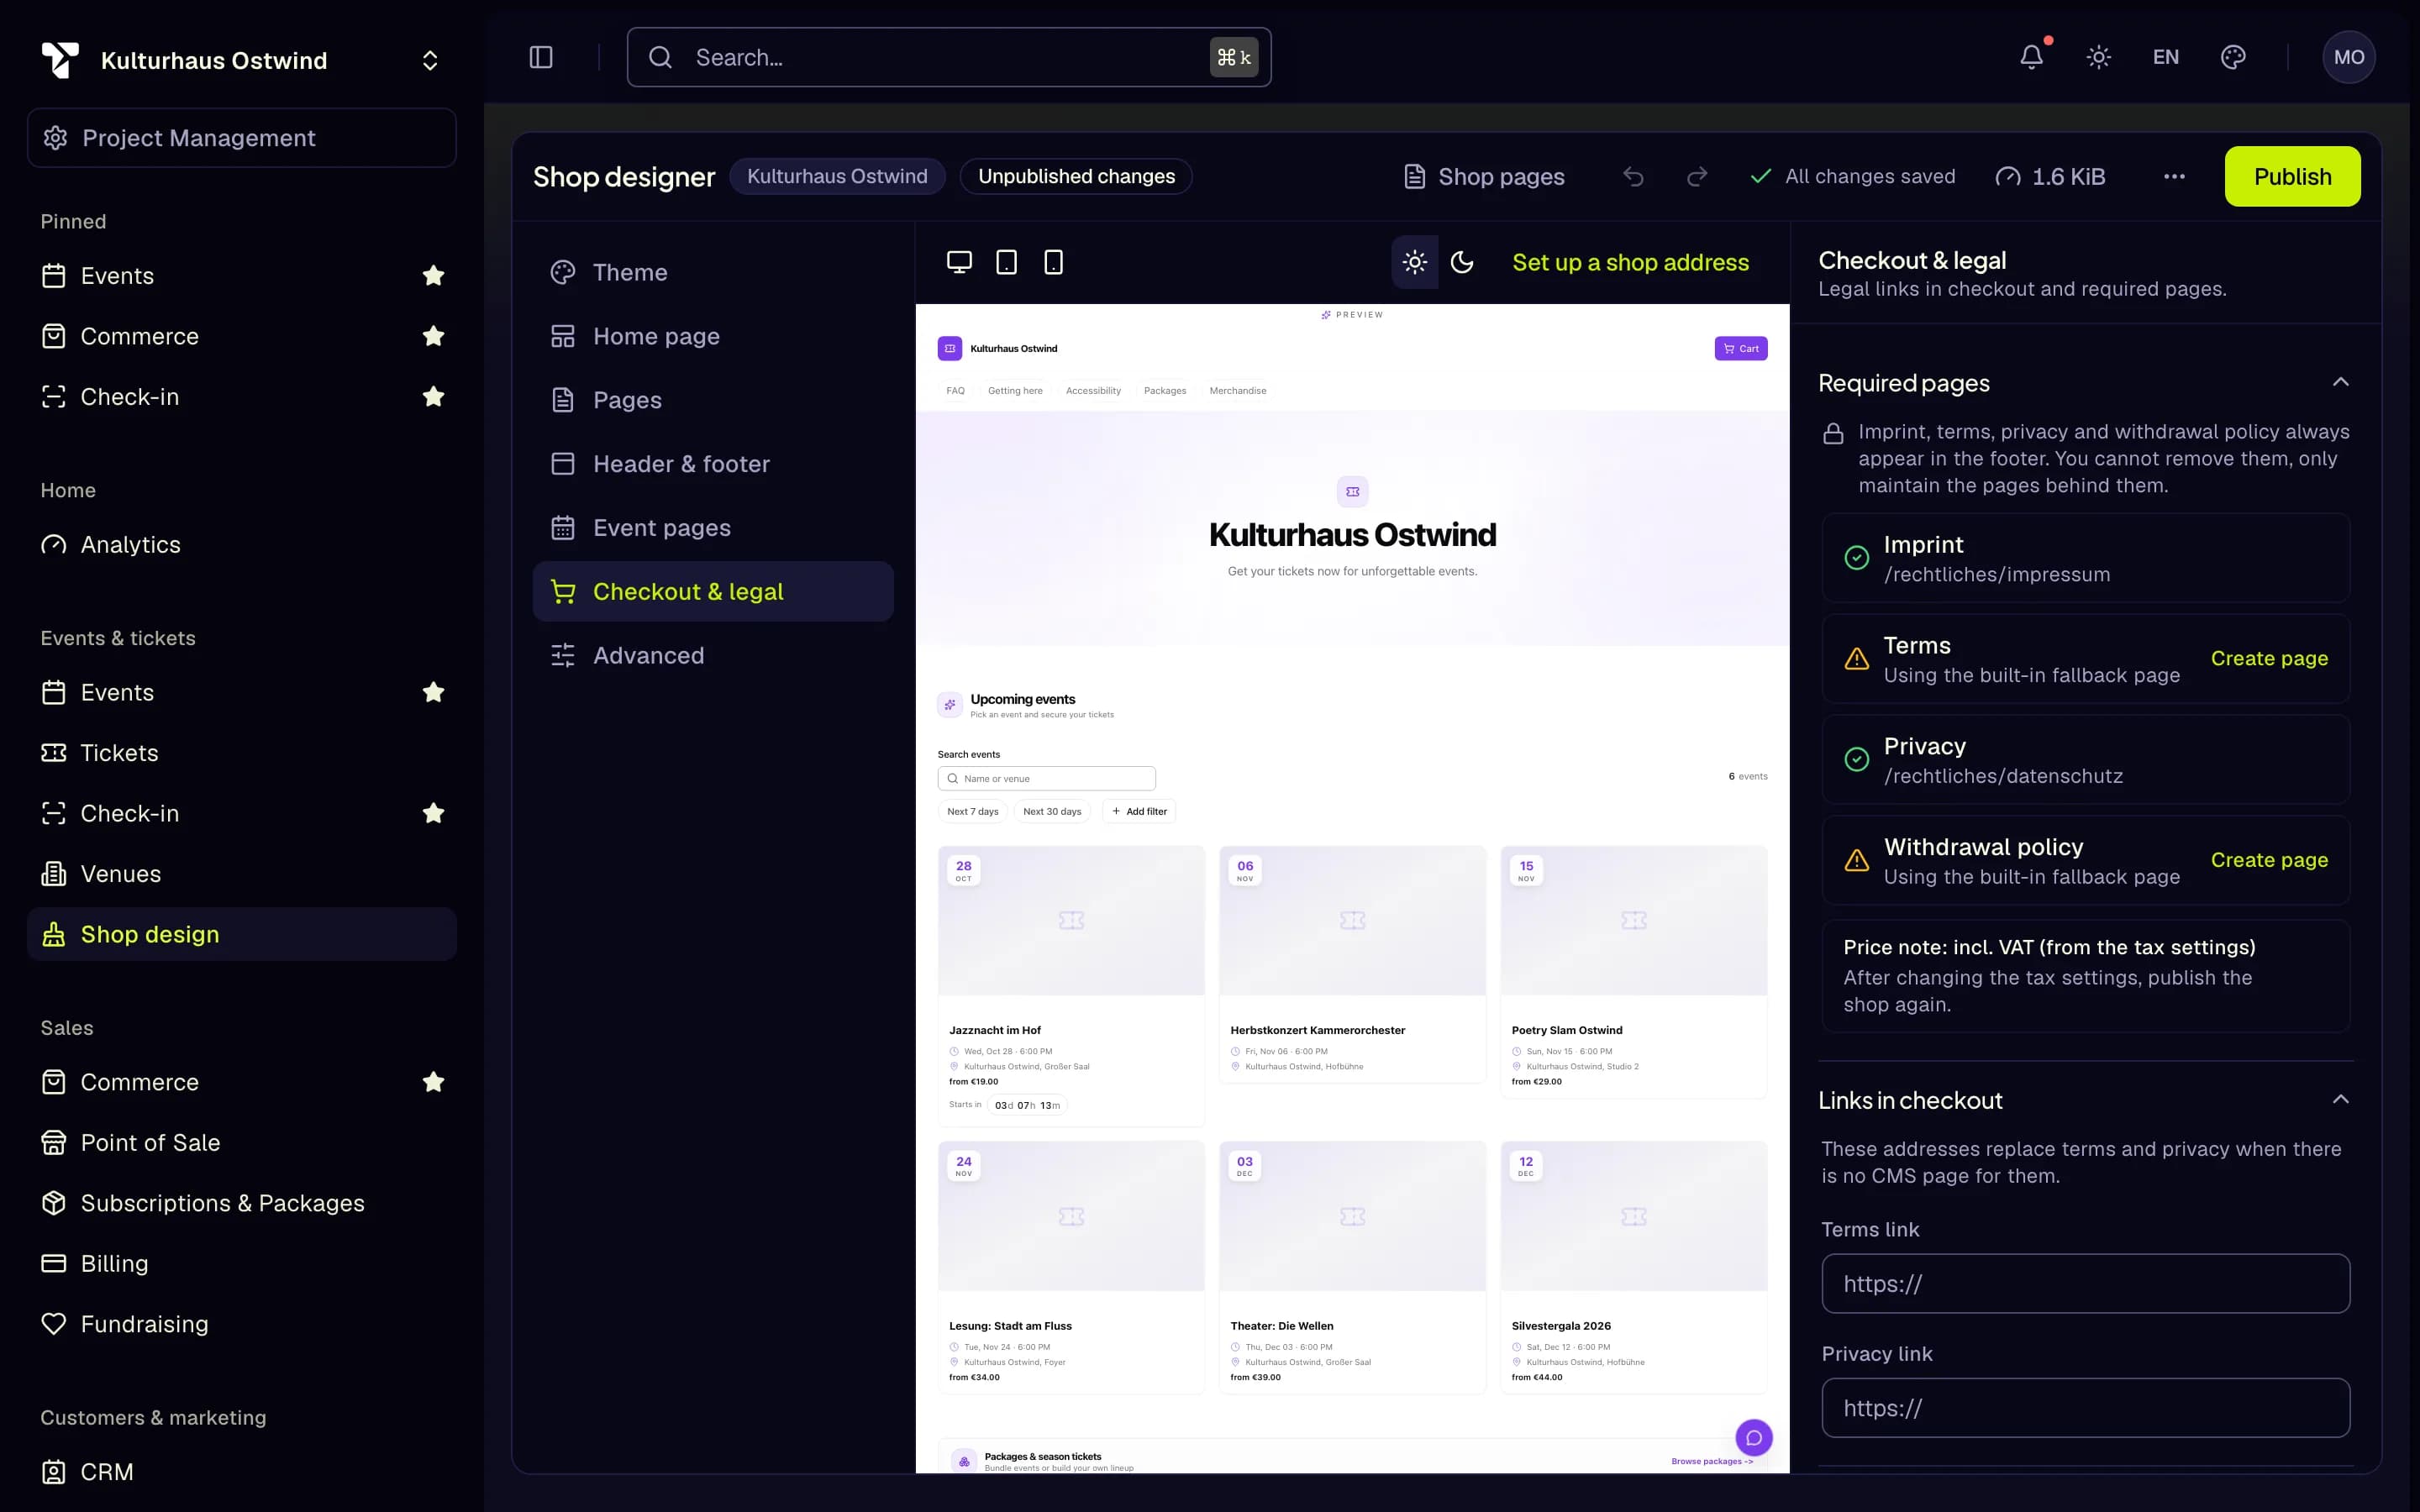
- Checkout & legal
- Required pages
- Page found: green tick
- Built-in fallback page
- Create page
- The subdomain is locked for 7 days after each change. Pick it carefully before you share links.
- TixFin does not write your legal texts. Their content is your responsibility; have them prepared or reviewed by an adviser.
- Saving is not publishing. The top bar shows Unpublished changes until you click Publish.
Details: Shop Designer · Shop legal pages
9. Publish and make a test purchase
Where: Events & tickets → Events → open the event → Publish Who can do this: members with Manage or edit events
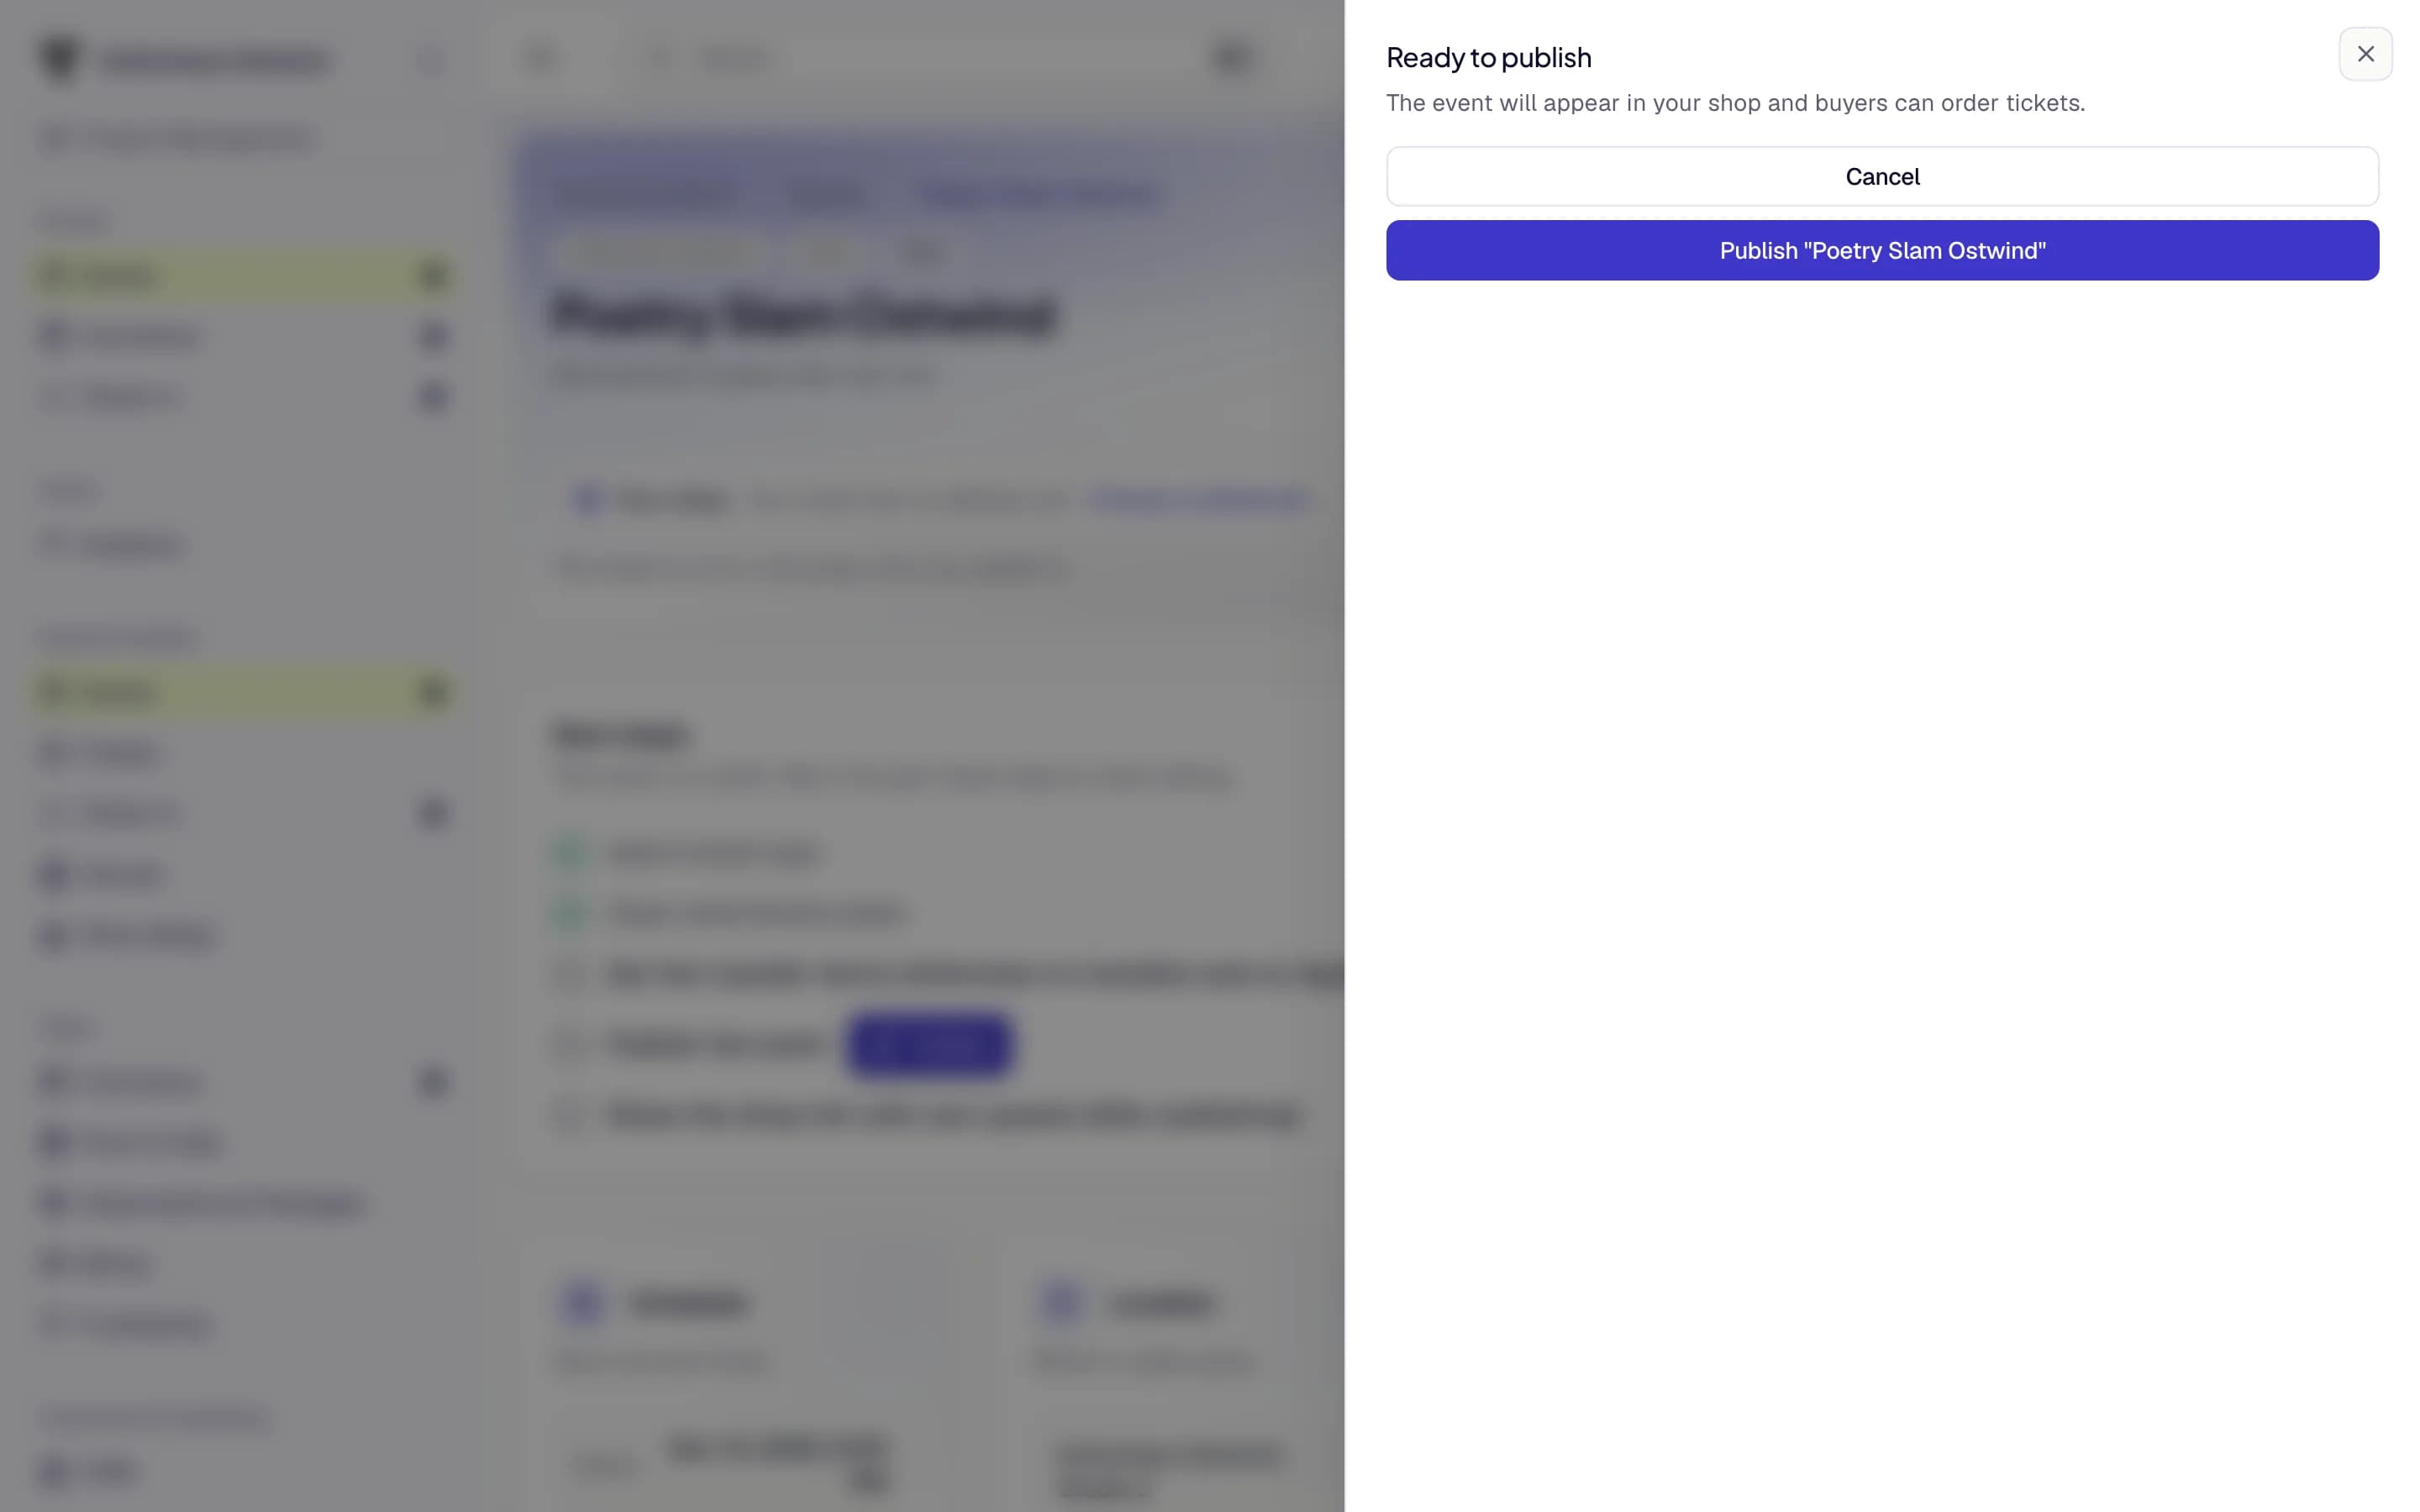
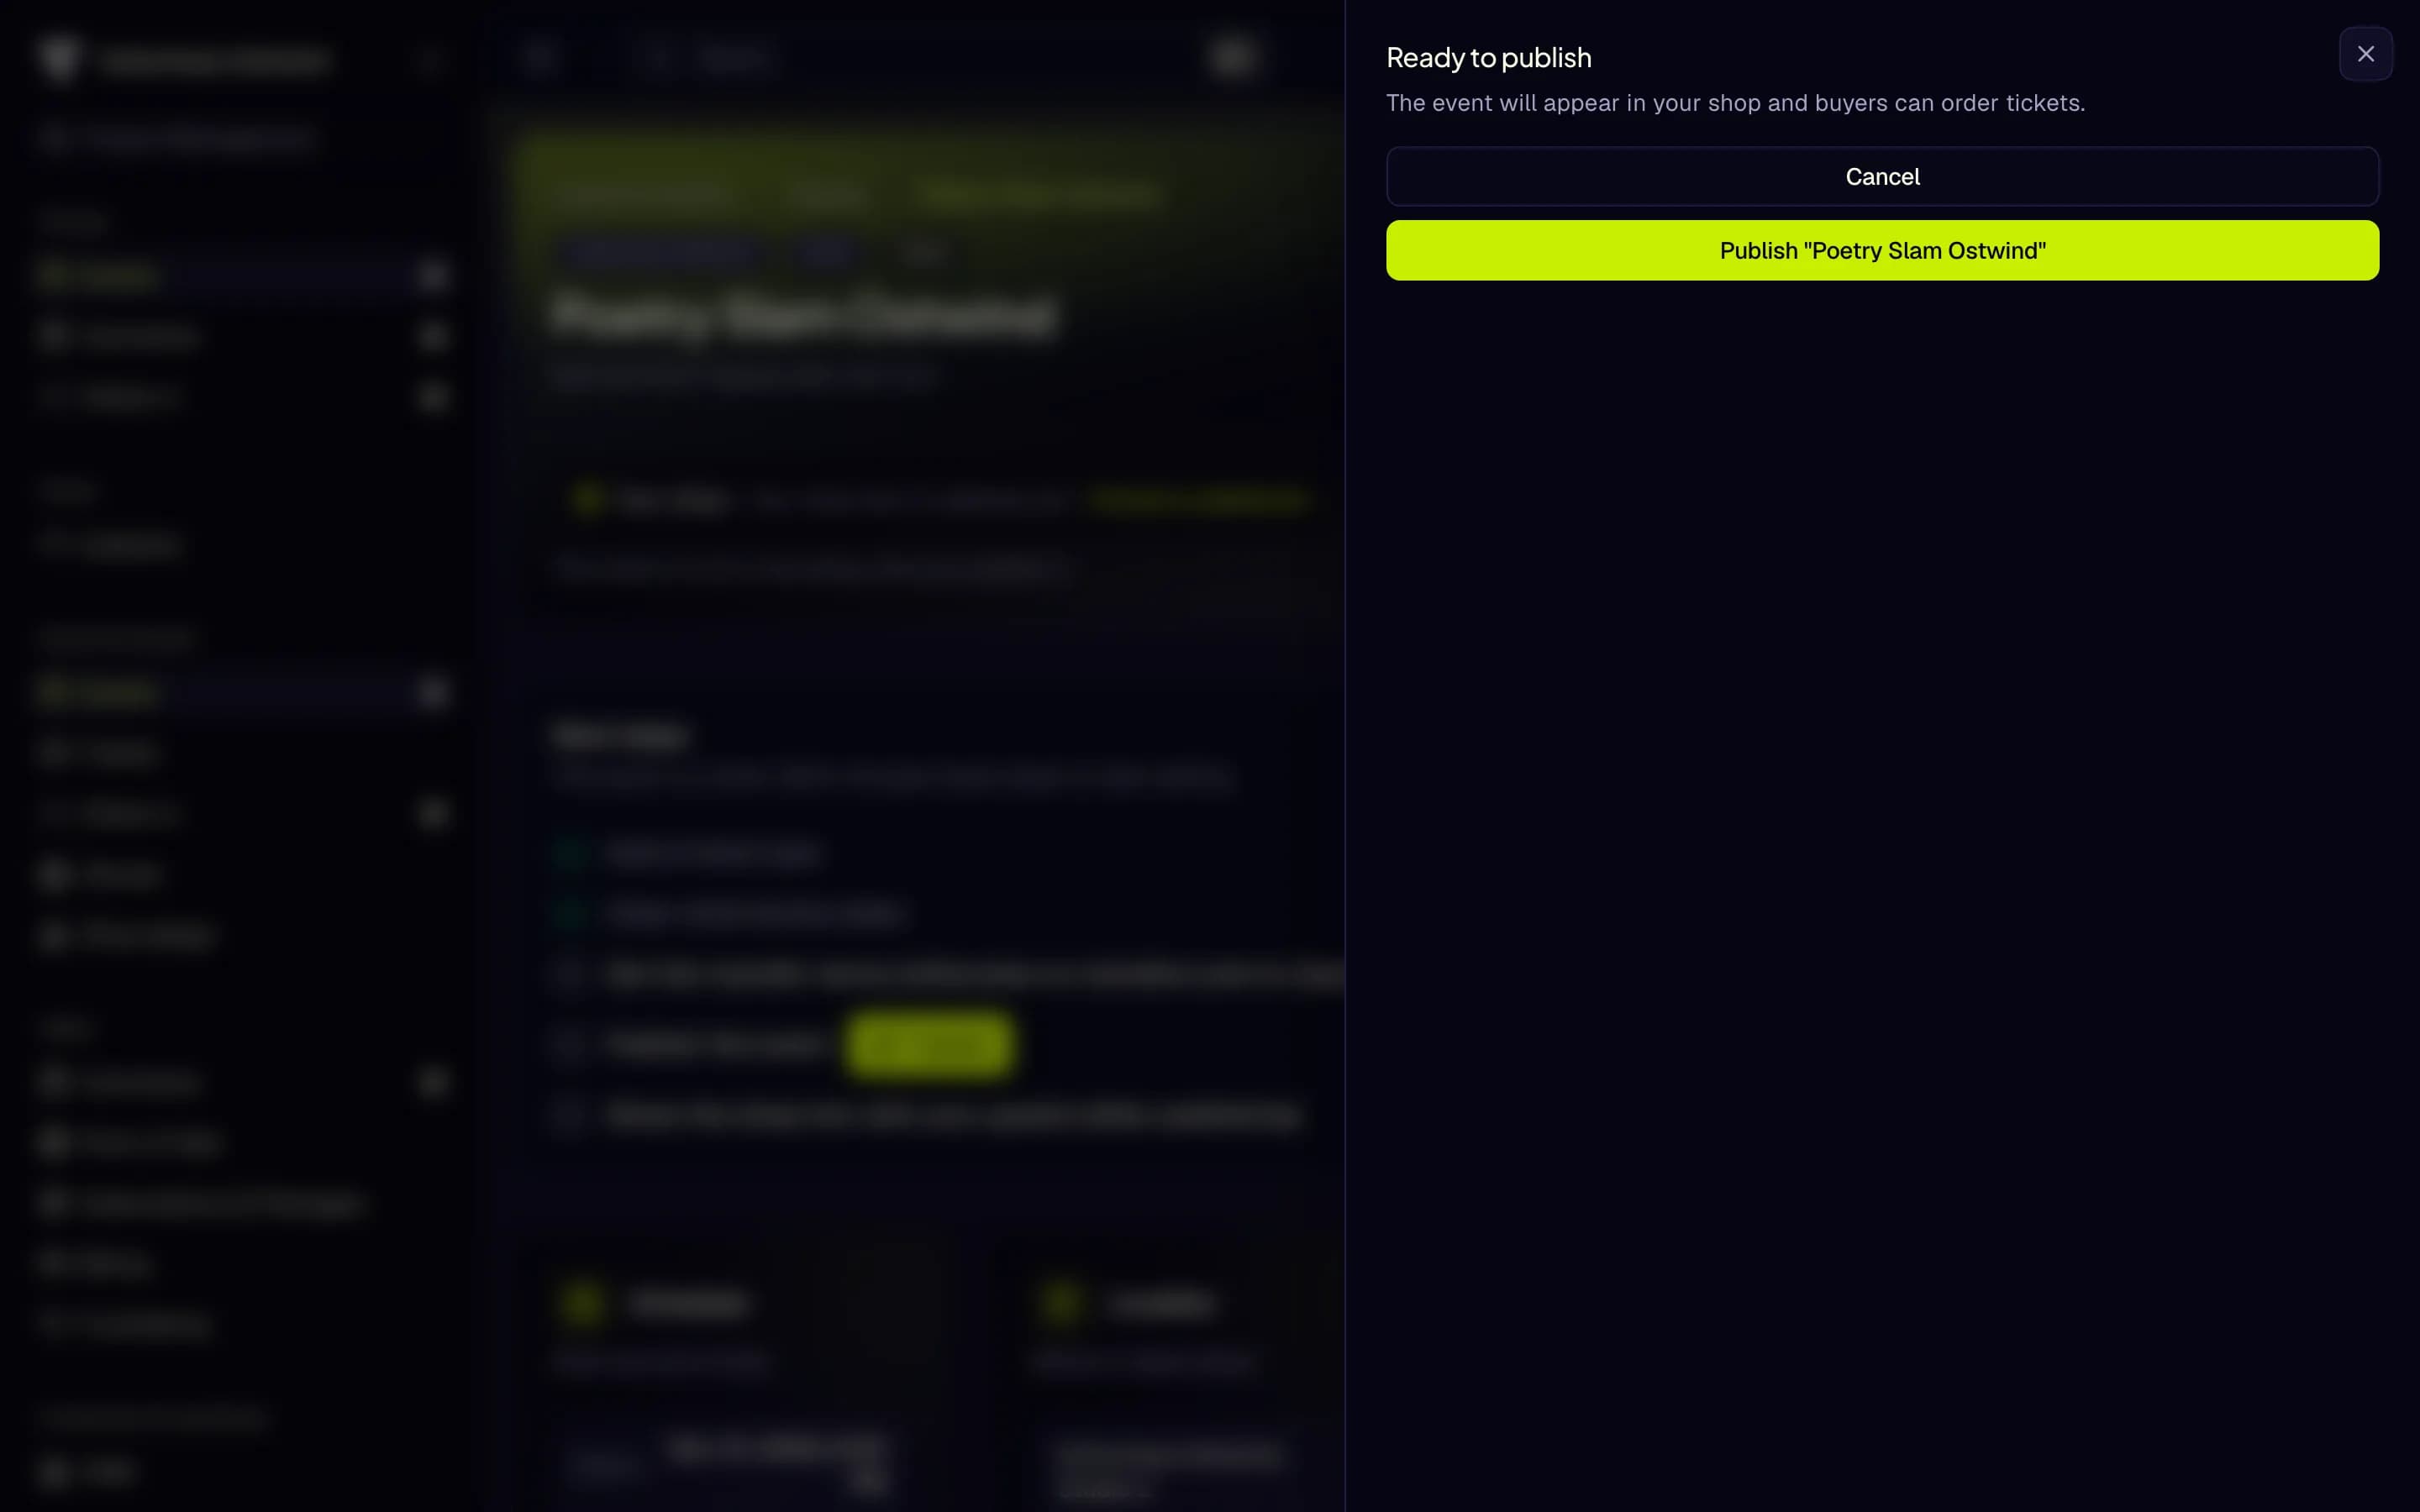
- Publish checks passed
- Publish the event
- Only published events appear in the shop. A draft is invisible to buyers.
- Mixed free and paid tickets without a provider can be published, but the shop shows the paid tickets as "Currently unavailable".
- Refund your test order afterwards (step 12), so it does not count as a sale.
Details: Publish an event
10. Invite your team with the right roles
Where: Project settings → Members → Invite members (opens Invitations) Who can do this: members with Manage project members (Project Owner, Project Admin)
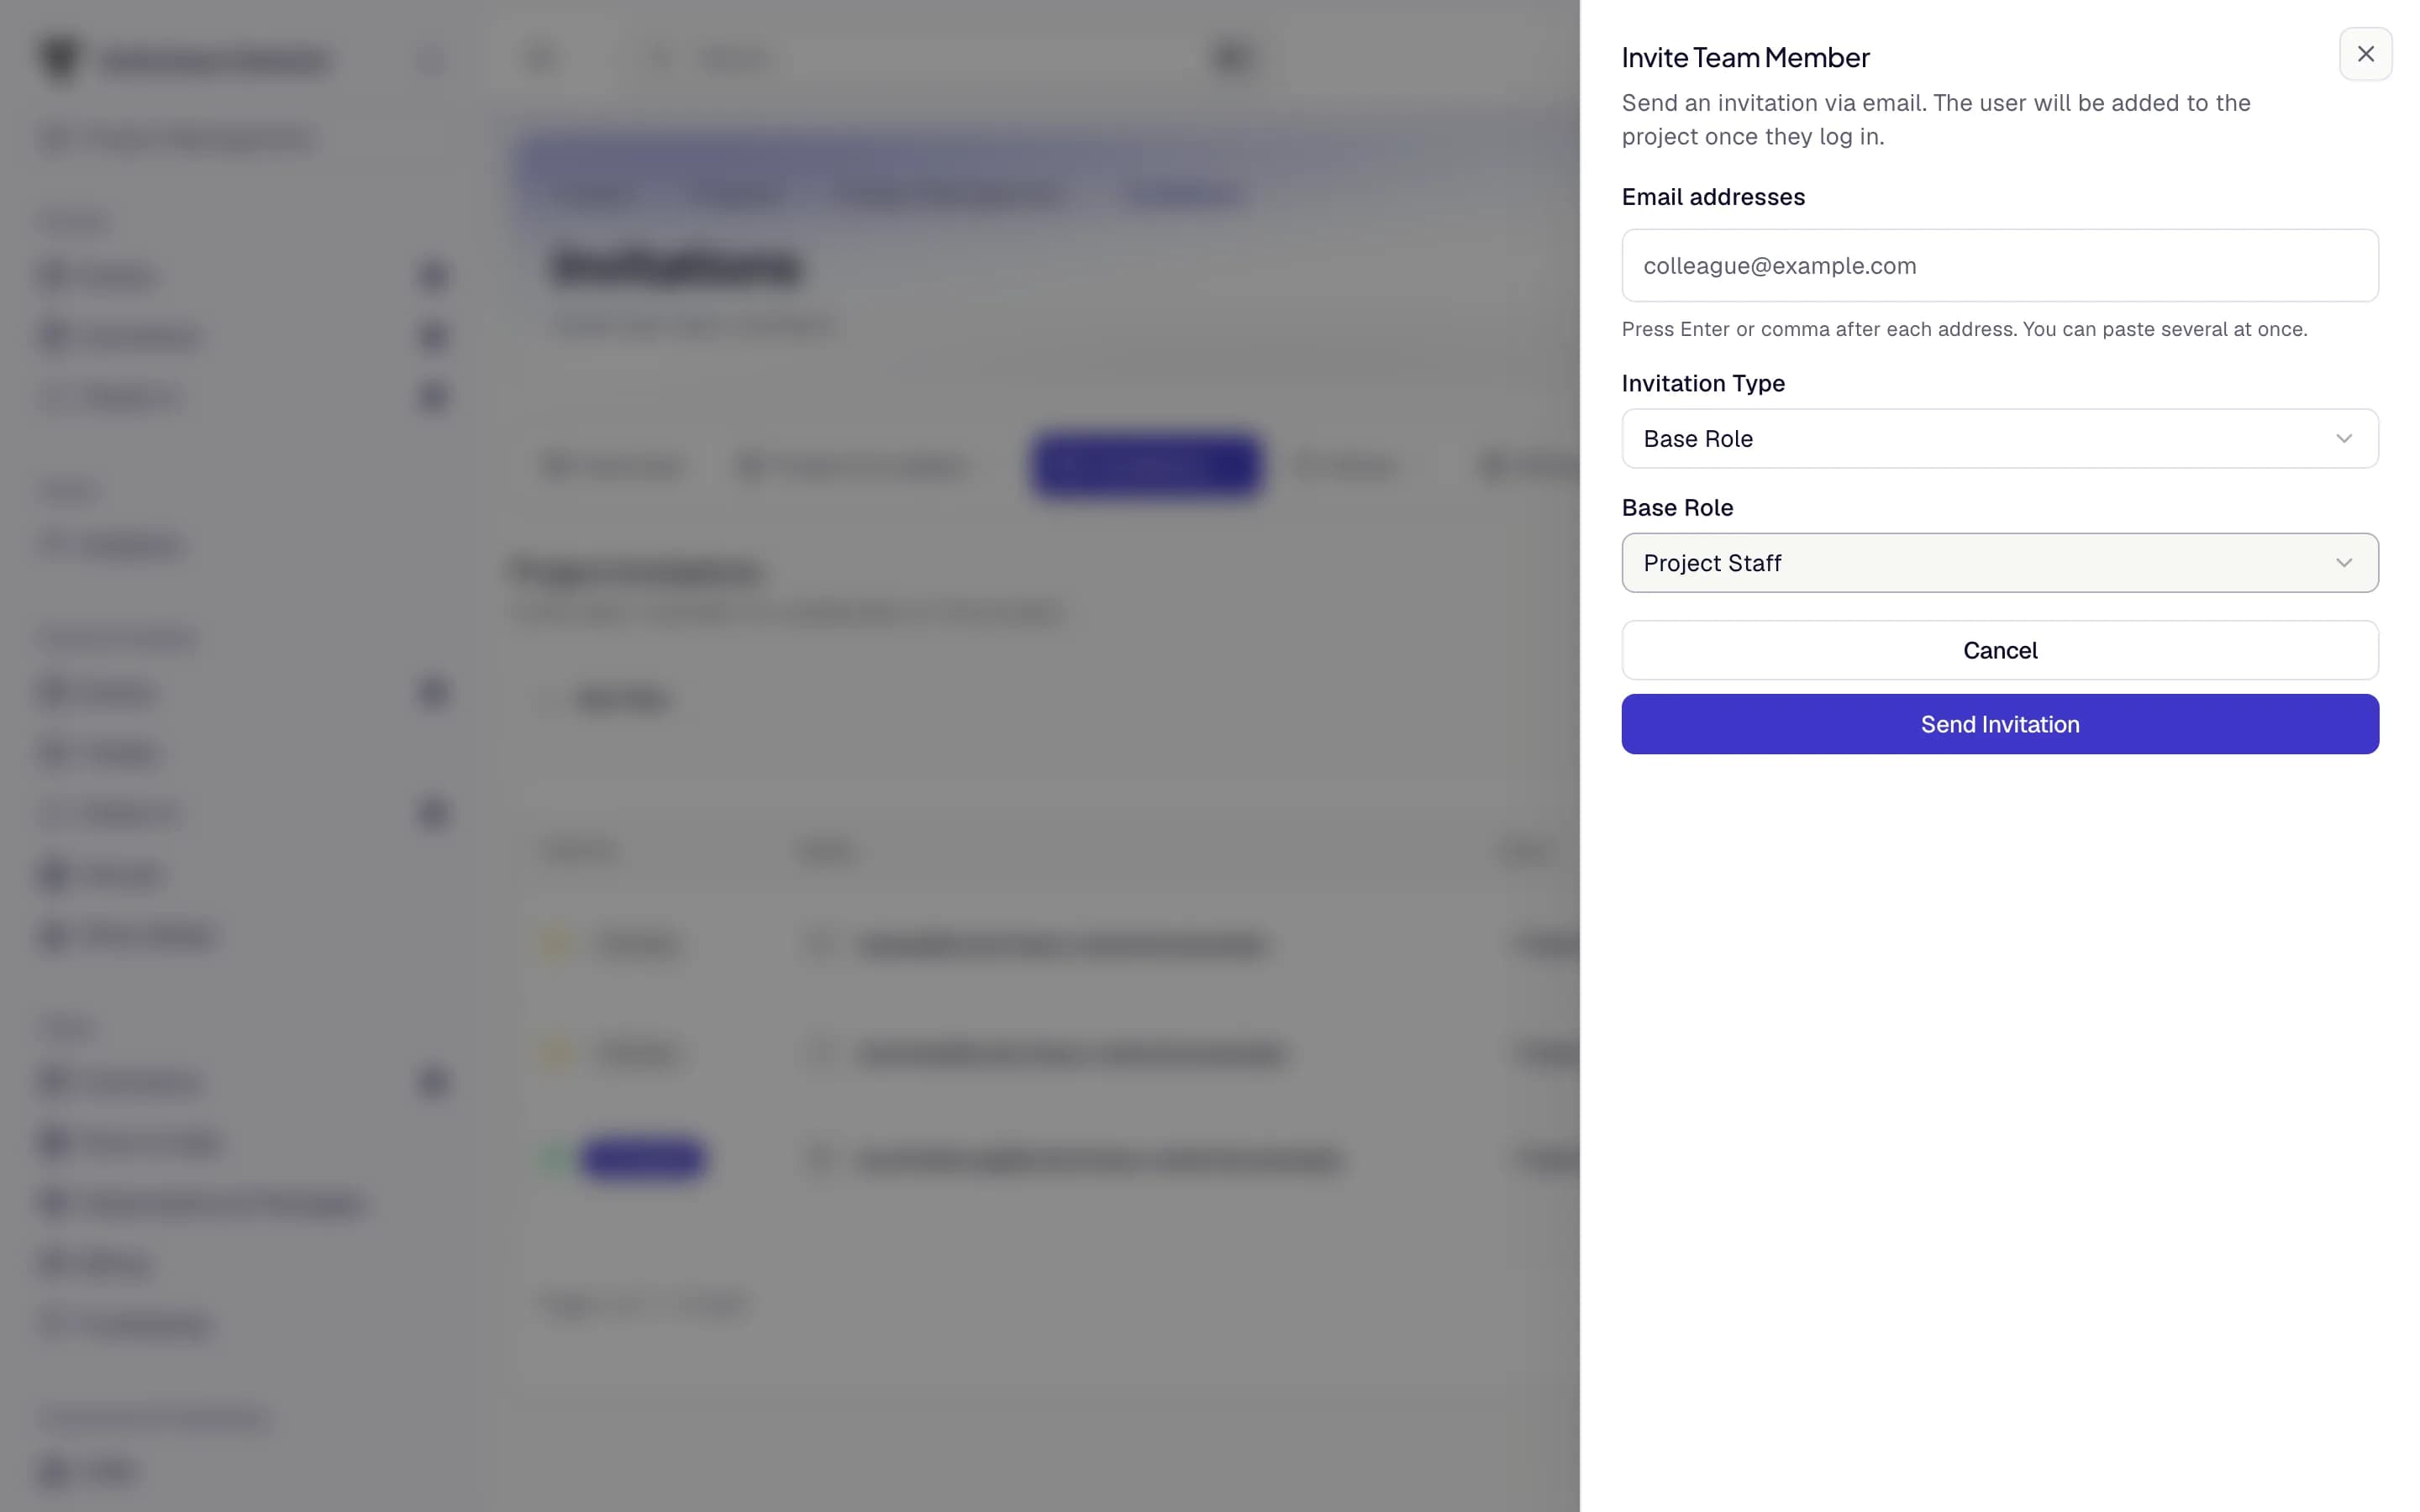
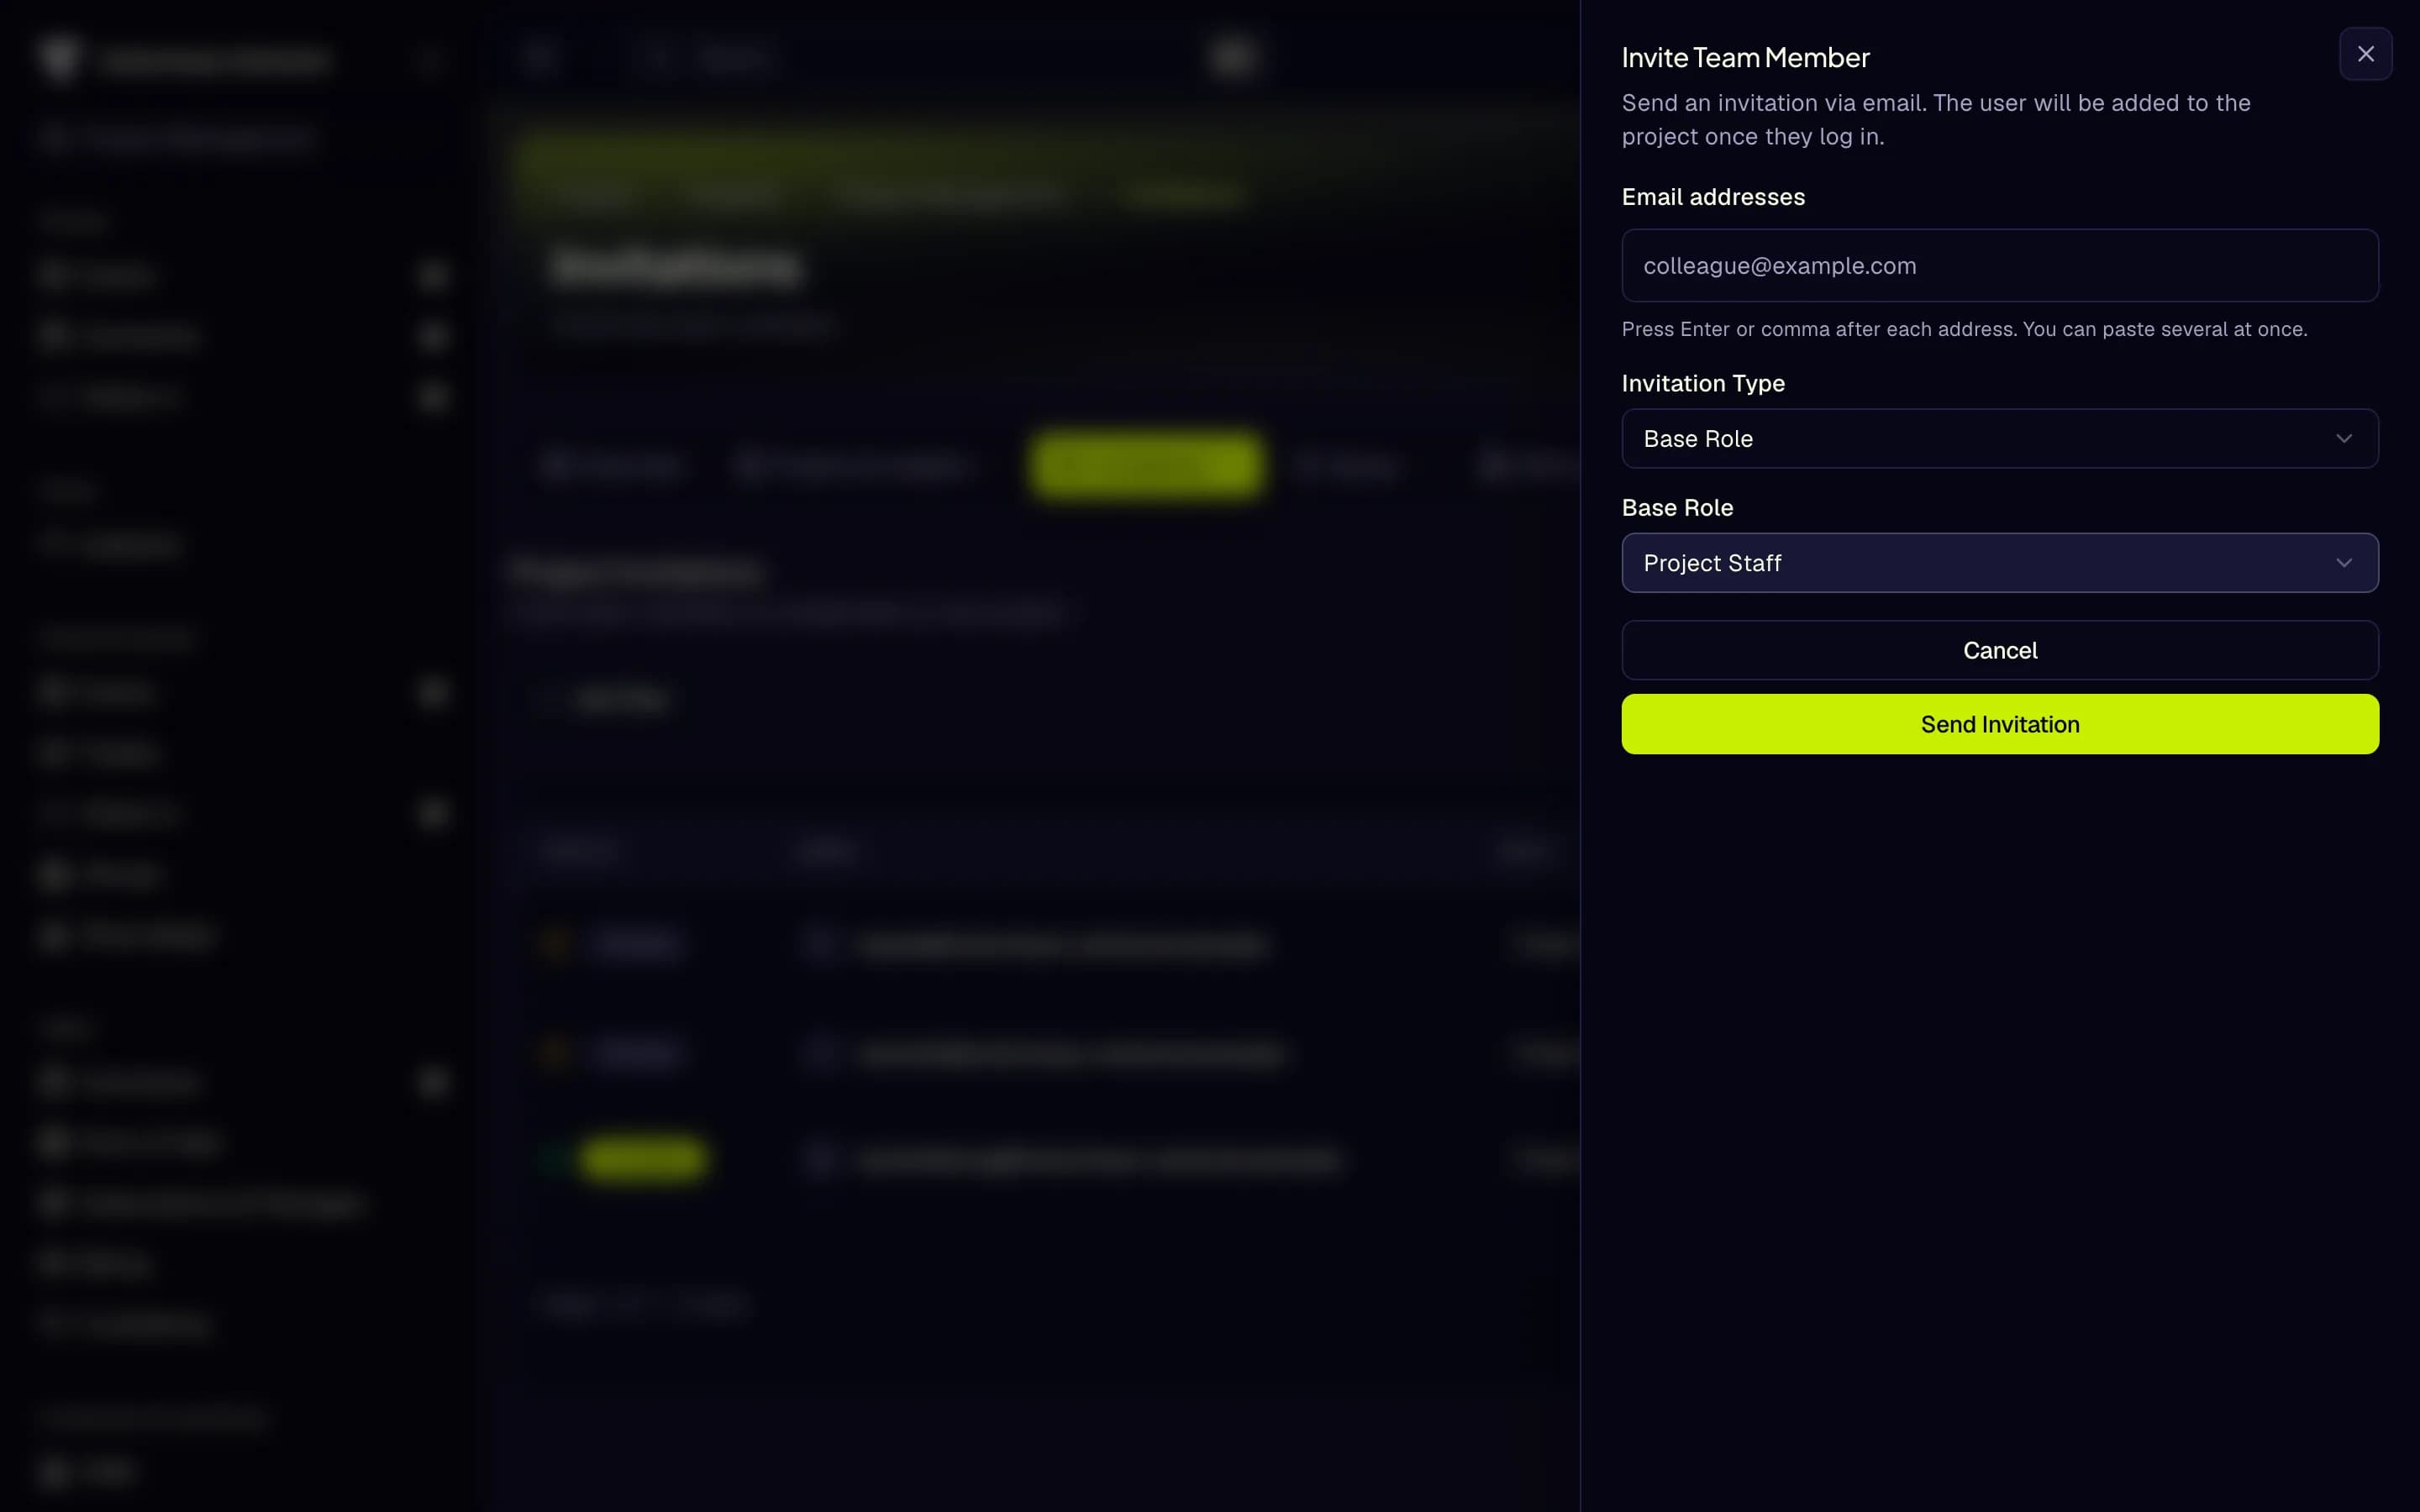
- Email addresses
- Invitation Type
- Base Role
- Send Invitation
| Person | Give them |
|---|---|
| Co-organiser who may change everything | Project Admin |
| Event manager without access to members, plan, billing and tax | the Manager template |
| Bookkeeper, tax adviser | Project Accountant |
| Crew lead who plans shifts and checks crew in | the Crew Manager template |
| Crew member who works shifts and scans | Project Staff |
| Door staff who only scan | the Scanner template |
| Helper at the door without an account | a temporary scanner in the app (Scanner devices) |
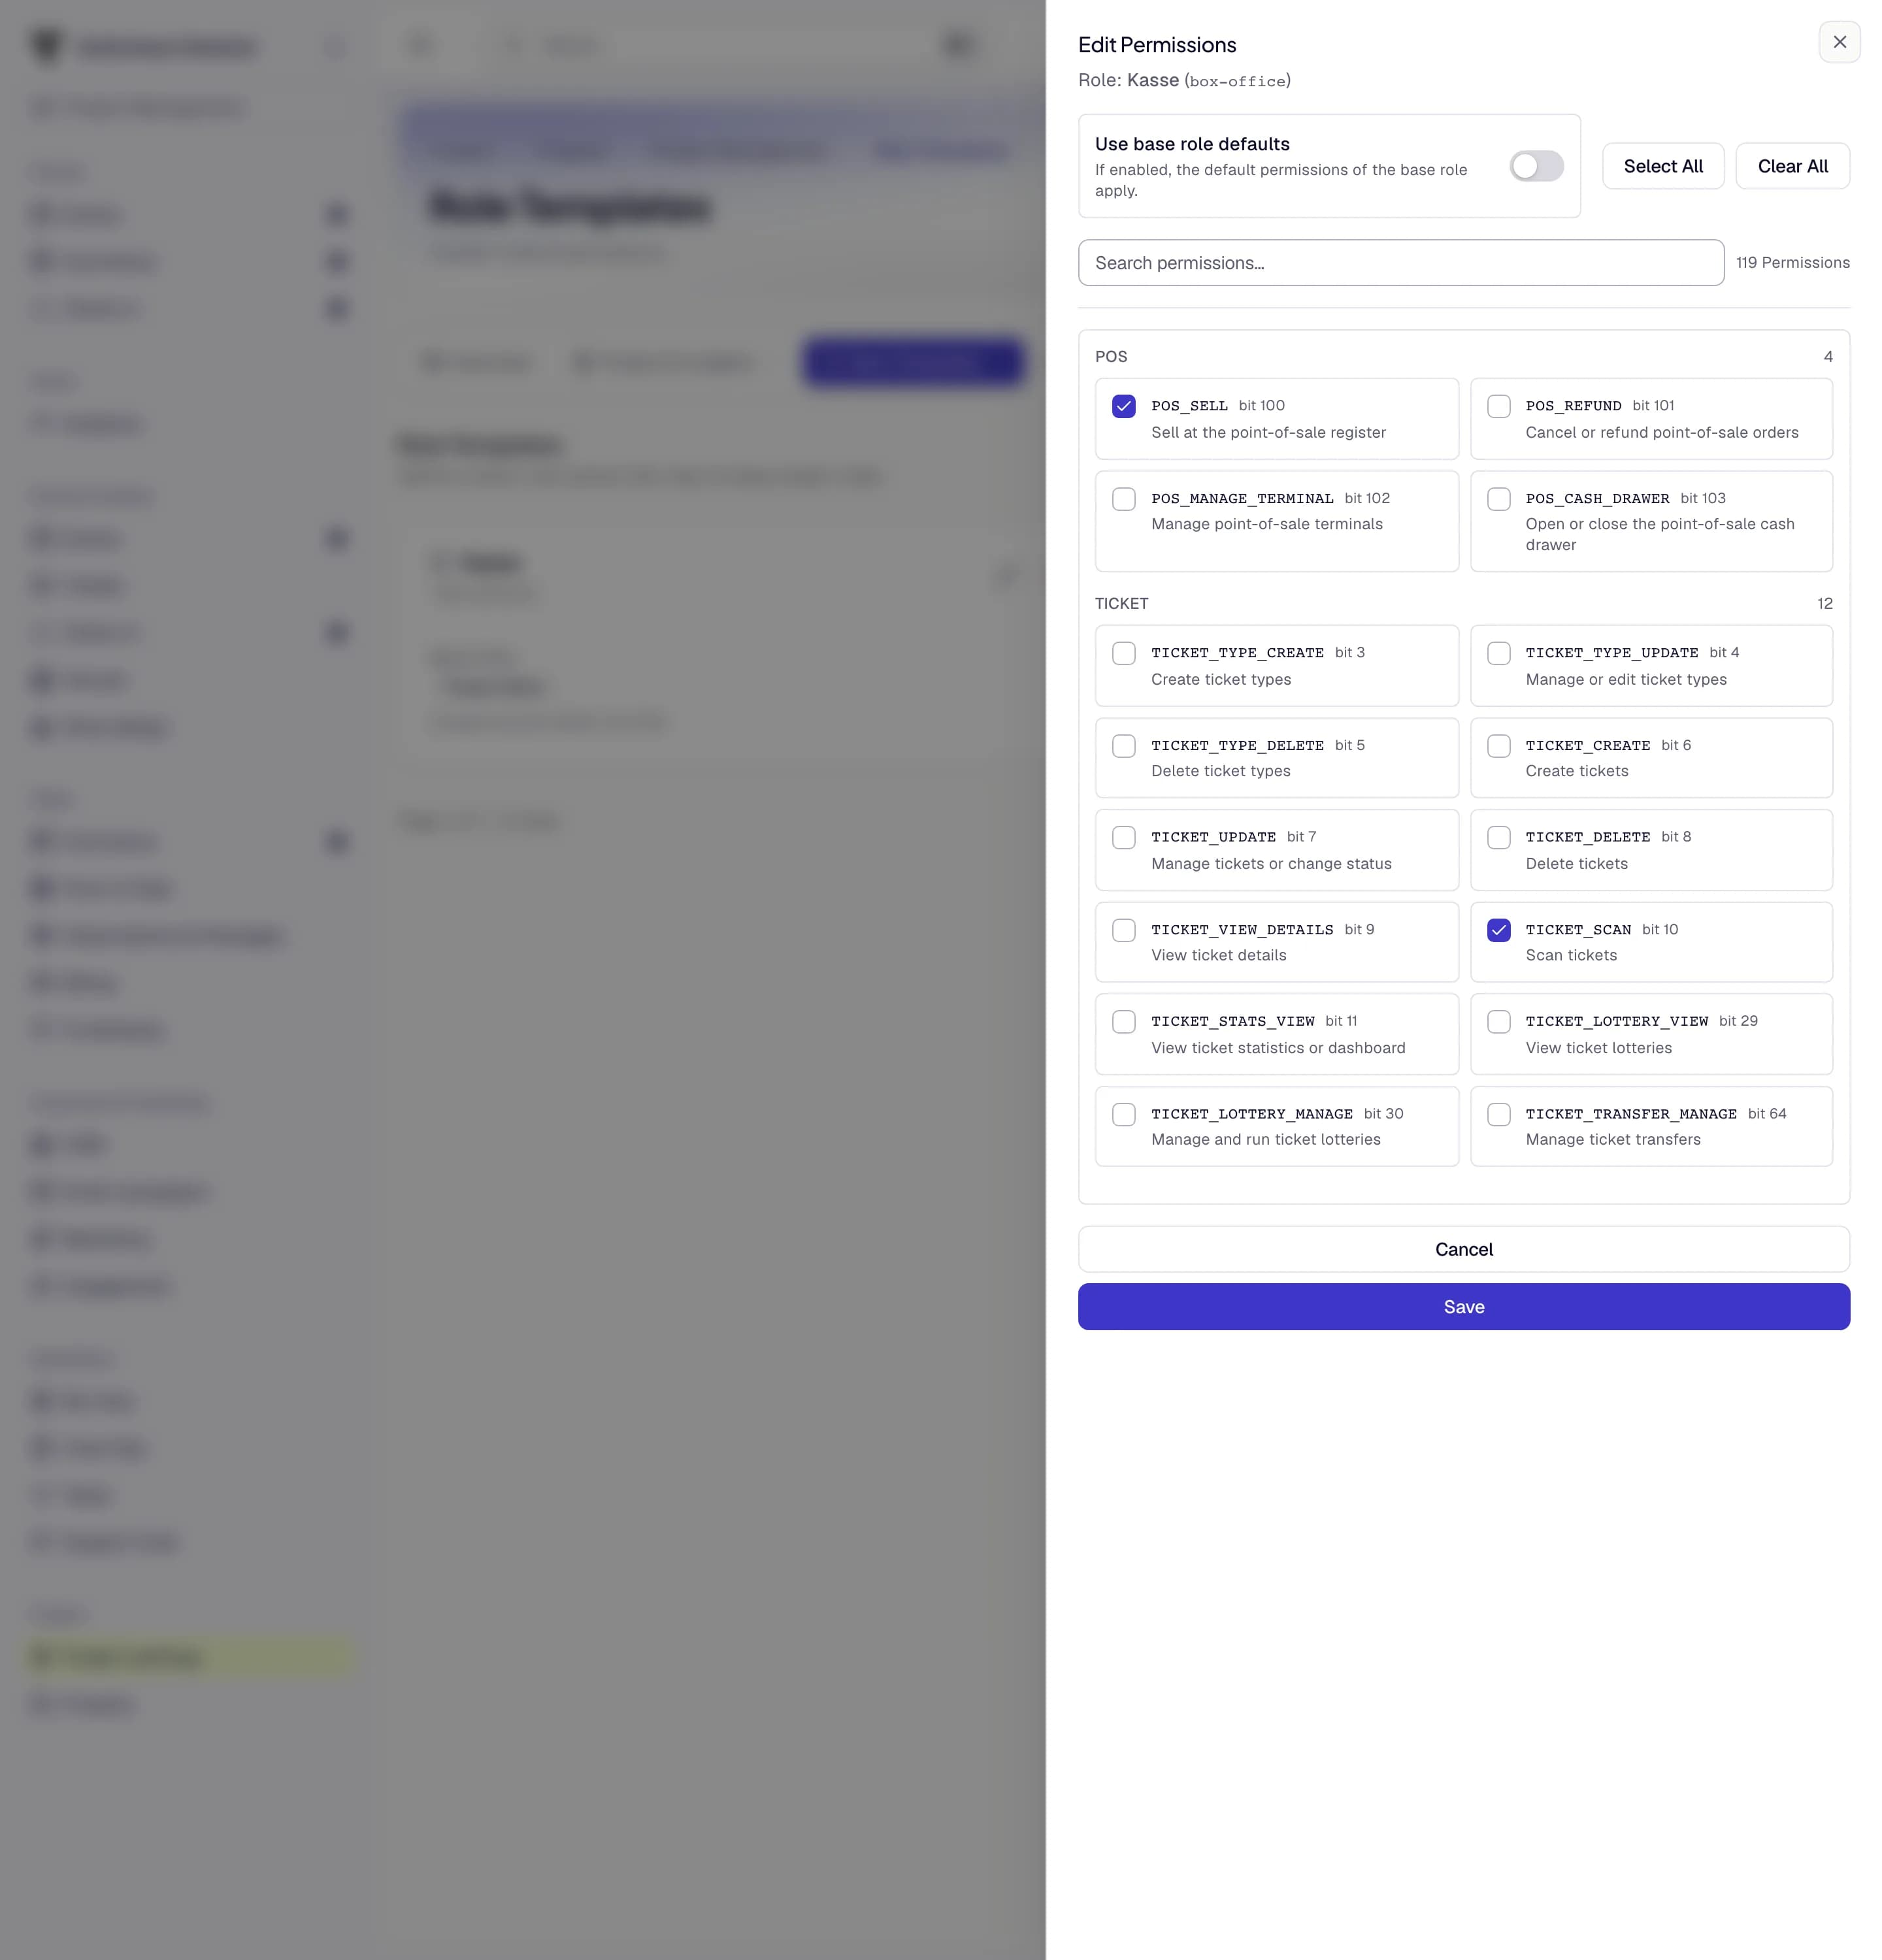
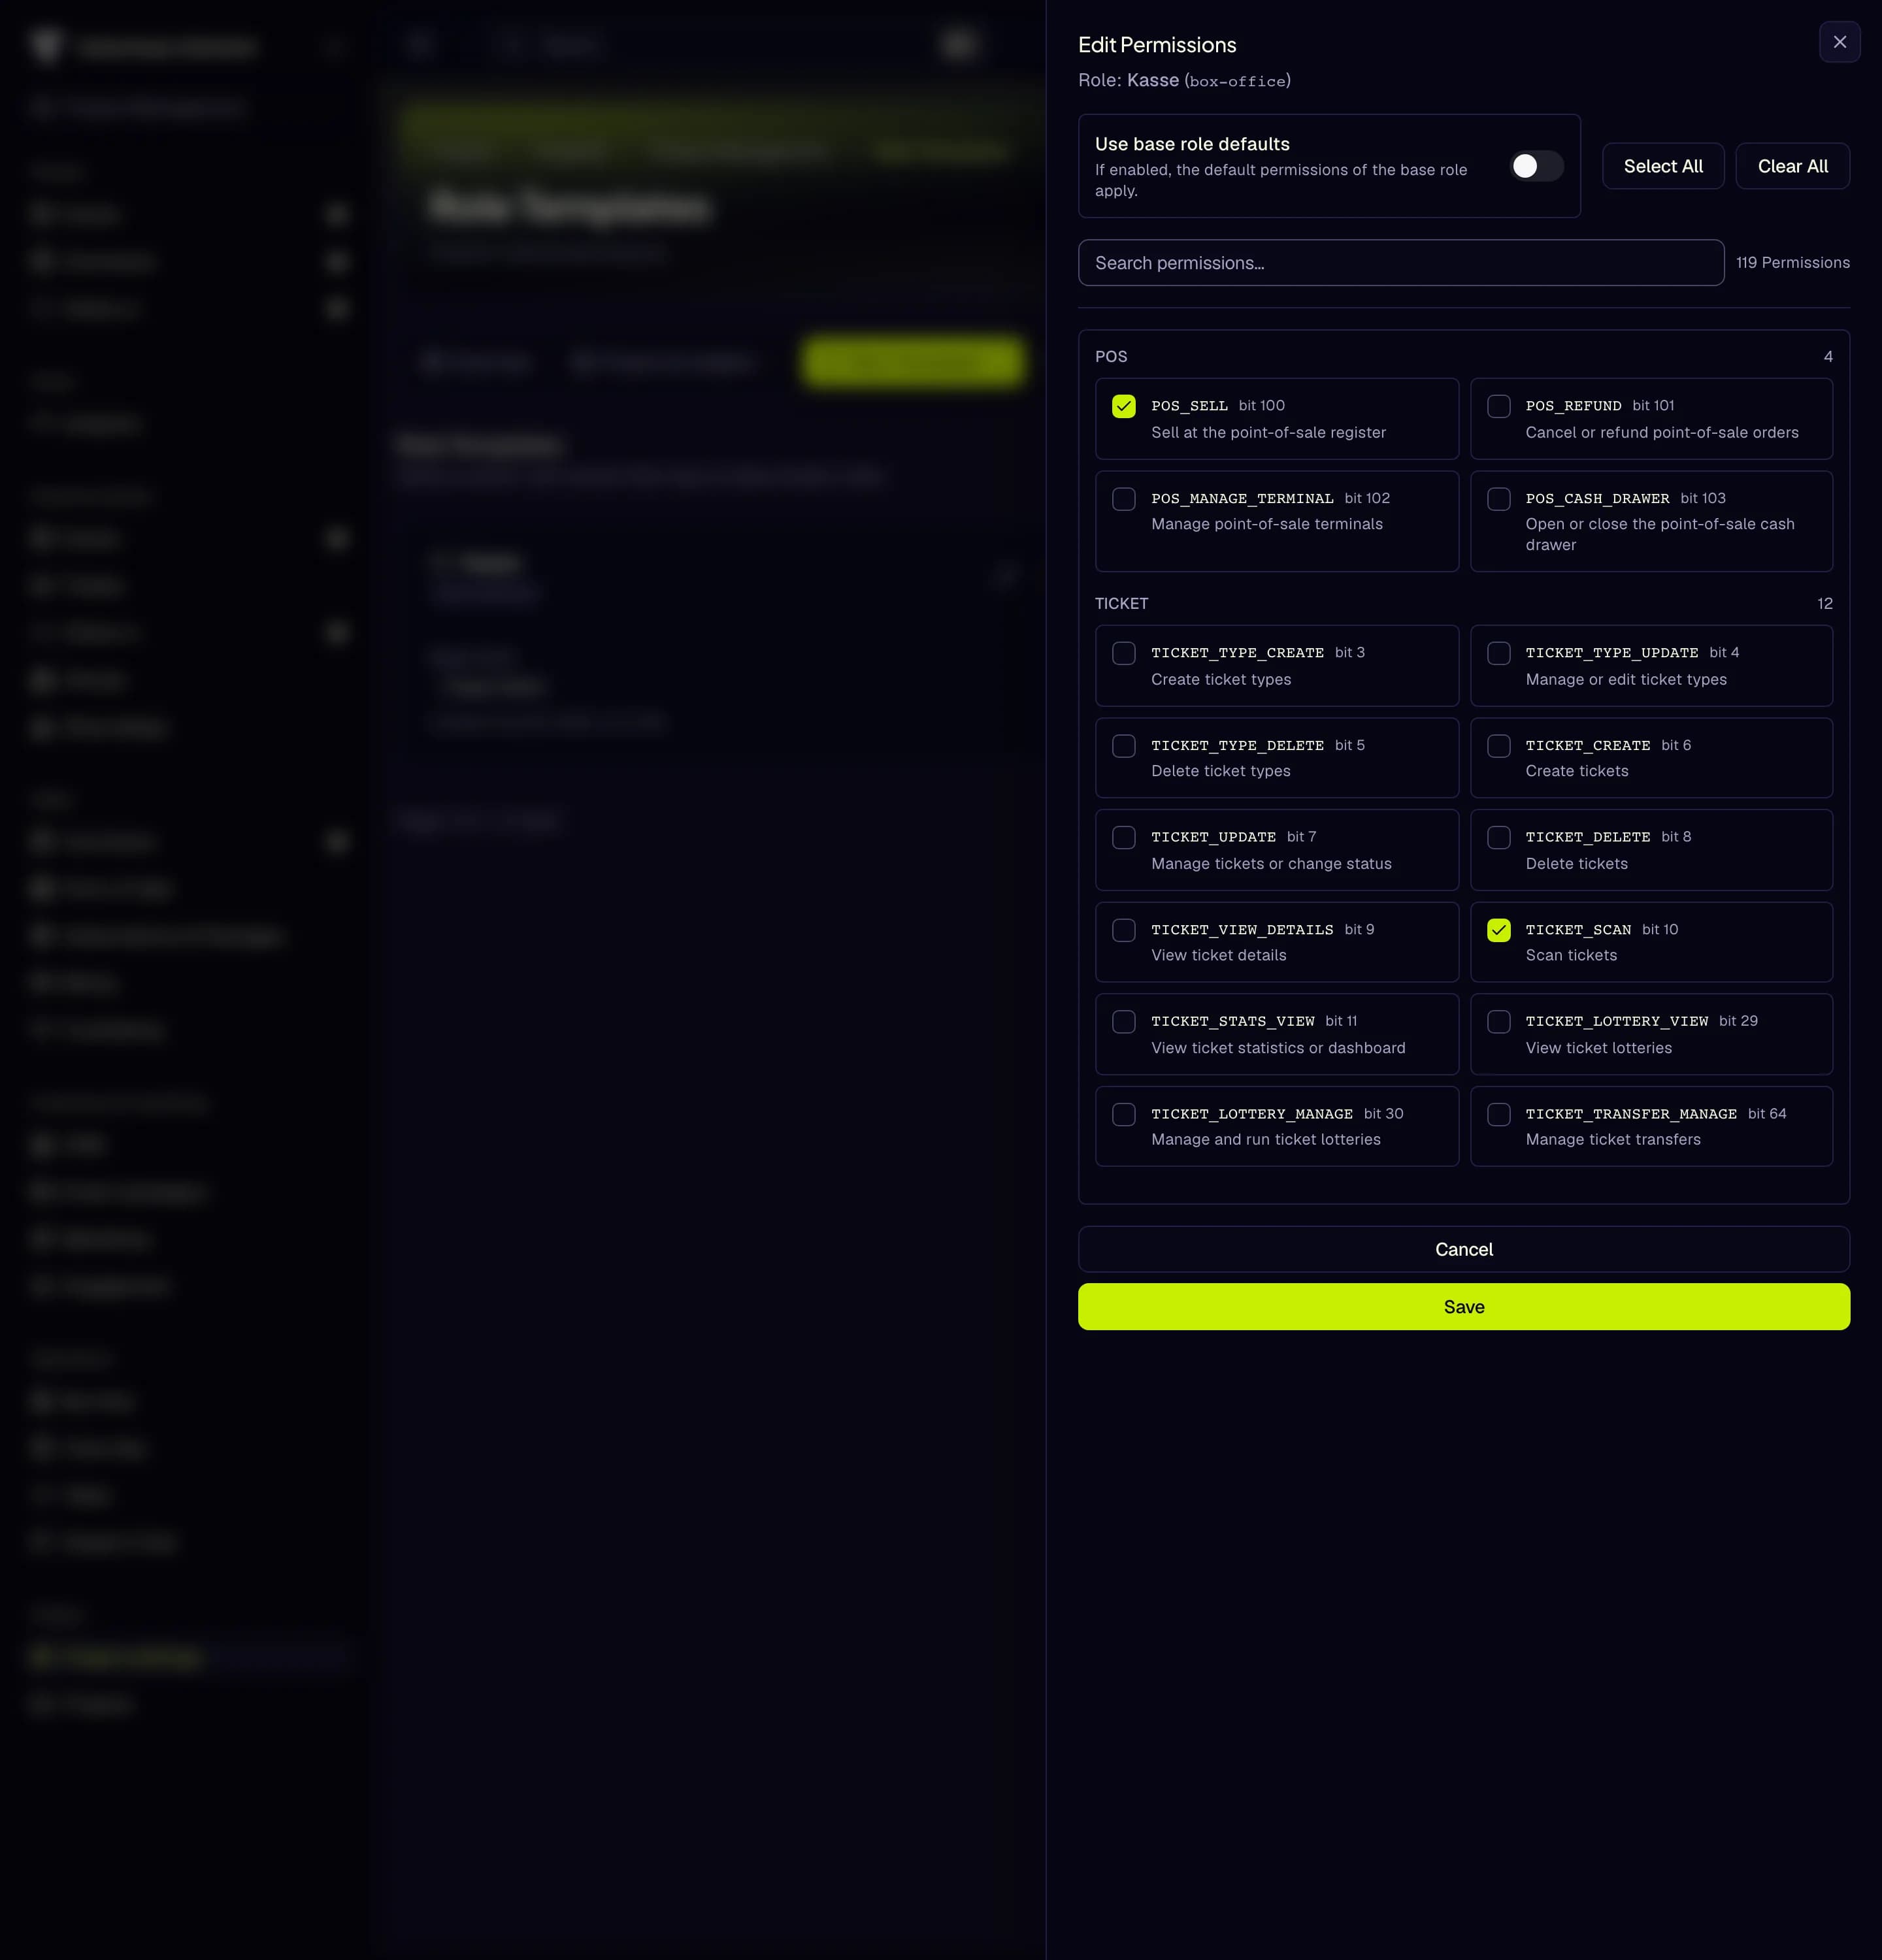
- Use base role defaults off
- Search permissions
- Sell at the point-of-sale register
- Scan tickets
- Save
- Give the smallest role that does the job. You can raise it later. Project Staff cannot see ticket holders' details, by design.
- Selling at the Point of Sale needs its own permission. No base role below Project Admin includes Sell at the point-of-sale register. For a cashier, create a role template based on Project Admin with Scan tickets and Sell at the point-of-sale register only.
- An invitation can only be accepted with the invited address. If someone uses another address, revoke the invitation and send a new one.
Details: Team and roles
11. Check people in on the day
Where: Events & tickets → Check-in in the browser, or the TixFin app Who can do this: members with Scan tickets, and temporary scanners
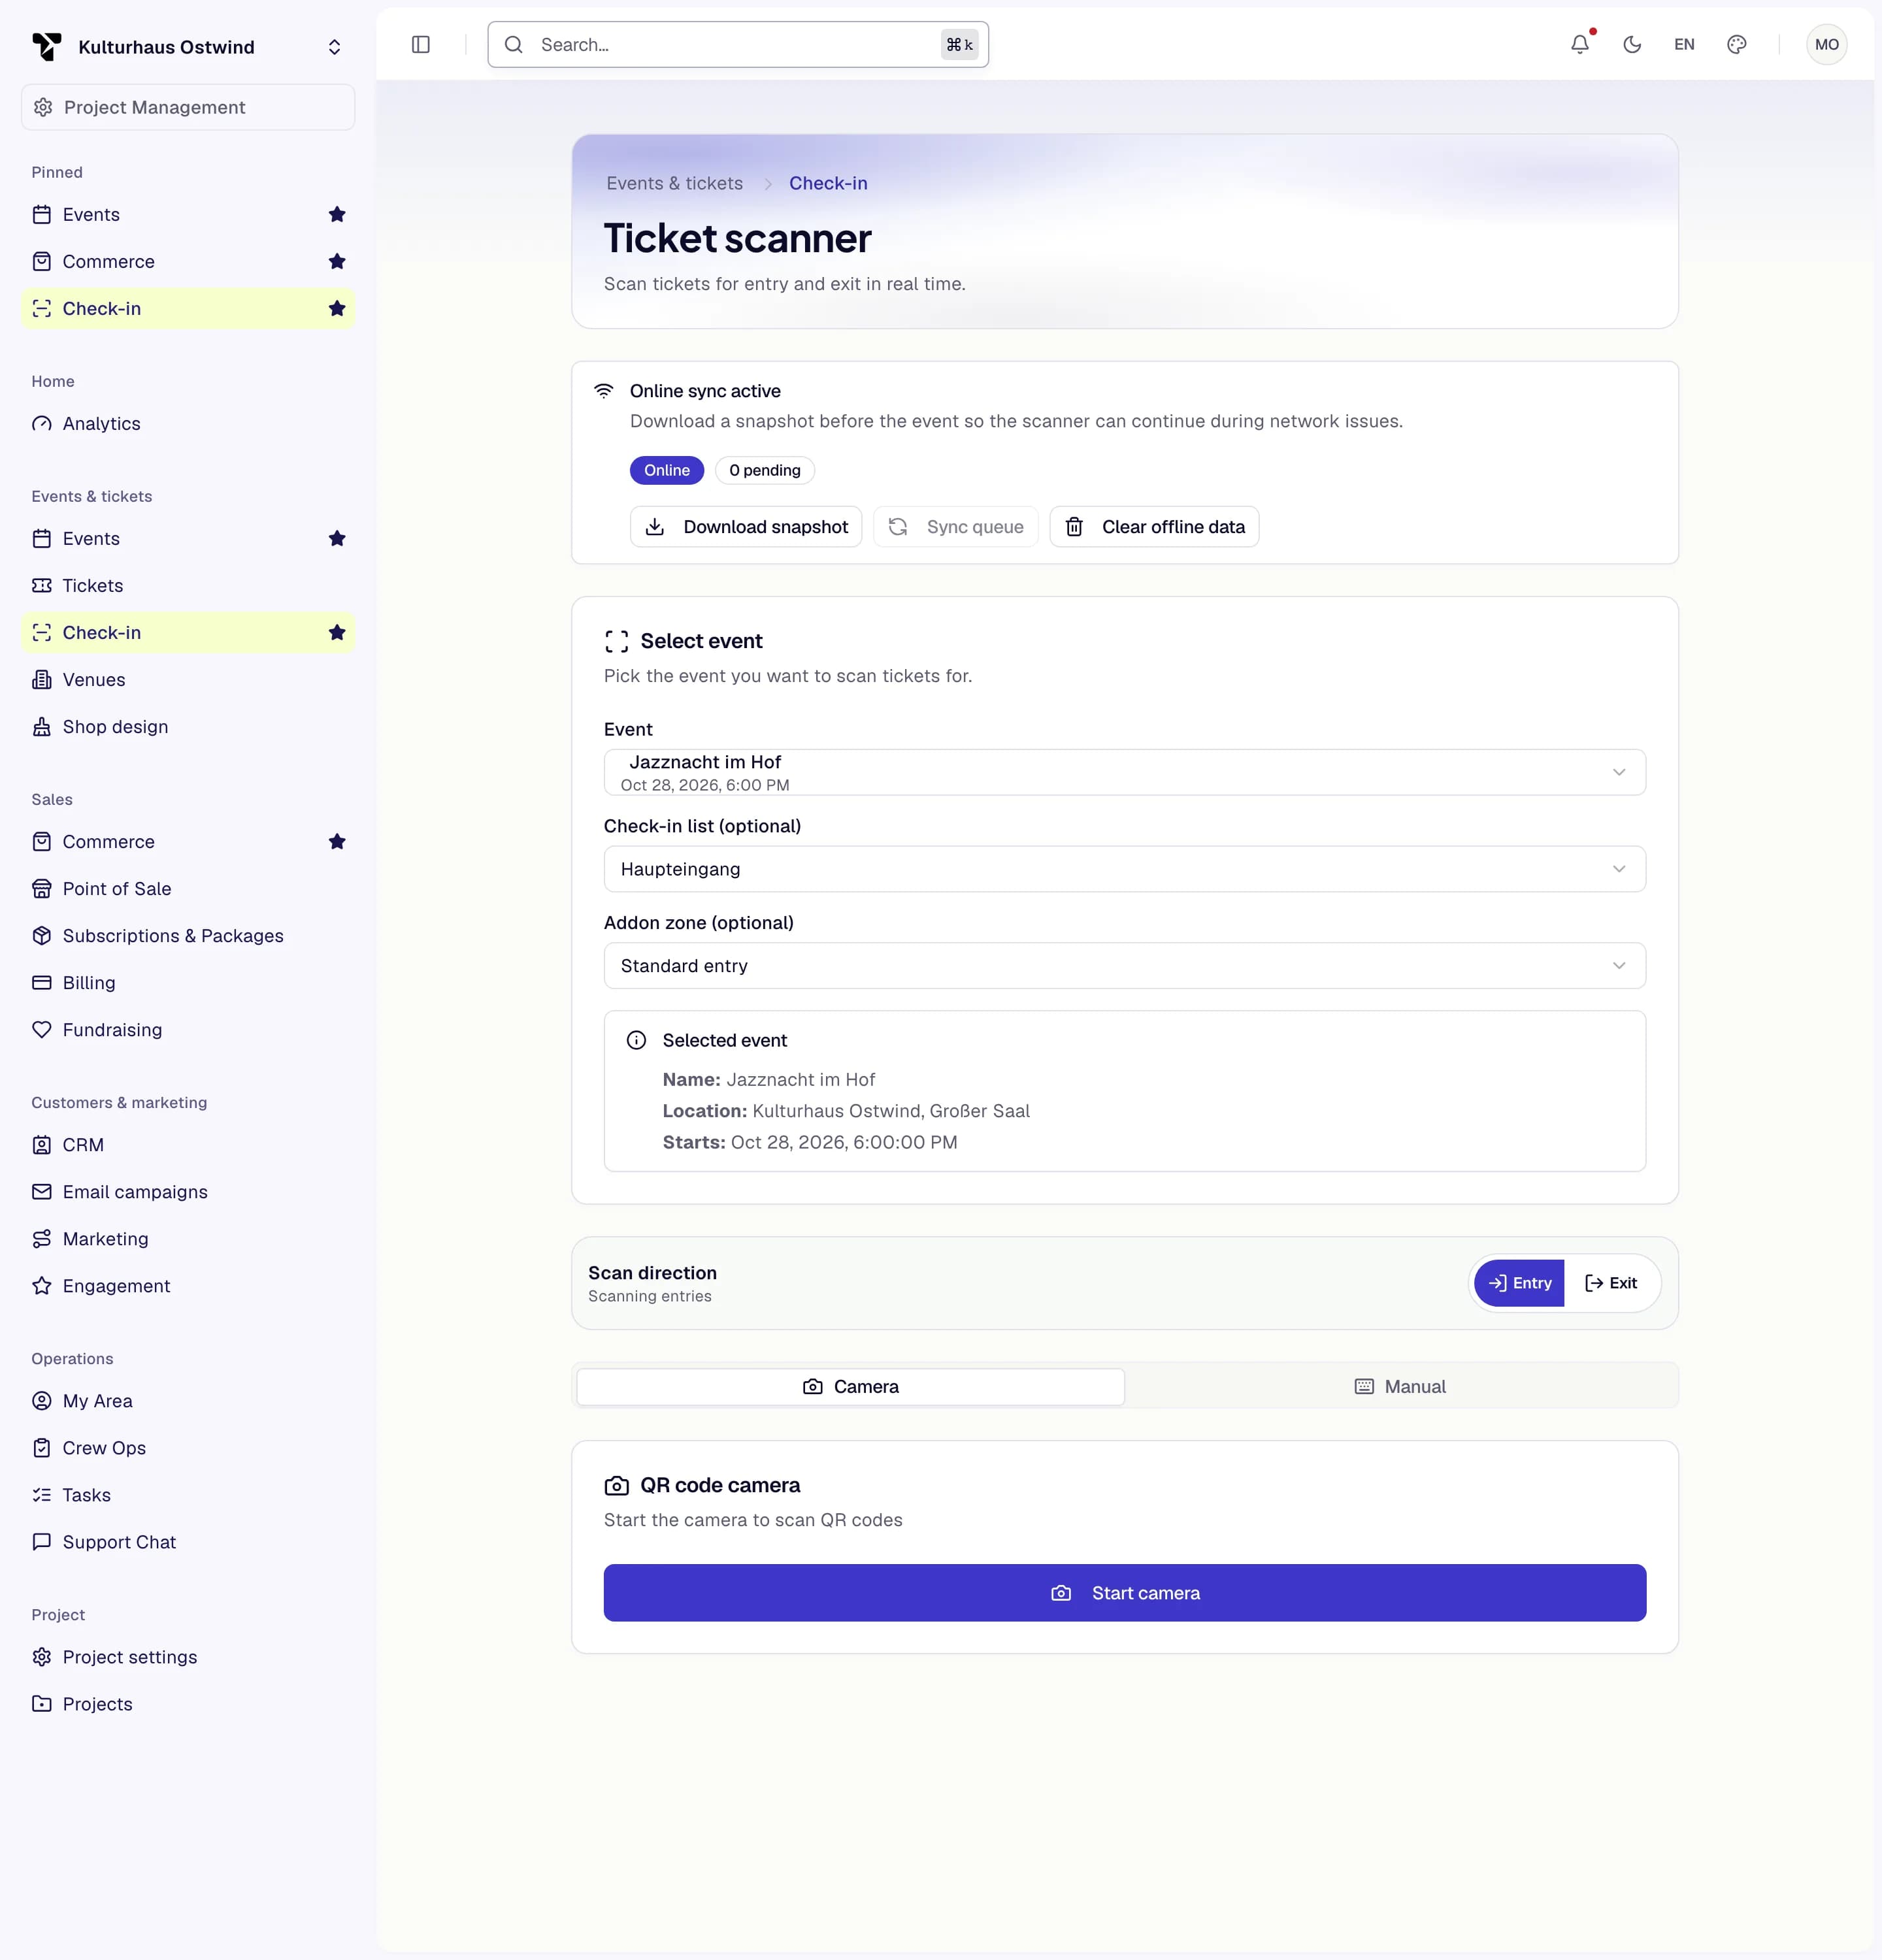
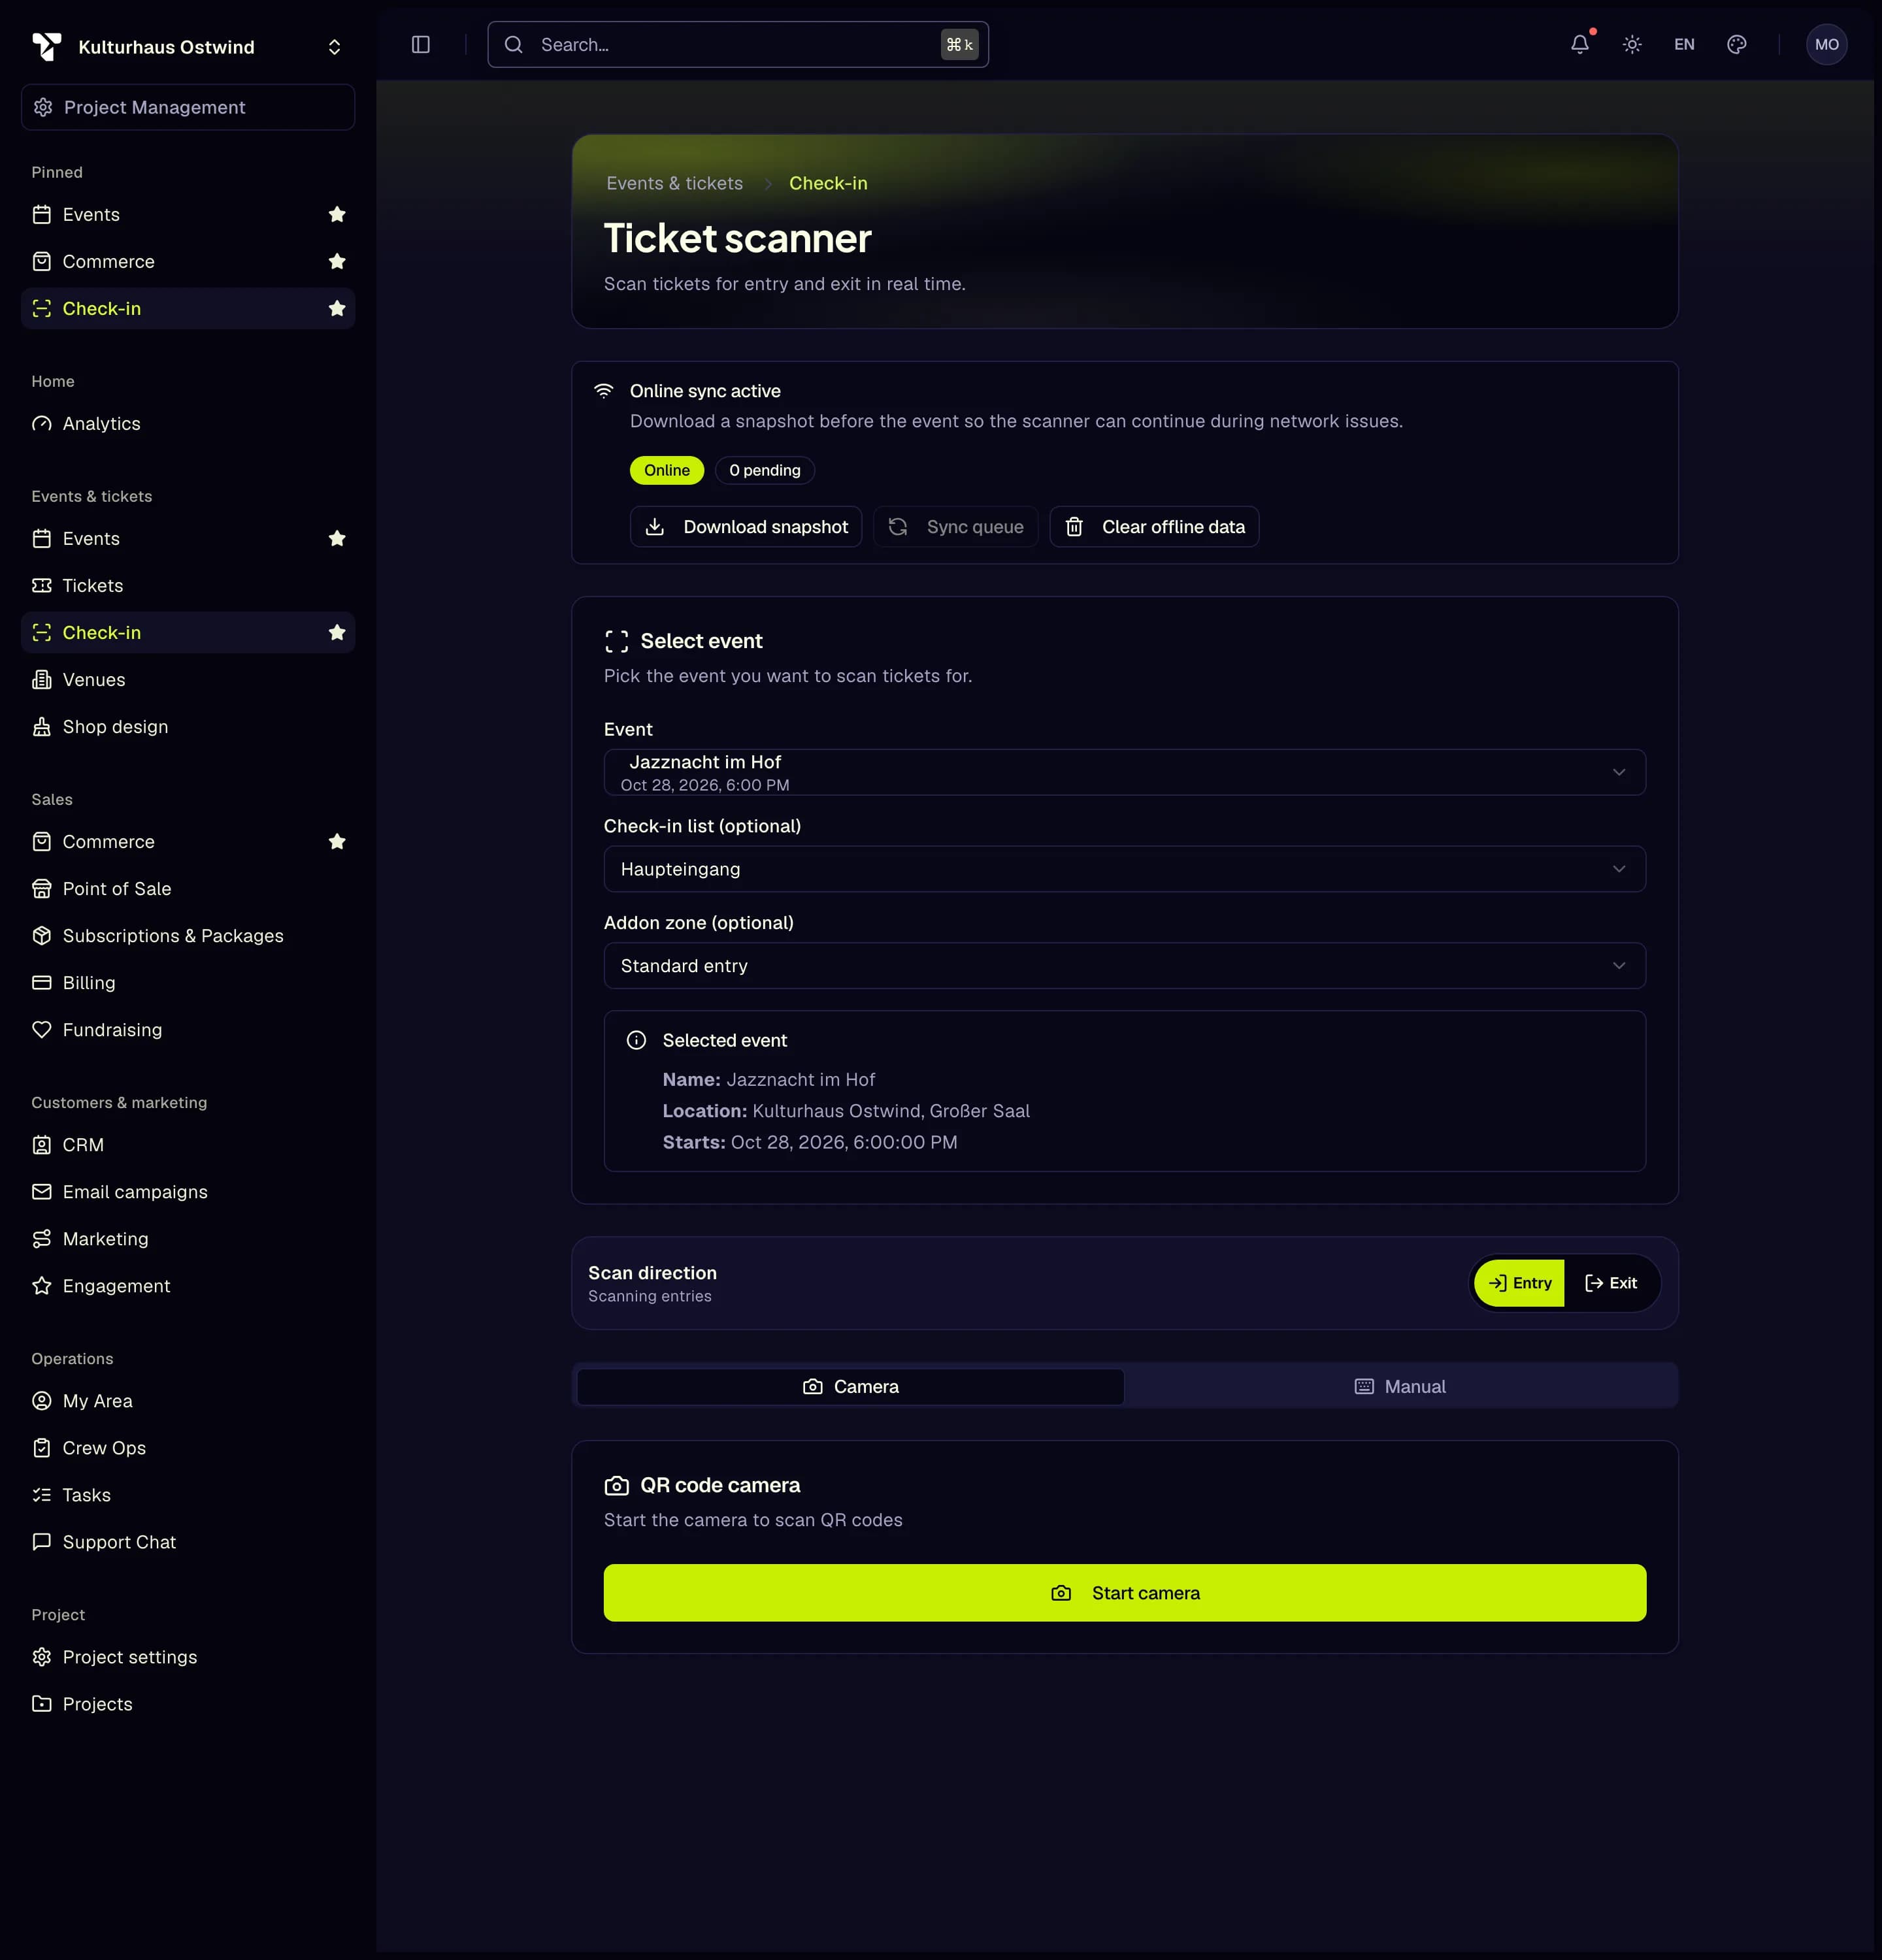
- Pick the event
- Check-in list
- Online / offline status
- Download snapshot
- Start camera
- If every guest is refused, the wrong event or check-in list is chosen.
- The browser does not sync offline scans by itself. Click Sync queue once the network is back, and never clear the offline data before the sync worked.
- Don't admit a ticket that was already scanned. Send the guest to a supervisor.
Details: Check-in · Door & crew app · Project staff guide
12. Handle orders and refunds
Where: Sales → Commerce → tab Orders Who can do this: View billing to look; Manage billing to refund, create orders and send payment links
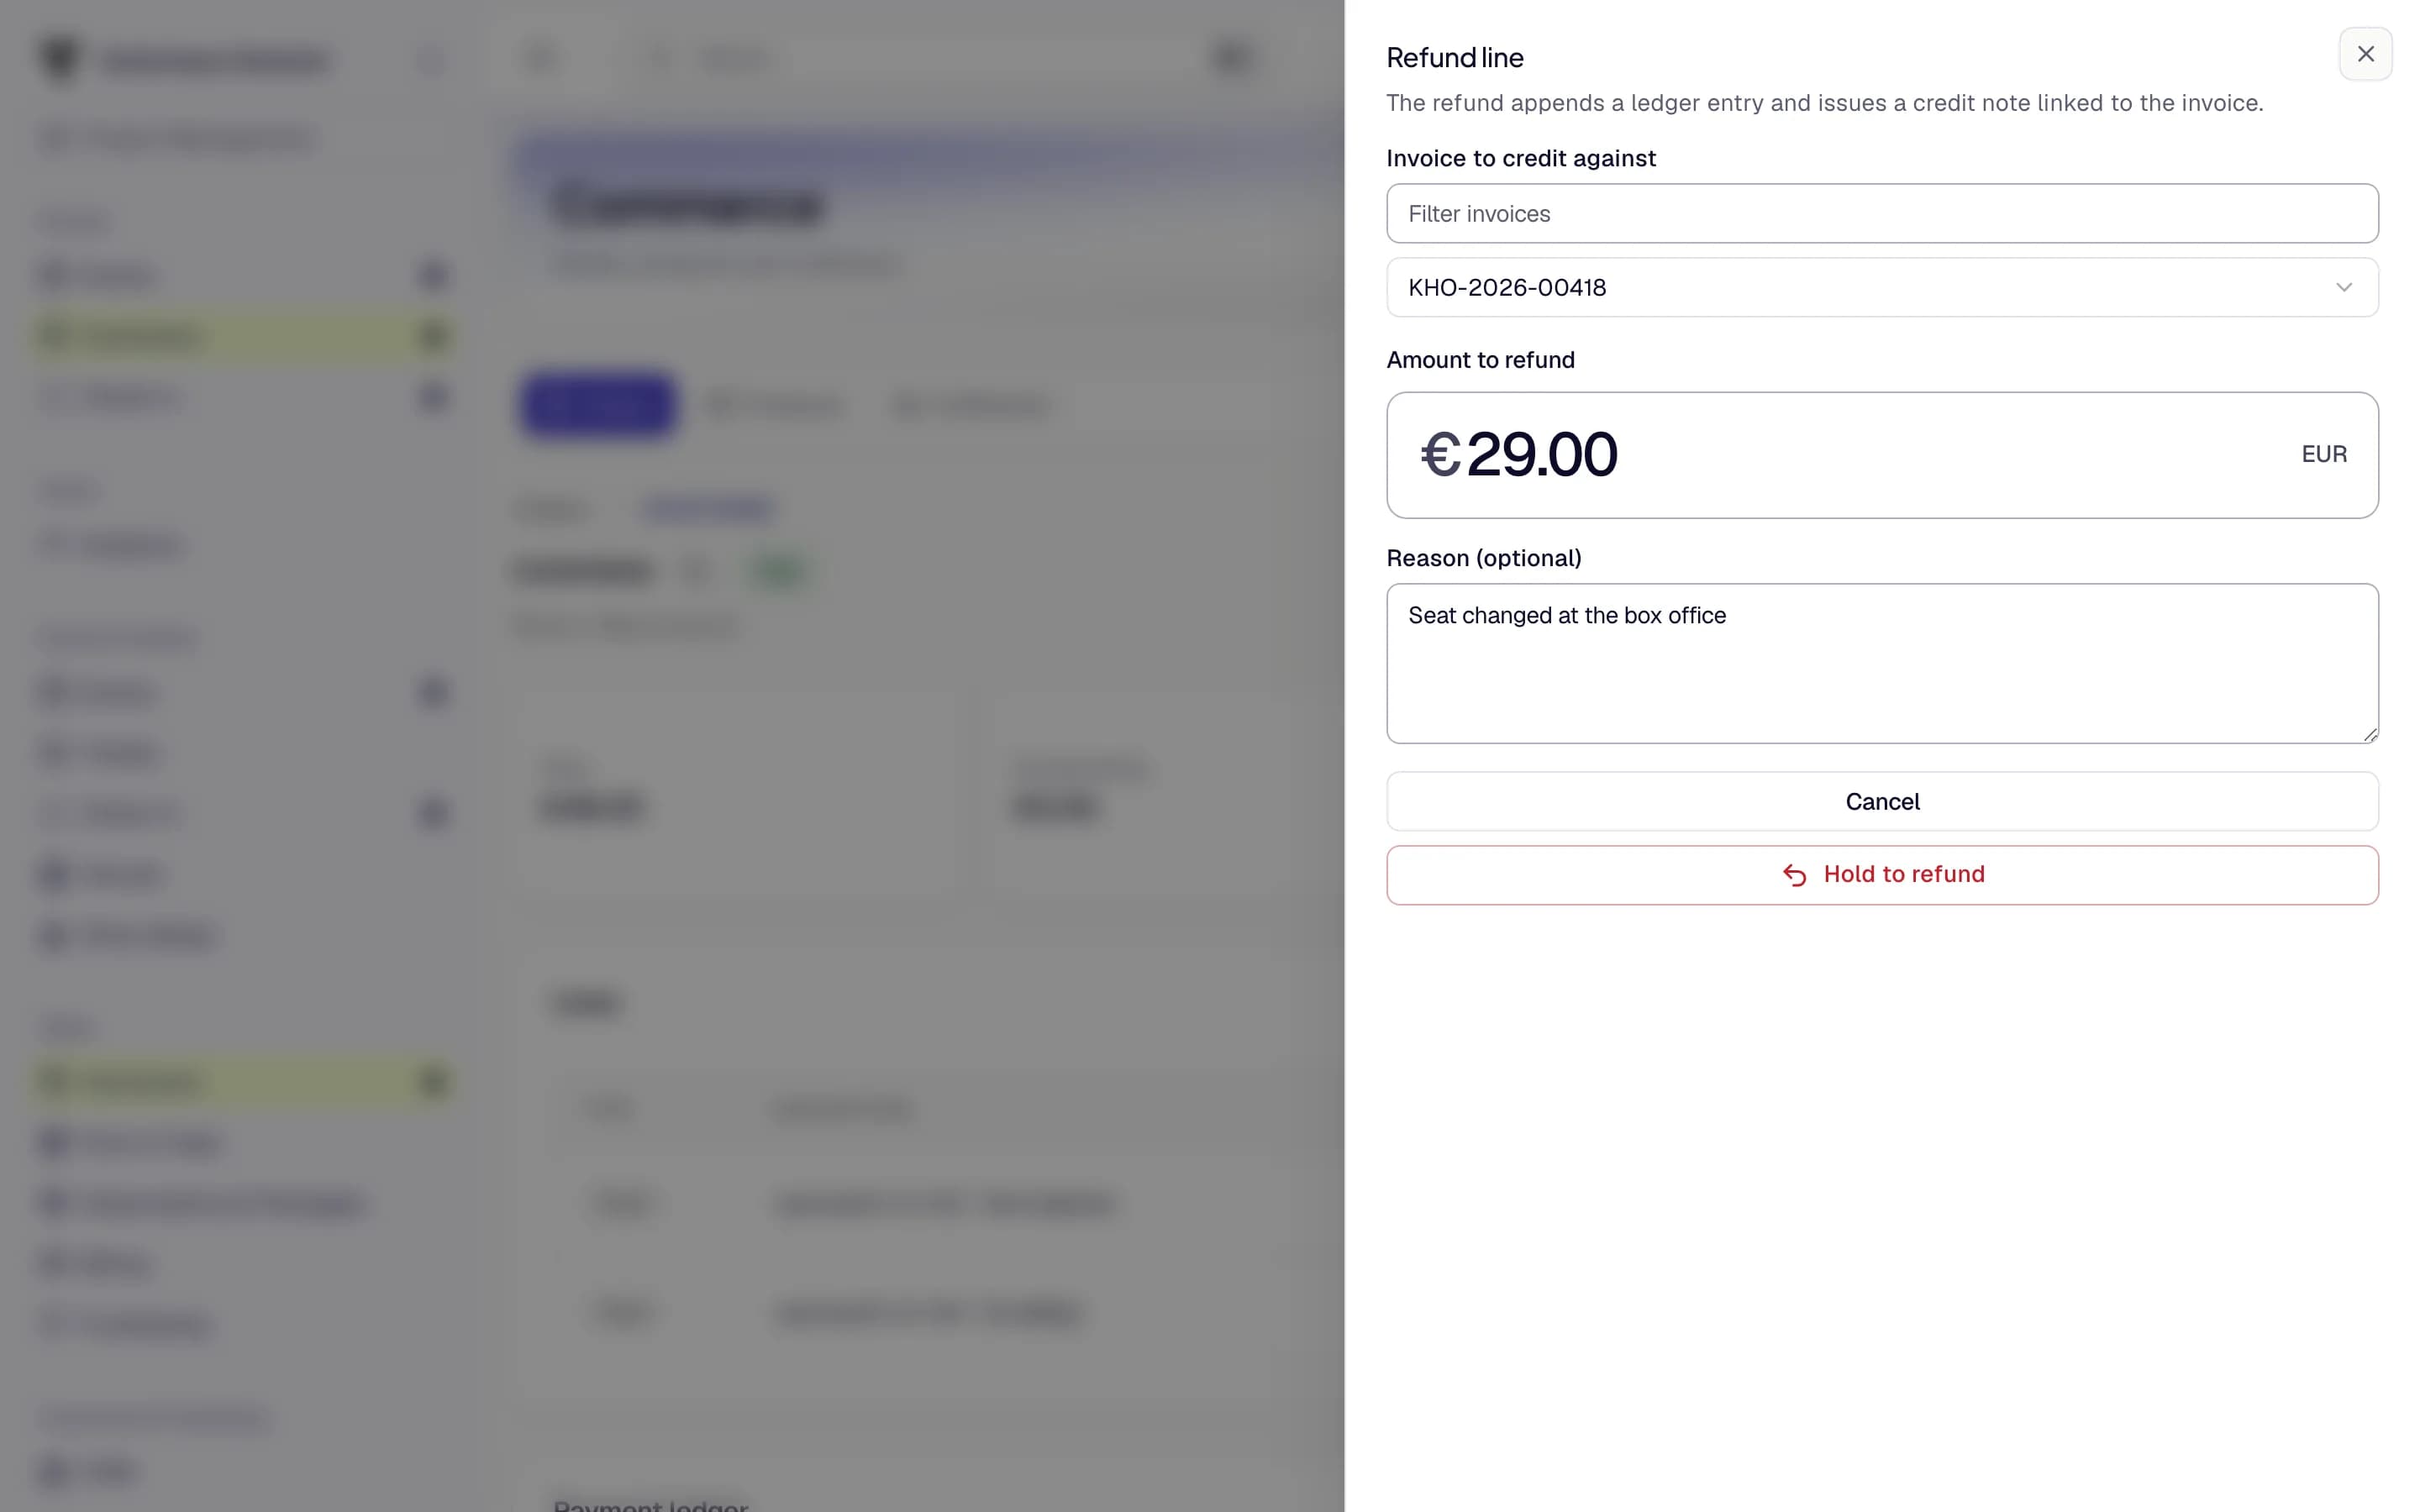
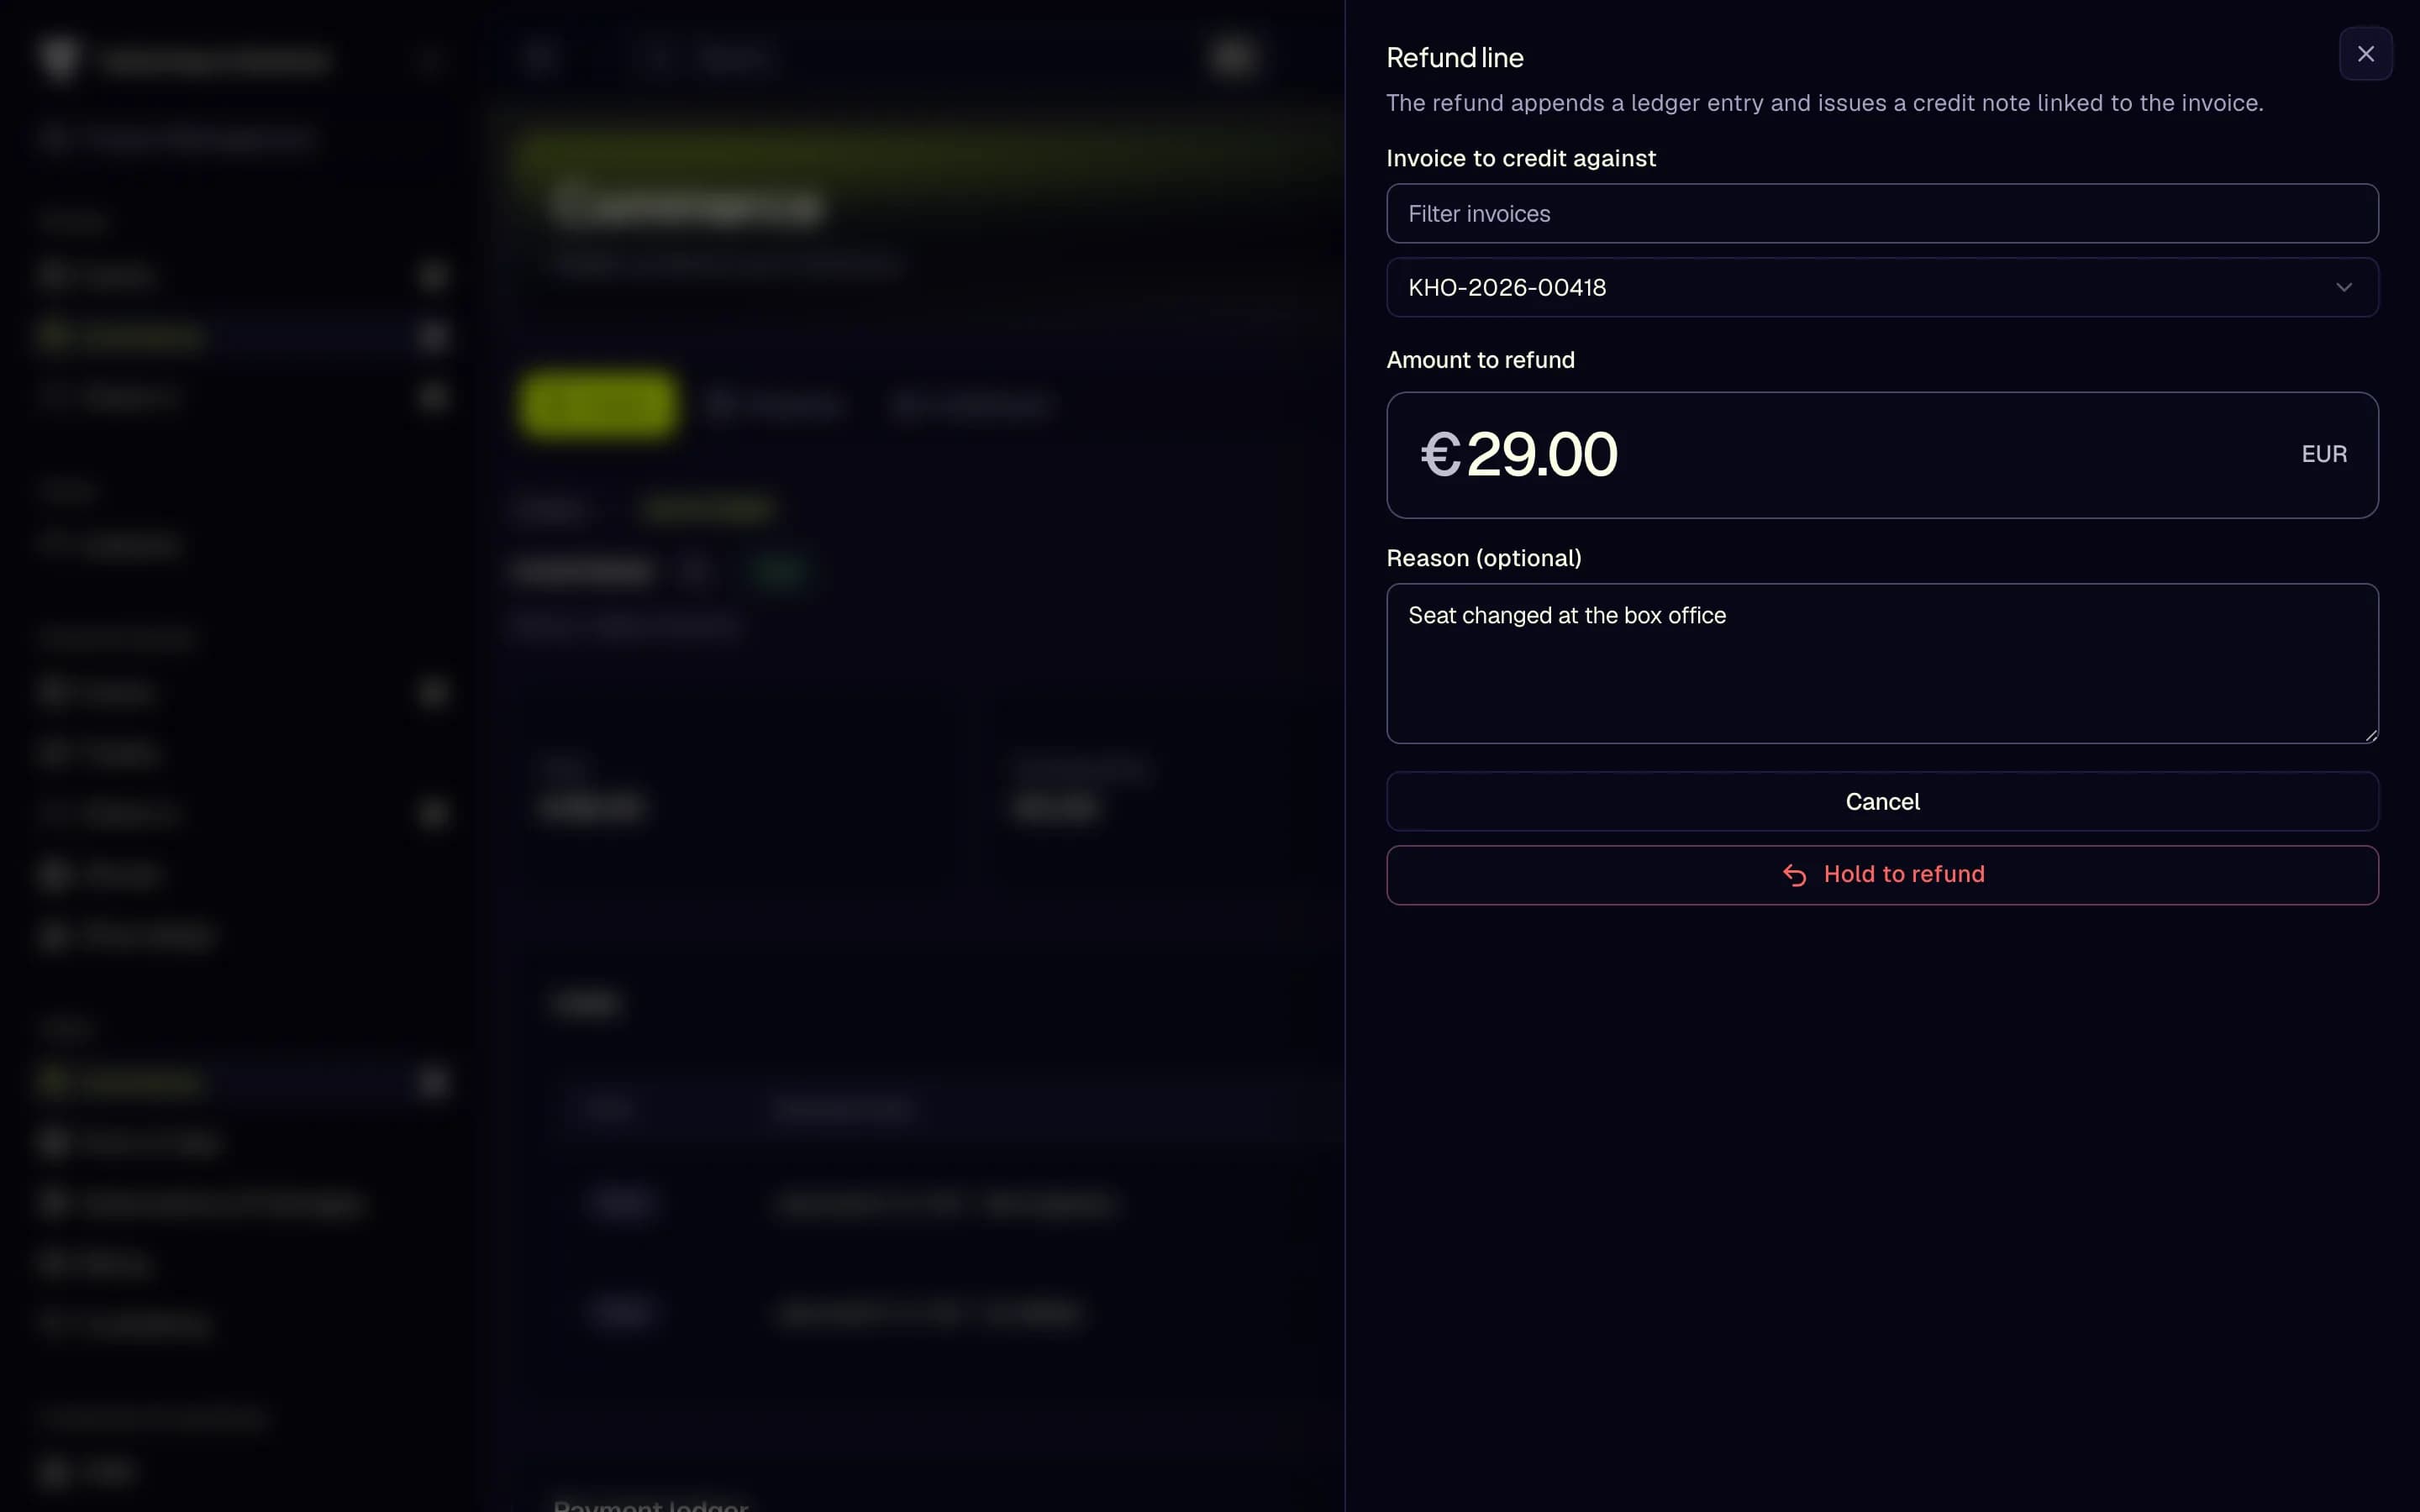
- Invoice to credit against
- Amount to refund
- Reason
- Hold to refund
- A line refund keeps the tickets valid. To cancel the tickets too, refund the whole order with Refund orders.
- Every refund issues a credit note. Free orders have no invoice and cannot be refunded here.
- Chargebacks are handled at your payment provider, not in TixFin. Answer them in your provider's dashboard before their deadline.
Details: Orders and Point of Sale · Postpone or cancel an event
13. Read your figures and follow the money
Where: Events & tickets → Tickets → Overview, Sales → Billing → Invoices, and Analytics Who can do this: View ticket statistics or dashboard for the ticket figures, View billing for invoices, View analytics for the shop analytics
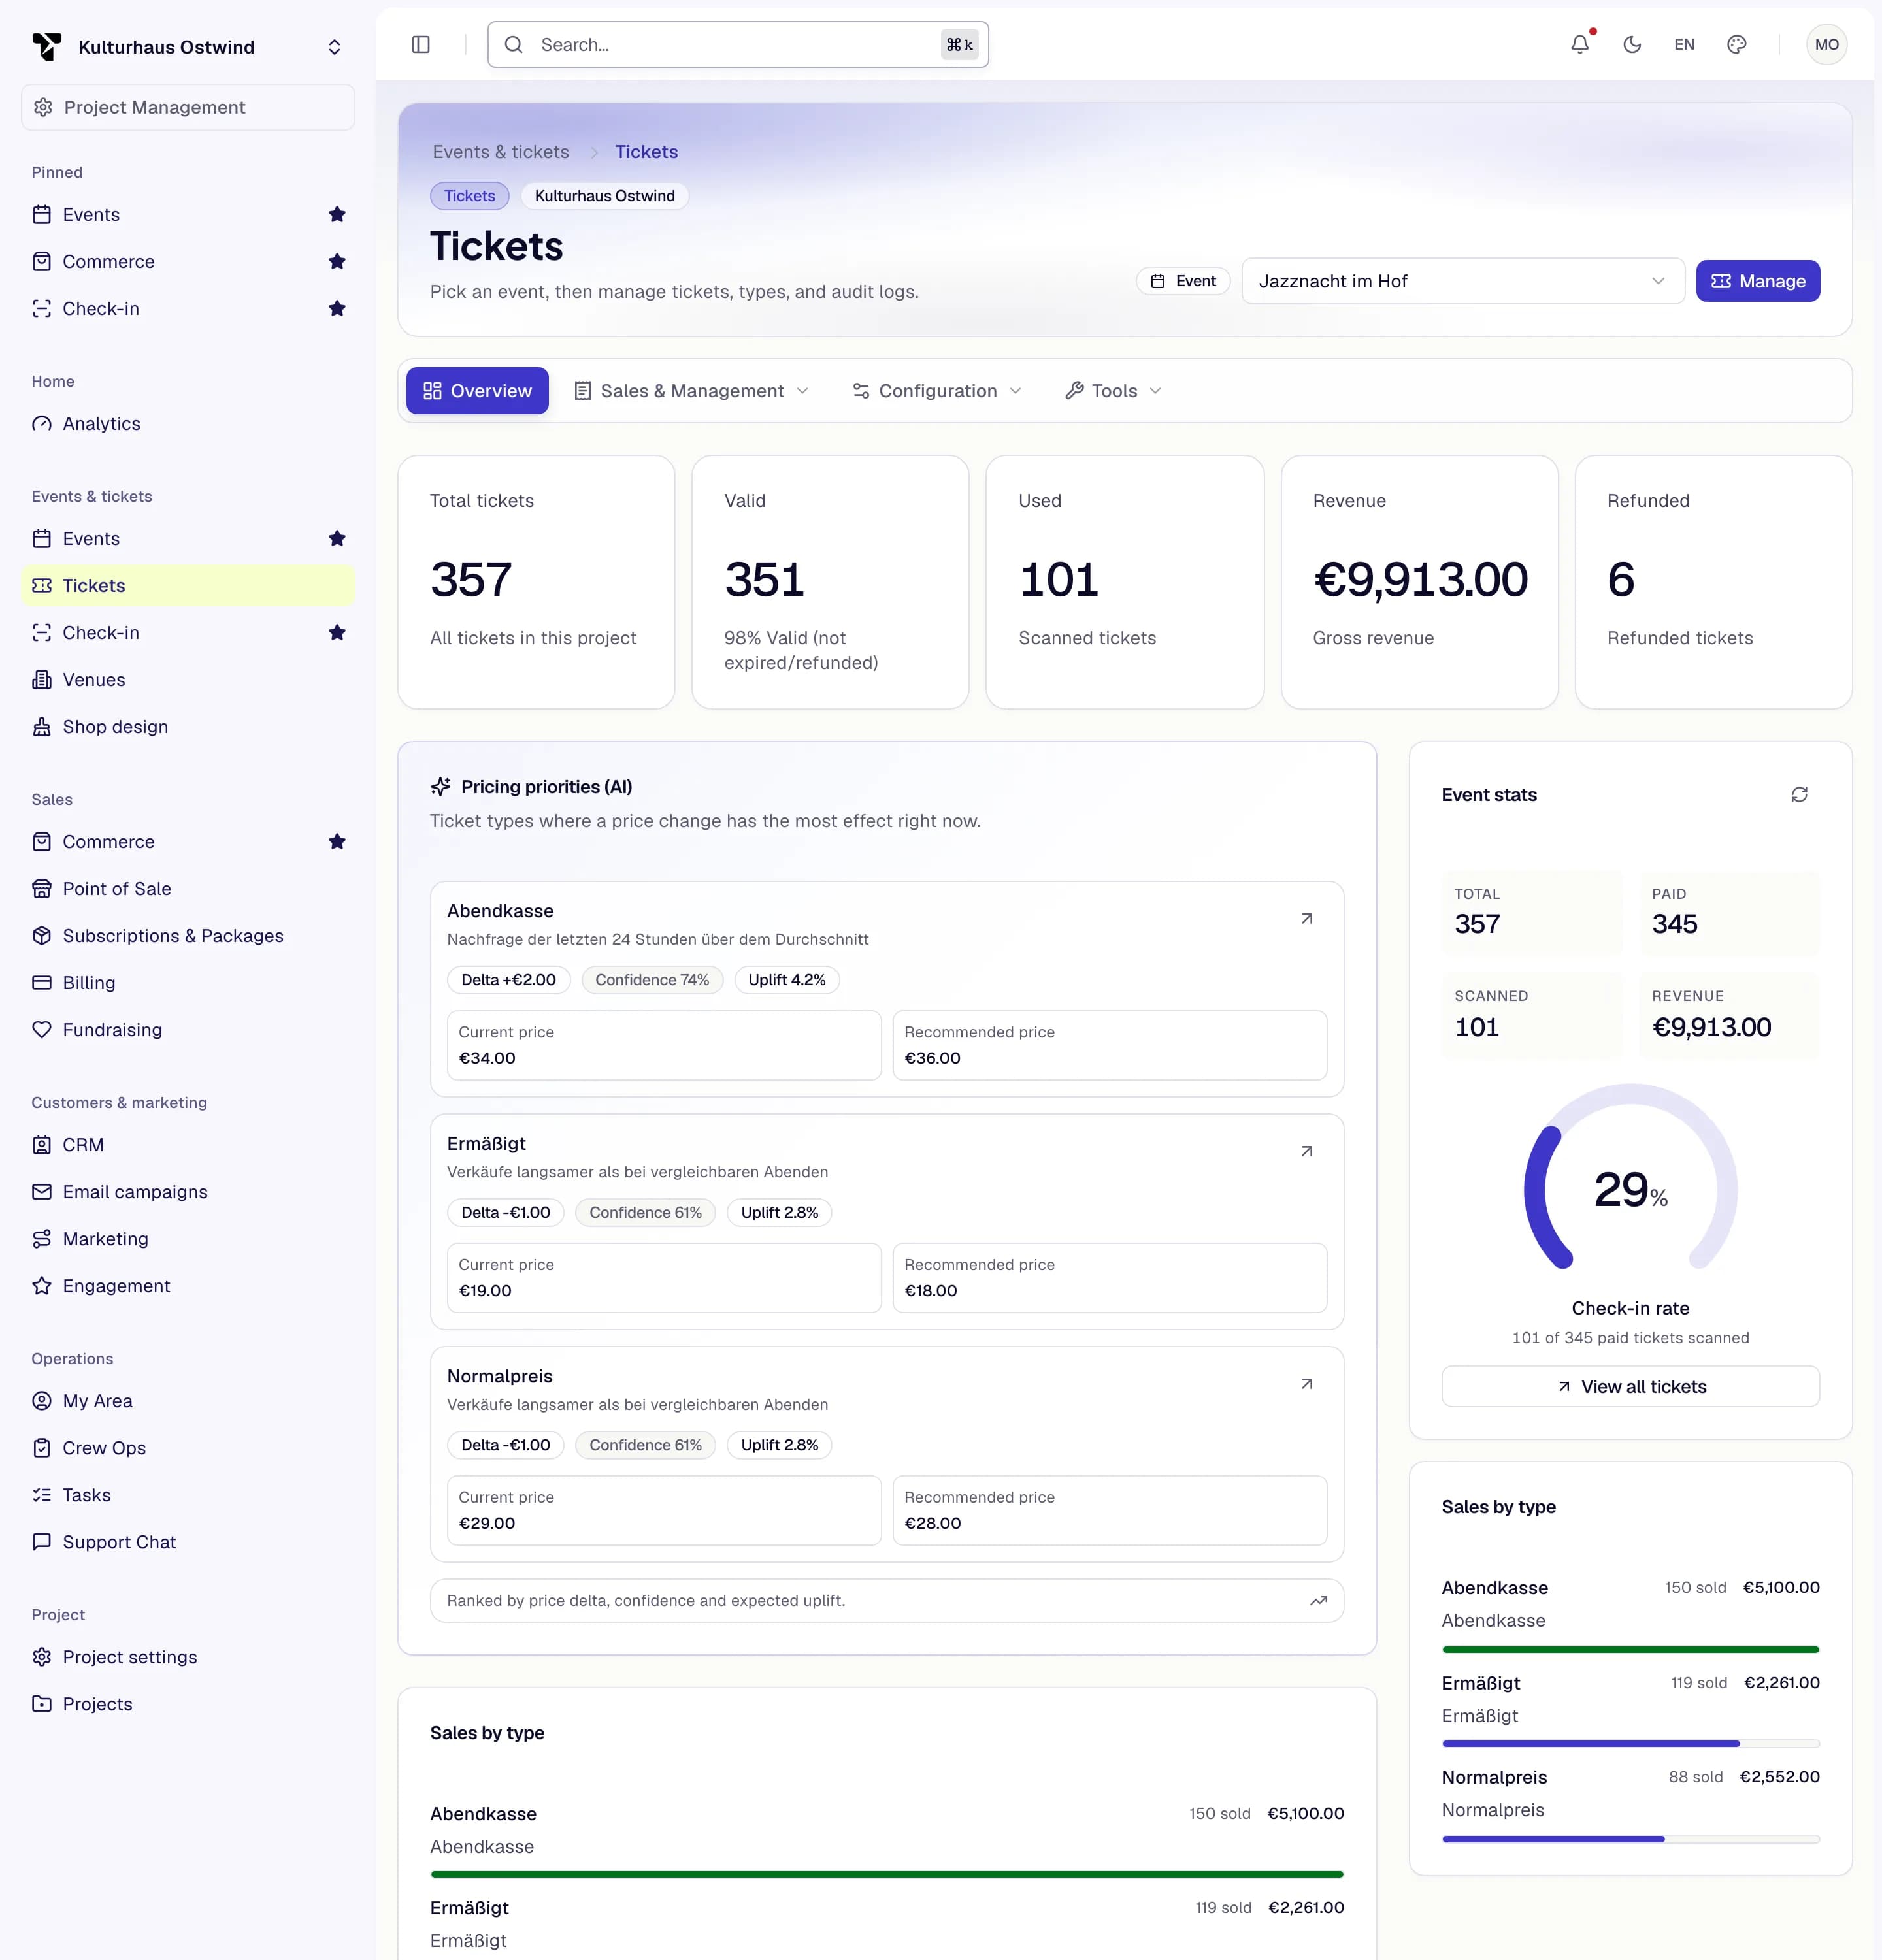
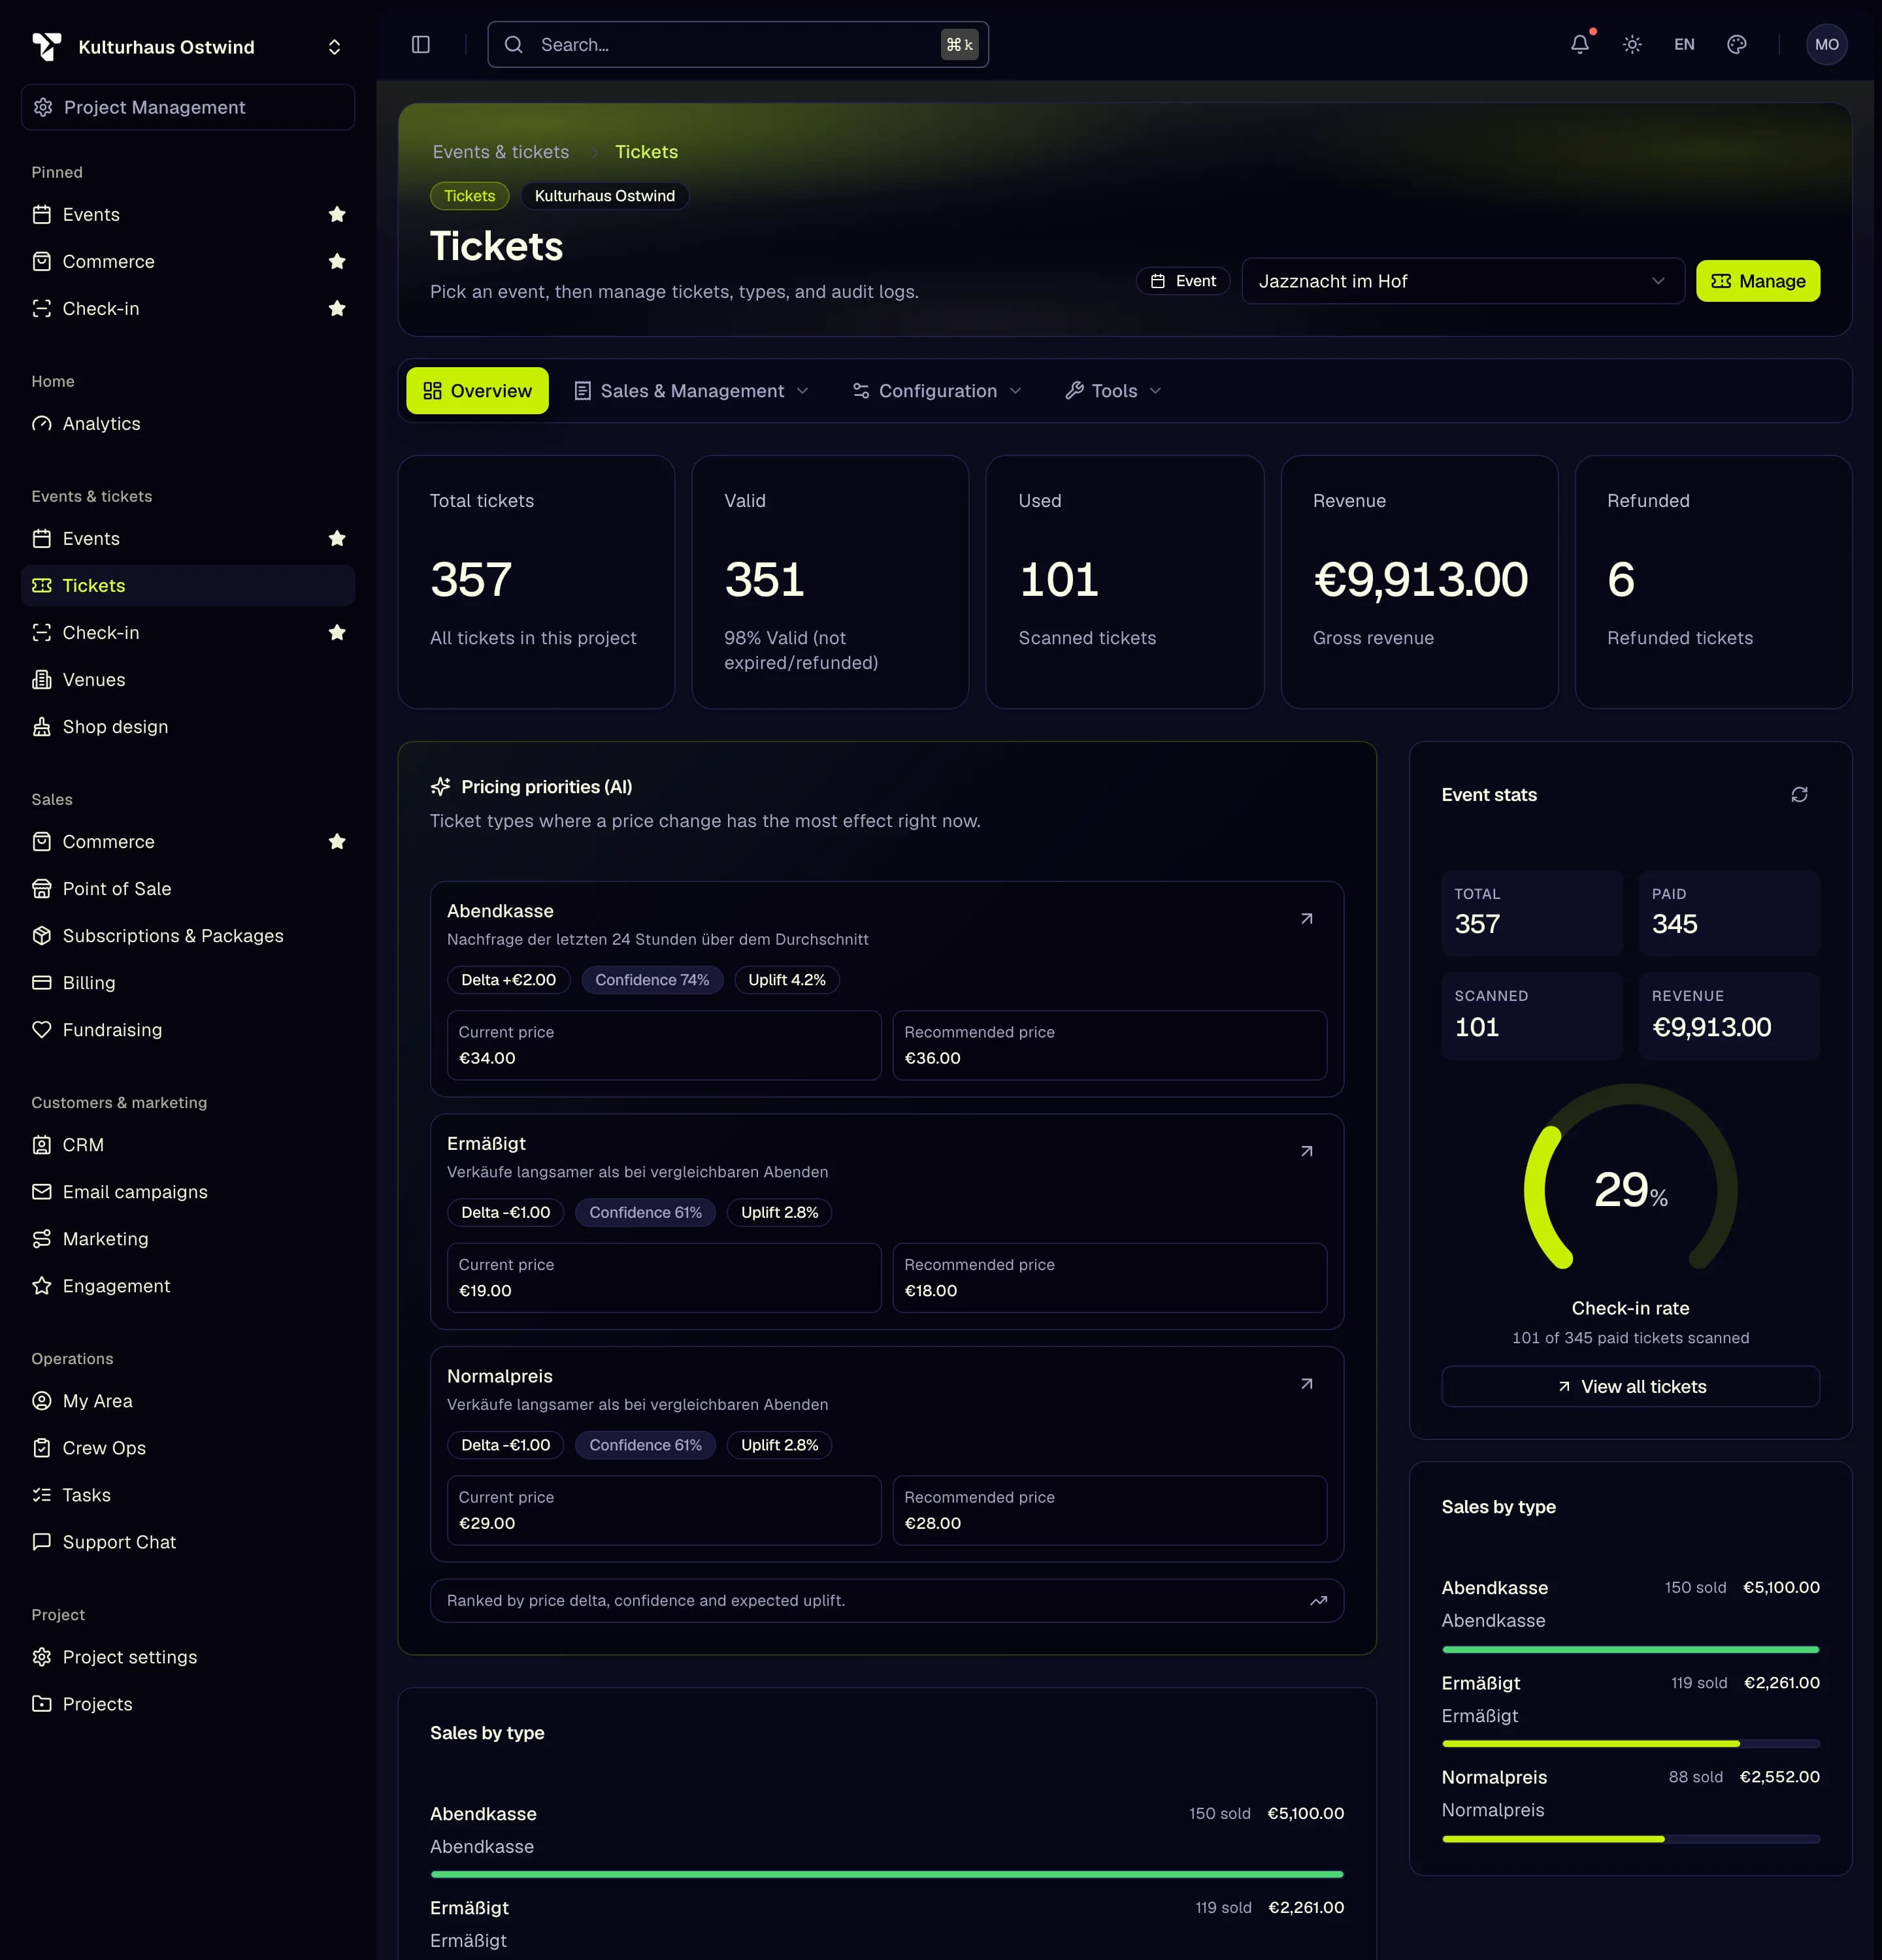
- Pick the event
- Sold, valid and used tickets
- Revenue
- Check-in rate
- Sales per ticket type
Where the money goes:
- Ticket revenue goes straight to your payment provider account. Your provider pays it out to your bank account on its own schedule and charges its own fees. Check payouts in your provider's dashboard.
- TixFin's fee is never taken out of a sale. TixFin bills it to you separately. See Billing and plans.
- Every order shows its payments, refunds and chargebacks in its Payment ledger, each with your provider's reference, so you can match it against your provider's statement.
- There is no TixFin balance or payout. If money is missing, look in your payment provider's dashboard first.
- Unpaid TixFin fee invoices pause new paid sales until they are paid. Tickets already sold stay valid.
Details: Payments · Invoicing · Shop analytics