
 TixFin
Team and roles
Invite people to your project, give them the right role, and build custom role templates
Everyone who works on your project, from co-organisers and accountants to door staff, gets their own account and a role in the project. Use this page to invite them, change their role, or remove them.
Where: Project → Project settings → group Team & permissions (tabs Members, Invitations, Role Templates) Who can do this: members with Manage project members (members and invitations) or Manage project roles and permissions (role templates). Everyone in the project can see the member list.
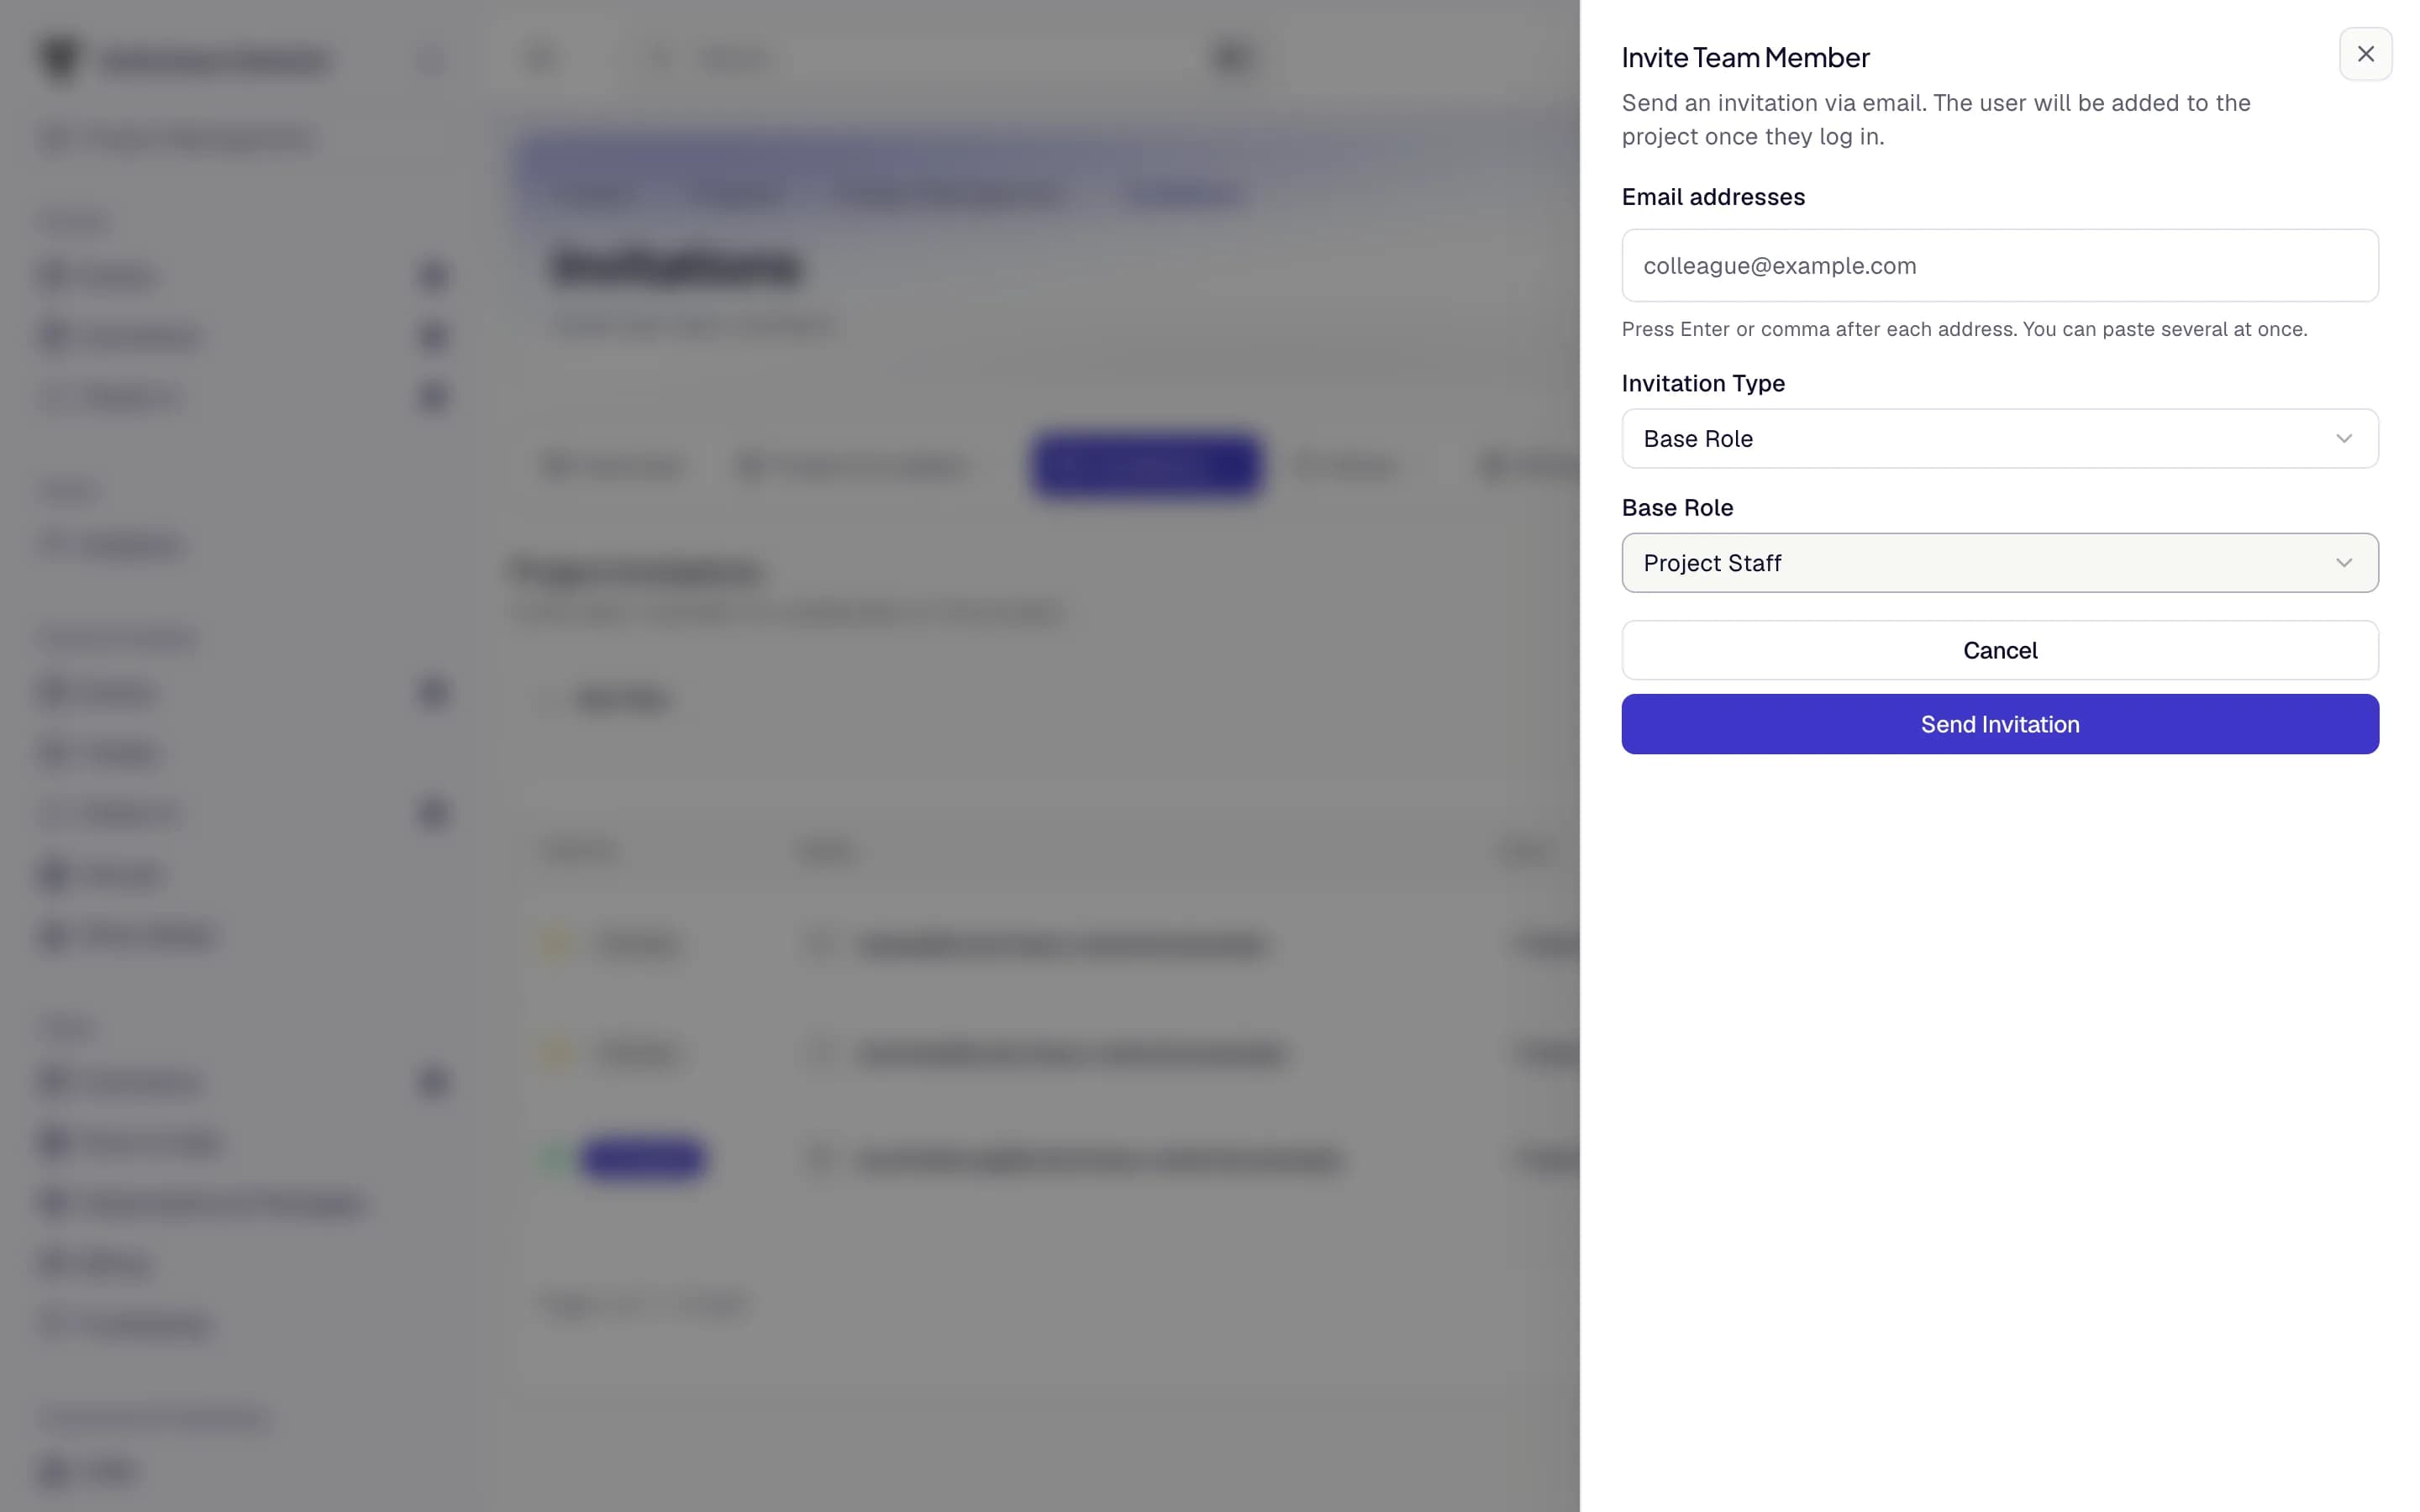
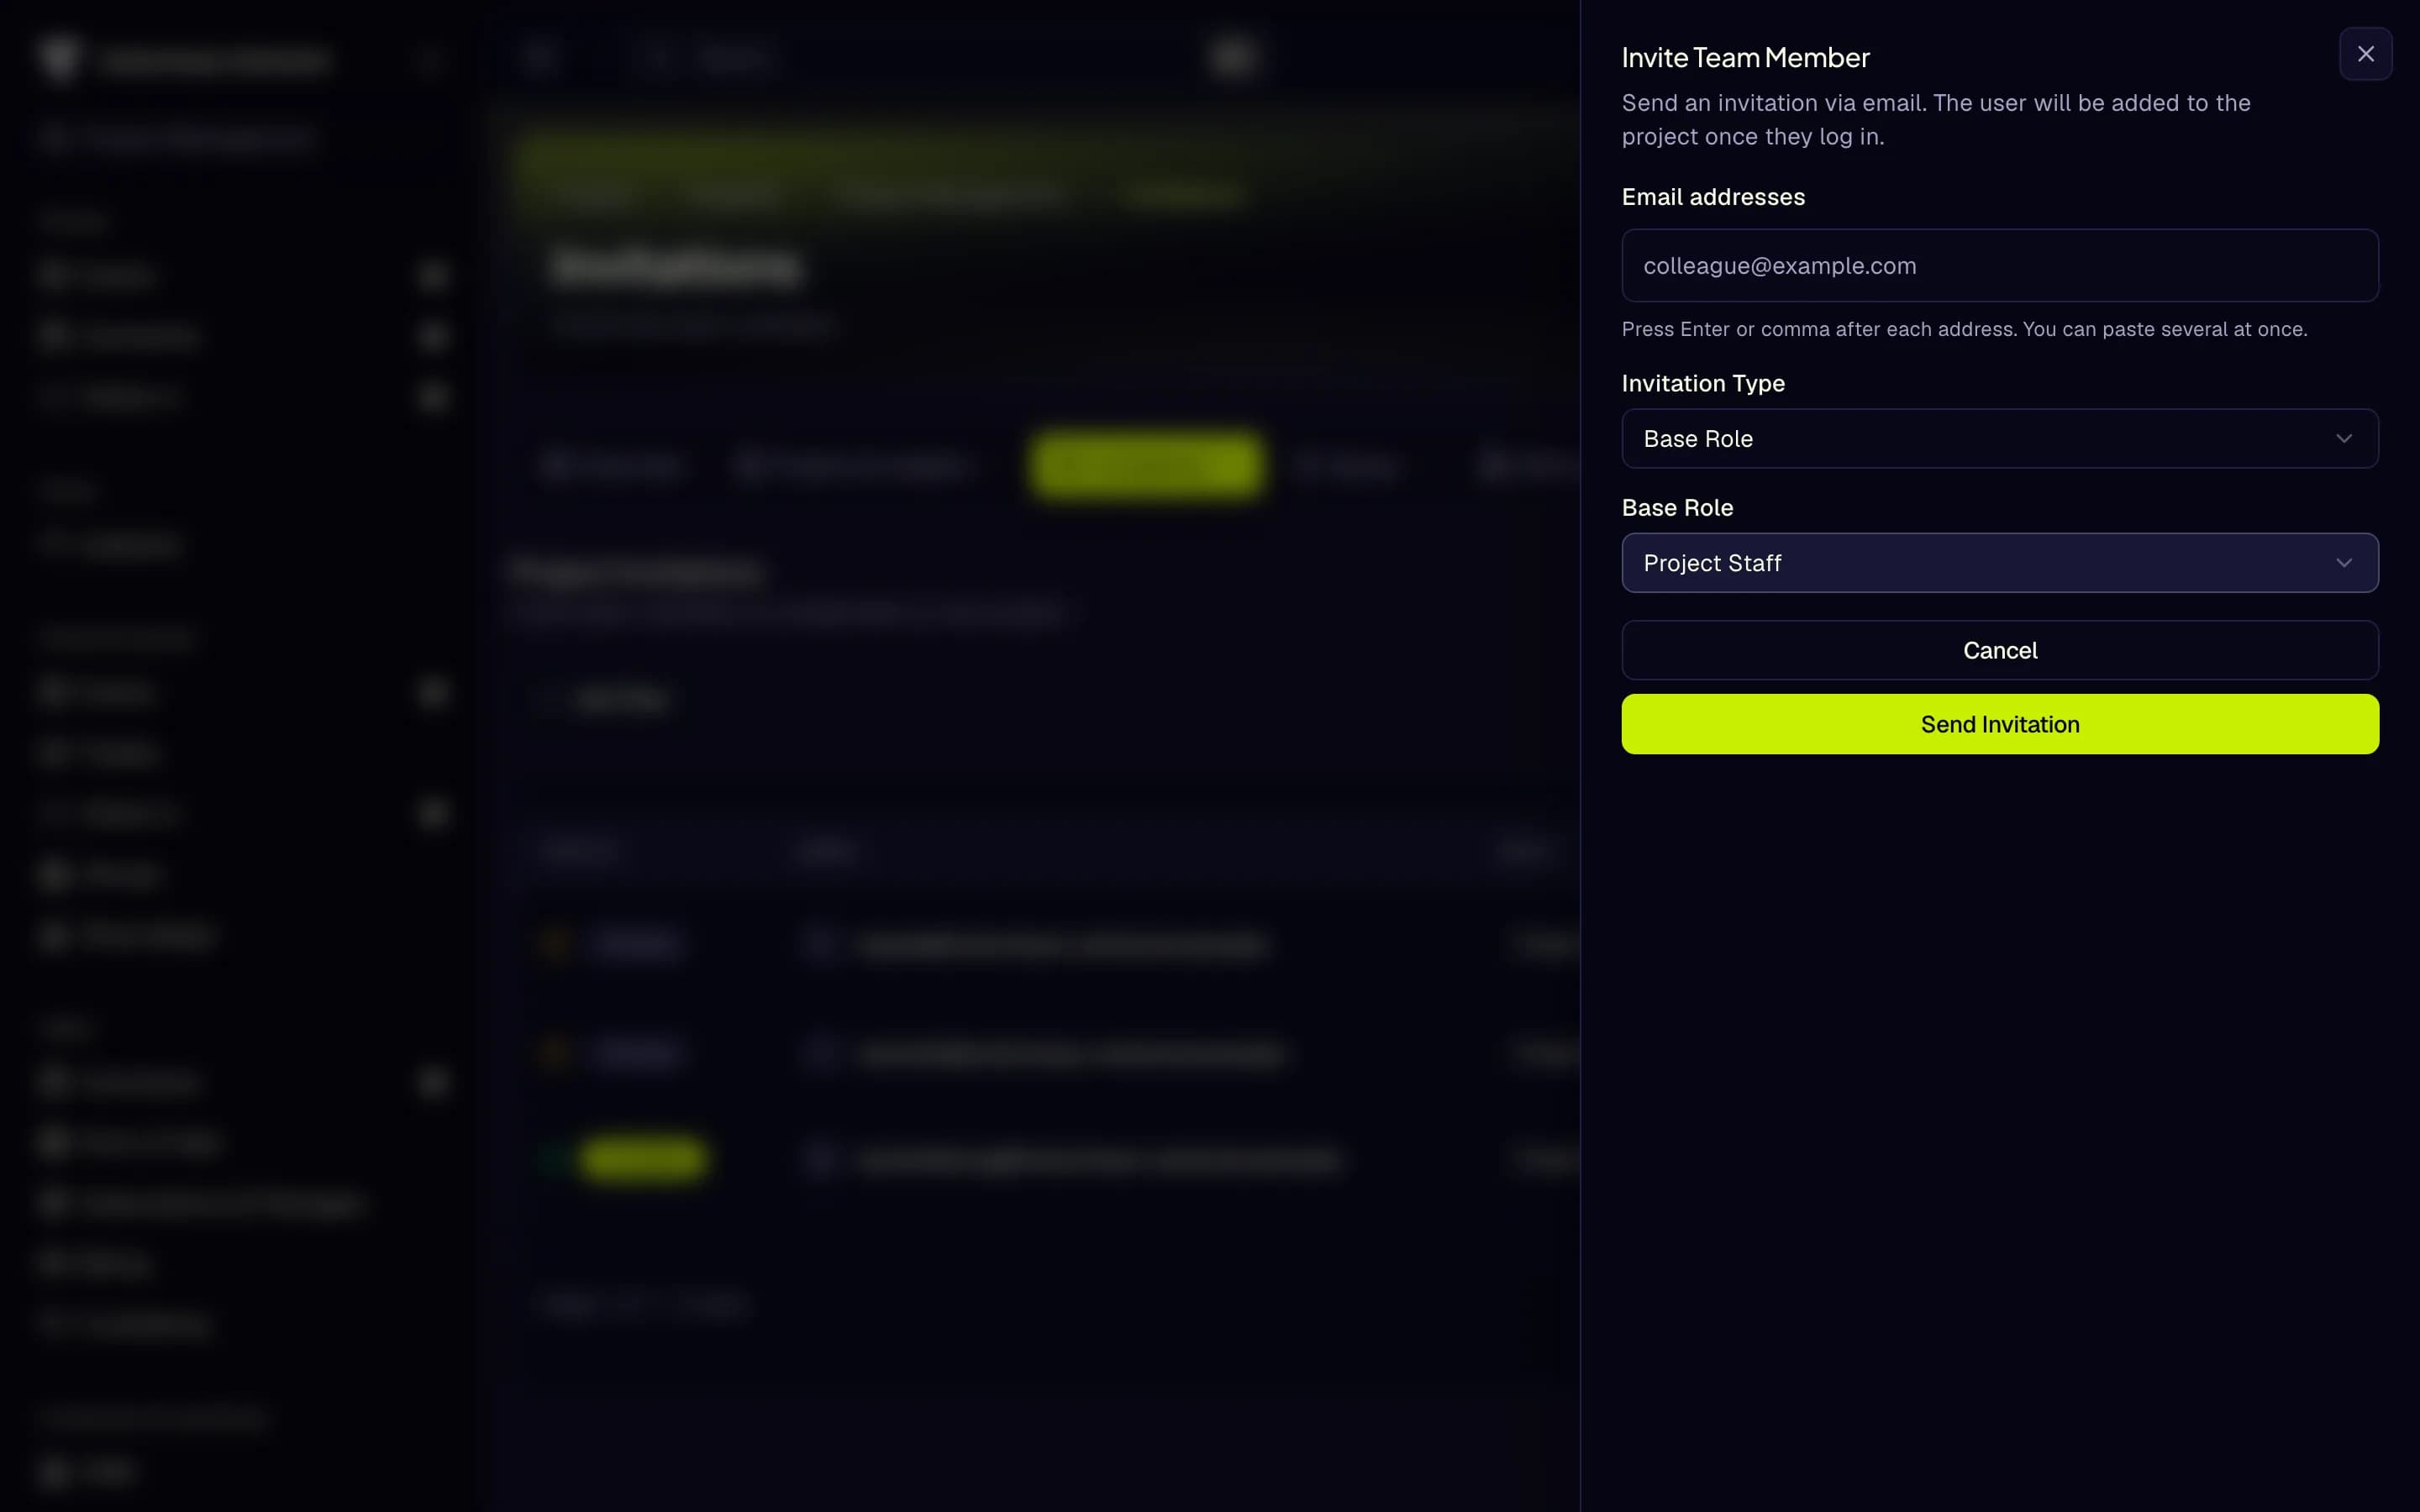
- Email addresses
- Invitation Type
- Base Role
- Send Invitation
Invite team members
Each person receives an email with a link. An invitation is valid for 14 days and can only be accepted with the invited email address. Inviting a Project Admin or Project Accountant, or a custom role based on one, asks you to confirm with your second factor if you have not done so in the last few minutes.
To find an invitation, click Add filter → Status: Pending, Accepted or Revoked. The filter covers every invitation of the project, not only the page you see. An expired invitation still shows as pending, with its expiry date. To withdraw one, click Revoke and hold Hold to revoke. The toast that follows offers Send again if you change your mind.
Accept an invitation
The link in the email opens Accept invitation. It shows the project, the invited address and when the invitation expires.
- Already have an account? Sign in with the invited address and click Accept invitation.
- New to TixFin? Click Send code, enter the Confirmation code from the email, and click Create account and join. For a Project Admin or Project Accountant invitation, use Create account instead and accept after signing in with two-factor authentication. Accepting asks for your second factor again if you have not confirmed it in the last few minutes.
Signed-in users also find their invitations under Projects → Invitations, where they can Accept or Reject each one. This page needs two-factor authentication. See Account security.
Find, change or remove a member
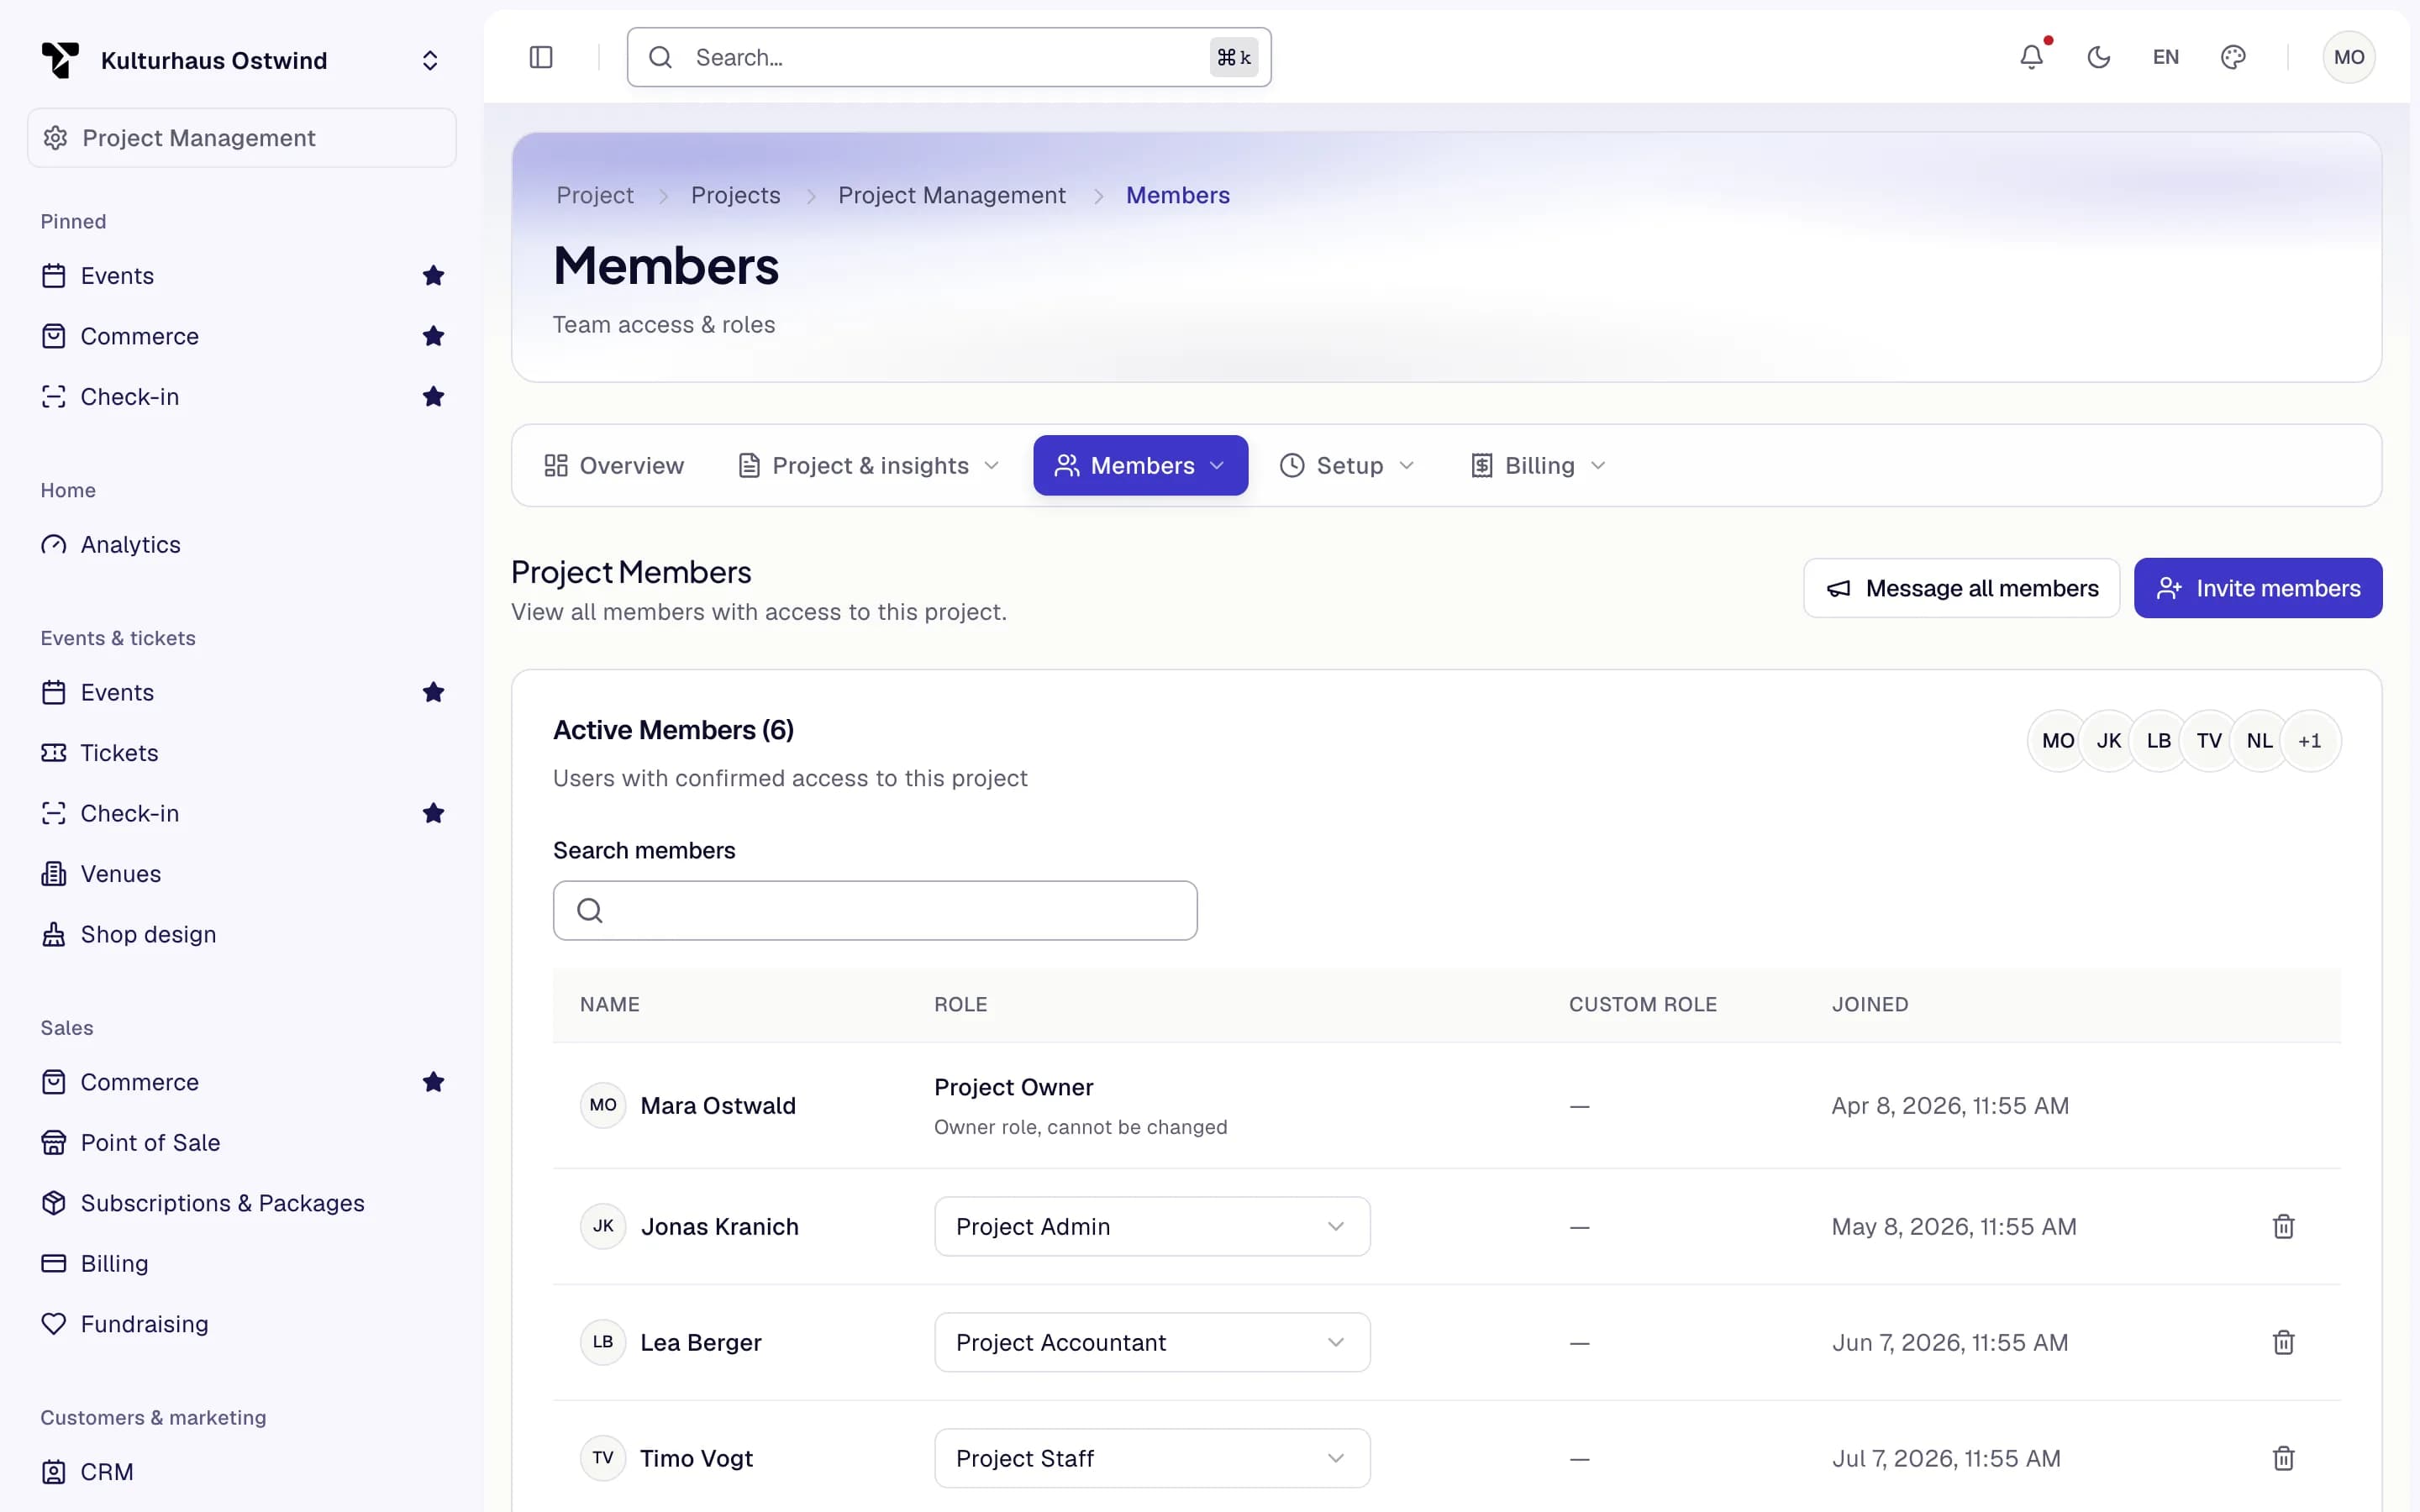
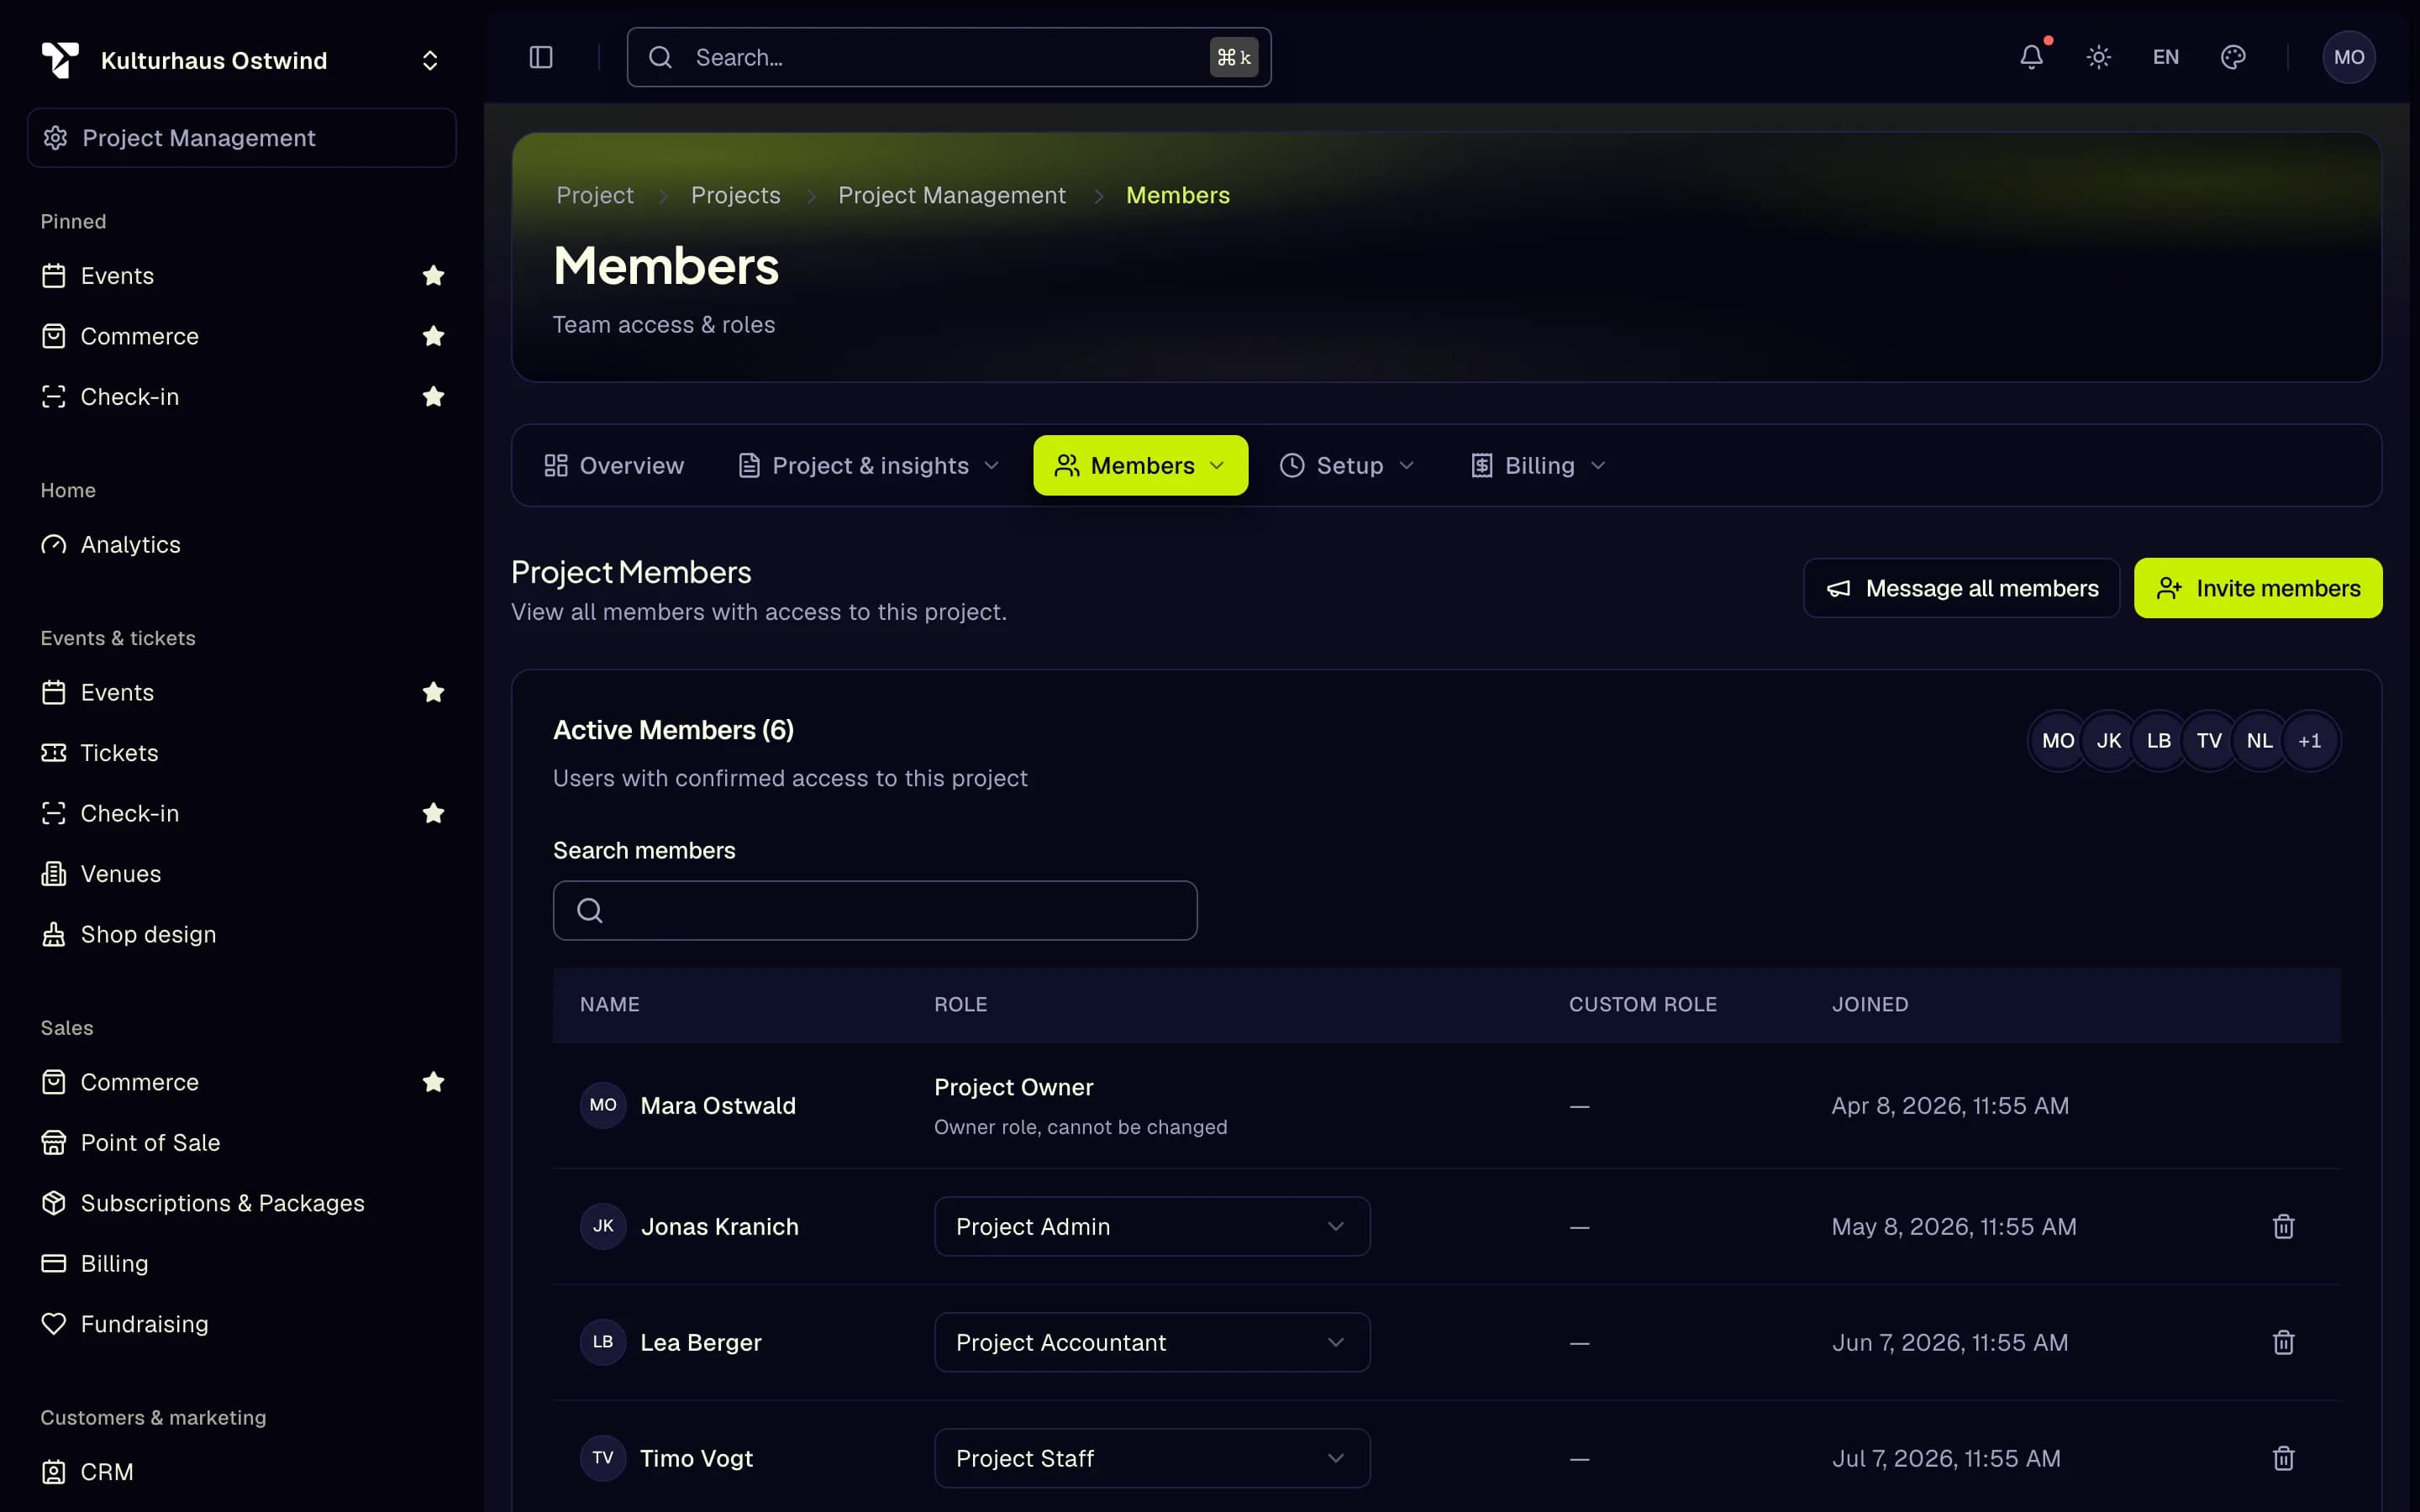
- Search members
- Change the role
- Remove a member
- Invite members
- Message all members
Only an owner can change or remove another owner, and has to hold the confirm button to do it. Your own owner row shows Owner role, cannot be changed, so a project always keeps at least one owner. Making someone a Project Admin, Project Accountant or owner, or changing or removing an owner, asks you to confirm with your second factor if you have not done so in the last few minutes.
Hand the project over or add a co-owner
Who: the project's owner
To take the owner role from a co-owner, pick their new role in their row and hold Change. To remove a co-owner, click the bin icon in their row and hold Hold to remove. You cannot change or remove your own owner role; ask a co-owner, or hand the project over.
Message all members
Who: the project's owner
The button only shows to the owner and only when the project has more than one member.
Create a custom role template
_ and -, 2 to 40 characters.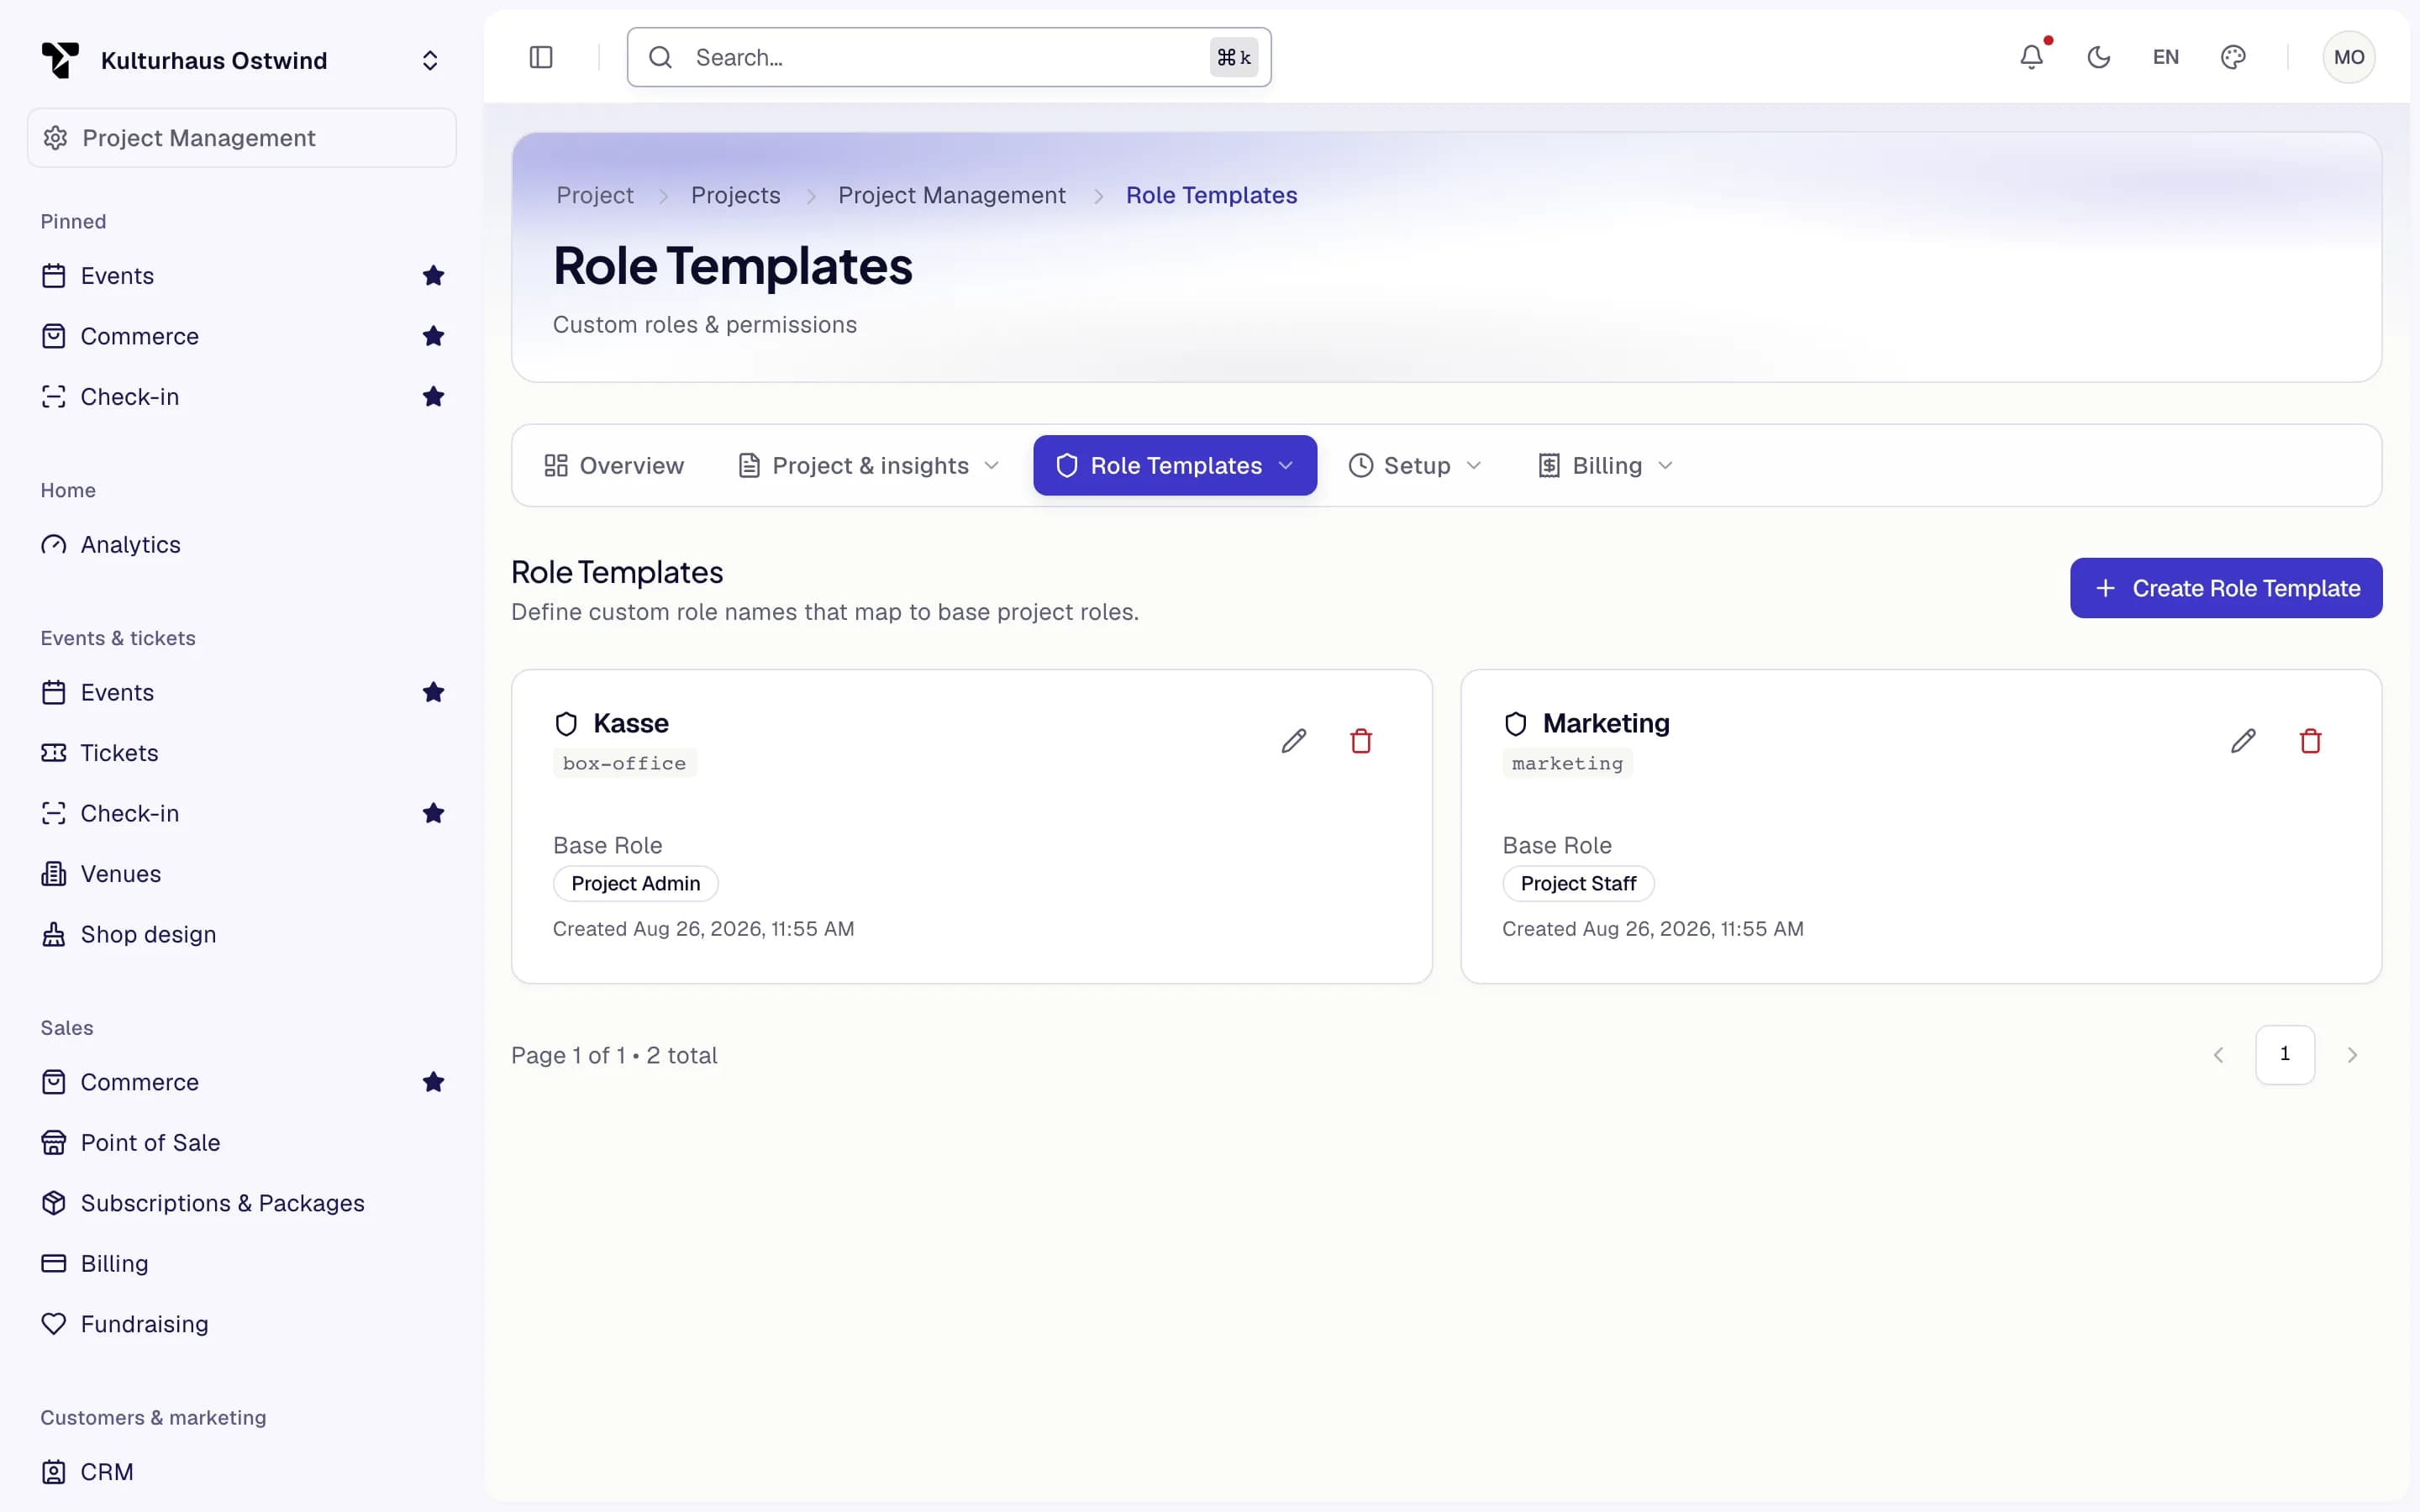
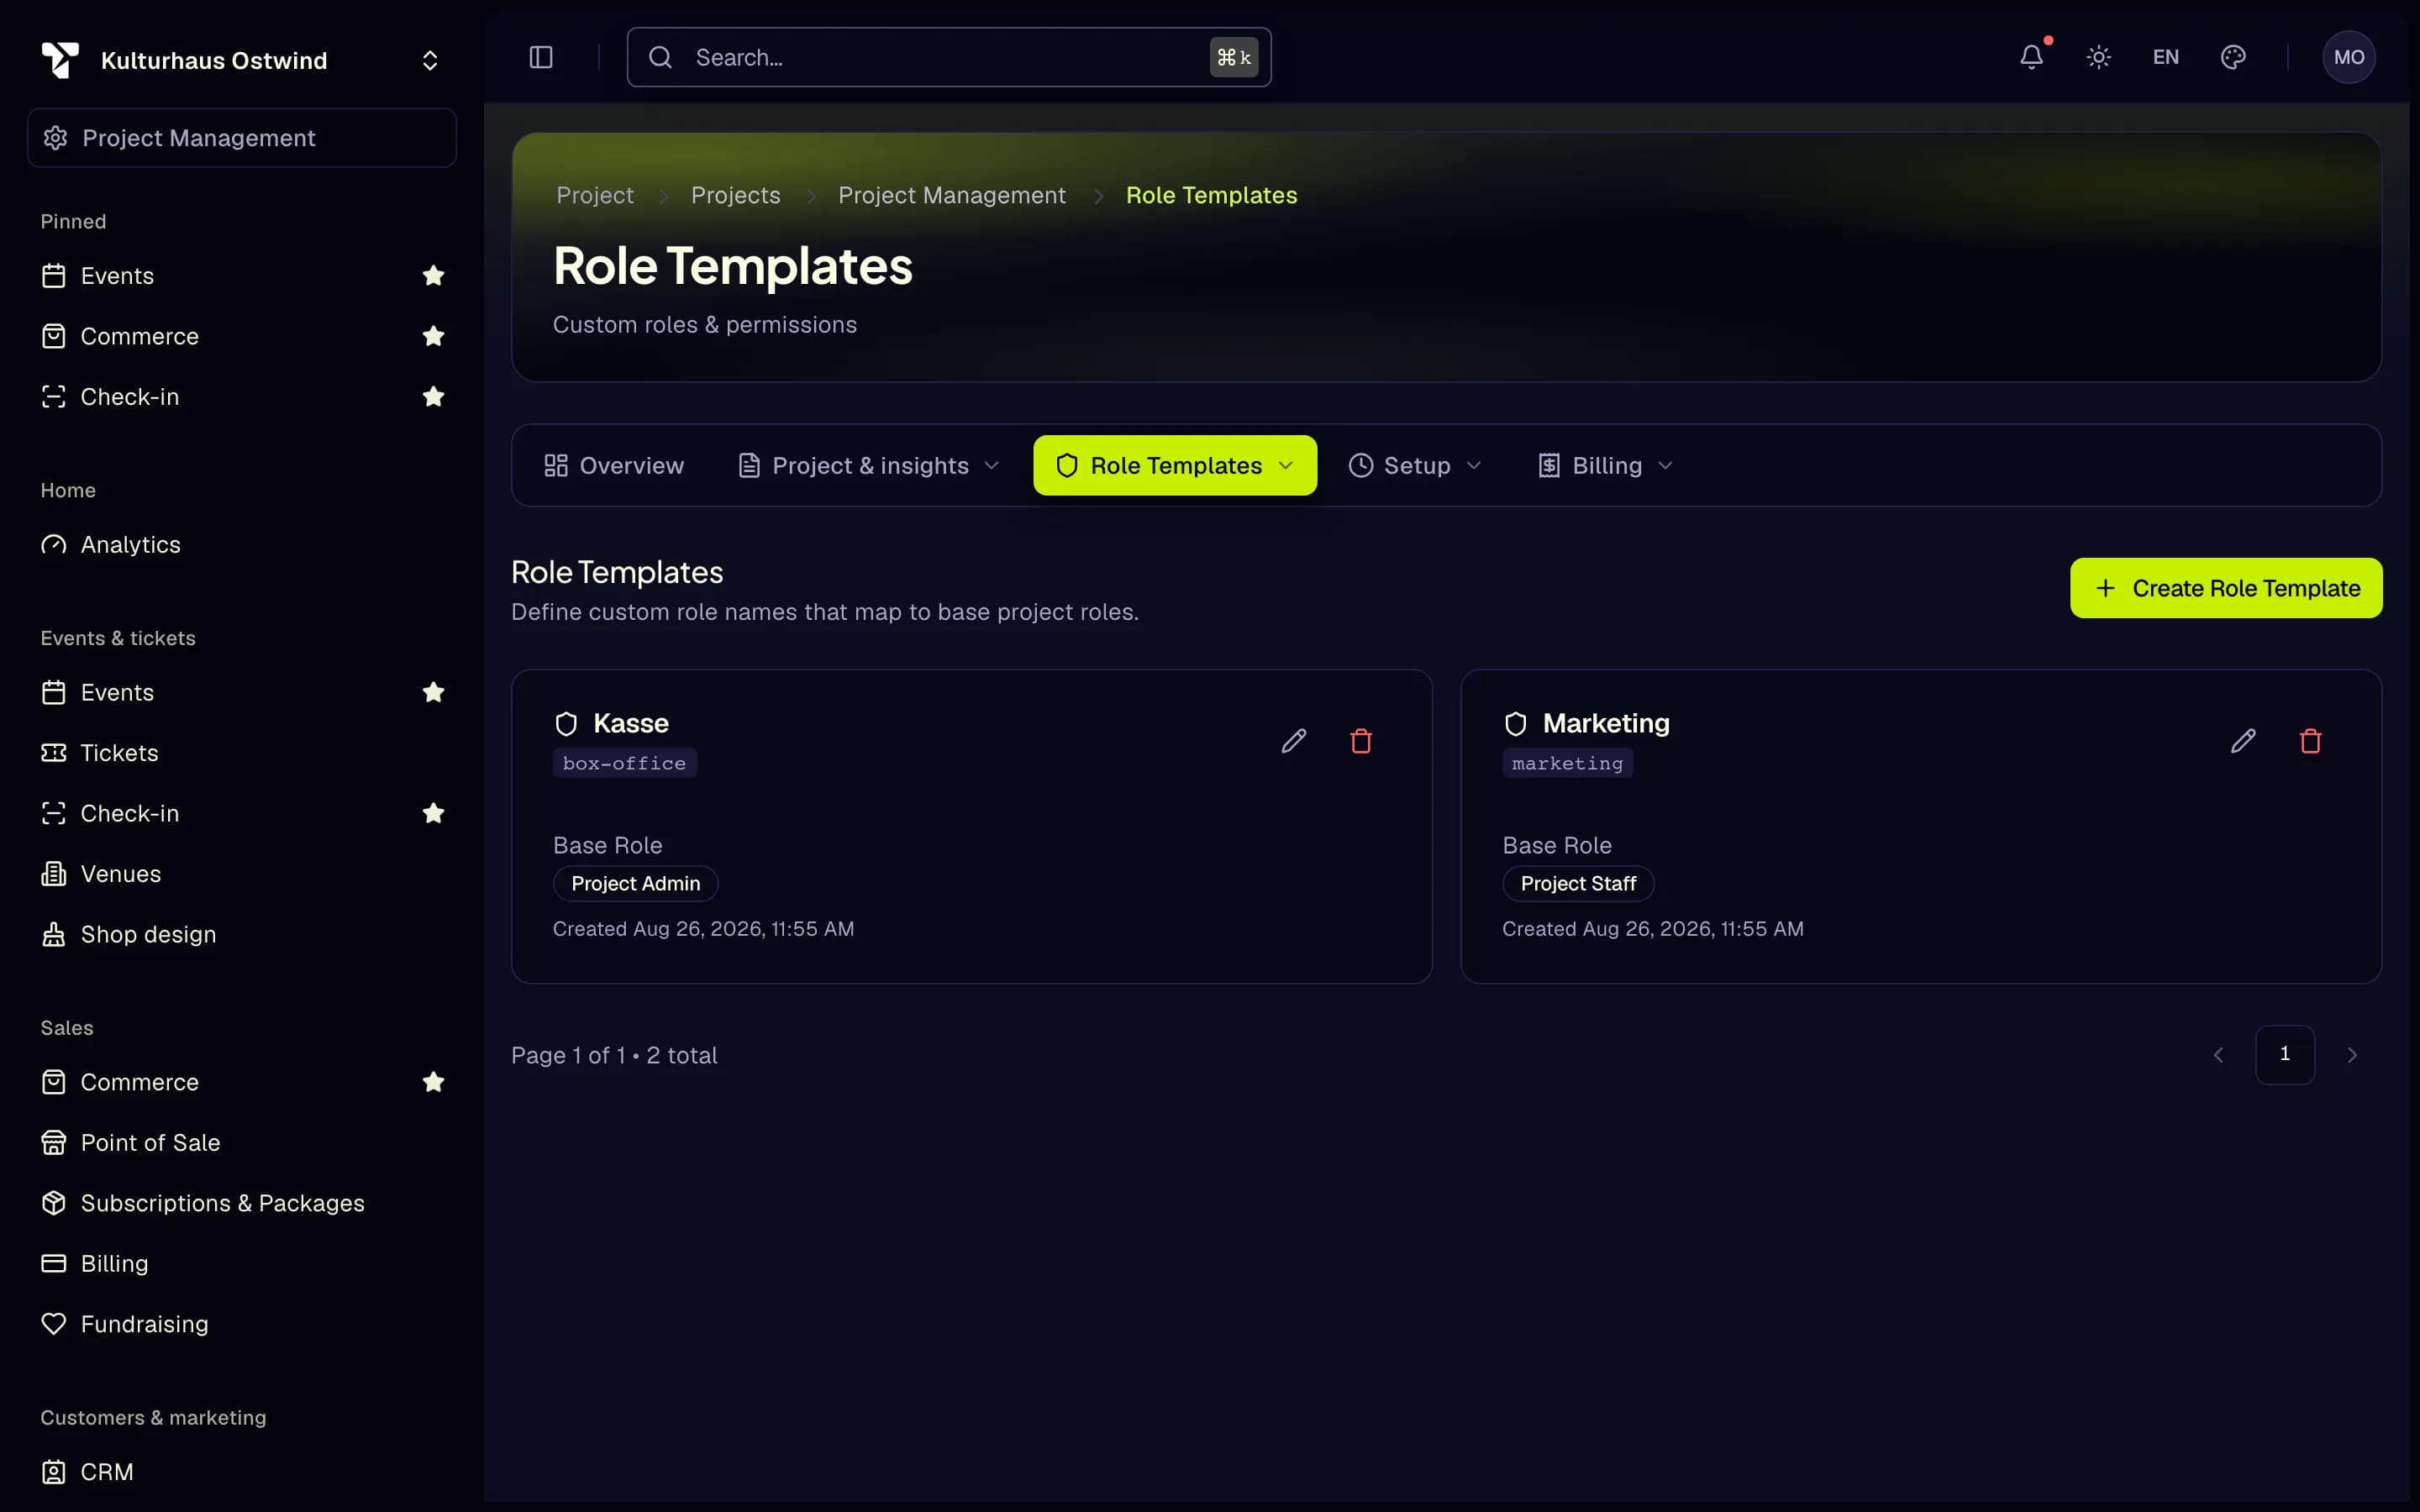
- Role Templates
- Create Role Template
- Base Role
- Edit Permissions
Adding Manage project members, Manage billing or the plan permission (PROJECT_PLAN_MANAGE) to a template changes what everyone with
that role can do at once, so it asks for your second factor if you have not confirmed it in the last few minutes.
Reference: roles
| Role | What it is for |
|---|---|
| Project Owner | Full control over the project |
| Project Admin | Project settings and members. Everything except what only an owner may do |
| Project Accountant | Billing, tax, campaigns, analytics and loyalty. No changes to members, events or tickets |
| Project Staff | Ticket scanning, tasks and the crew views. Cannot see ticket holders' details |
Every project also starts with five templates. You can edit or delete them like your own.
| Template | Based on | What it can do |
|---|---|---|
| Manager | Project Admin | Everything except project settings, members, role templates, plan, billing and tax |
| Crew Manager | Project Admin | Staff permissions plus managing crew operations and tasks |
| Scanner | Project Staff | Ticket scanning plus the check-in, incident, announcement and briefing views, and their own timesheets |
| Cashier | Project Admin | Selling at stand and event tills, viewing products and issuing entitlements; no configuration, cancellations or takings (Stands, food and drinks) |
| Outlet | Project Staff | Nothing in the project: a presale outlet's login, which sells only at the outlets it is put on |
You can only give out roles up to your own level. Only people who may manage members can invite or change roles.
Reference: Project settings sections
Each section only shows if your role allows it.
| Group | Sections |
|---|---|
| — | Overview |
| Project & insights | Project Details, Analytics, Support Tickets |
| Team & permissions | Members, Invitations, Role Templates, Temp Scanners, Media uploads, Remote support |
| Setup | Opening Hours, Sponsors, Subdomain, Mail sender |
| Billing | Billing & Legal, Plan & Features |
Temp Scanners are scanner-only accounts for door staff who do not need a full account. See Access control. The other sections are described under Project settings and Billing and plans.
Common problems
- "2 of 5 invitations not sent" The others were sent. The message names each failed address with its reason, for example "Not a valid email address", and only the failed addresses stay in the field. Correct them and click Send Invitation again.
- "This invitation is invalid or has expired. Please ask for a new invitation." Ask the project to revoke the old invitation and send a new one.
- The invited person sees a different project or no invitation. They are signed in with another address. Sign out and sign in with the invited address.