
 TixFin
Project staff
Your work as Project Staff or Project Accountant, from the invitation to the door, the shift and the books
This guide is for people a project lead has invited to work in a project:
- Project Staff: door staff and crew. You scan tickets, work your shifts and check in for them.
- Project Accountant: bookkeeping. You look after orders, refunds, invoices, tax and exports.
Start with steps 1 and 2, then go to the part for your role. If you were given a role template instead, such as Scanner or Crew Manager, the staff part applies; you see only what your template allows.
What each role can do
| Task | Project Staff | Project Accountant |
|---|---|---|
| Scan tickets in the browser and in the app | Yes | No |
| See ticket holders' details on sold tickets | No | No |
| Own shifts, crew check-in, timesheets, briefings | Yes | No |
| Point of Sale | Only with an extra permission (see step 5) | No |
| Orders: look up and export | No | Yes |
| Refund order lines and whole orders | No | Yes |
| Cancel a Point of Sale sale | No | No |
| Invoices, credit notes, DATEV export | No | Yes |
| Payment providers, tax settings and tax reviews | No | Yes |
| Shop analytics, email campaigns, loyalty | No | Yes |
| Events, ticket types, shop design | No | No |
| Invite or remove members | No | No |
The project lead can change what your role allows. If a page you need is missing from the sidebar, ask them.
1. Accept the invitation
Where: the link in the invitation email (opens Accept invitation) Who can do this: the person invited, with the invited email address
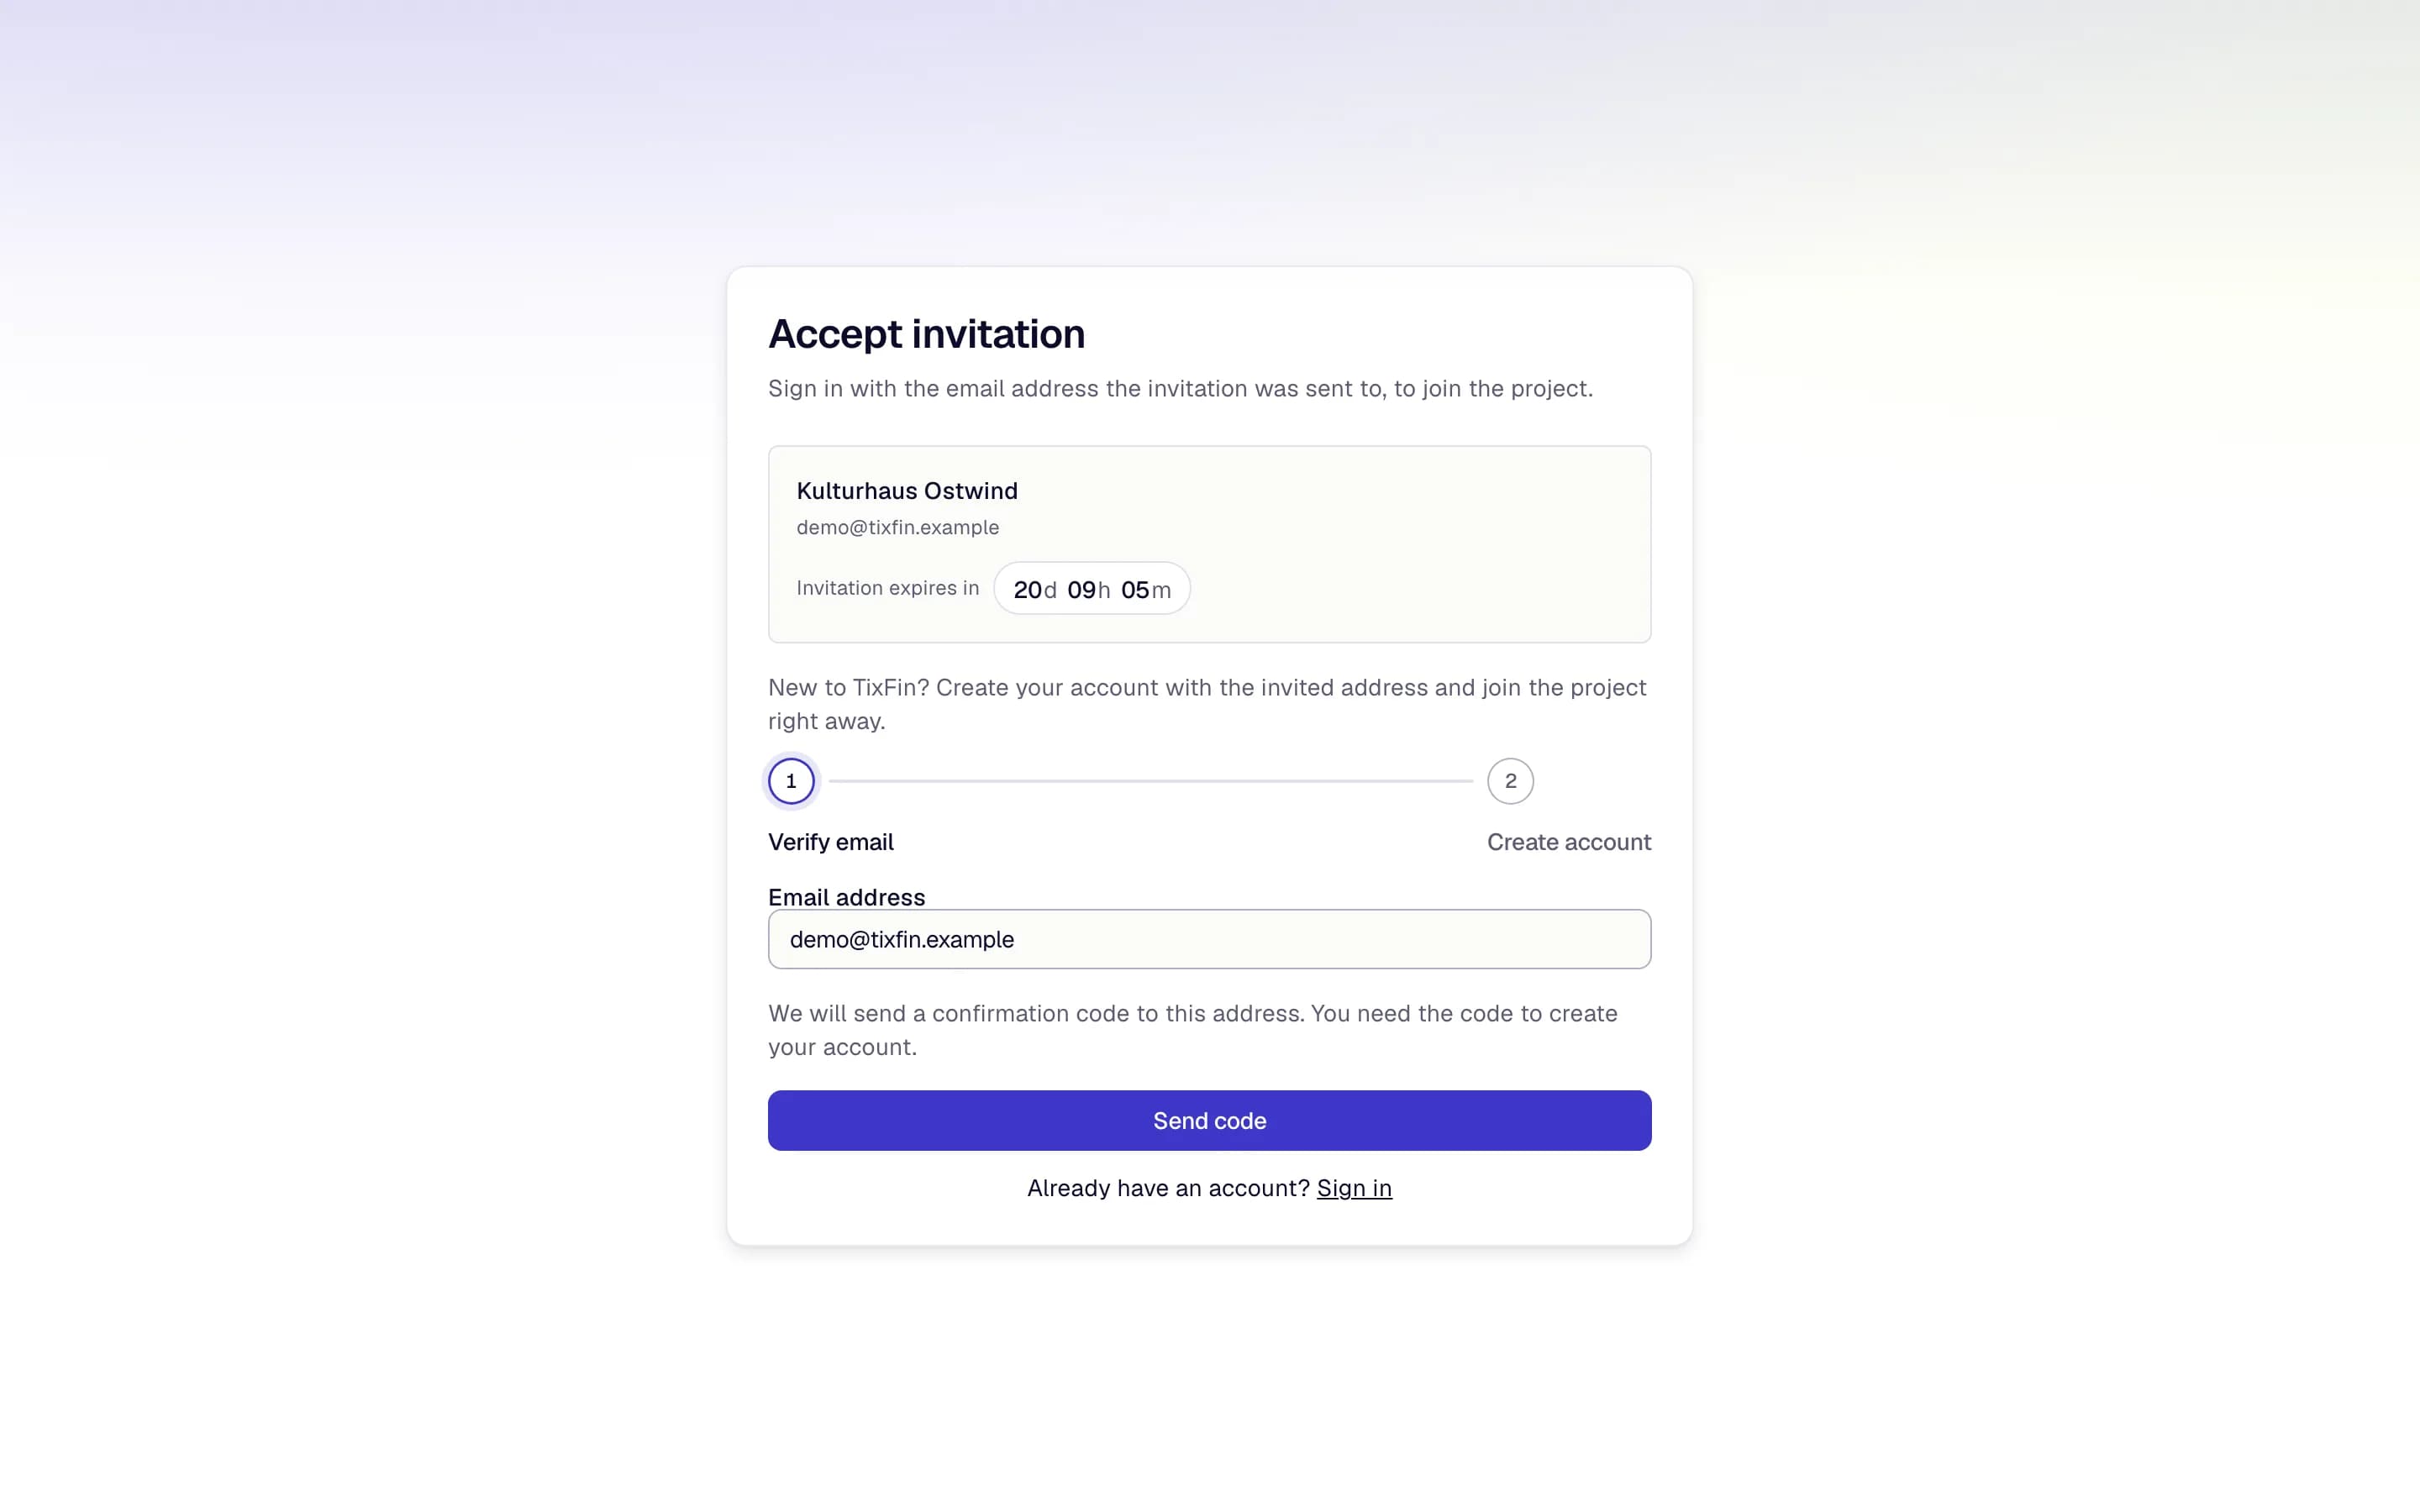
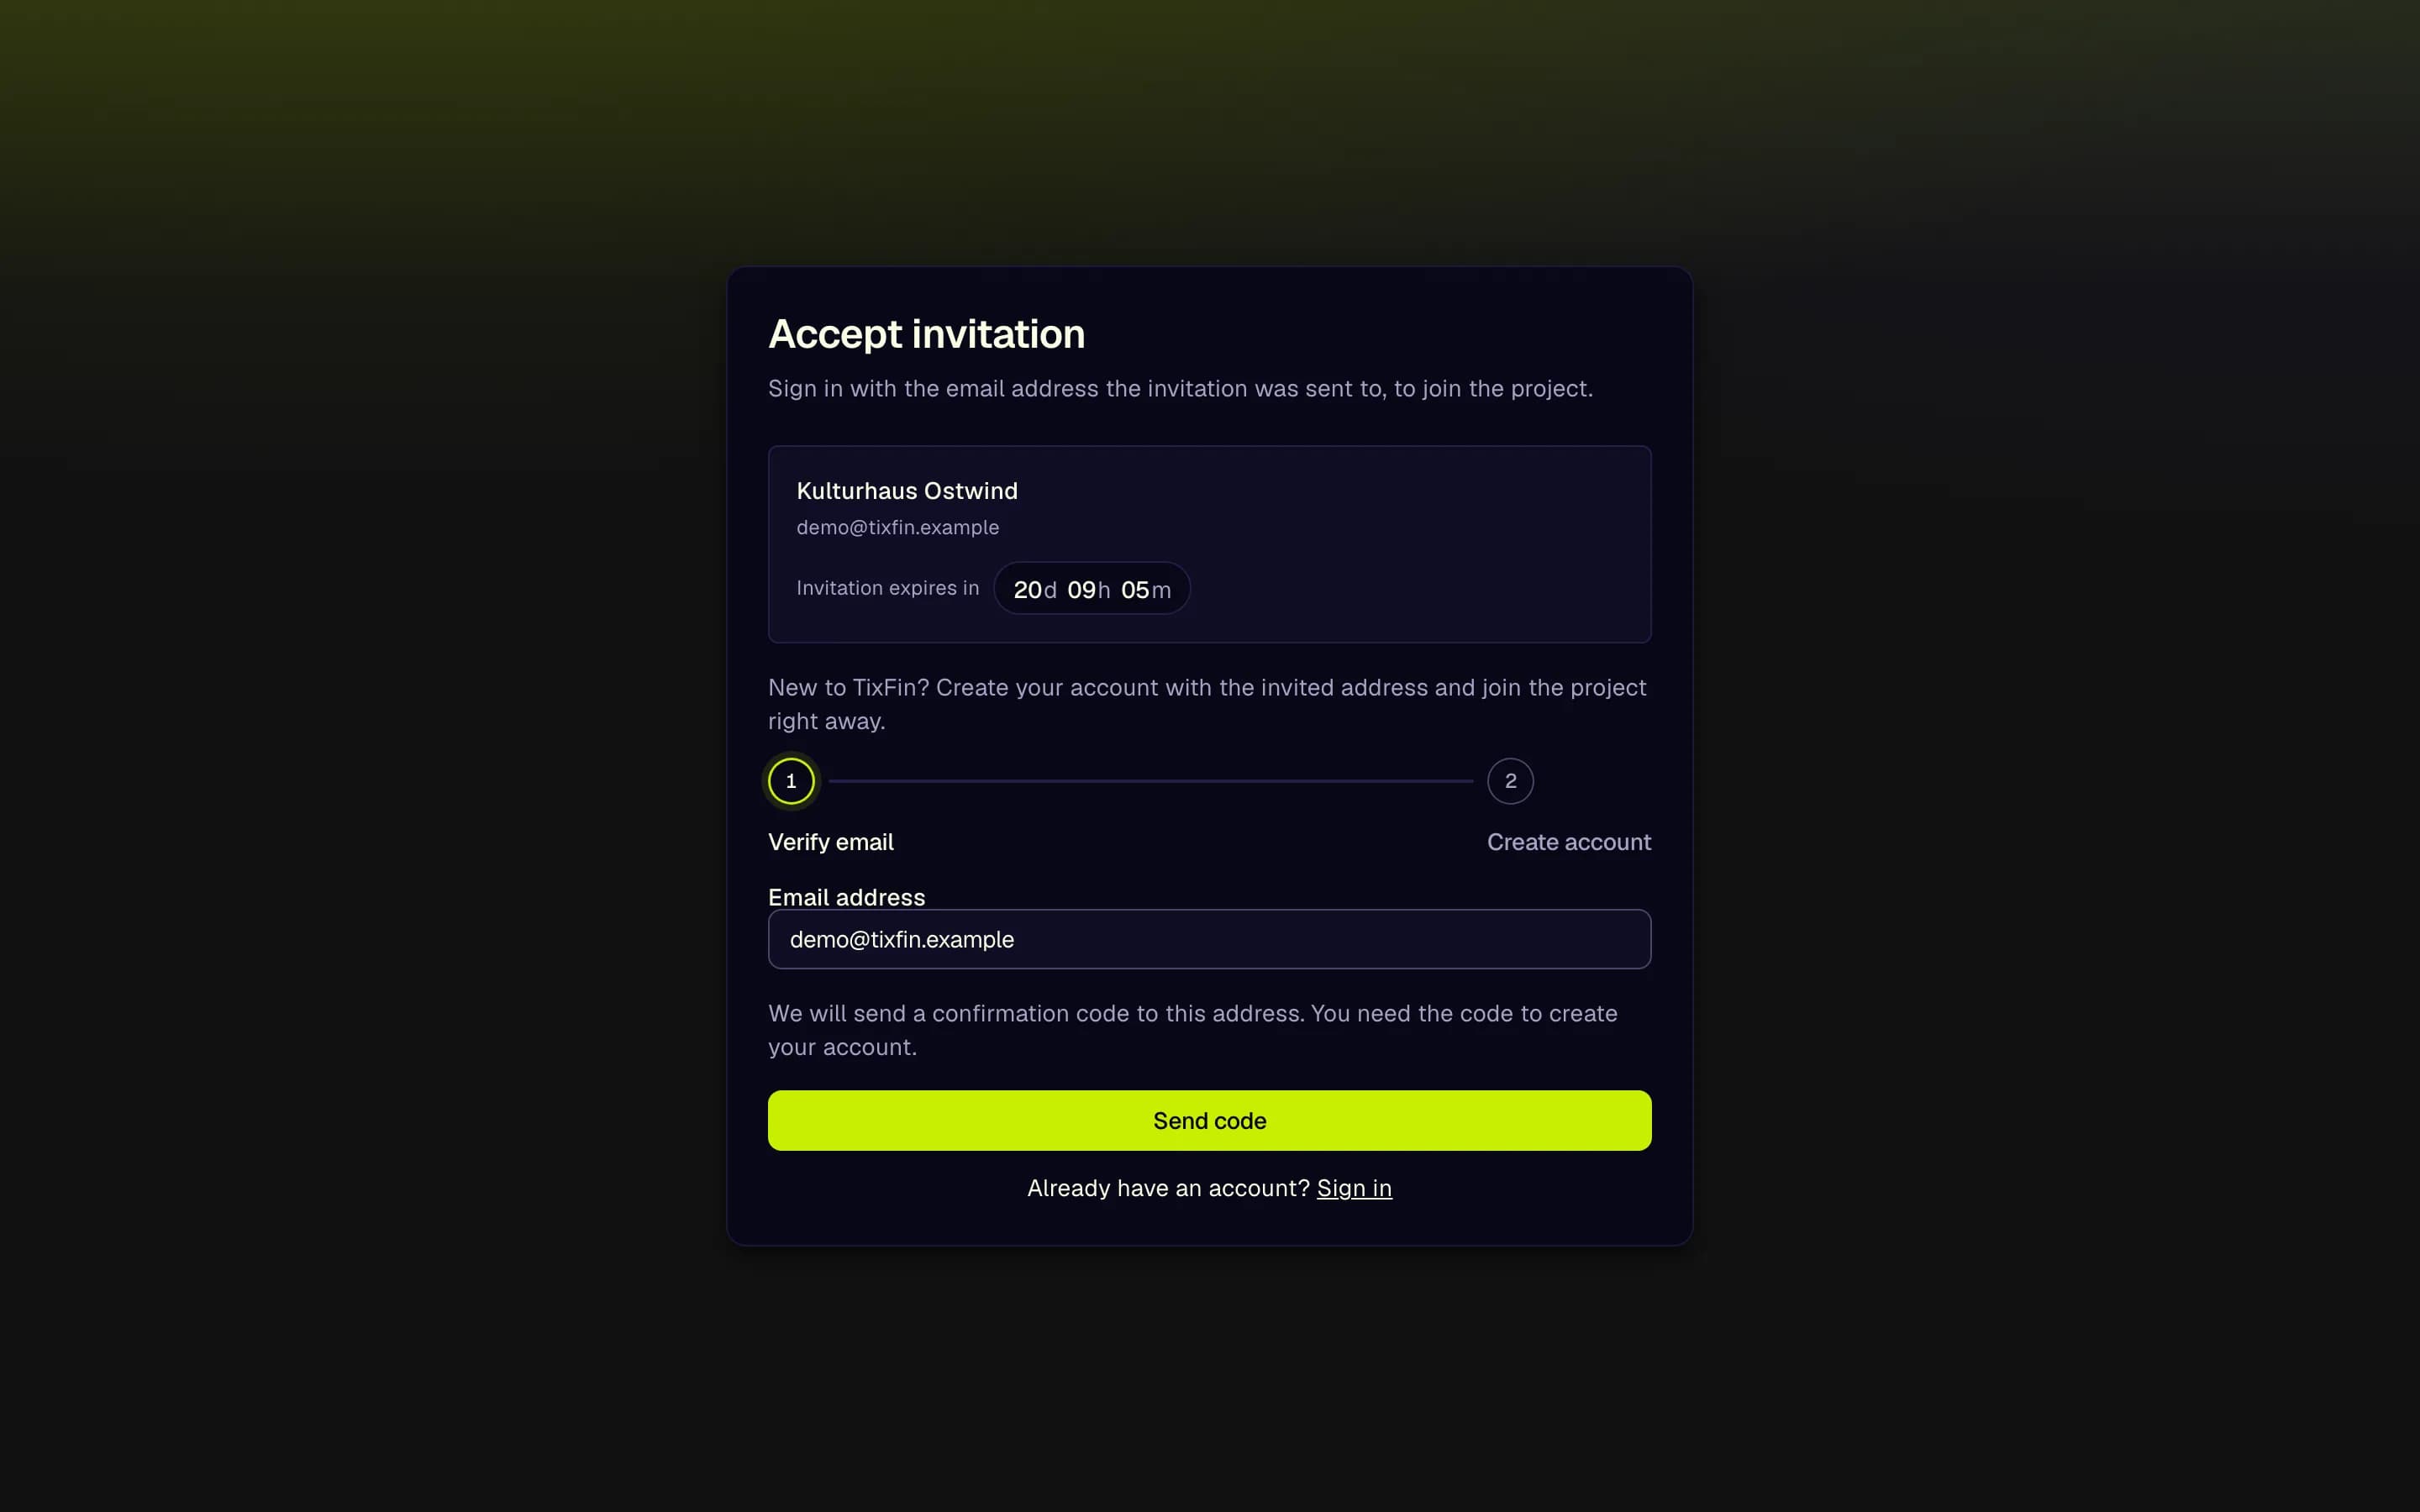
- Project, address and expiry
- Already have an account? Sign in
- Send code
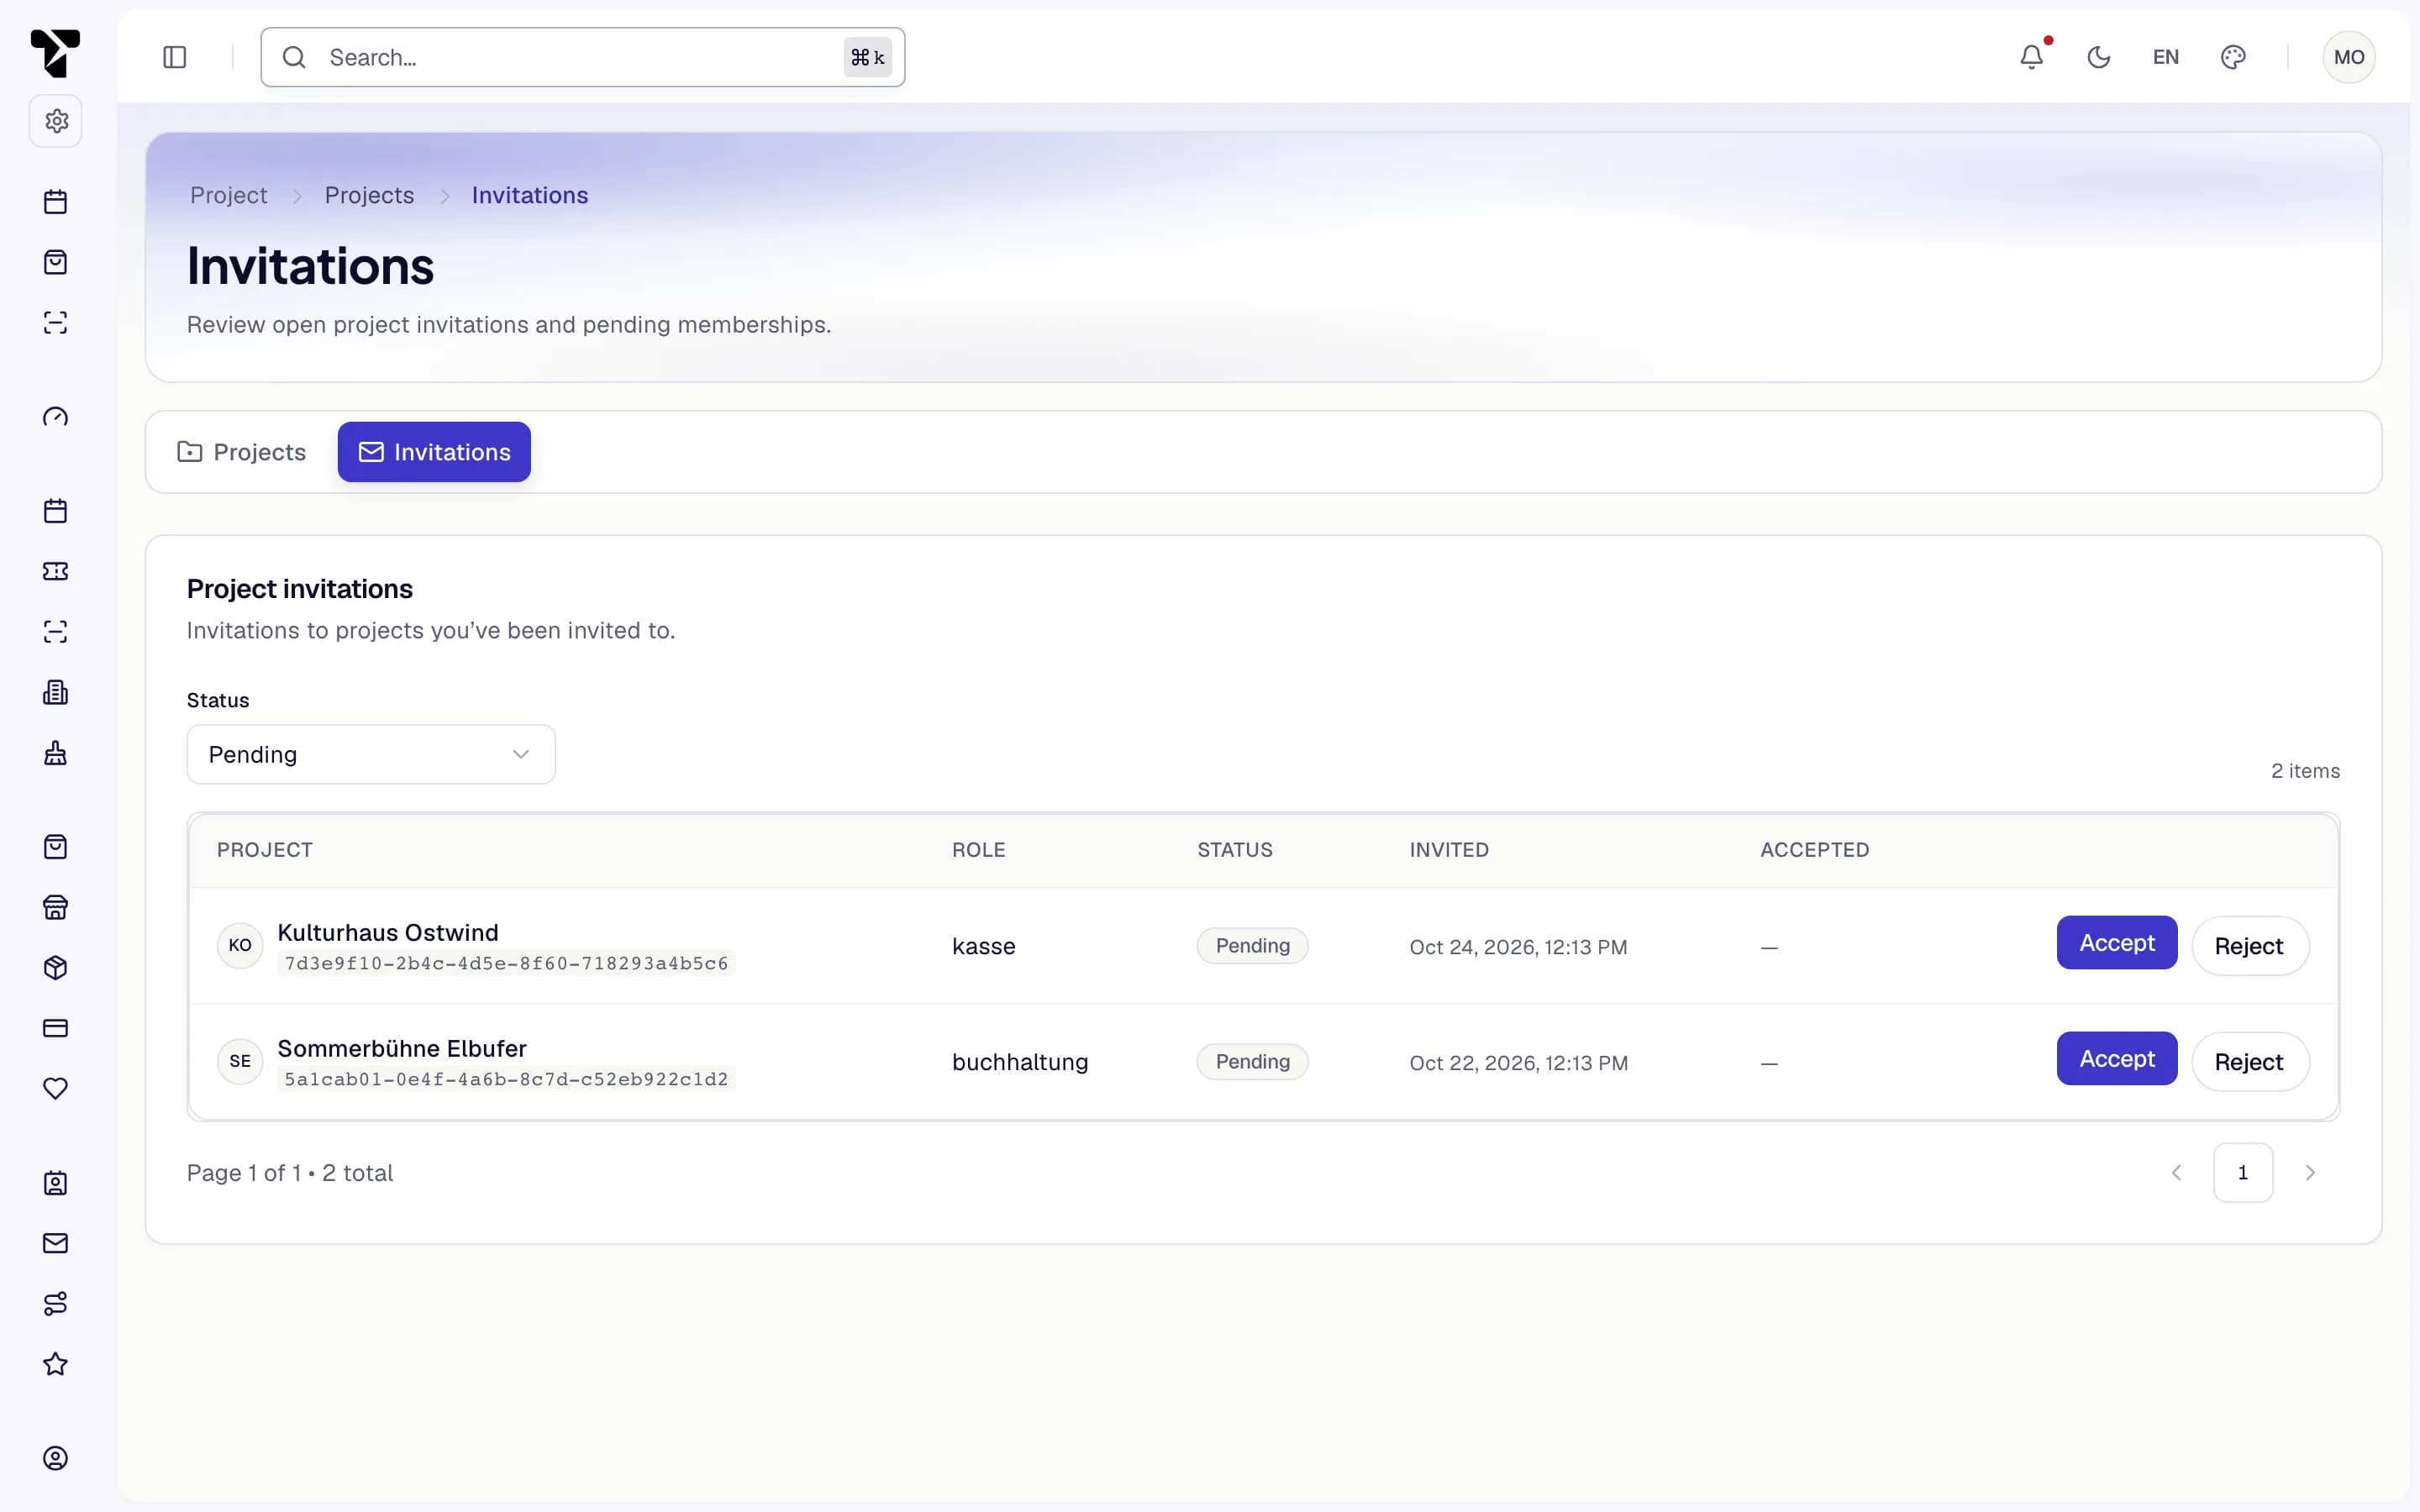
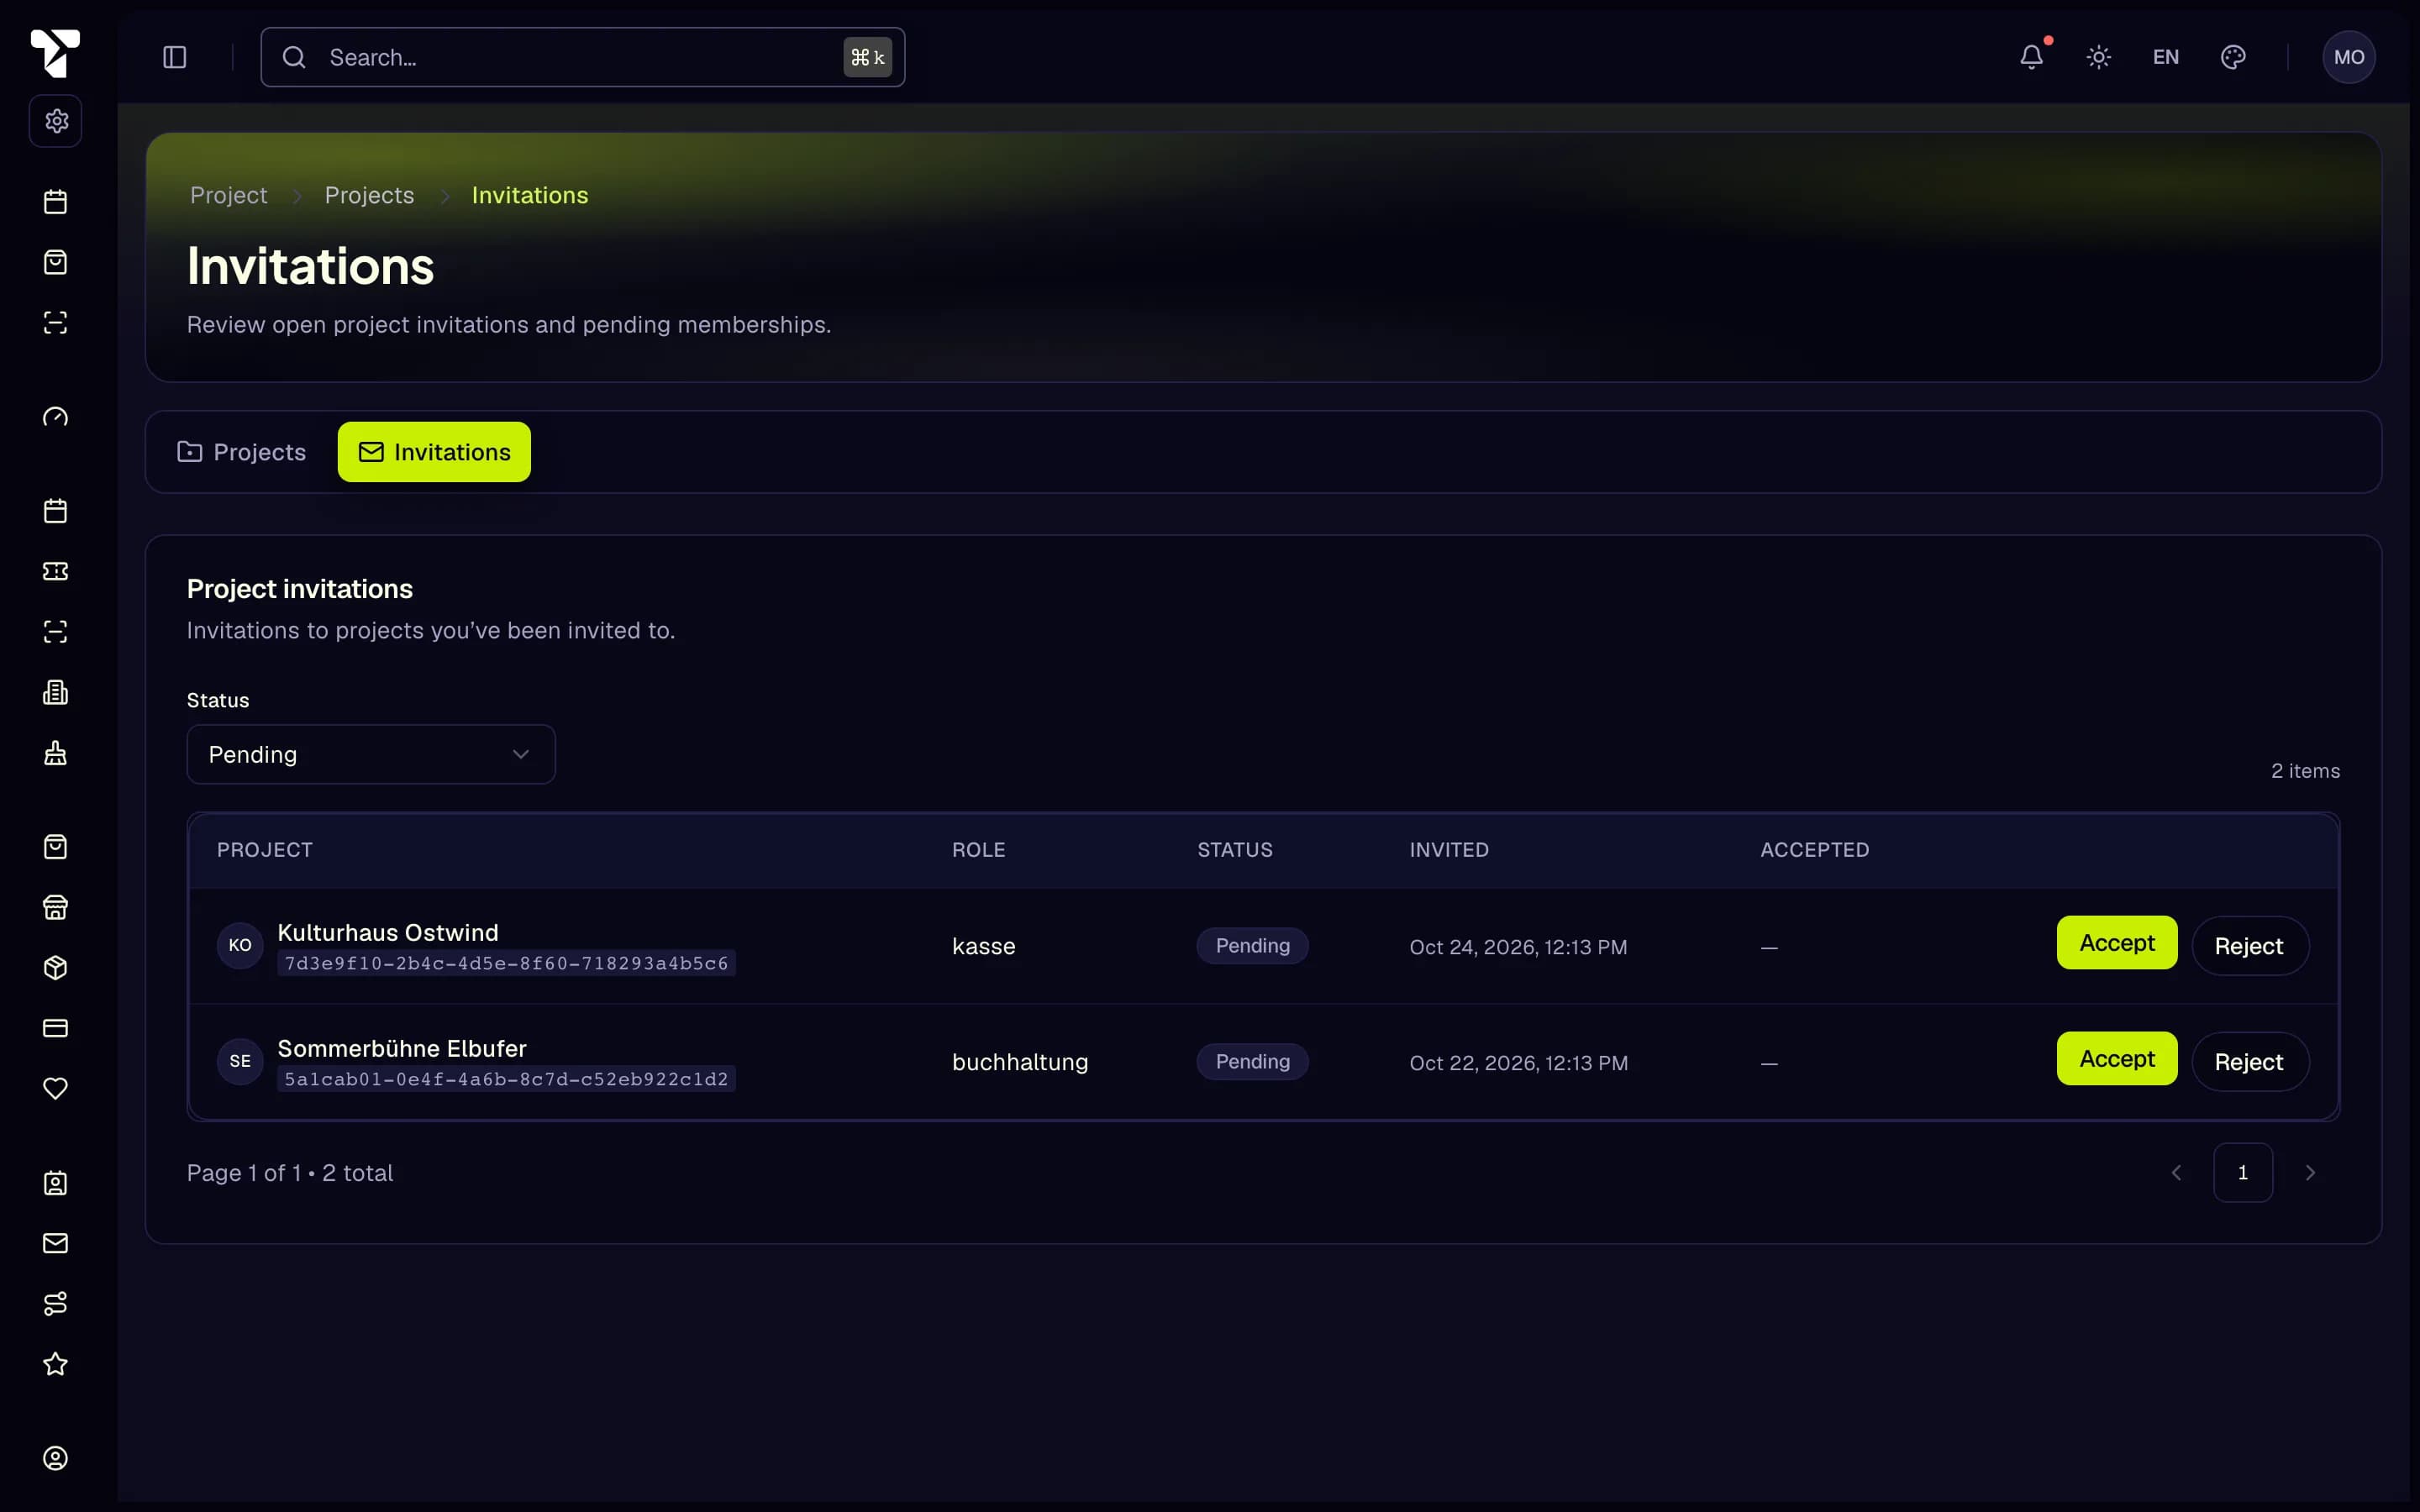
- Projects → Invitations
- Accept
- Reject
- Use exactly the invited address. Signed in with another address, you see another project or no invitation.
- An invitation is valid for 14 days. "This invitation is invalid or has expired" means the project lead has to send a new one.
- Invitations are accepted on the web, not in the app. Accept first, then sign in to the app.
Details: Team and roles
2. Set up two-factor authentication
TixFin requires two-factor authentication for working in a project, in the dashboard and in the app.
Where: account menu → Account → Security Who can do this: every signed-in user
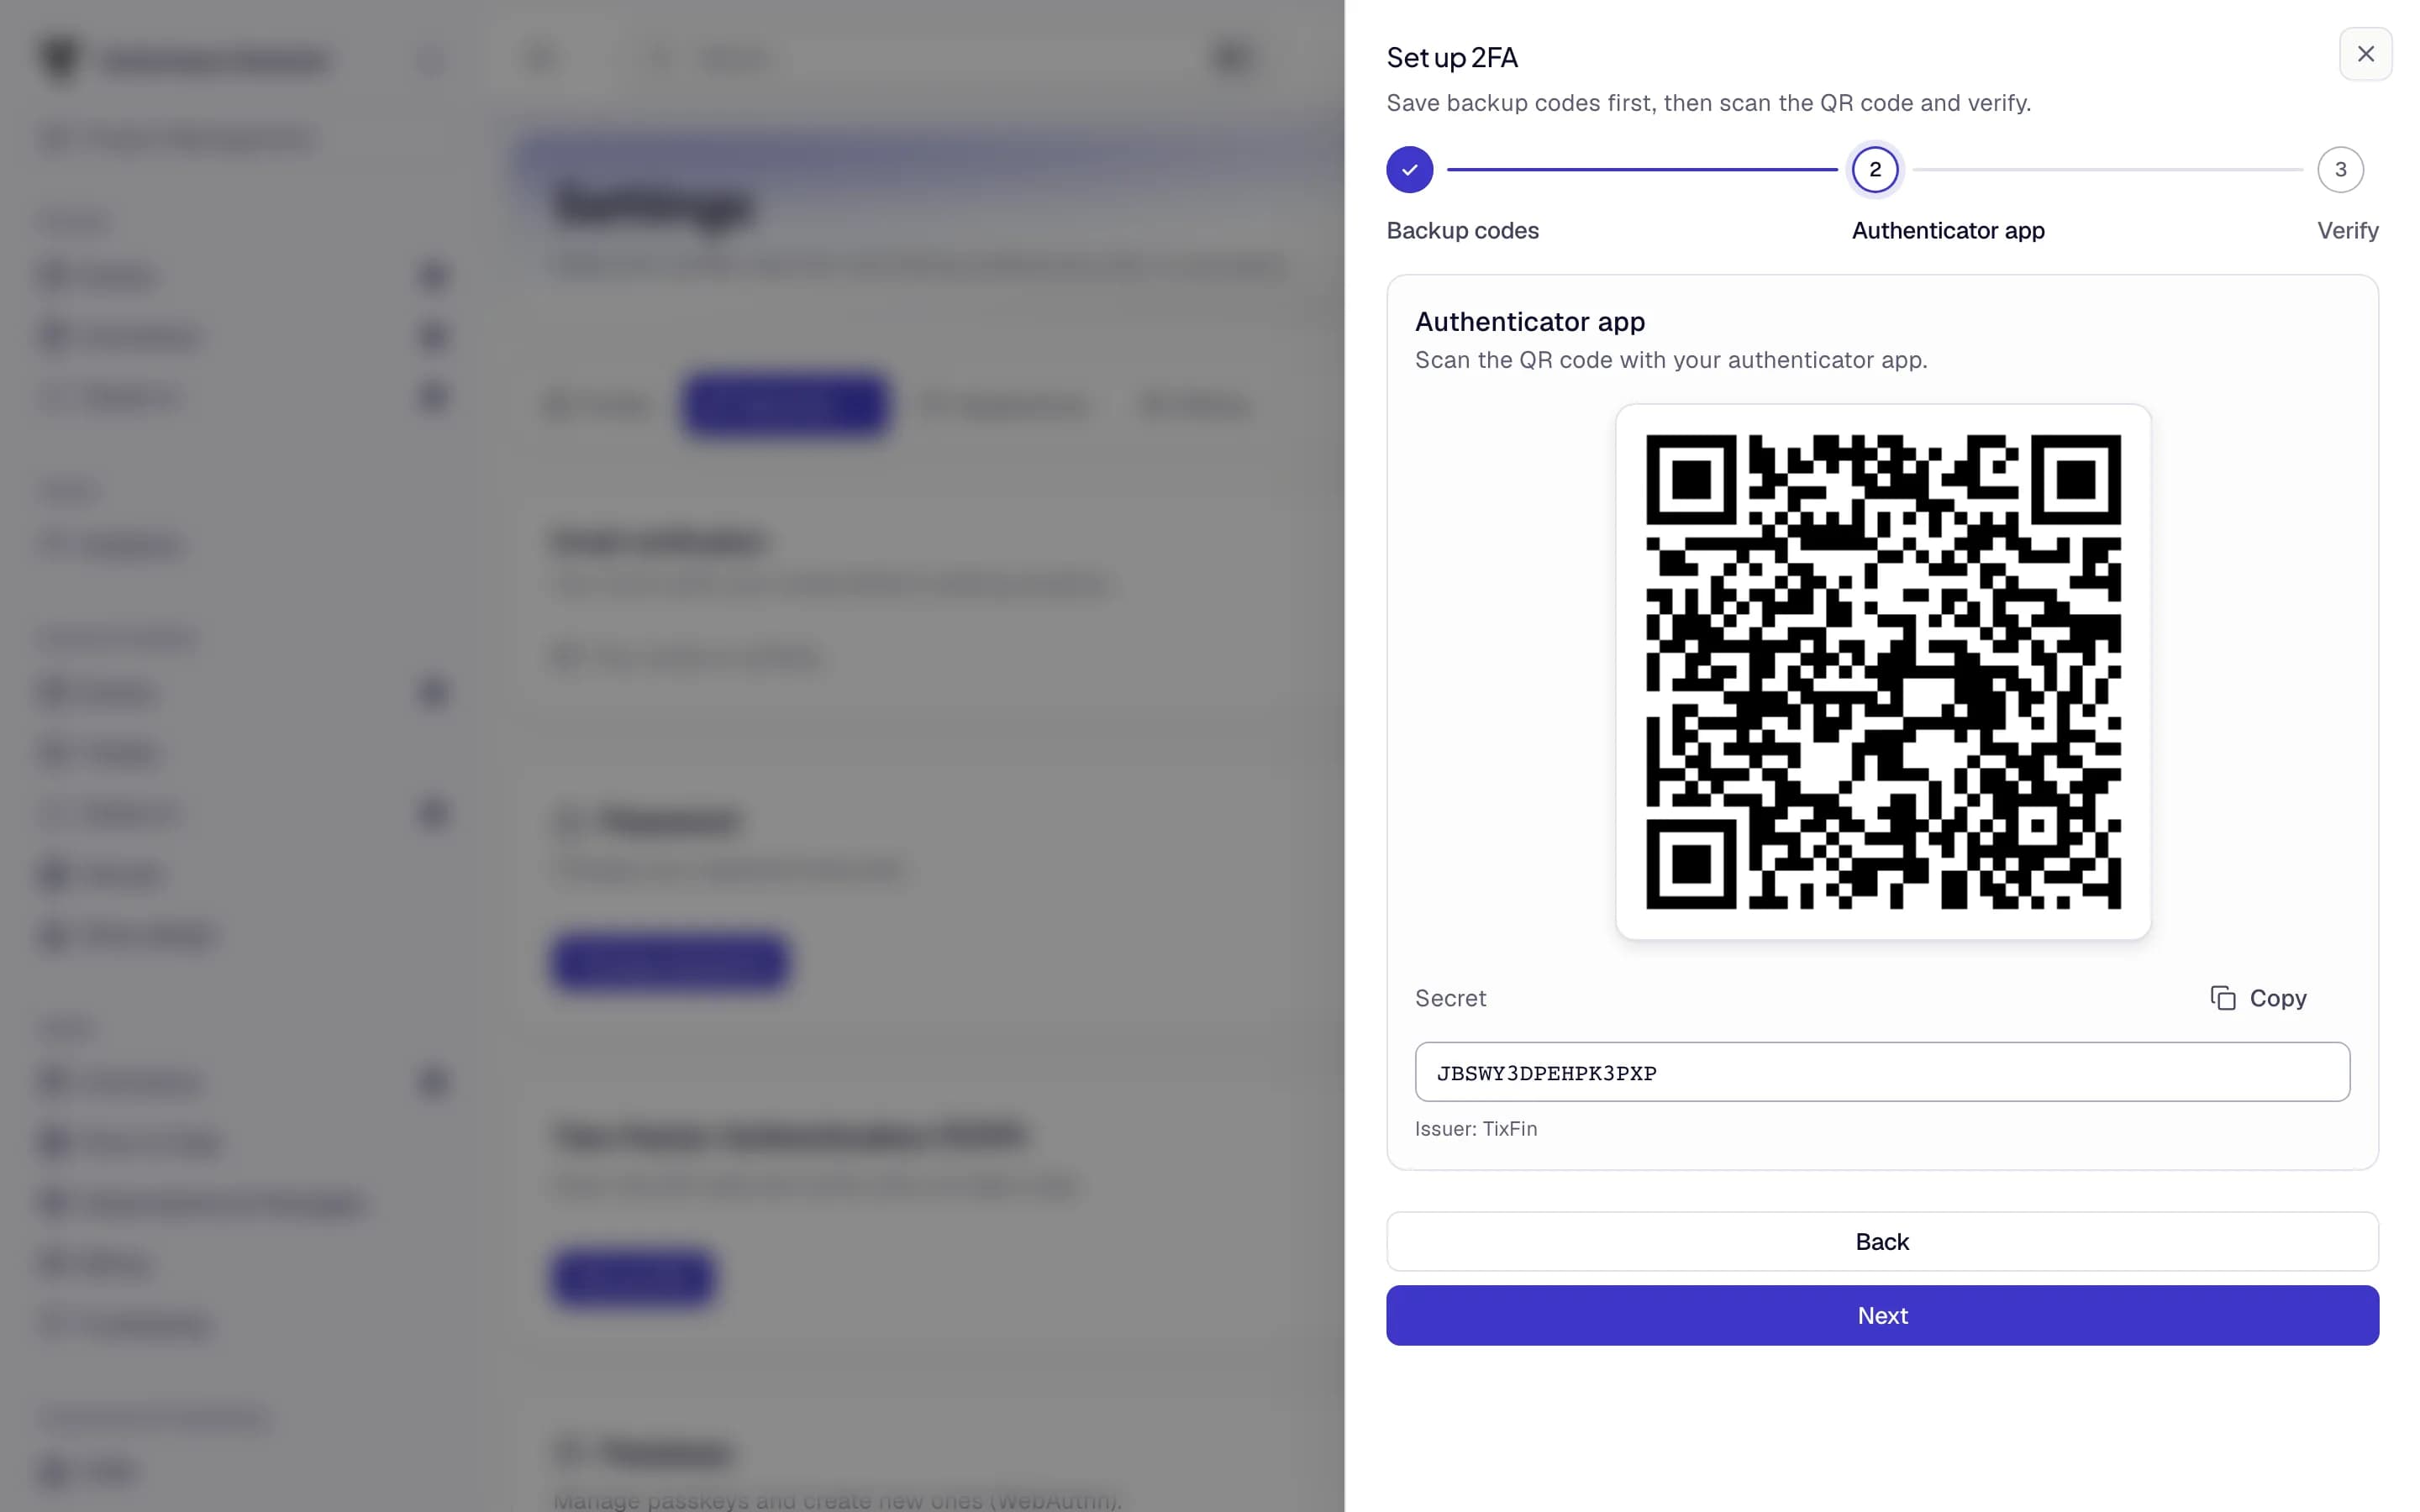
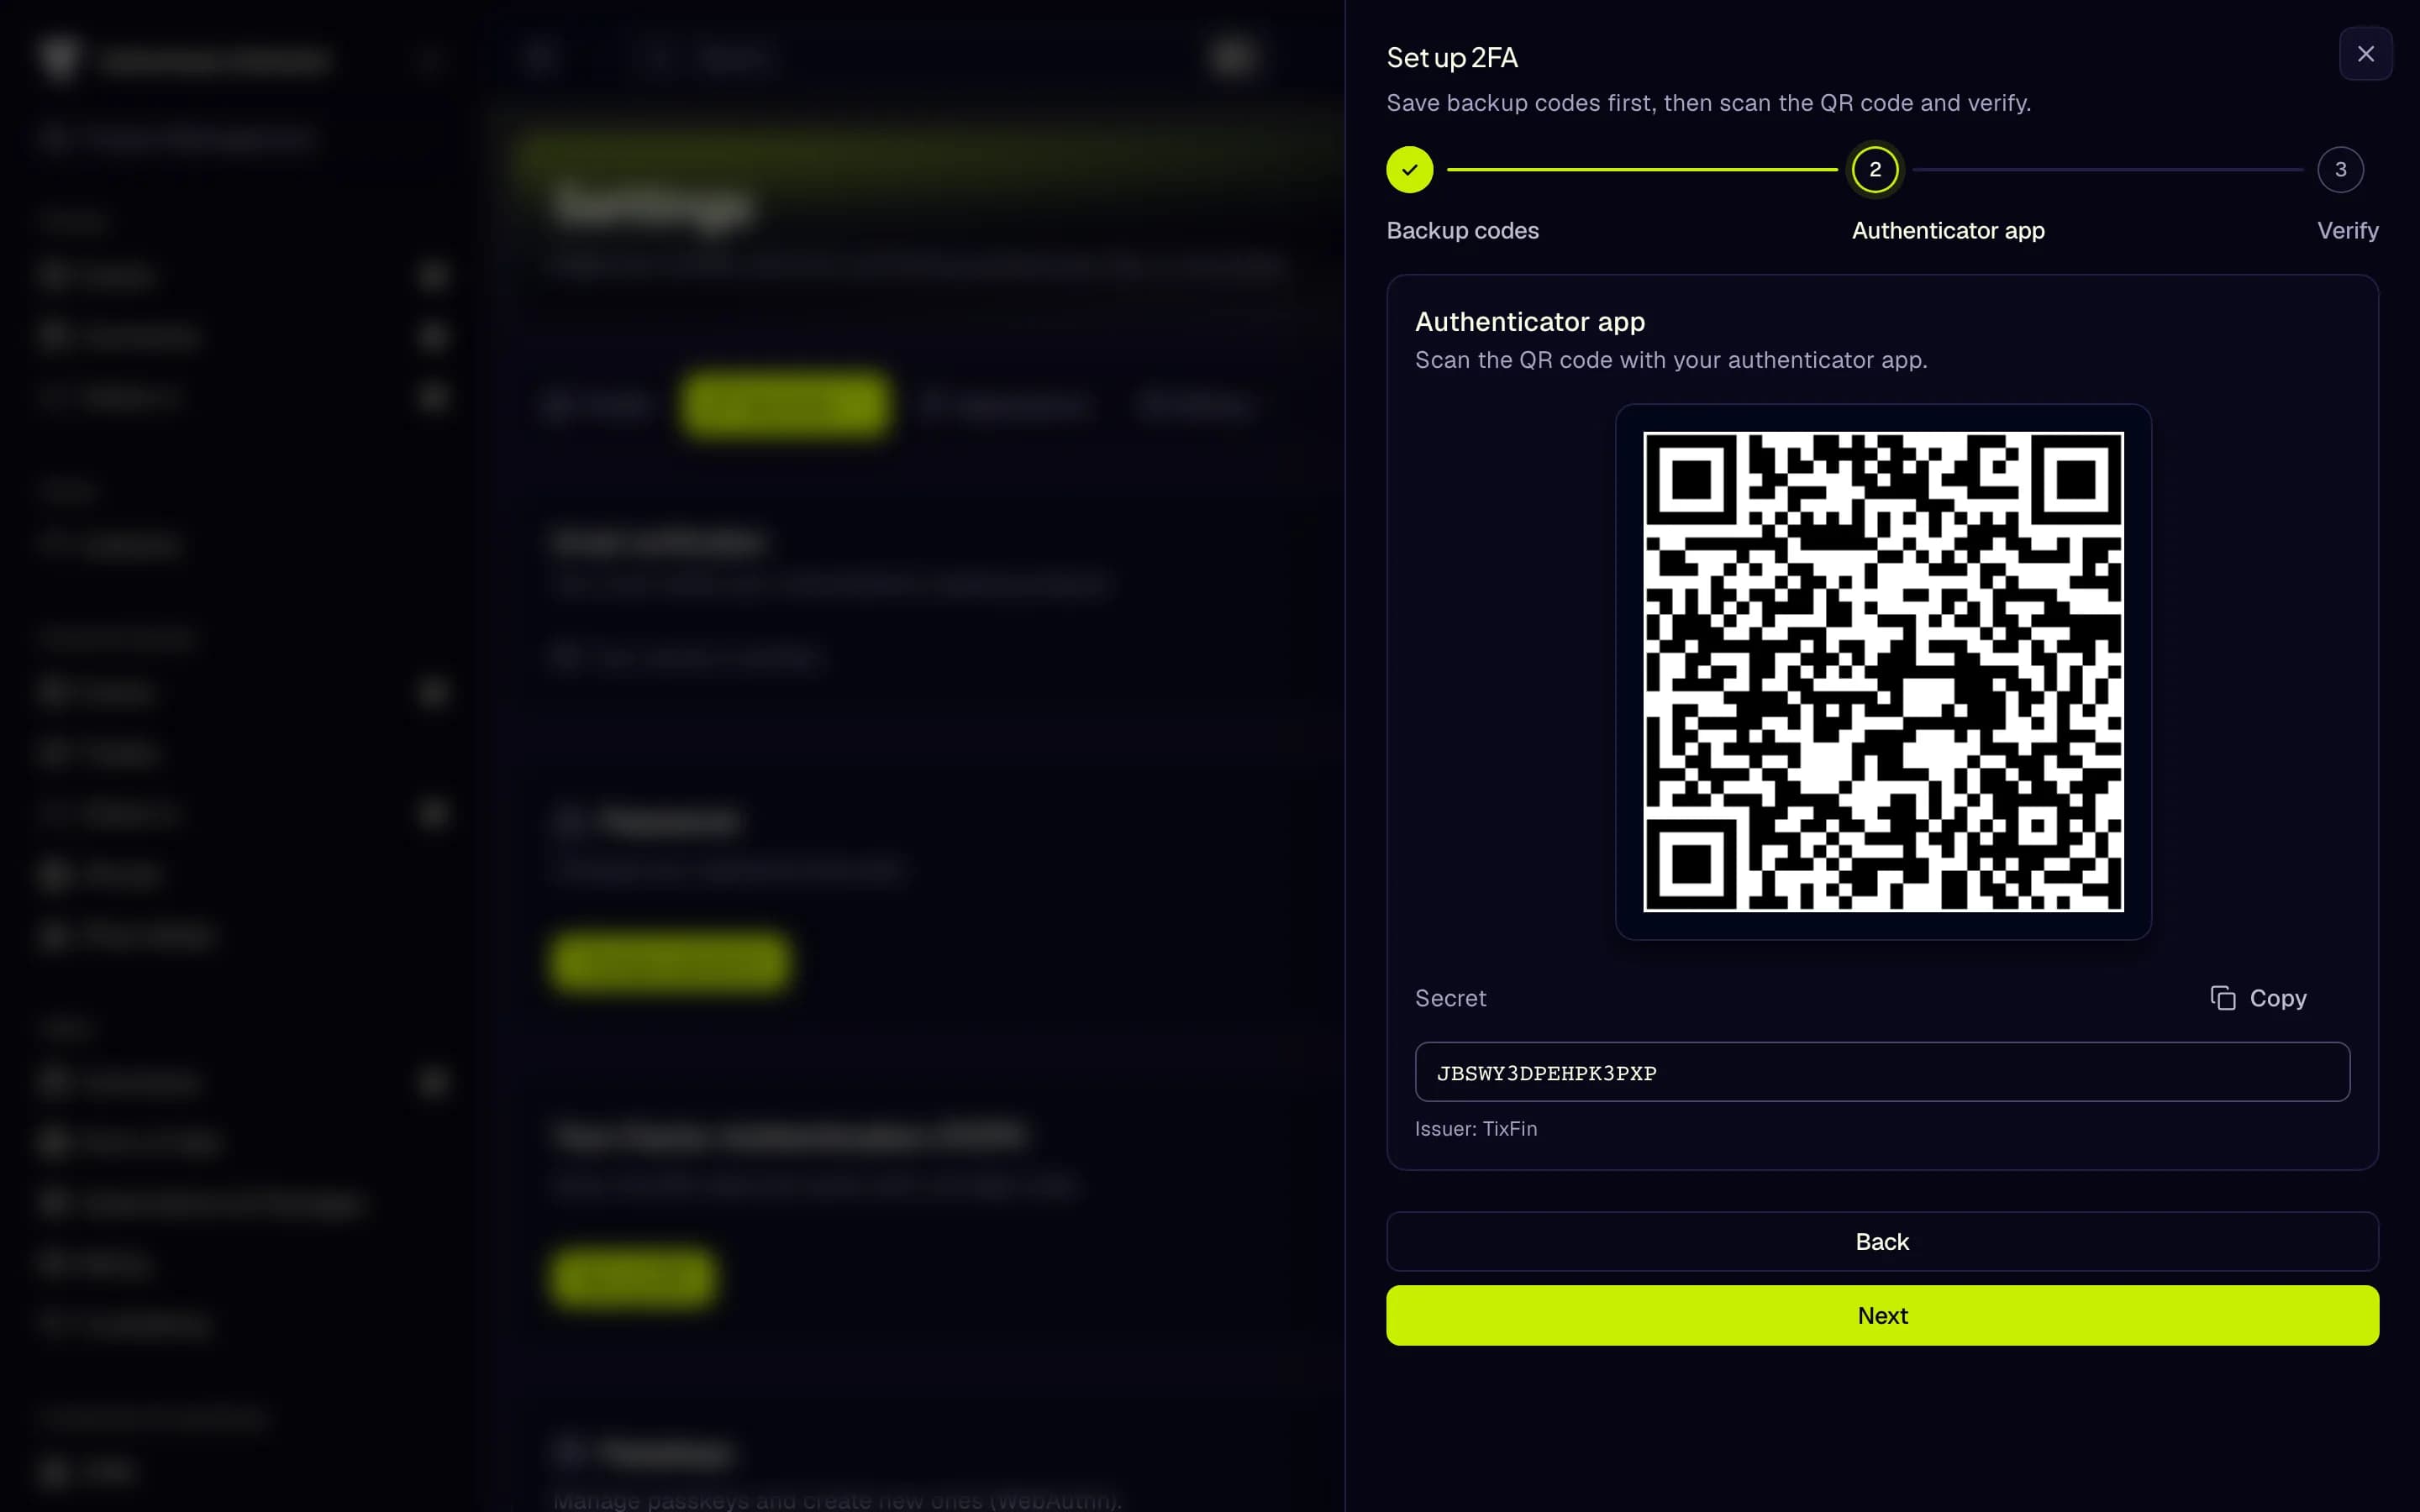
- Save your backup codes
- Scan the QR code
- Secret for manual entry
- Next
- The sidebar shows only your personal pages and Security until two-factor authentication is active.
- Keep the backup codes somewhere other than your phone. If you lose the phone, a backup code gets you in.
Details: Account security
Project Staff
3. Check tickets at the door in the browser
Use the browser scanner on a laptop or tablet at a desk.
Where: Events & tickets → Check-in Who can do this: members with Scan tickets
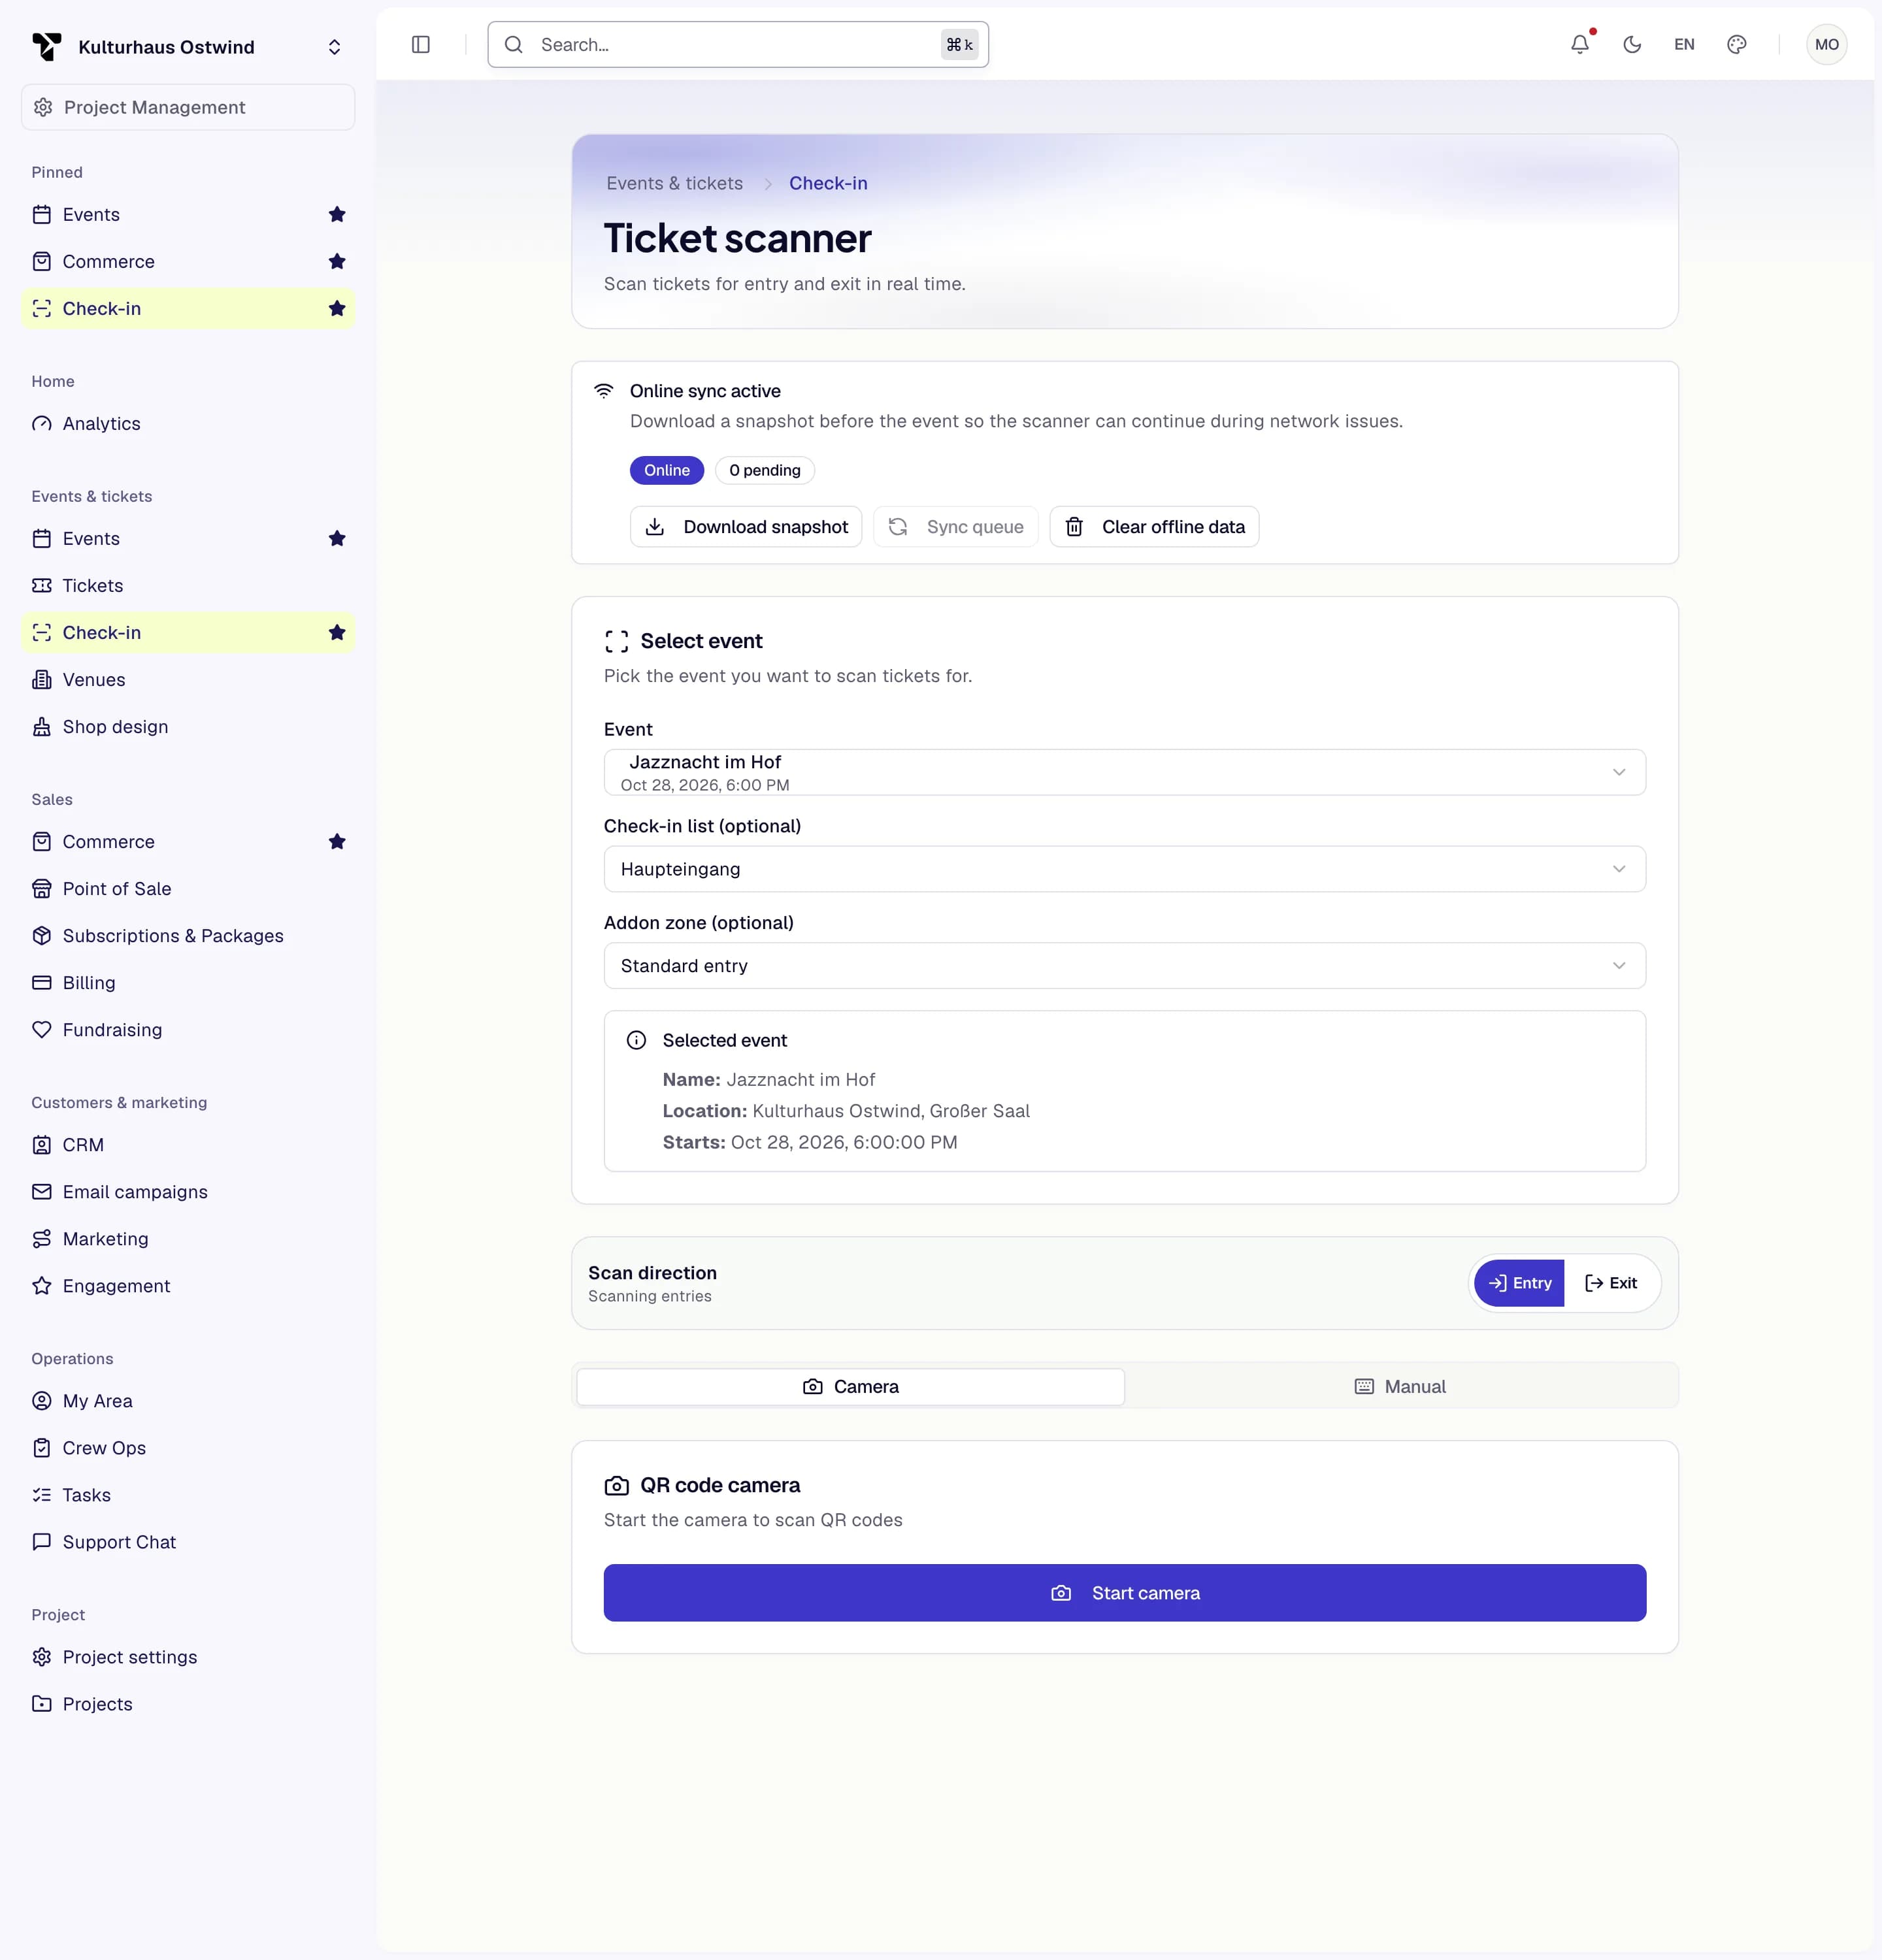
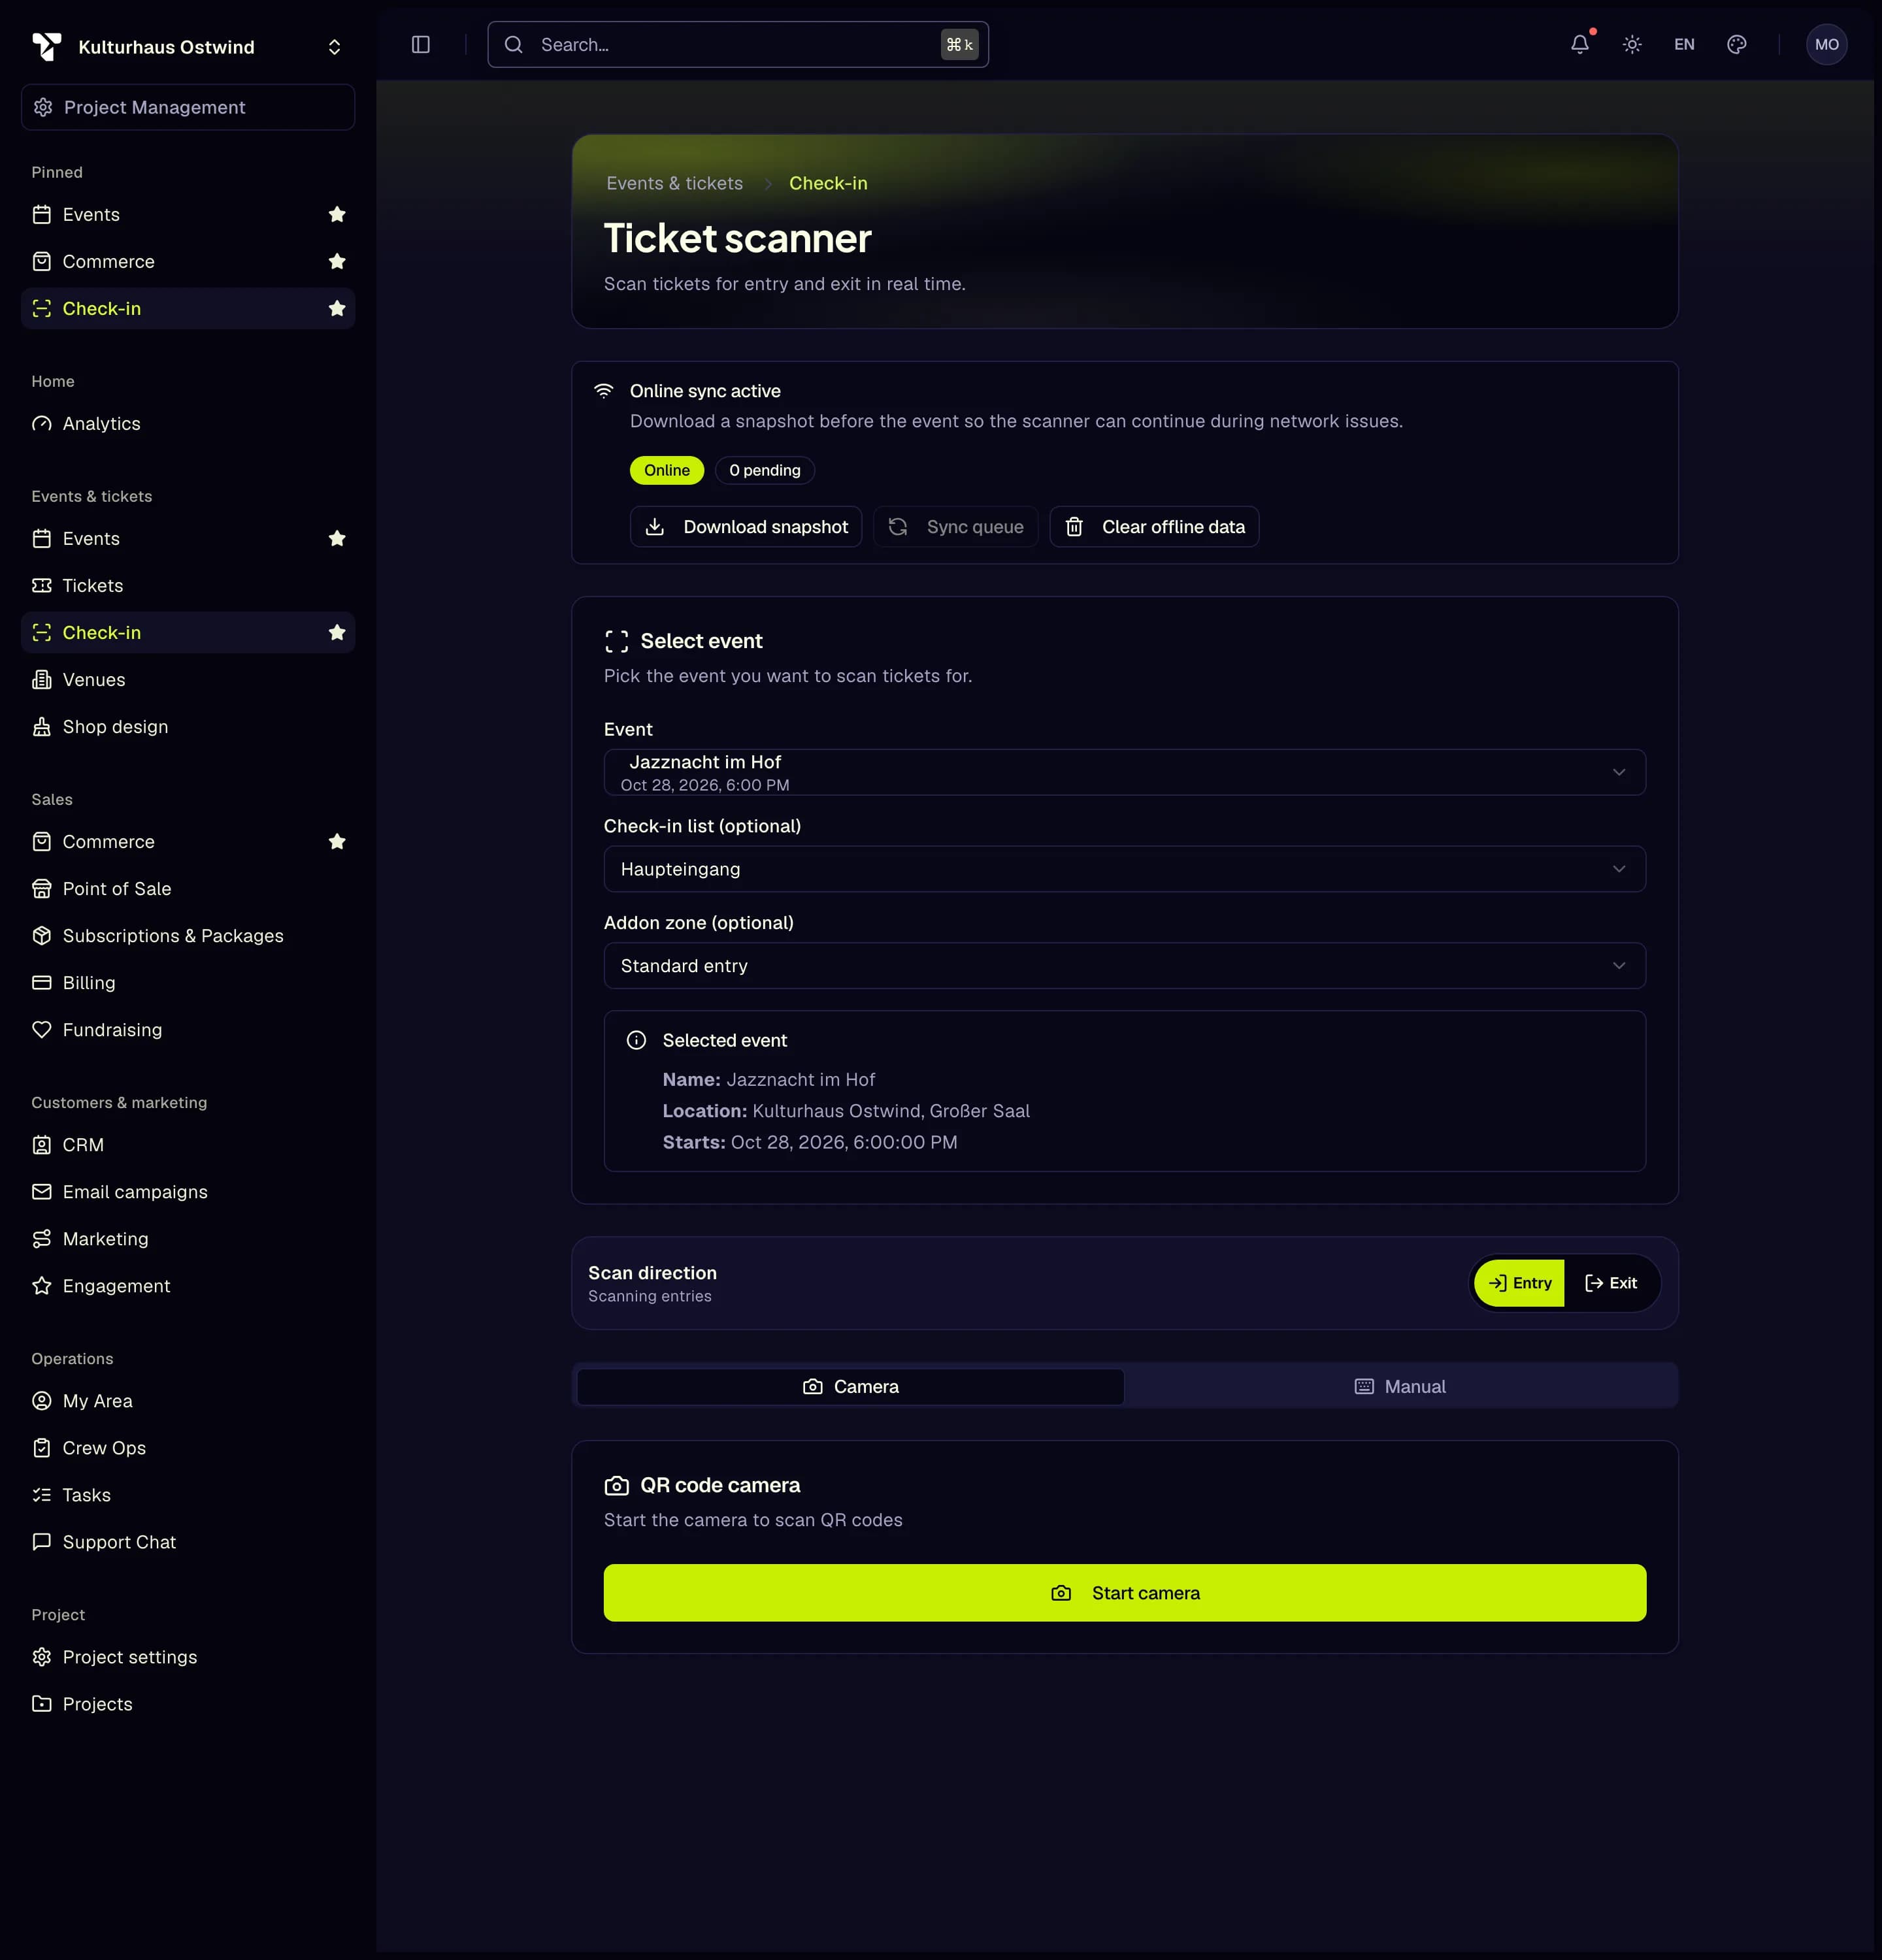
- Pick the event
- Check-in list
- Online / offline status
- Download snapshot
- Start camera
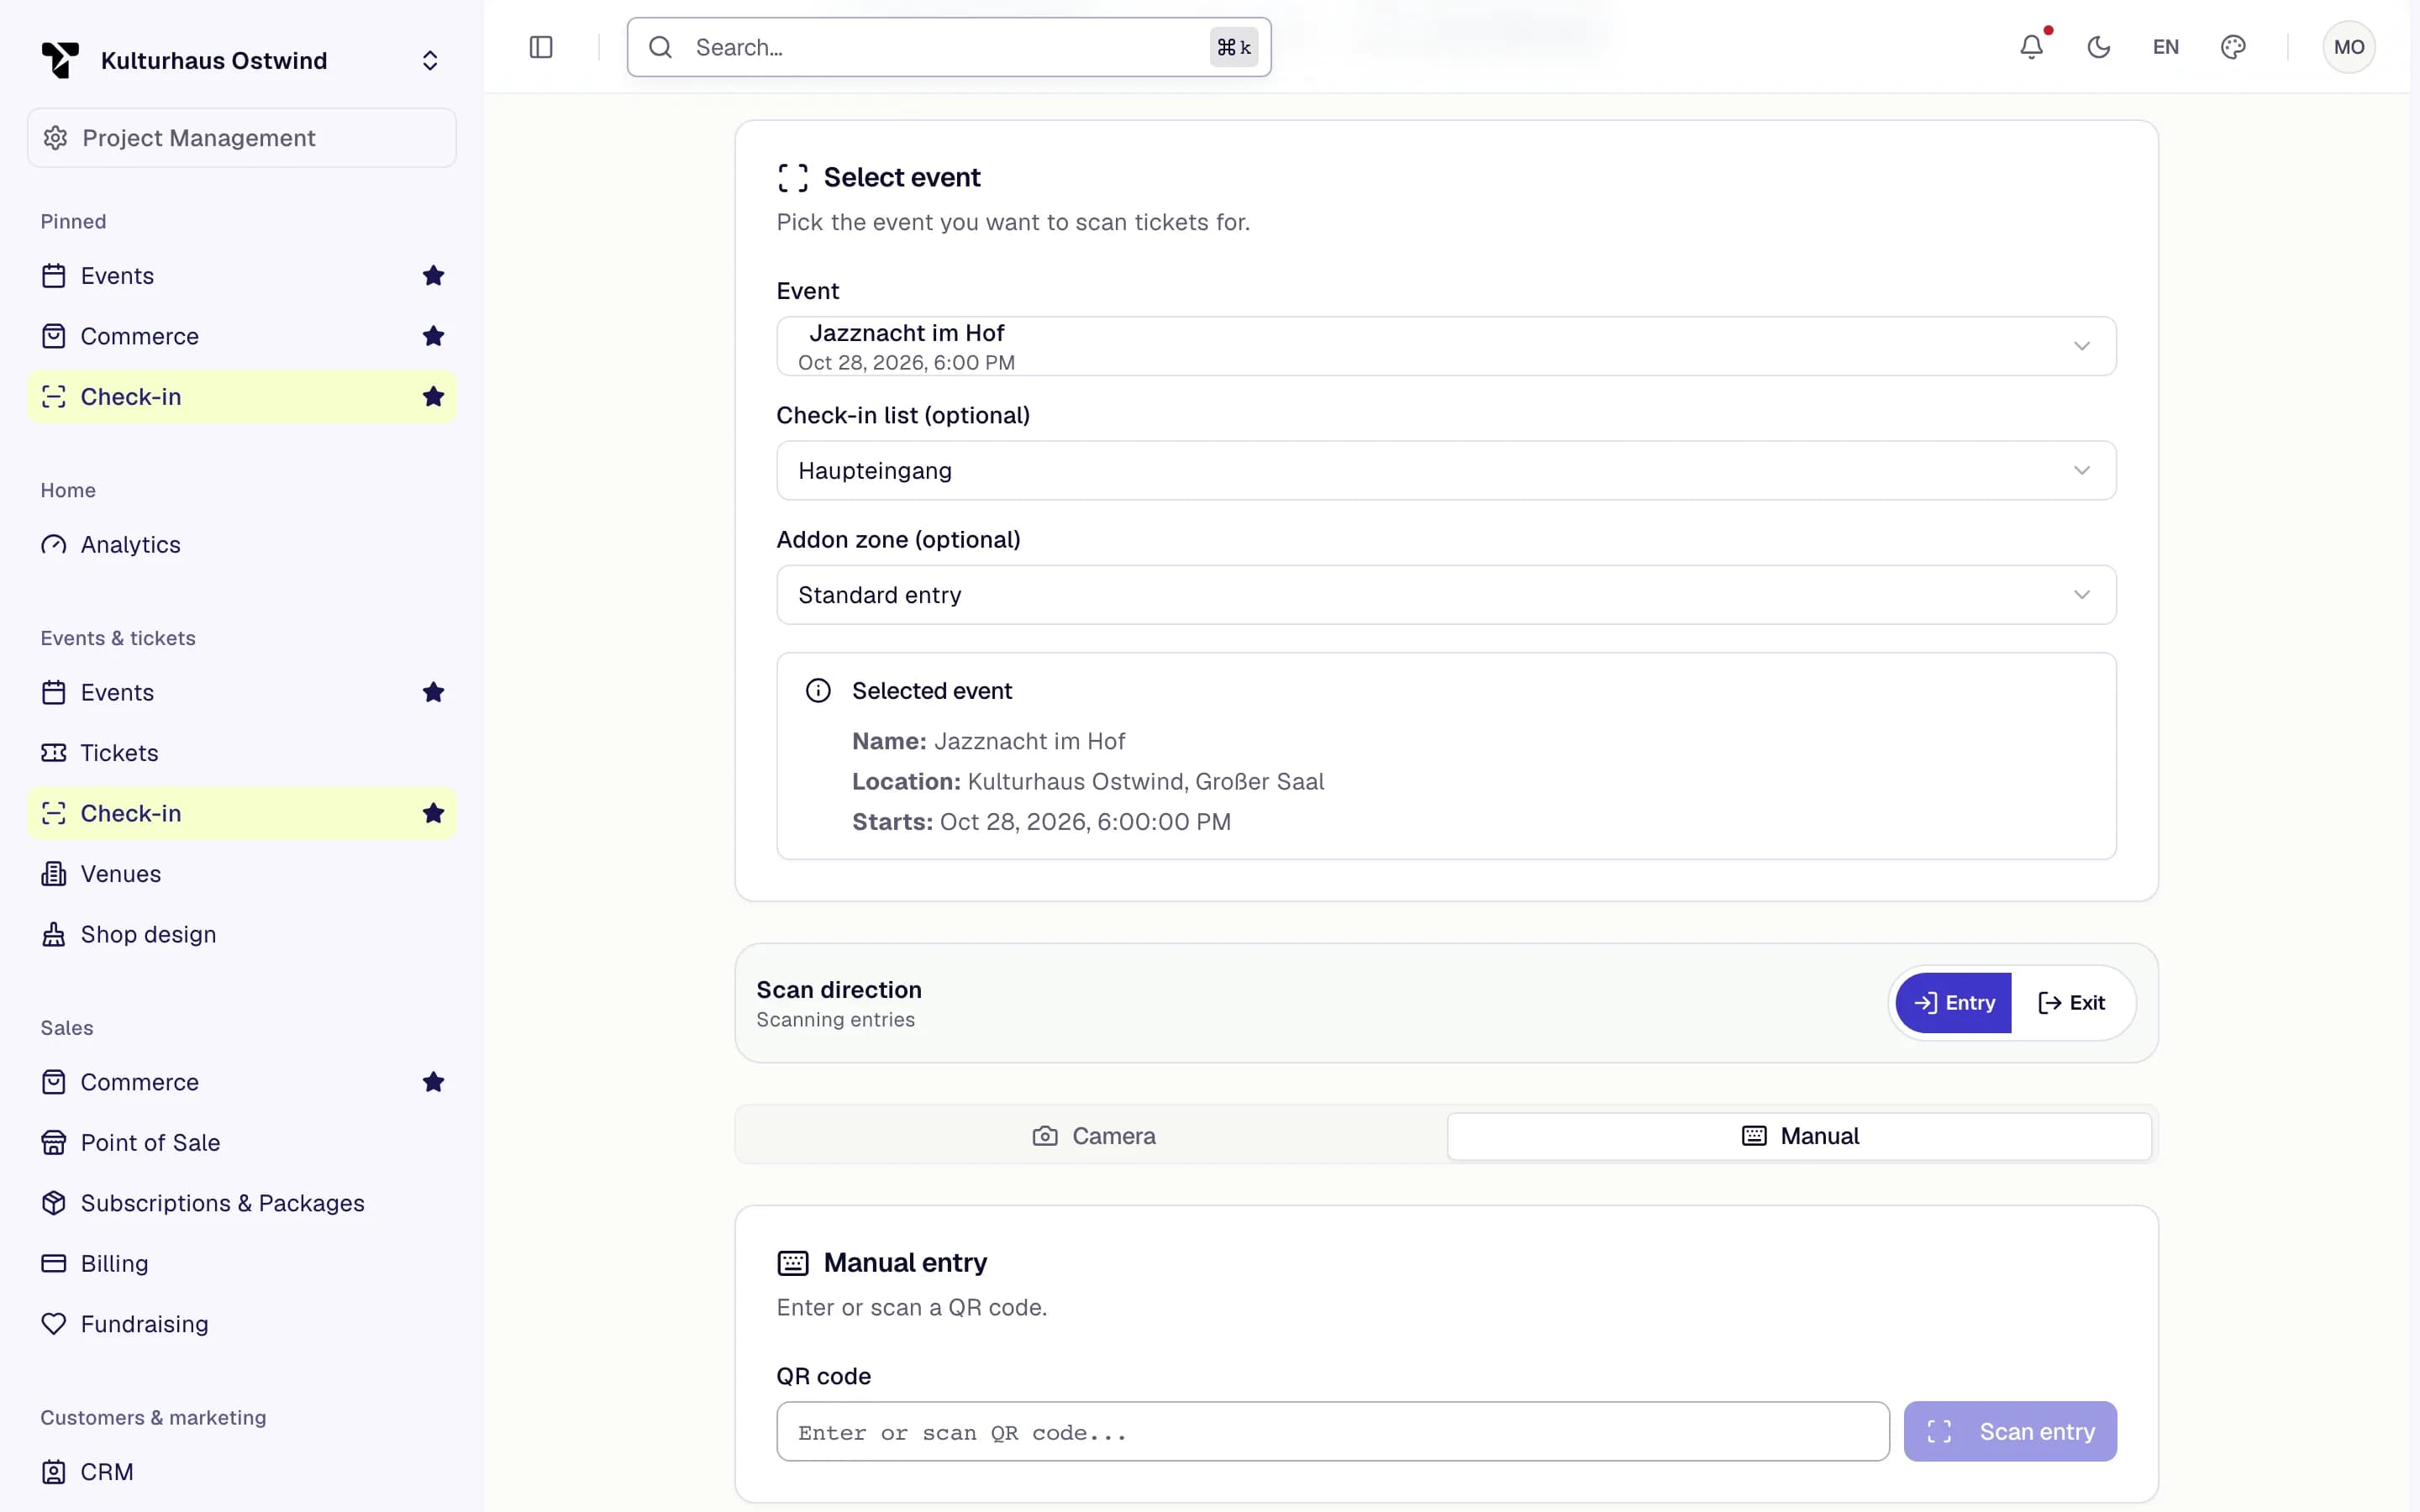
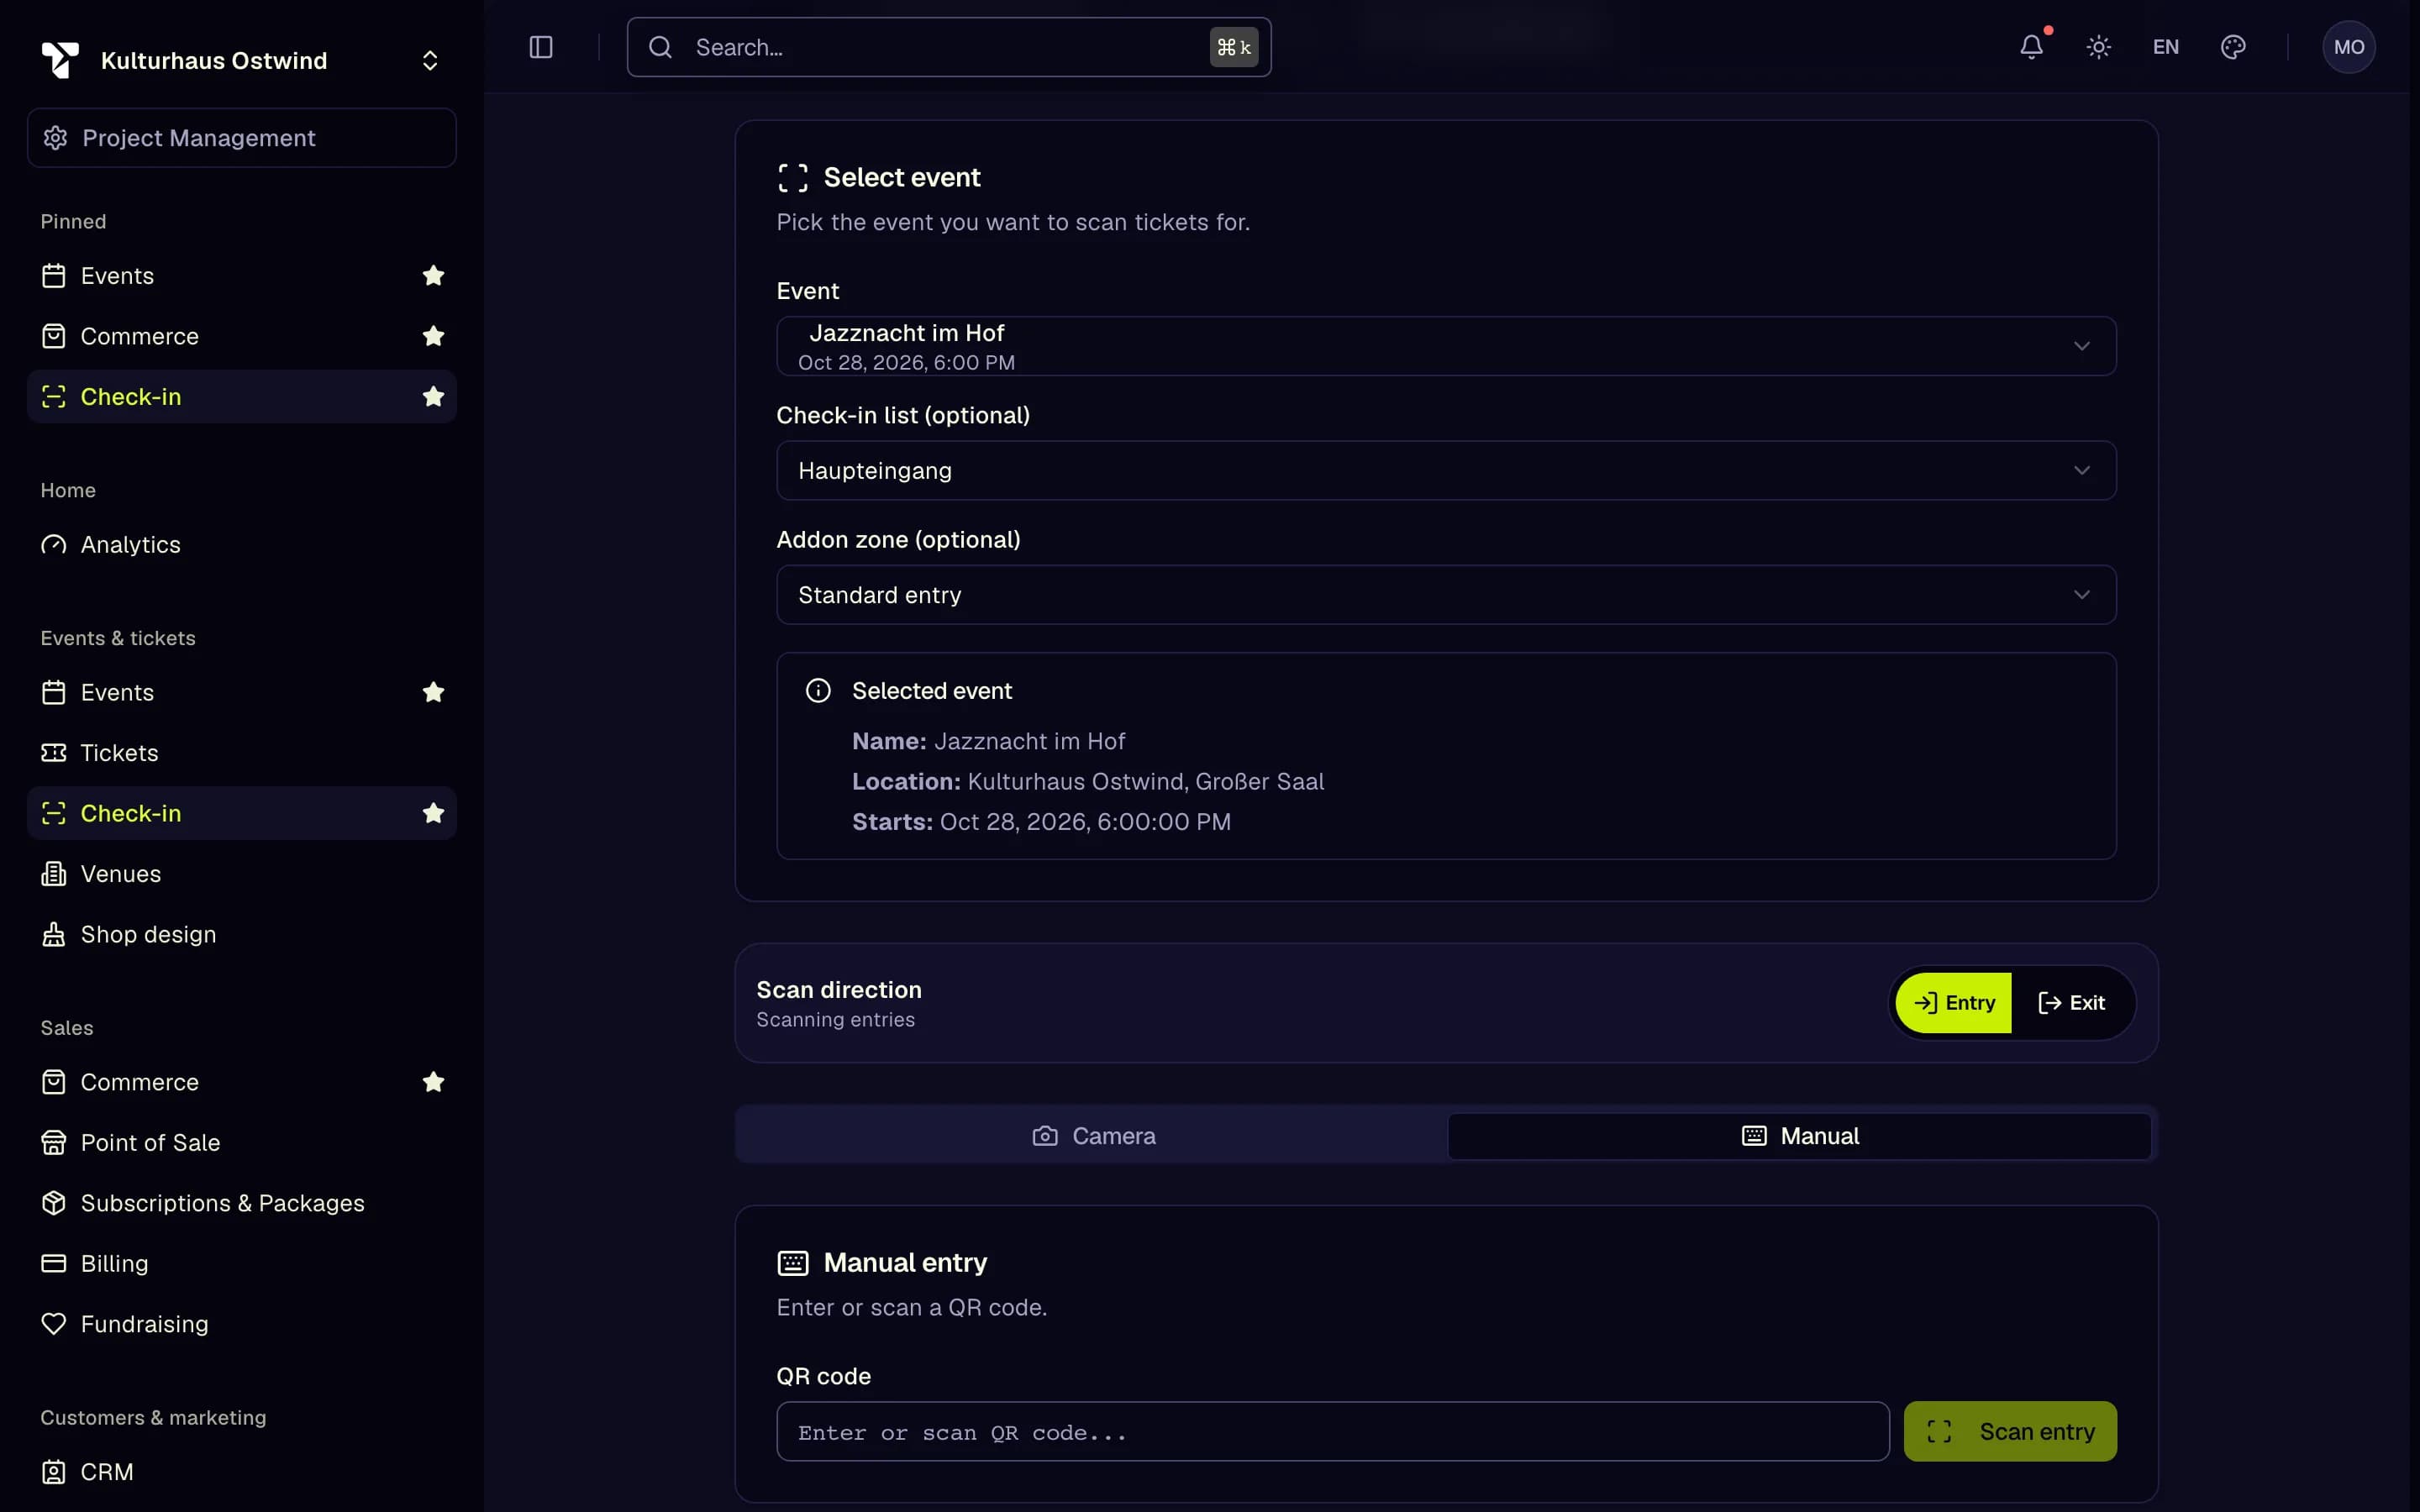
- Entry or Exit
- Manual
- QR code
- Scan entry
- A snapshot needs a specific check-in list. It can't be made for Entire event, and it expires 12 hours after the download at the latest.
- Keep the browser tab open while offline. Reloading without a network does not bring the scanner back.
- The browser never syncs by itself. Click Sync queue, and never click Clear offline data before the sync worked: waiting scans would be lost.
Details: Check-in · Scan offline or by hand in the browser
4. Check tickets at the door in the app
Use the TixFin app on your phone when you walk the door.
Where: TixFin app → Scanner (from My Hub: Ticket Scanner) Who can do this: members with Scan tickets, and temporary scanners
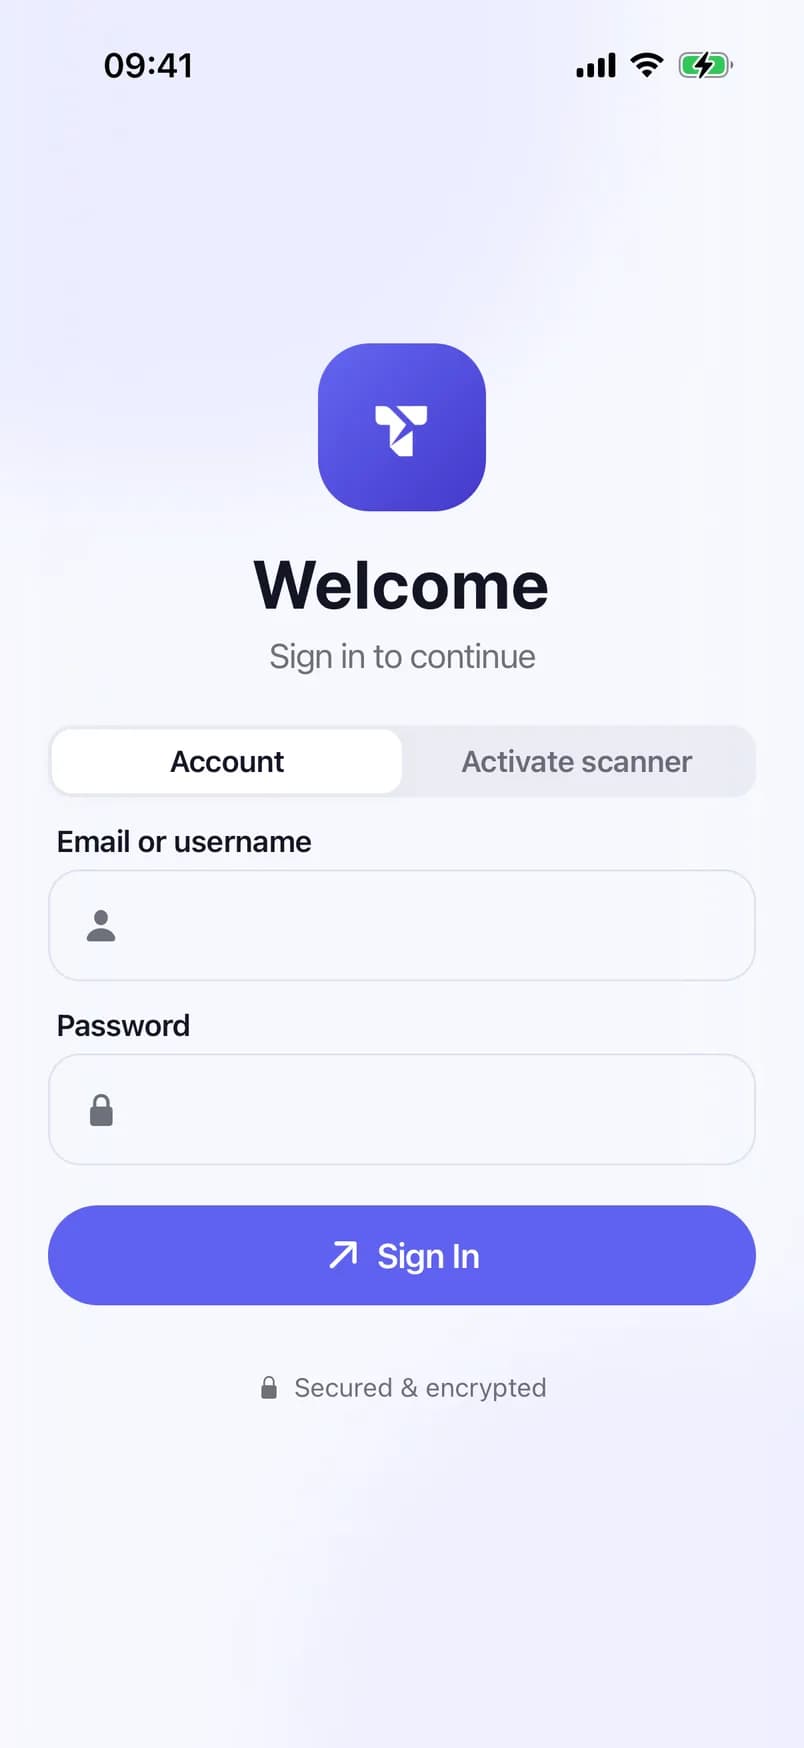
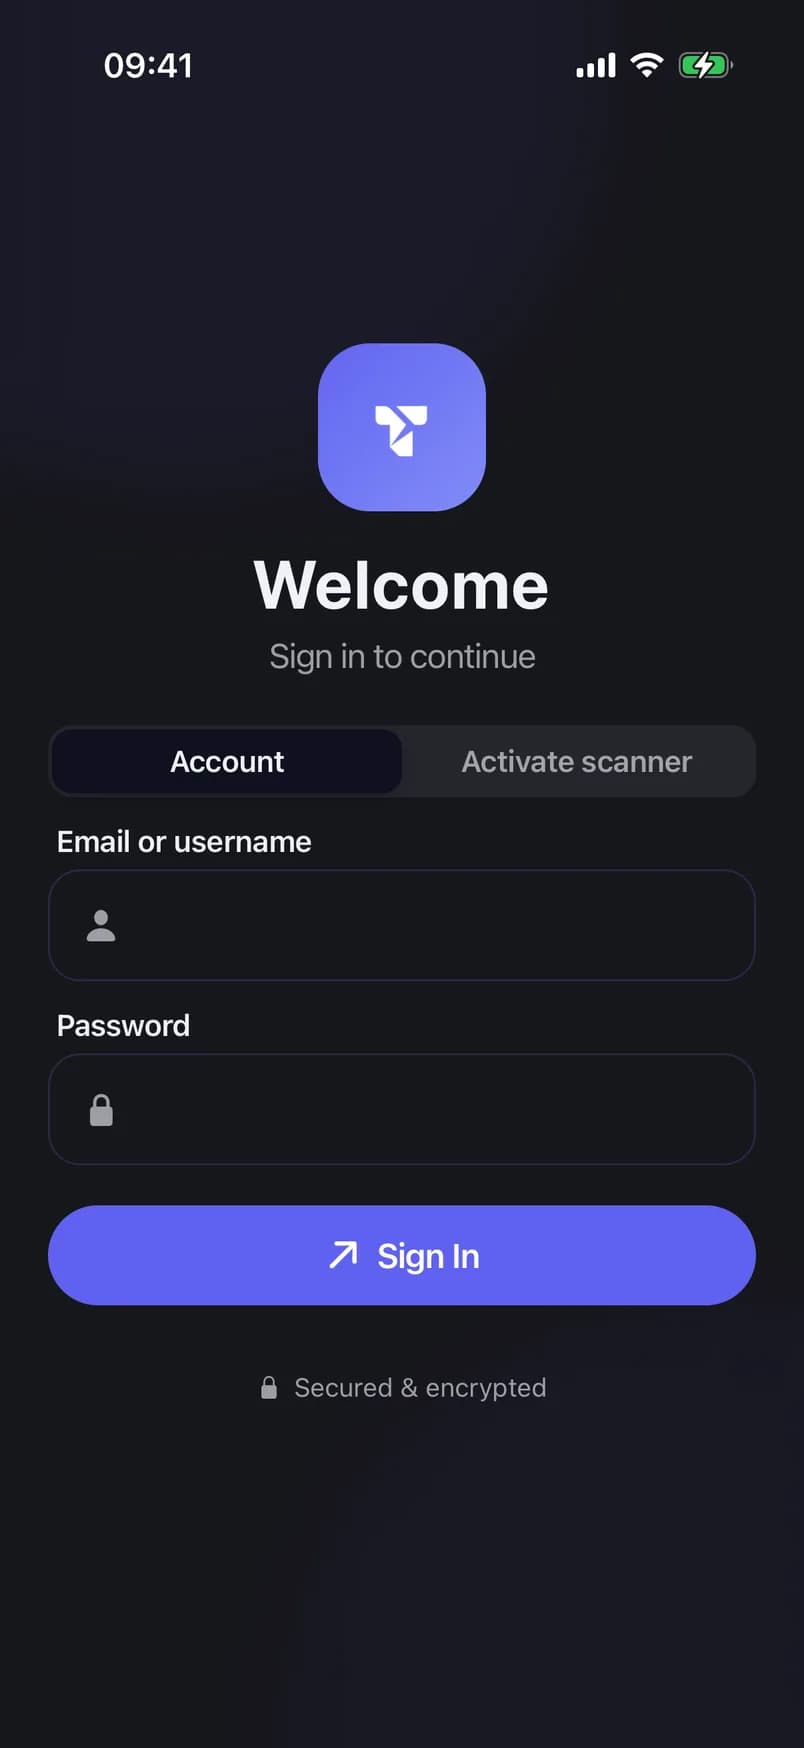
- Account tab
- Email or username
- Password
- Sign In
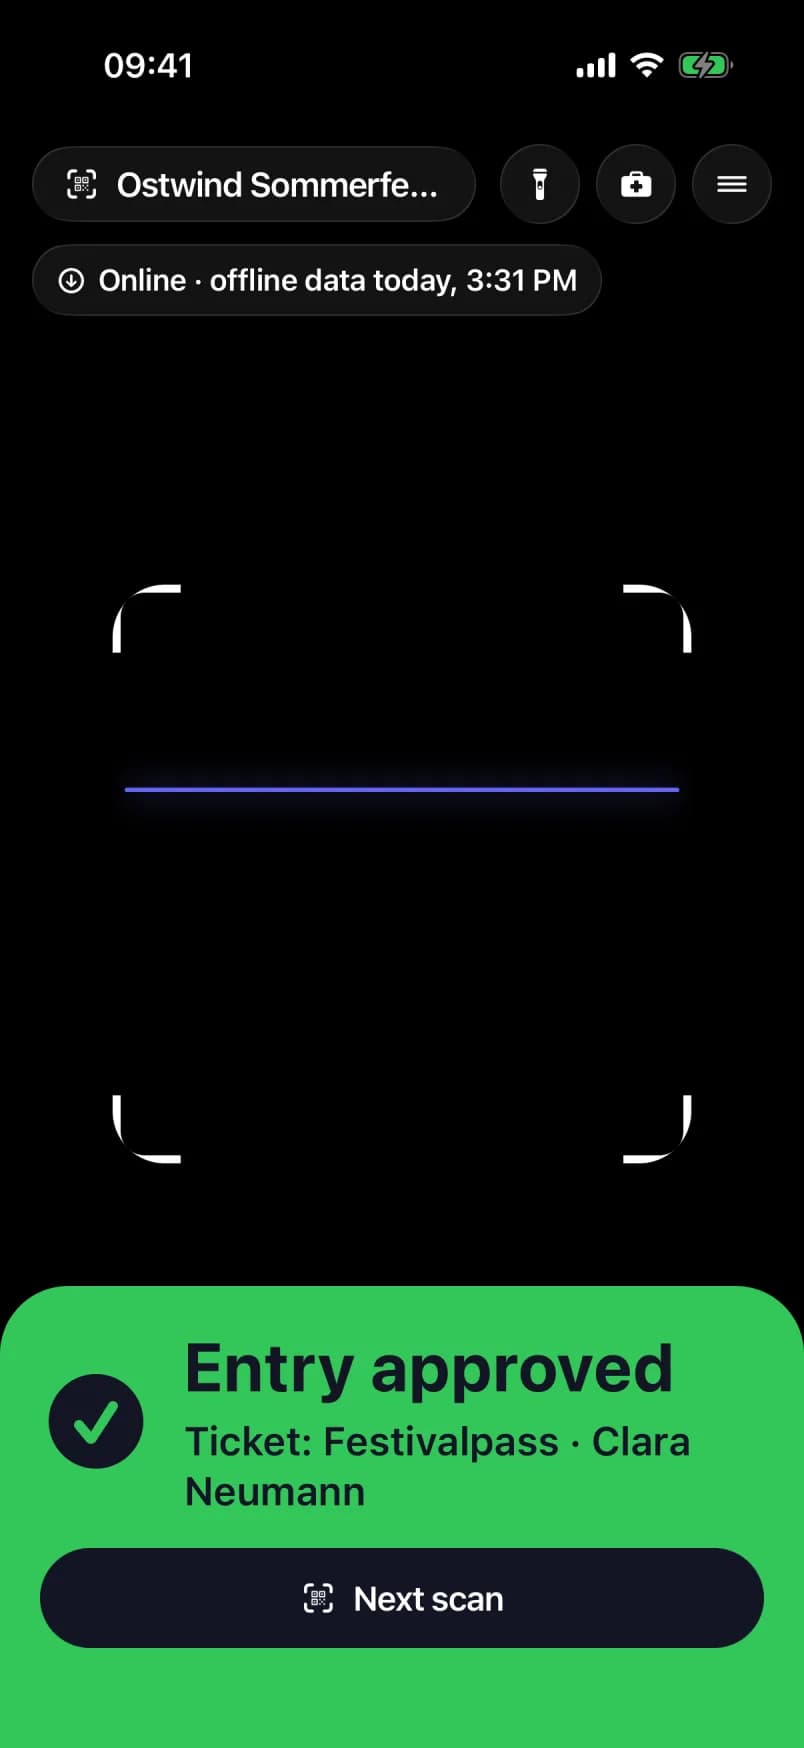
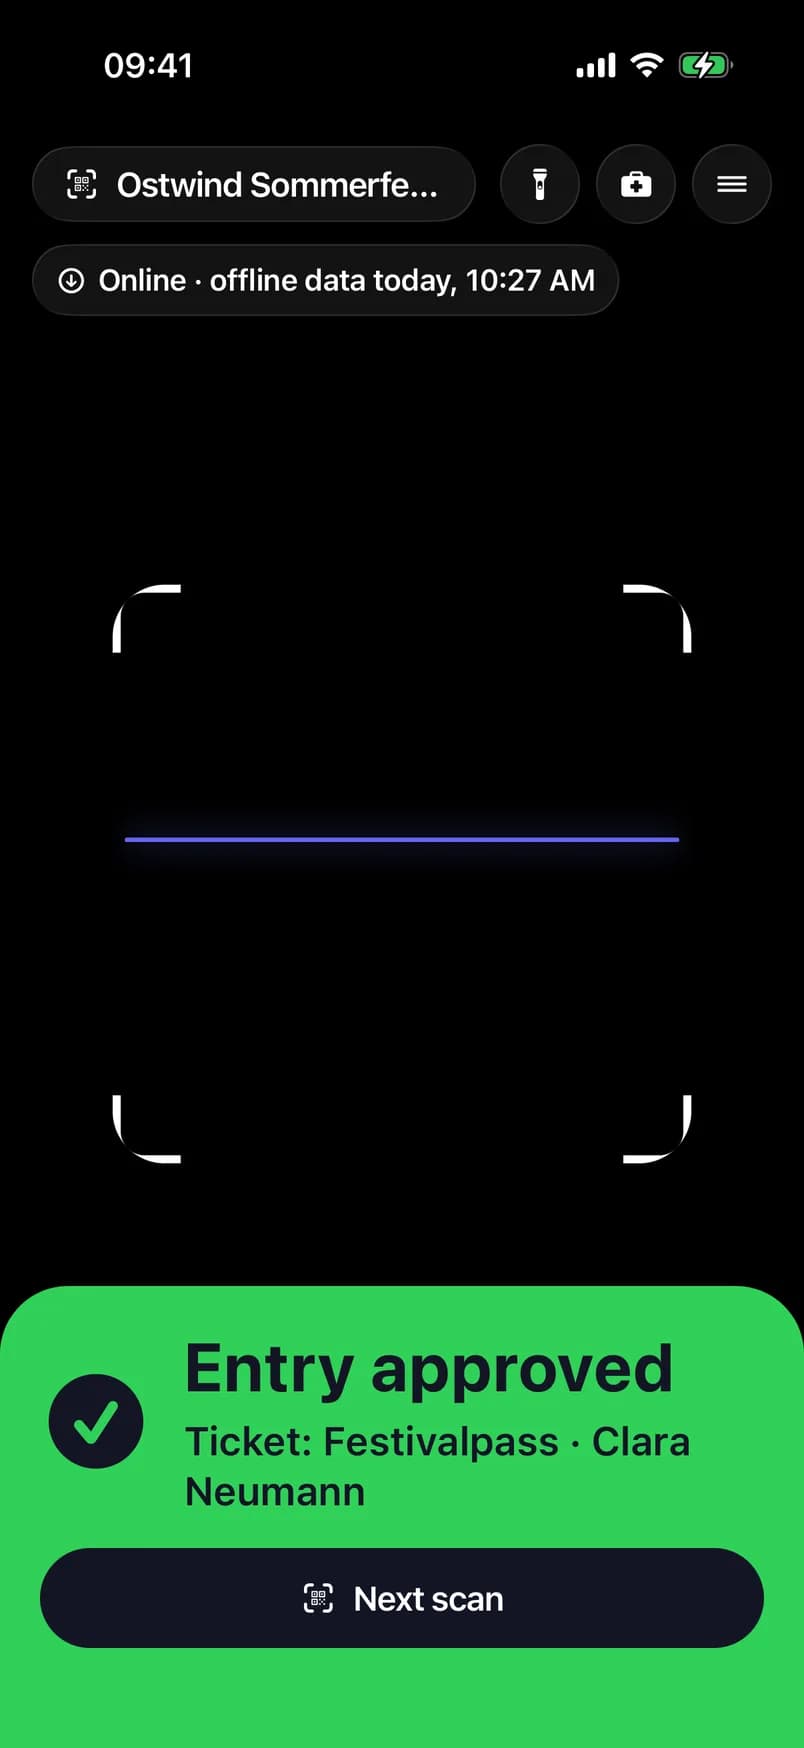
- Tap the event name to change
- Scanner menu
- Torch
- Read the verdict
- Next scan
Offline, the app keeps scanning against its offline data and syncs the queued scans by itself once the network is back. The pill under the event name shows how many scans are waiting.
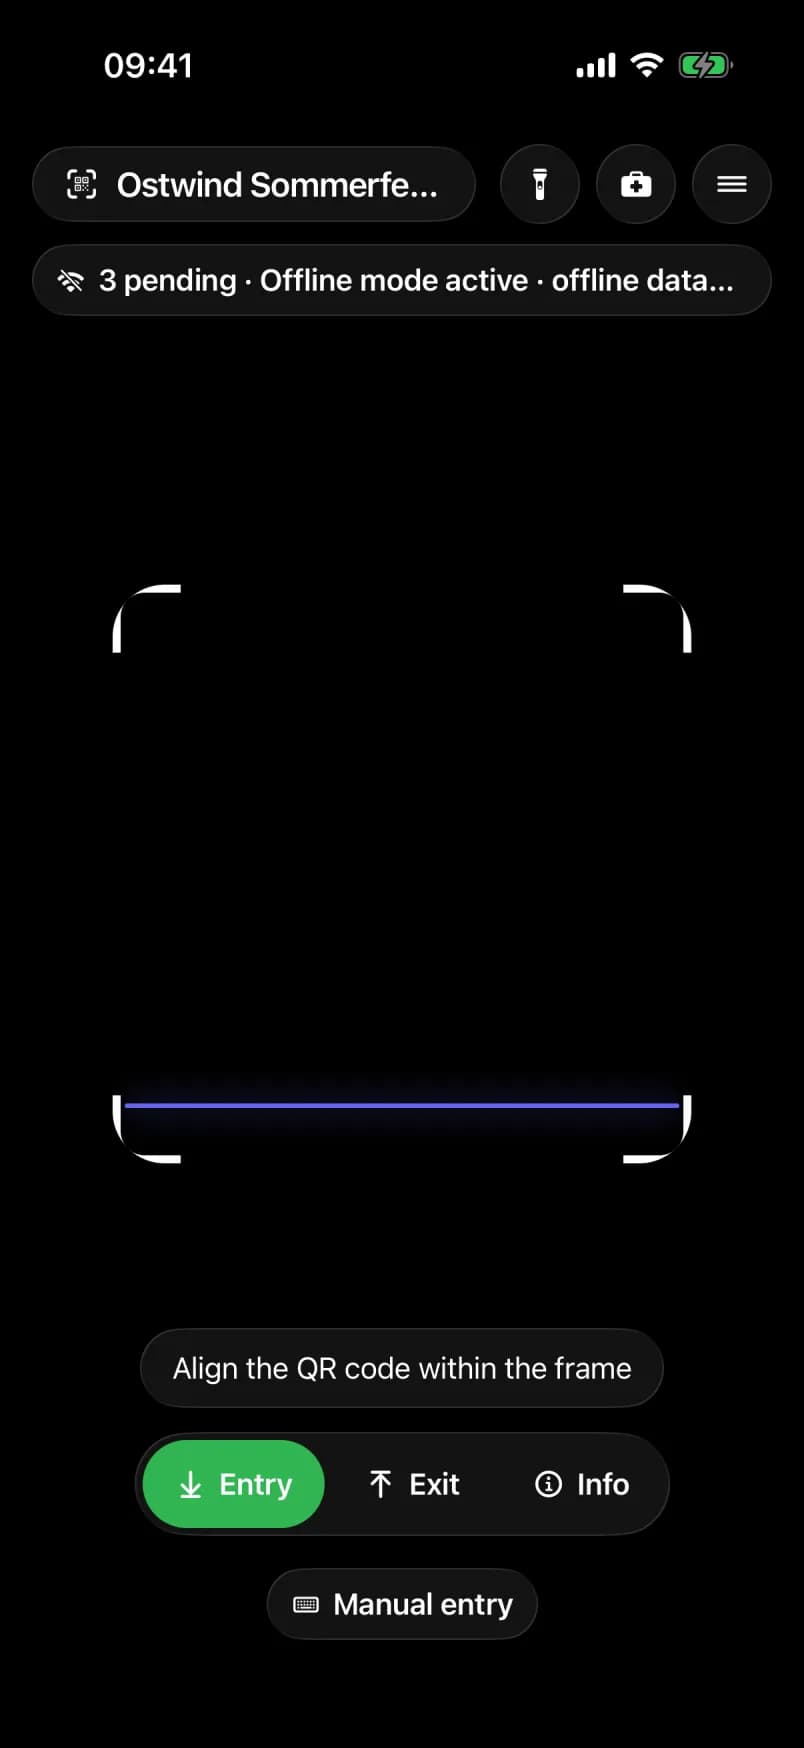
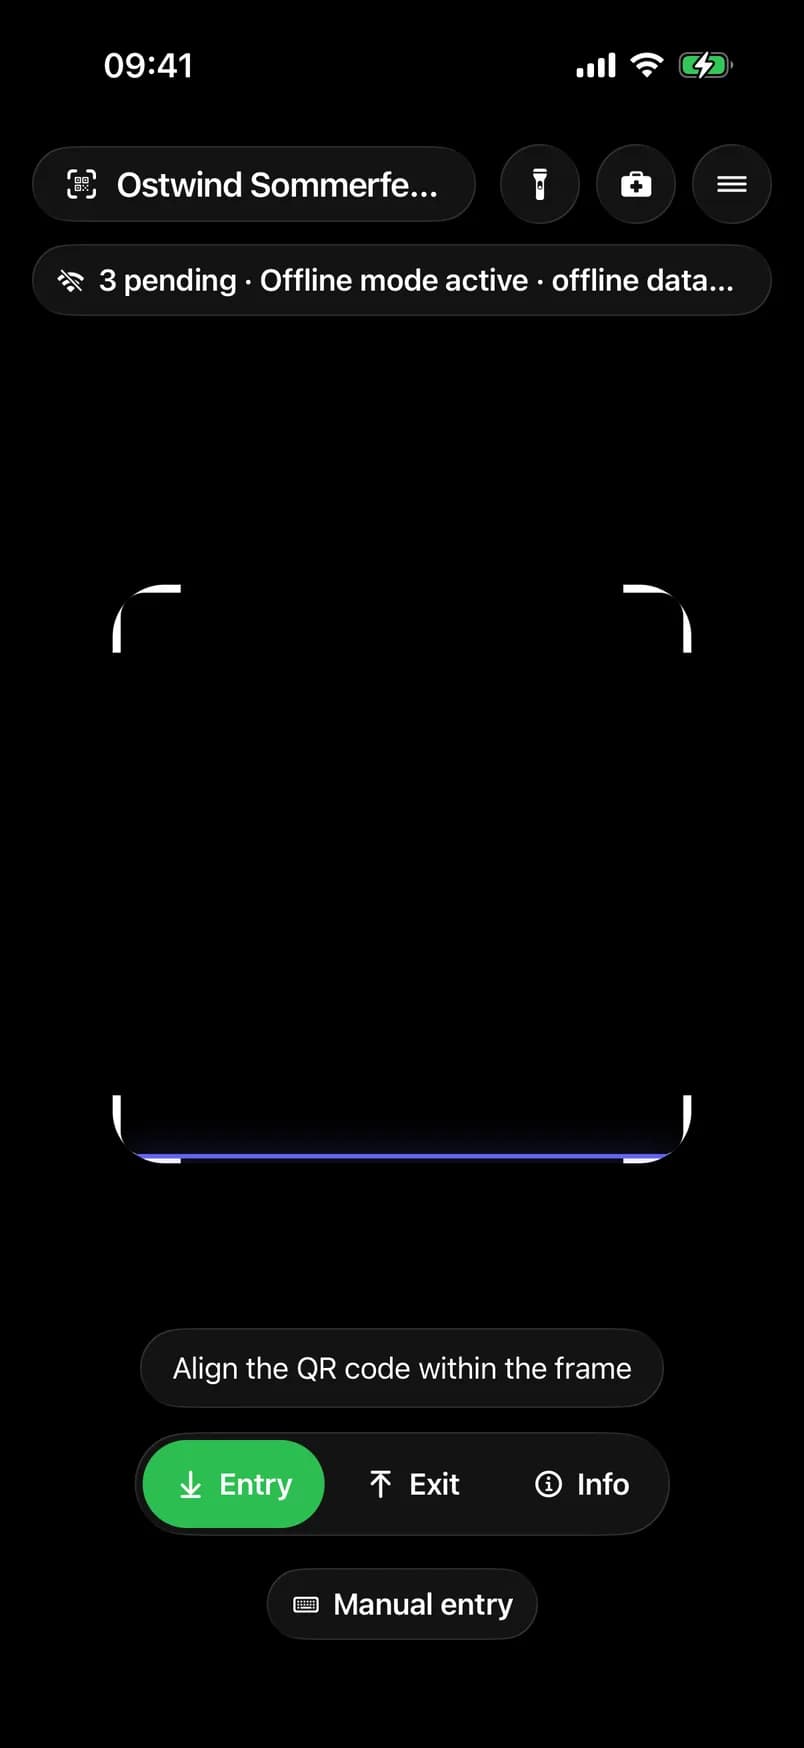
- Event with its offline data
- Status pill: pending scans
- Keep scanning as usual
- "Ticket not found" for every guest means the wrong event or list is chosen. Check the event name at the top and look for an Event ended or Event starts pill.
- Open the event once while online before you lose the network, so the offline data is on the device.
- Don't argue at the door. On Already scanned, ask for ID and call your supervisor.
- After the sync, "n to check" lists scans that clashed with another door. Tell your supervisor before you tap Checked, clear.
Details: Scan tickets at the door · Scan offline
5. Sell at the Point of Sale
Where: Sales → Point of Sale Who can do this: projects whose plan includes the Point of Sale, and members with Sell at the point-of-sale register. Project Staff does not include it; the project lead has to give you a role that does, such as Cashier.
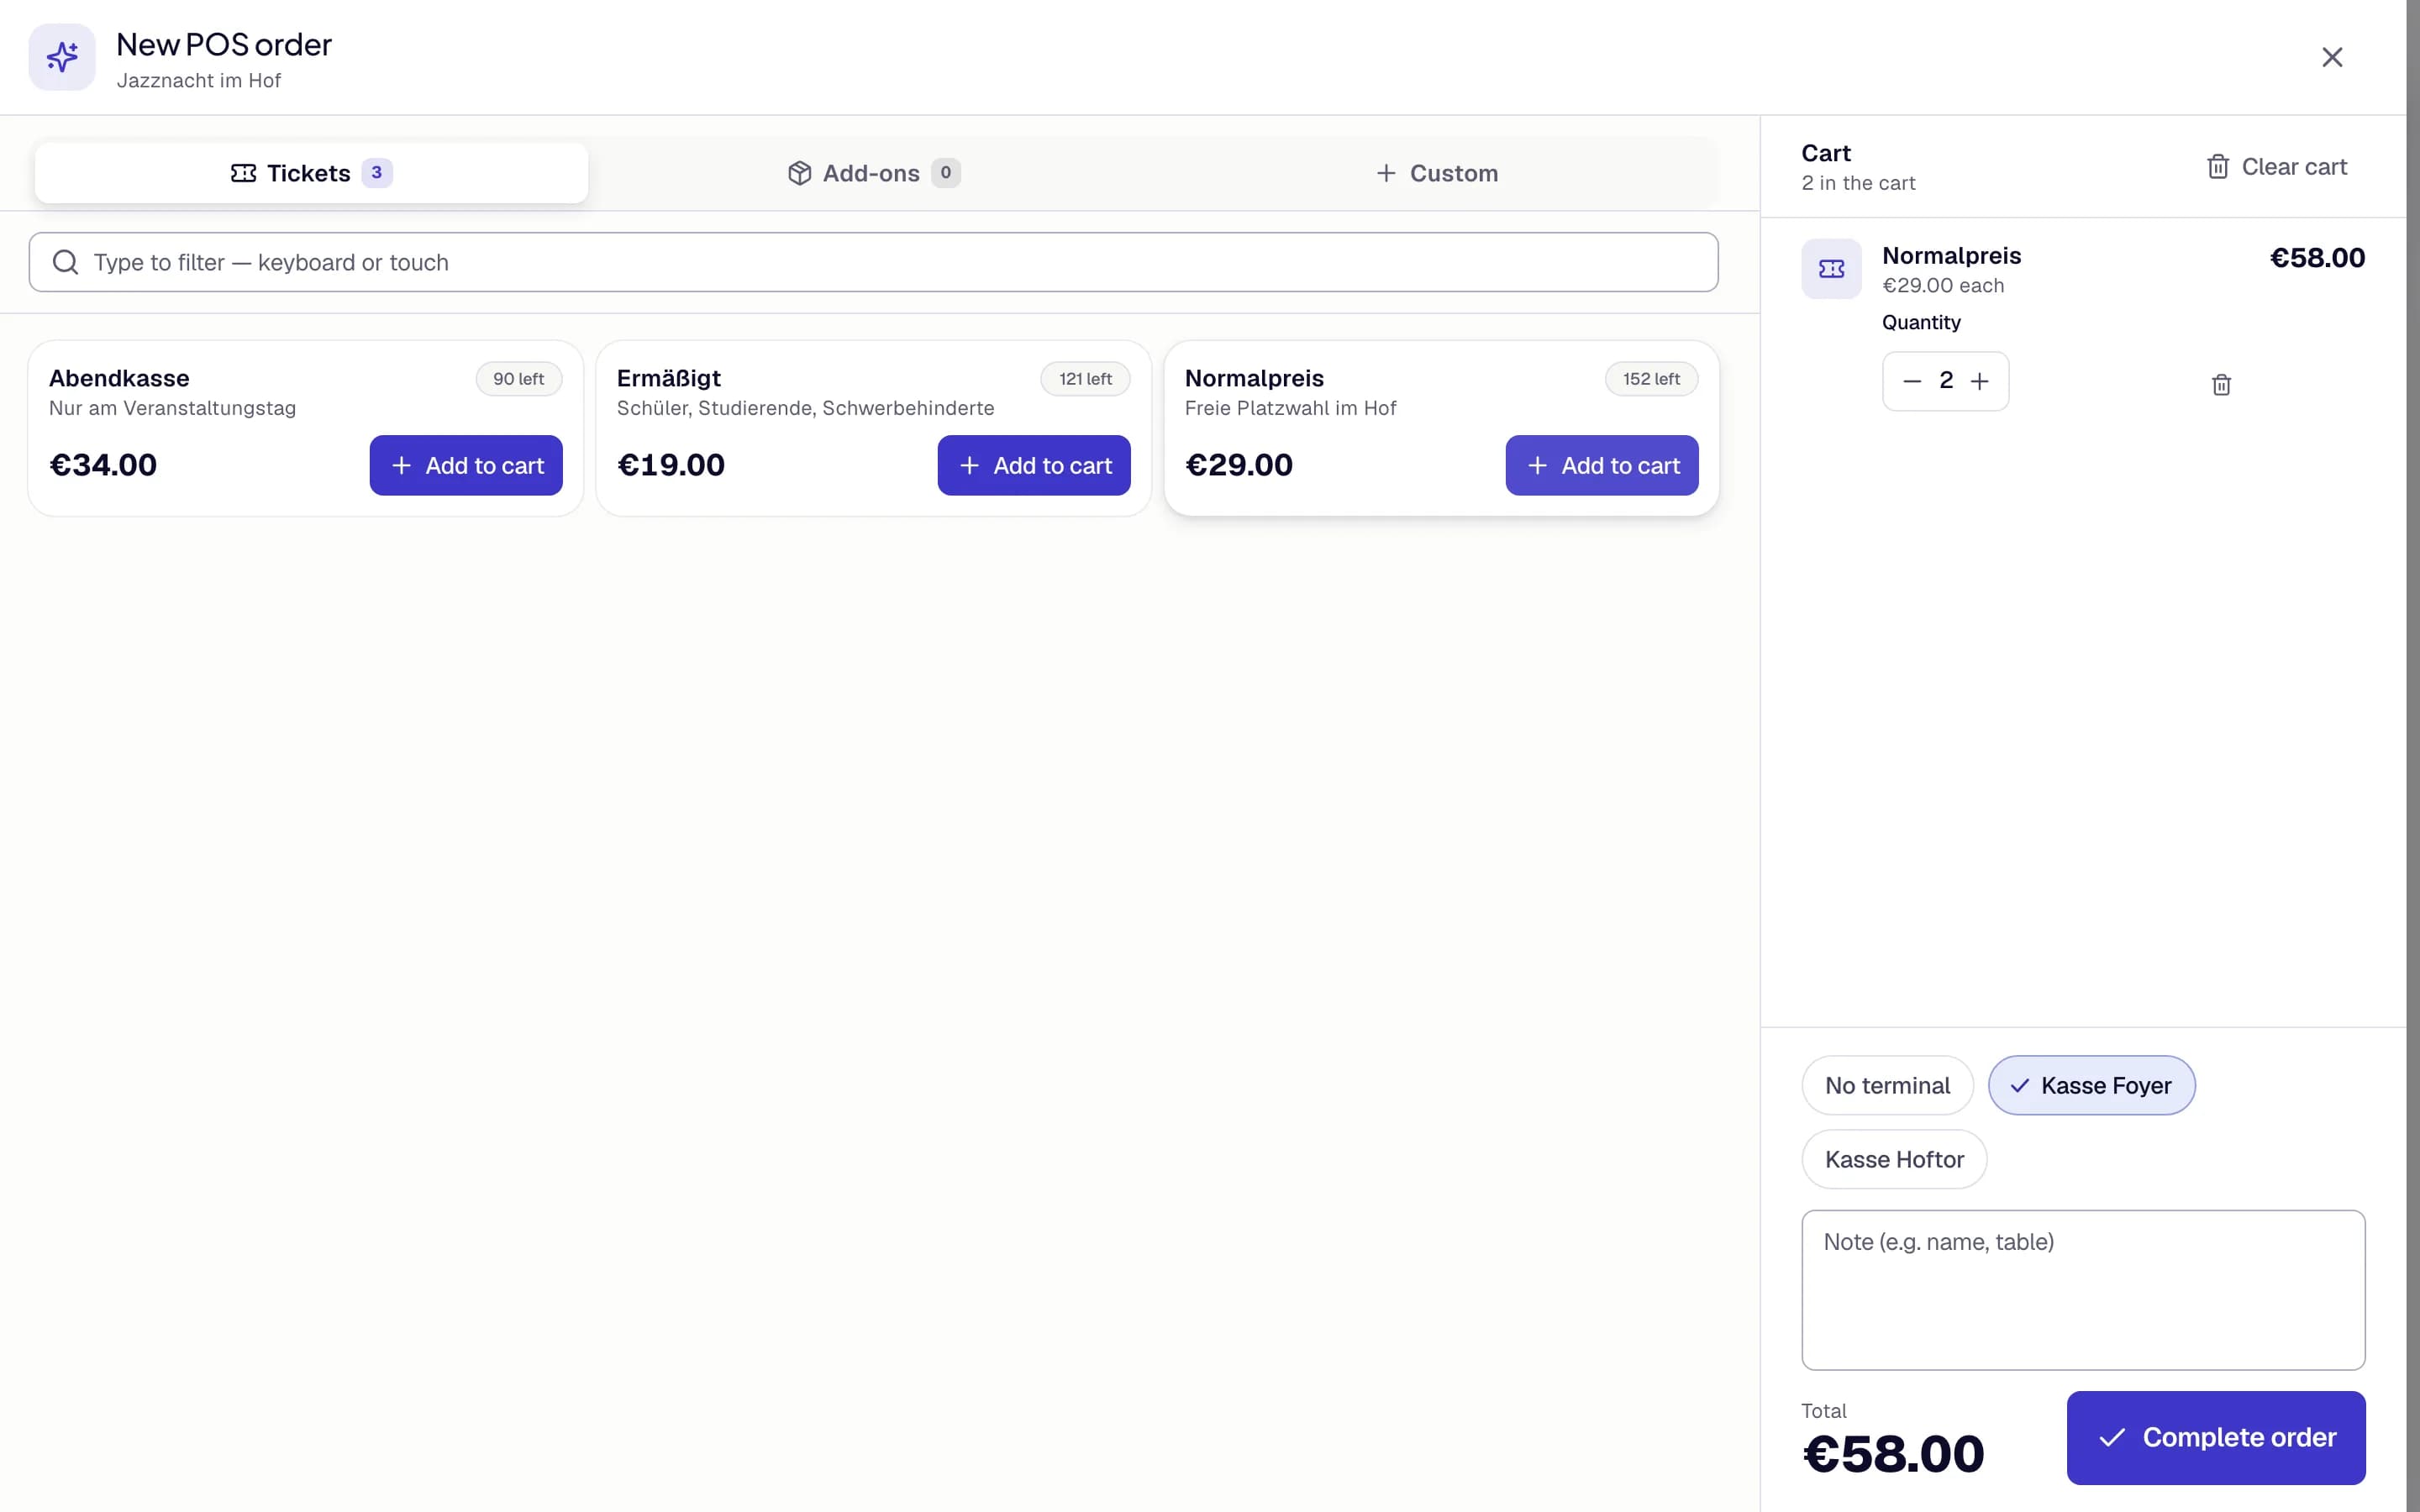
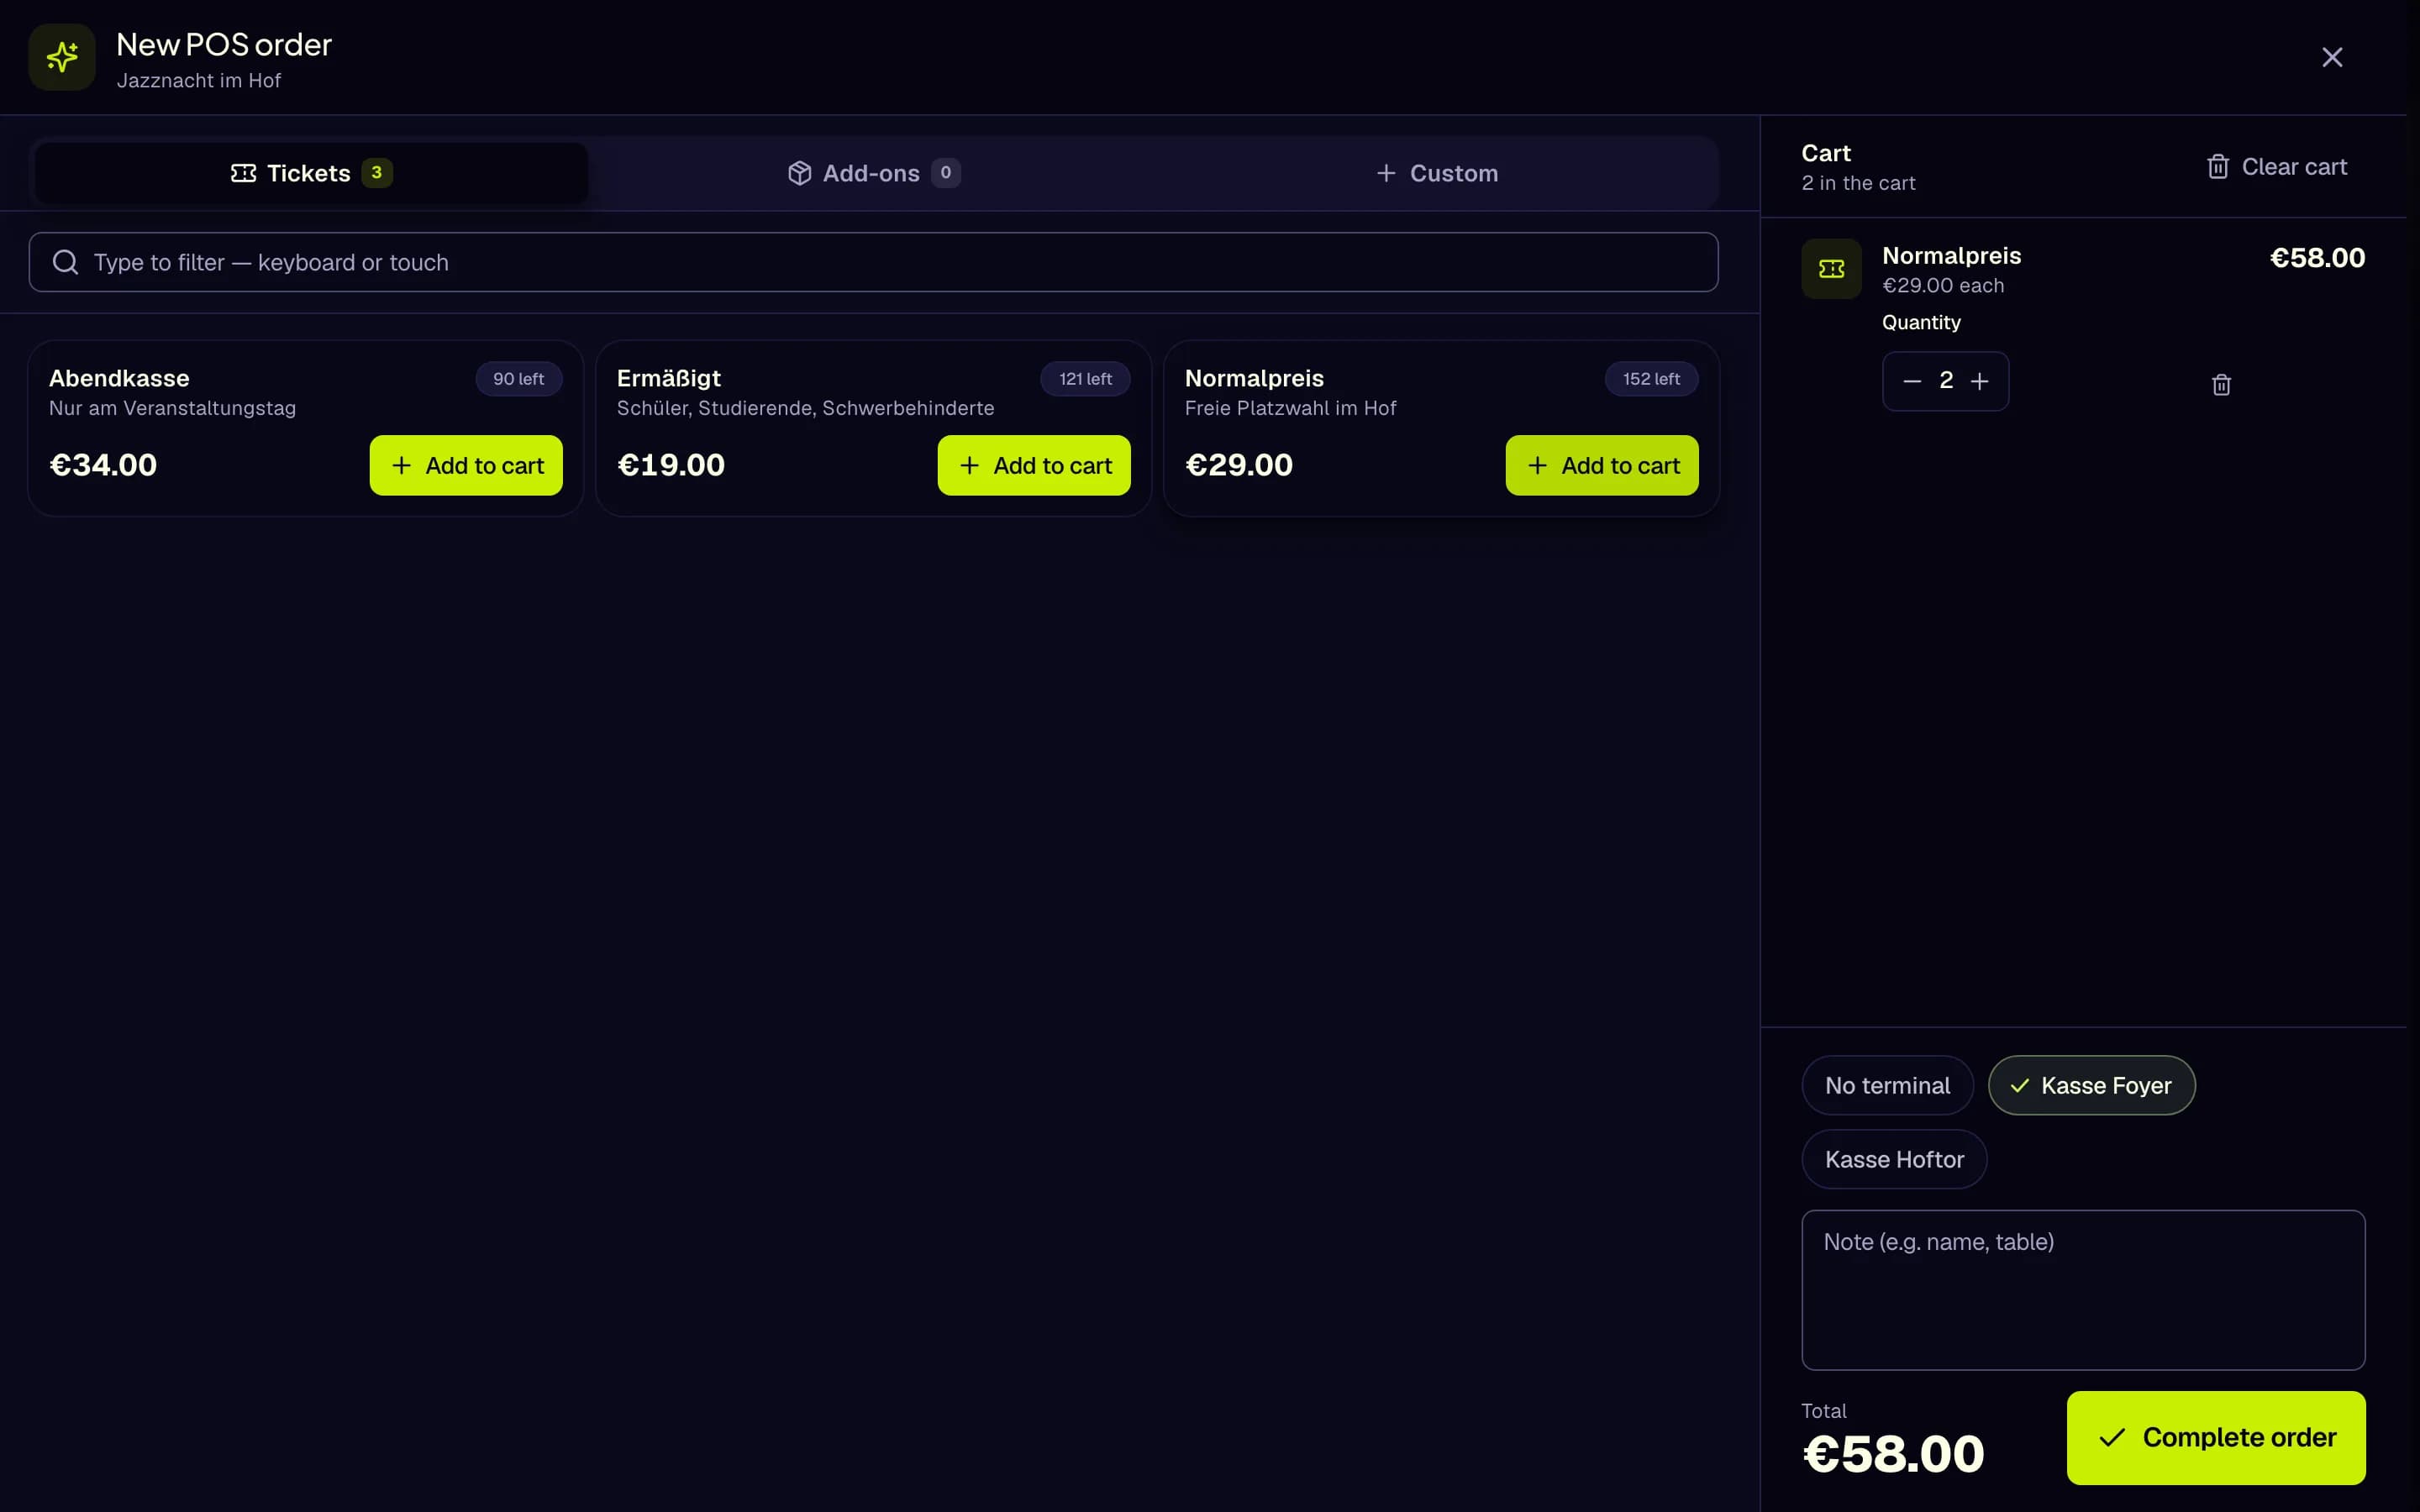
- Tickets tab
- Add to cart
- Terminal
- Note
- Complete order
- The Point of Sale does not take card payments. It records the sale; take the money with your own card terminal or cash.
- The receipt is the ticket. Door tickets are not e-mailed, so hand the receipt over.
- Buy tickets in the account menu is not a till. It buys tickets for your own account.
- Cancelling a sale needs another permission (Cancel or refund point-of-sale orders). Ask a supervisor.
Details: Orders and Point of Sale. At a bar, bistro or food truck you sell on the stand's Till tab or in the app's Stand till: Stands, food and drinks.
6. Work your shifts and check in
Where: Operations → My Area in the dashboard, or My Hub in the app Who can do this: every project member; your own check-in needs View crew check-ins
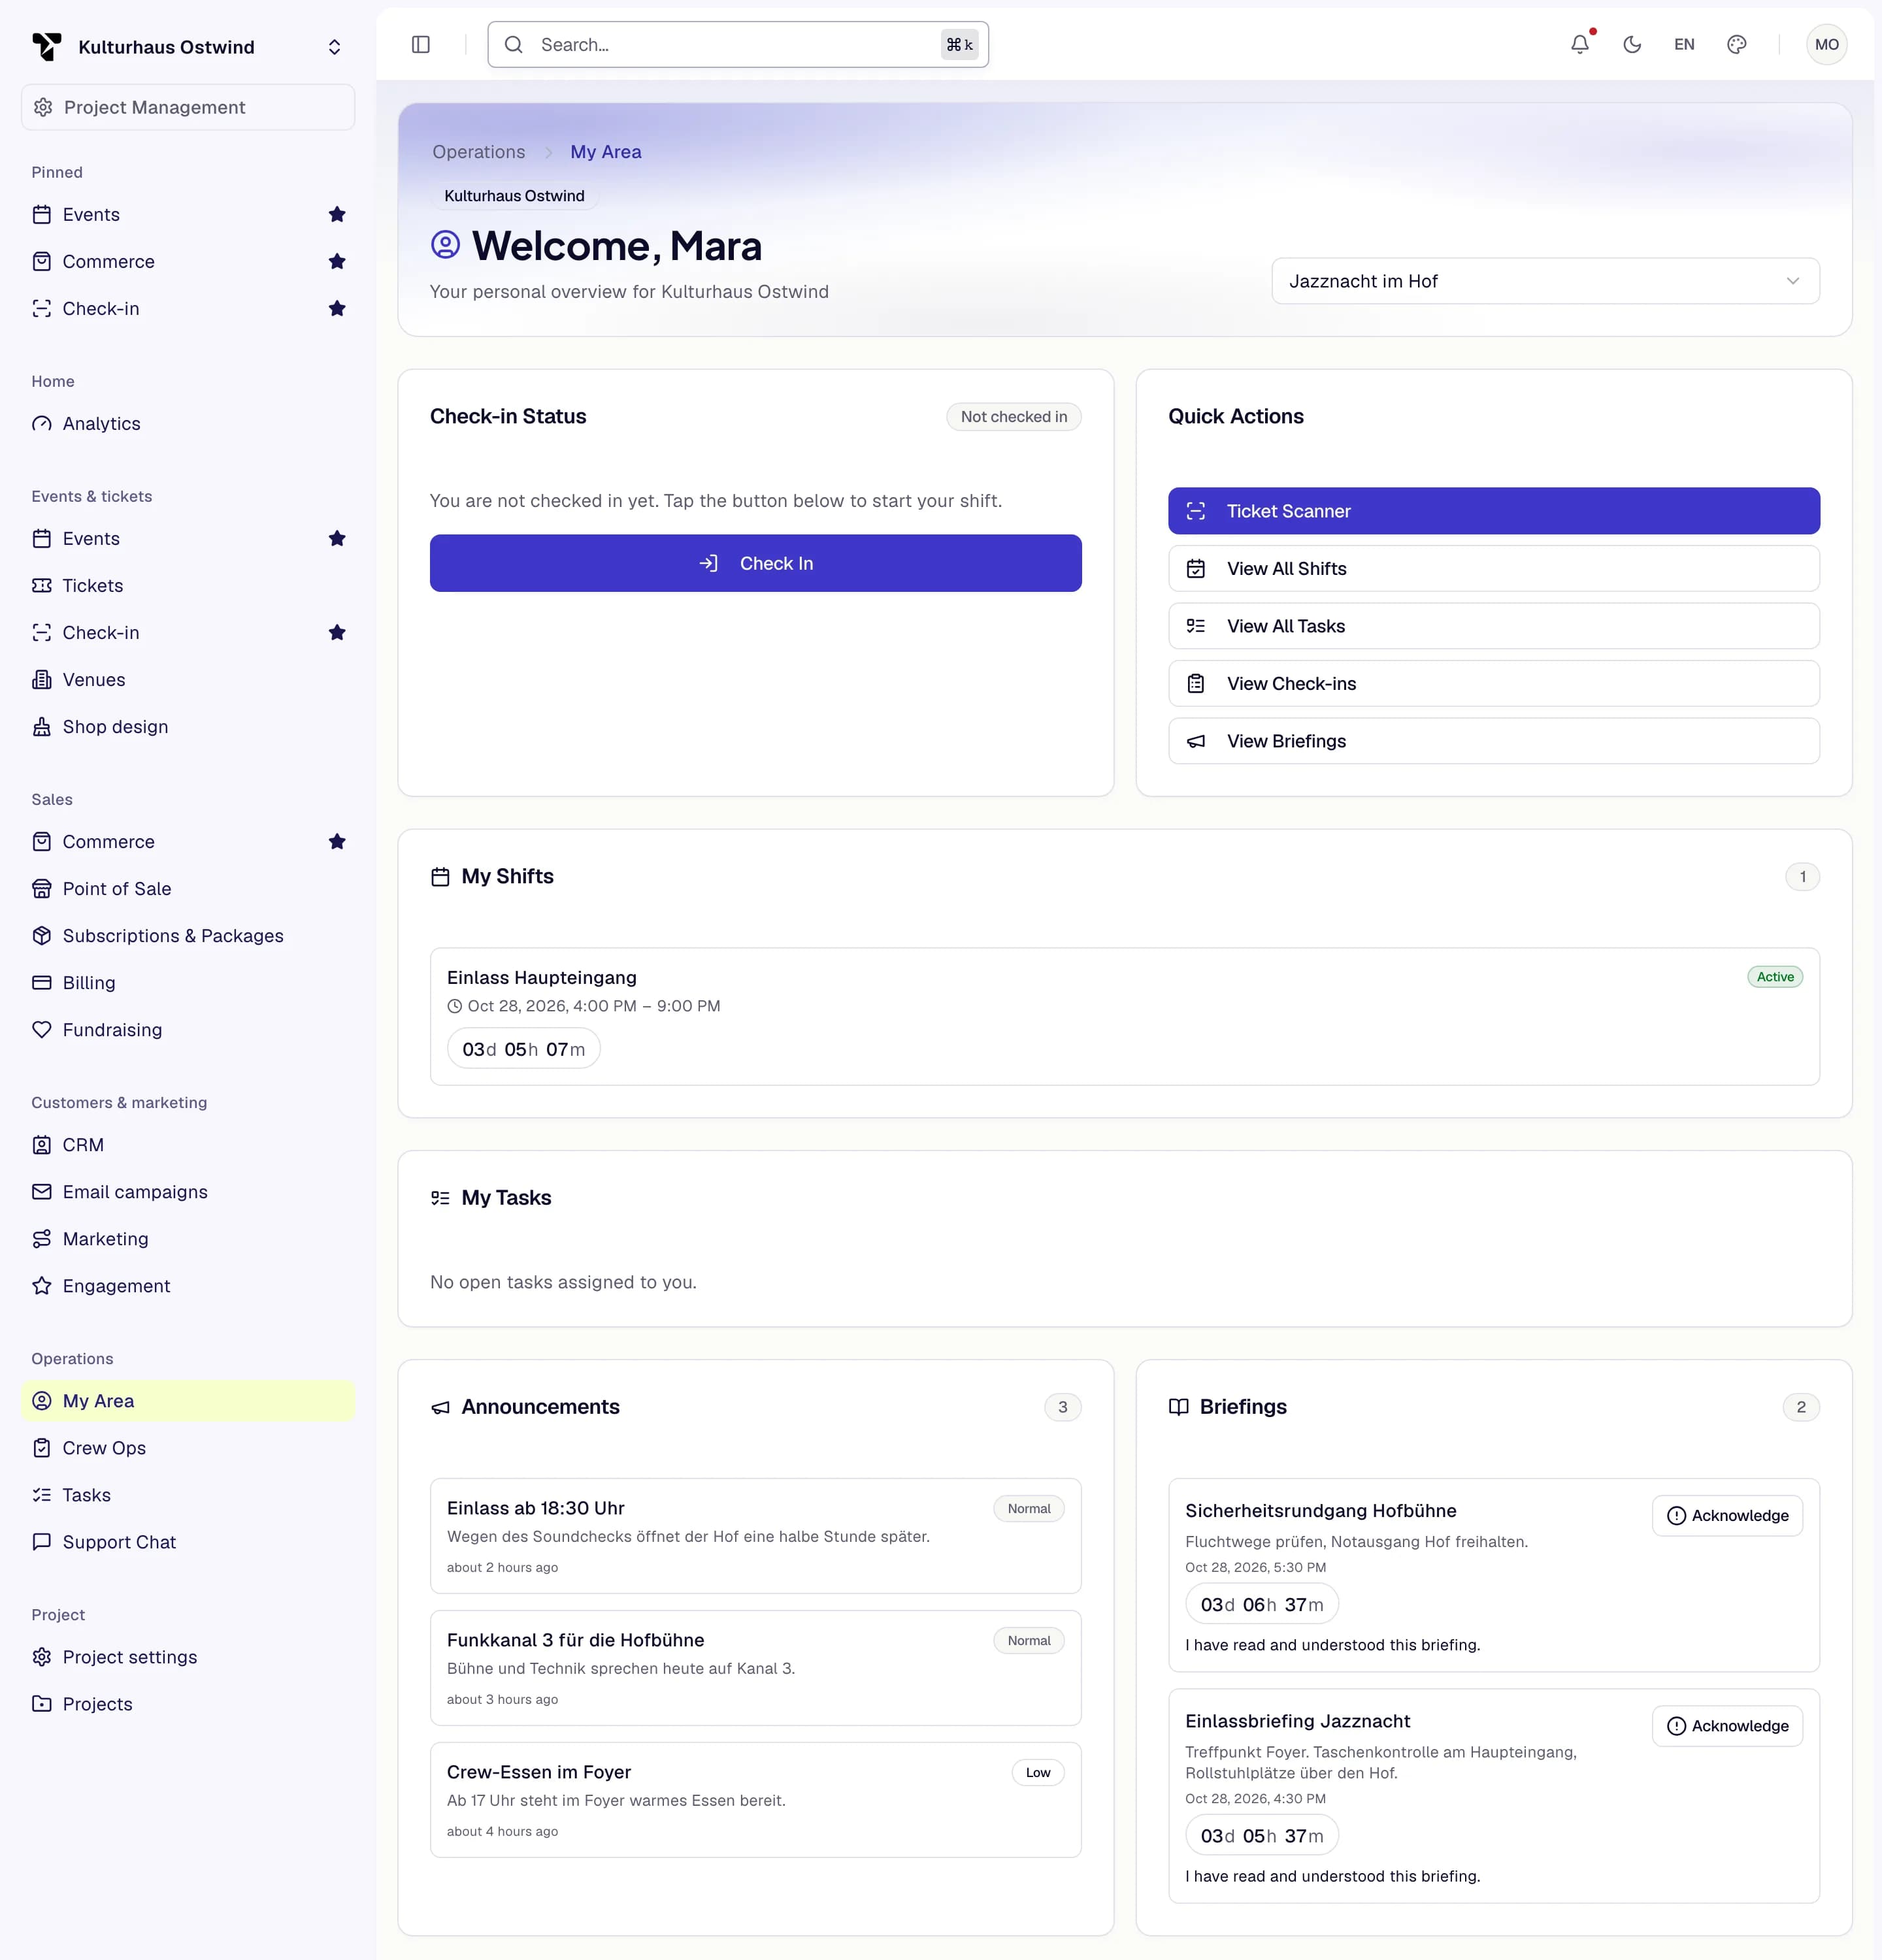
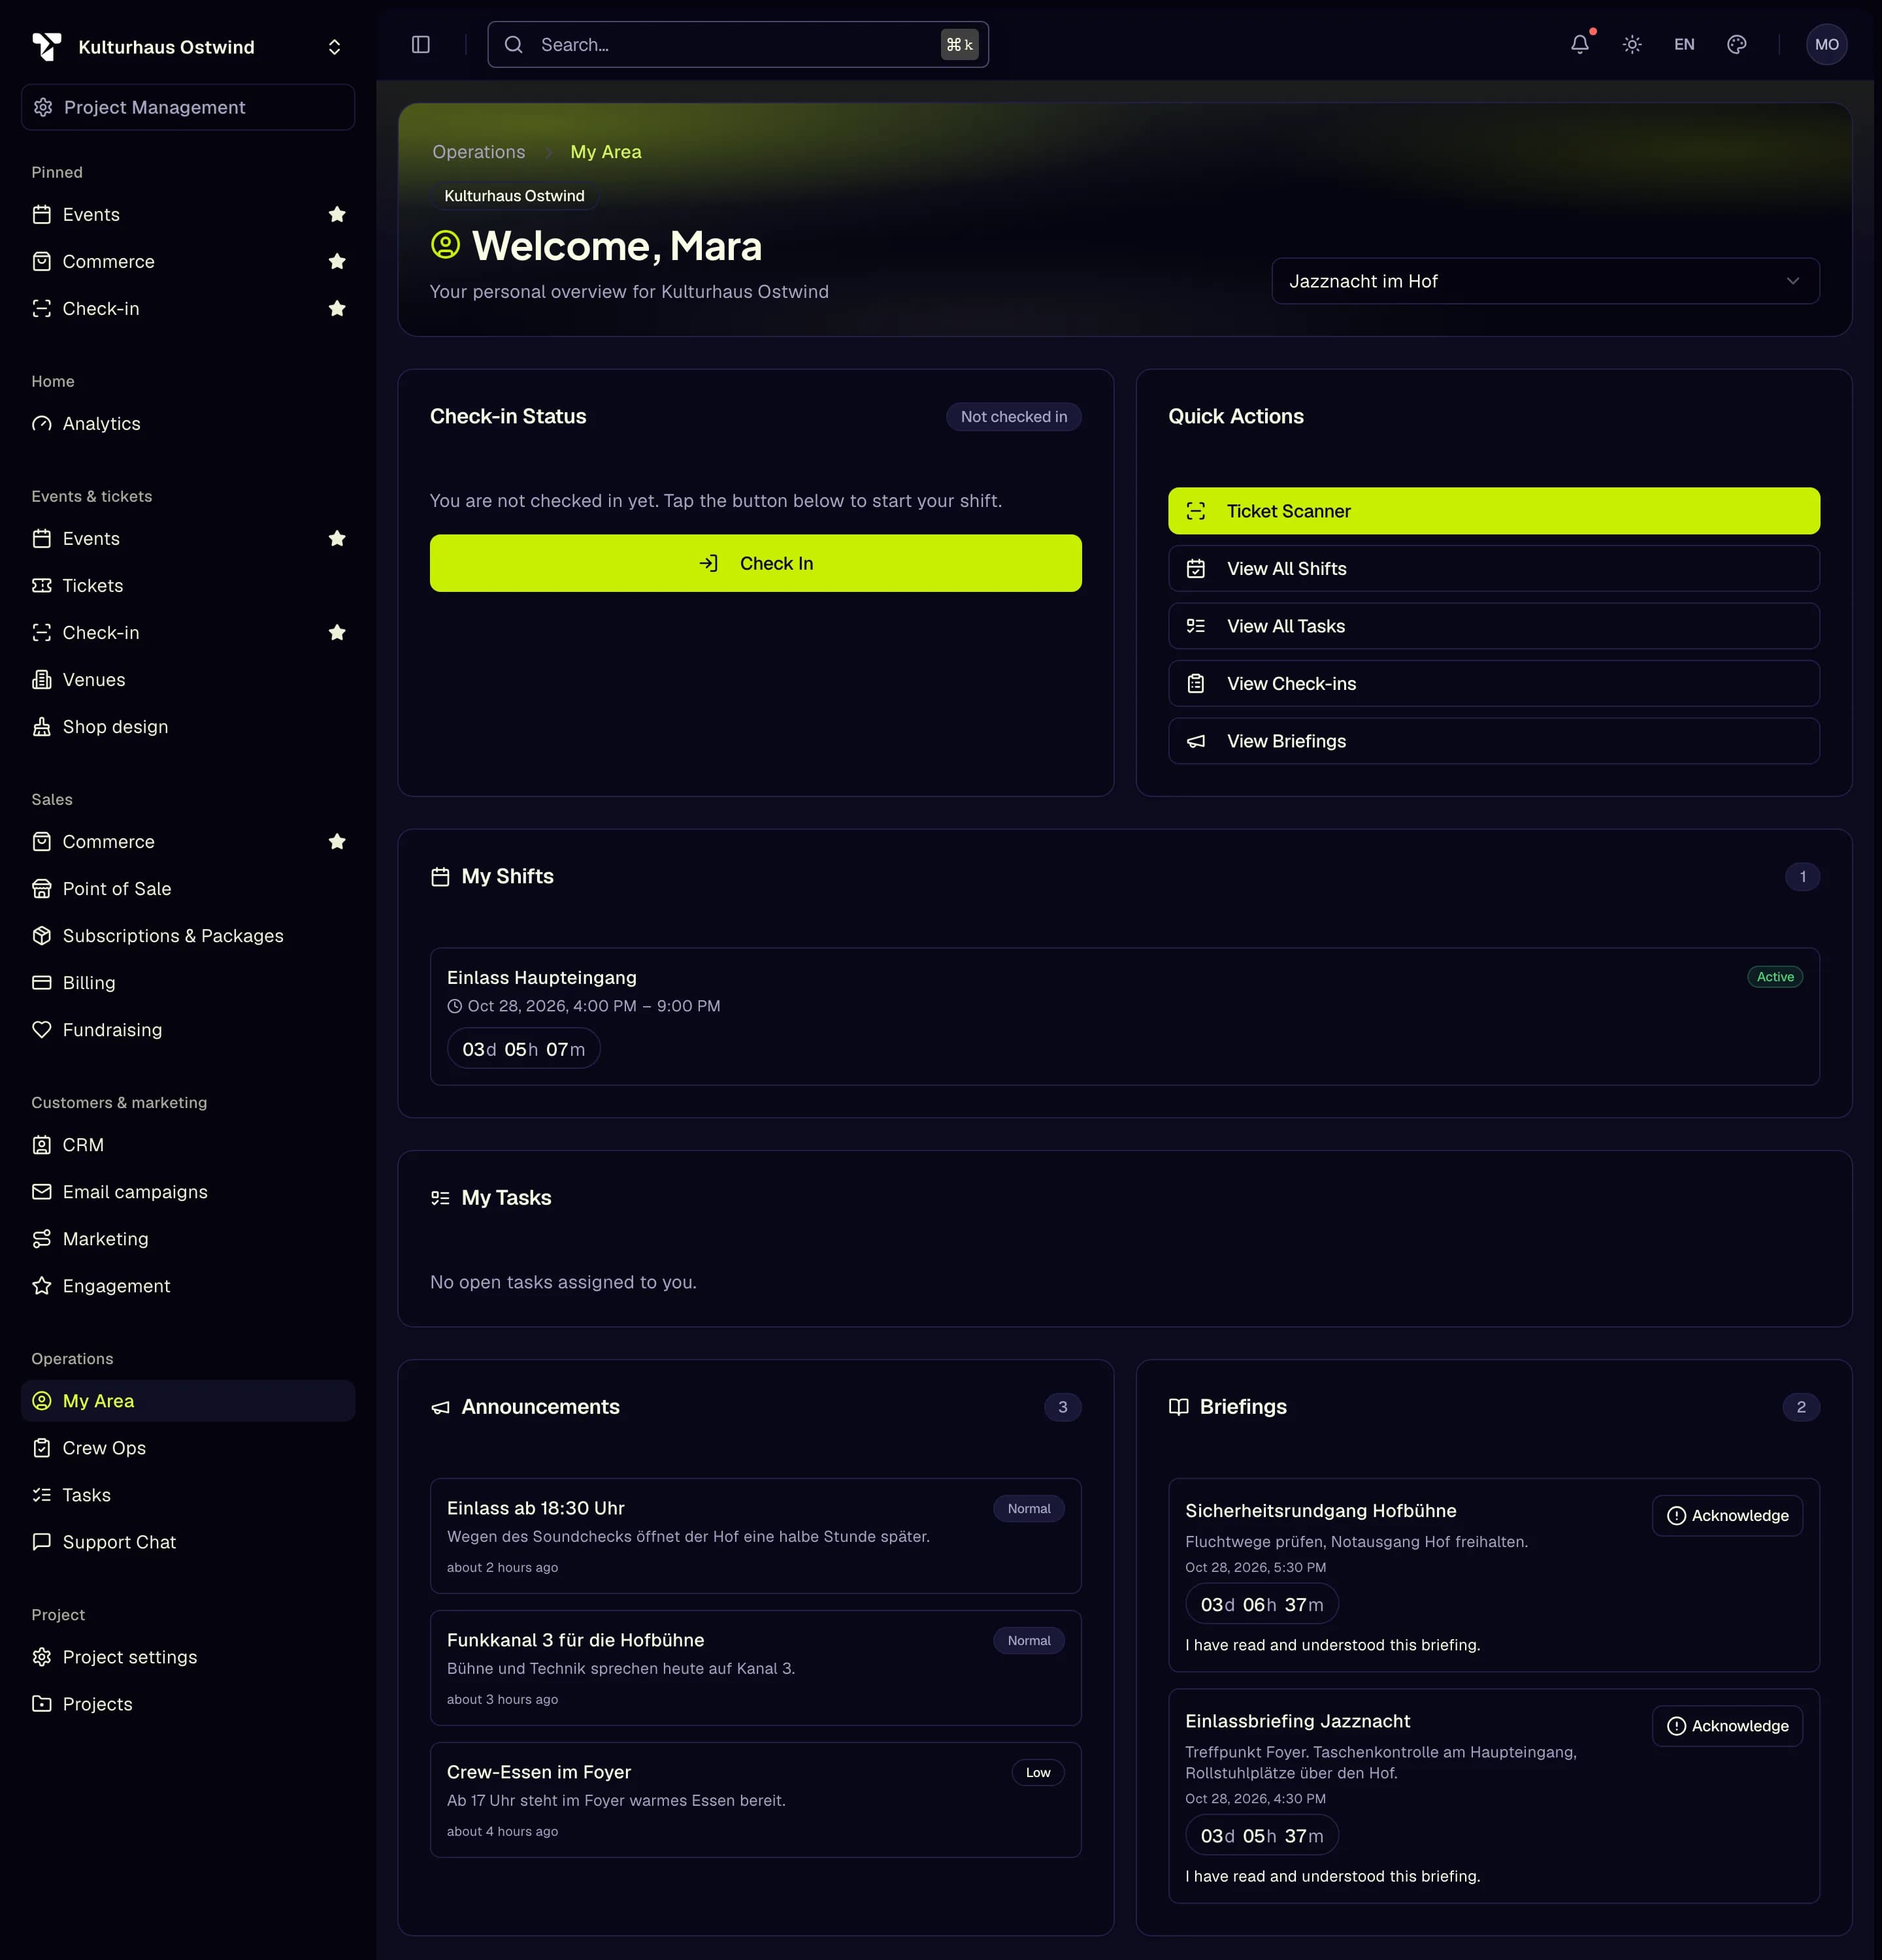
- Select event…
- Check-in Status
- Check In
- Quick Actions
- Acknowledge a briefing
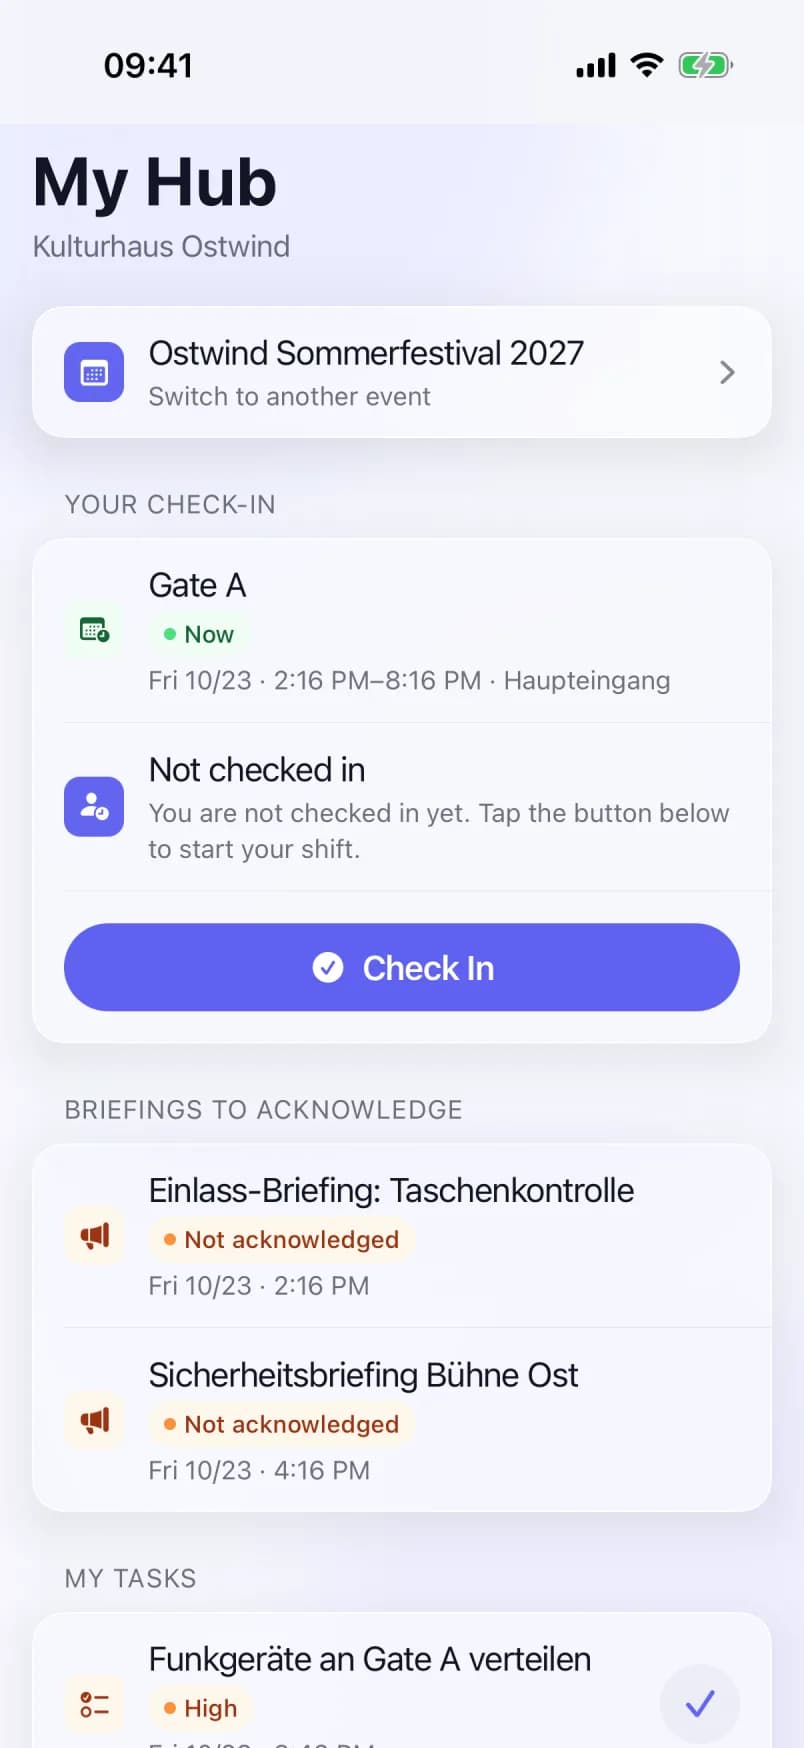
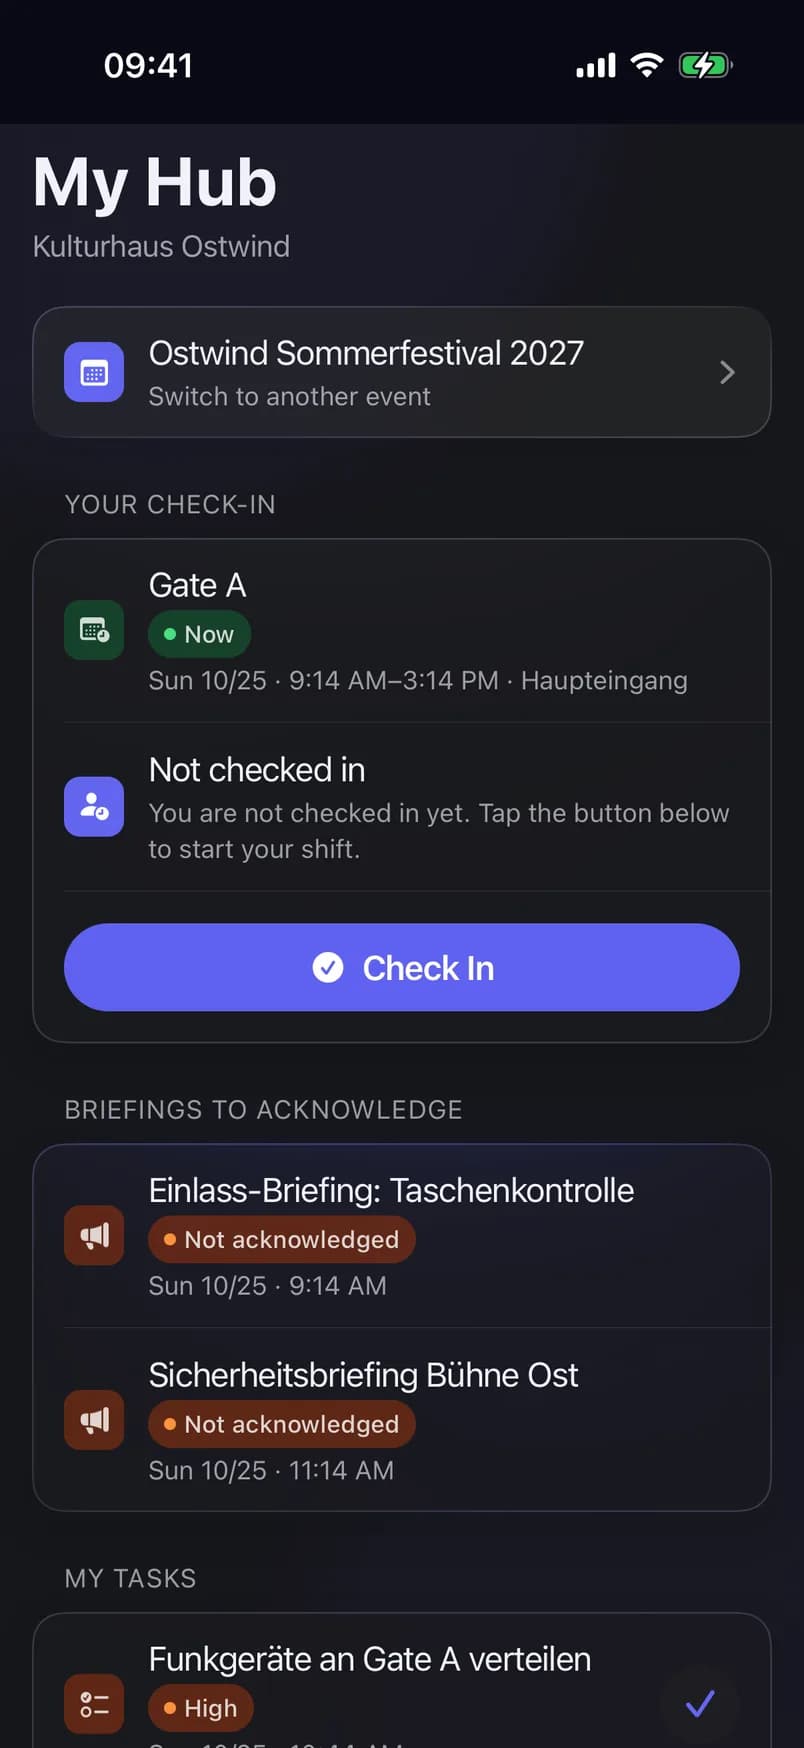
- Choose the event
- Your check-in and next shift
- Check In
- Briefings to acknowledge
- Your tasks
- Check in only when you are on site. The check-in is your working-time record for the shift.
- "Check-in opens closer to the start of the shift" means you are too early. If check-in has closed, ask your crew lead, who can check you in.
- Checking in needs a connection. Offline, the app tells you to try again once you are back online.
- To tell your crew lead when you can work, use Availability under My work in the app.
Details: My Area · Crew check-in and availability
Project Accountant
7. Find orders and refund them
Where: Sales → Commerce → tab Orders Who can do this: View billing to look, Manage billing to refund. Project Accountant has both.
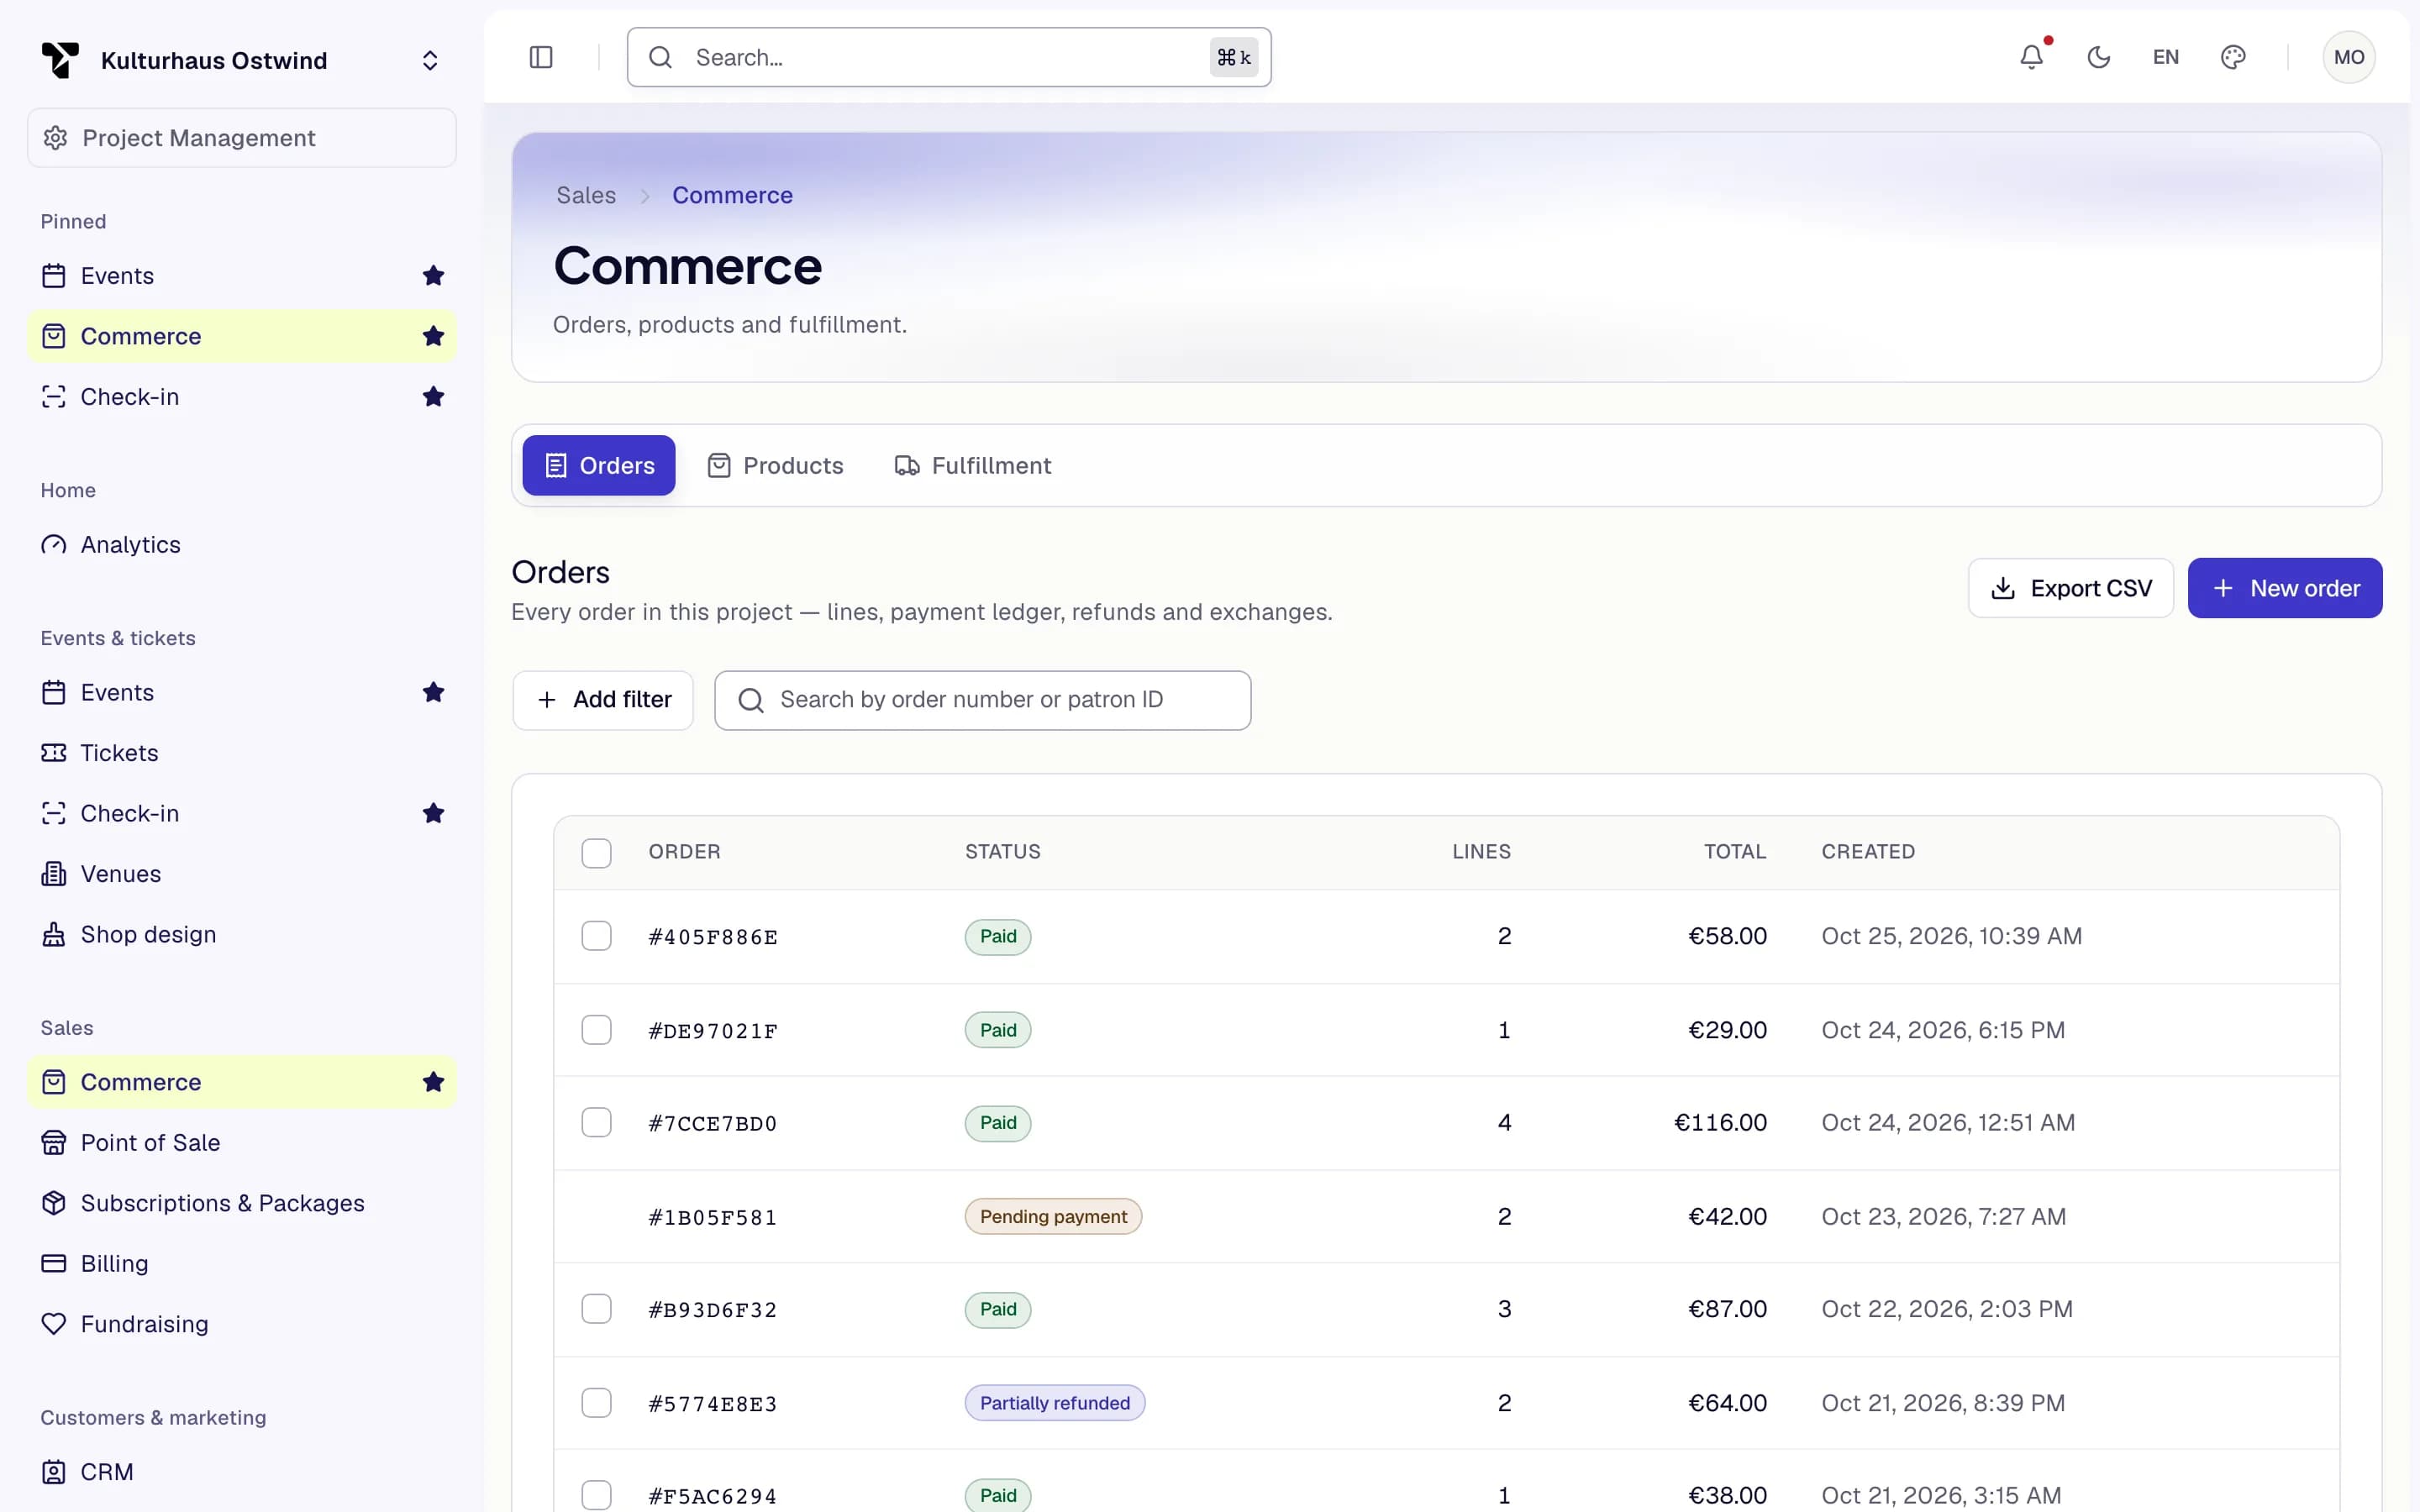
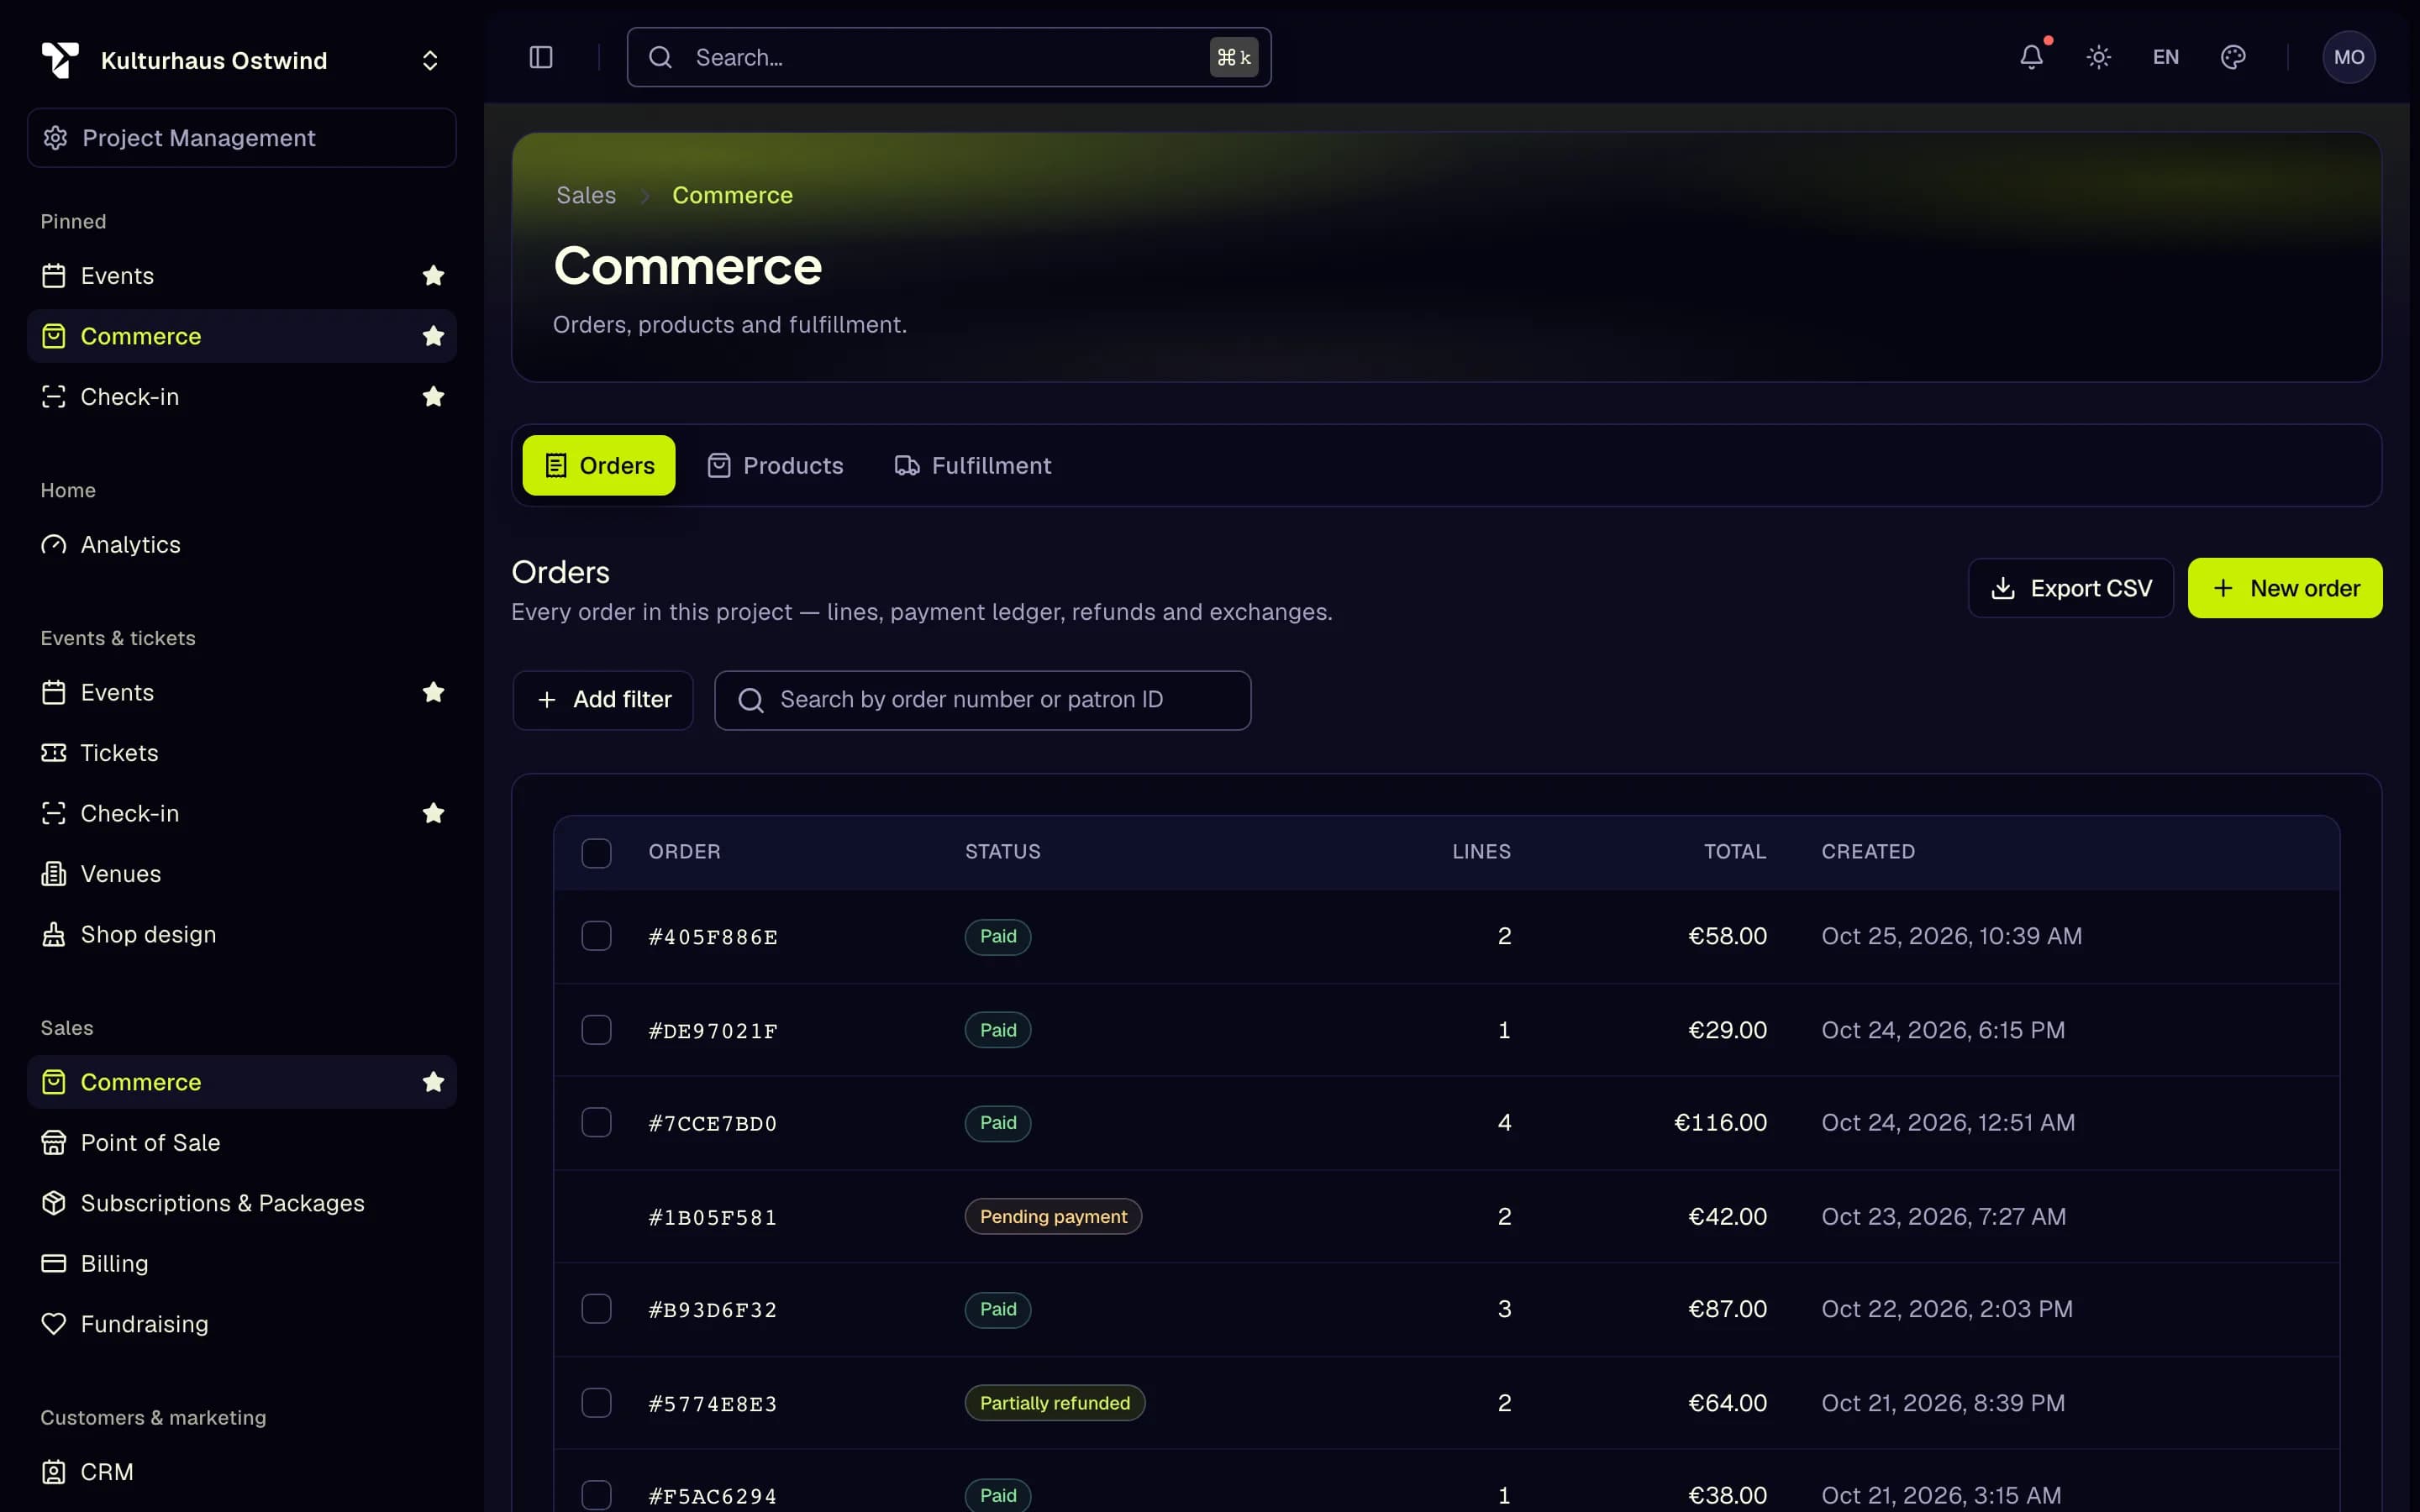
- Orders tab
- Search by order number
- Add filter
- Export CSV
- New order
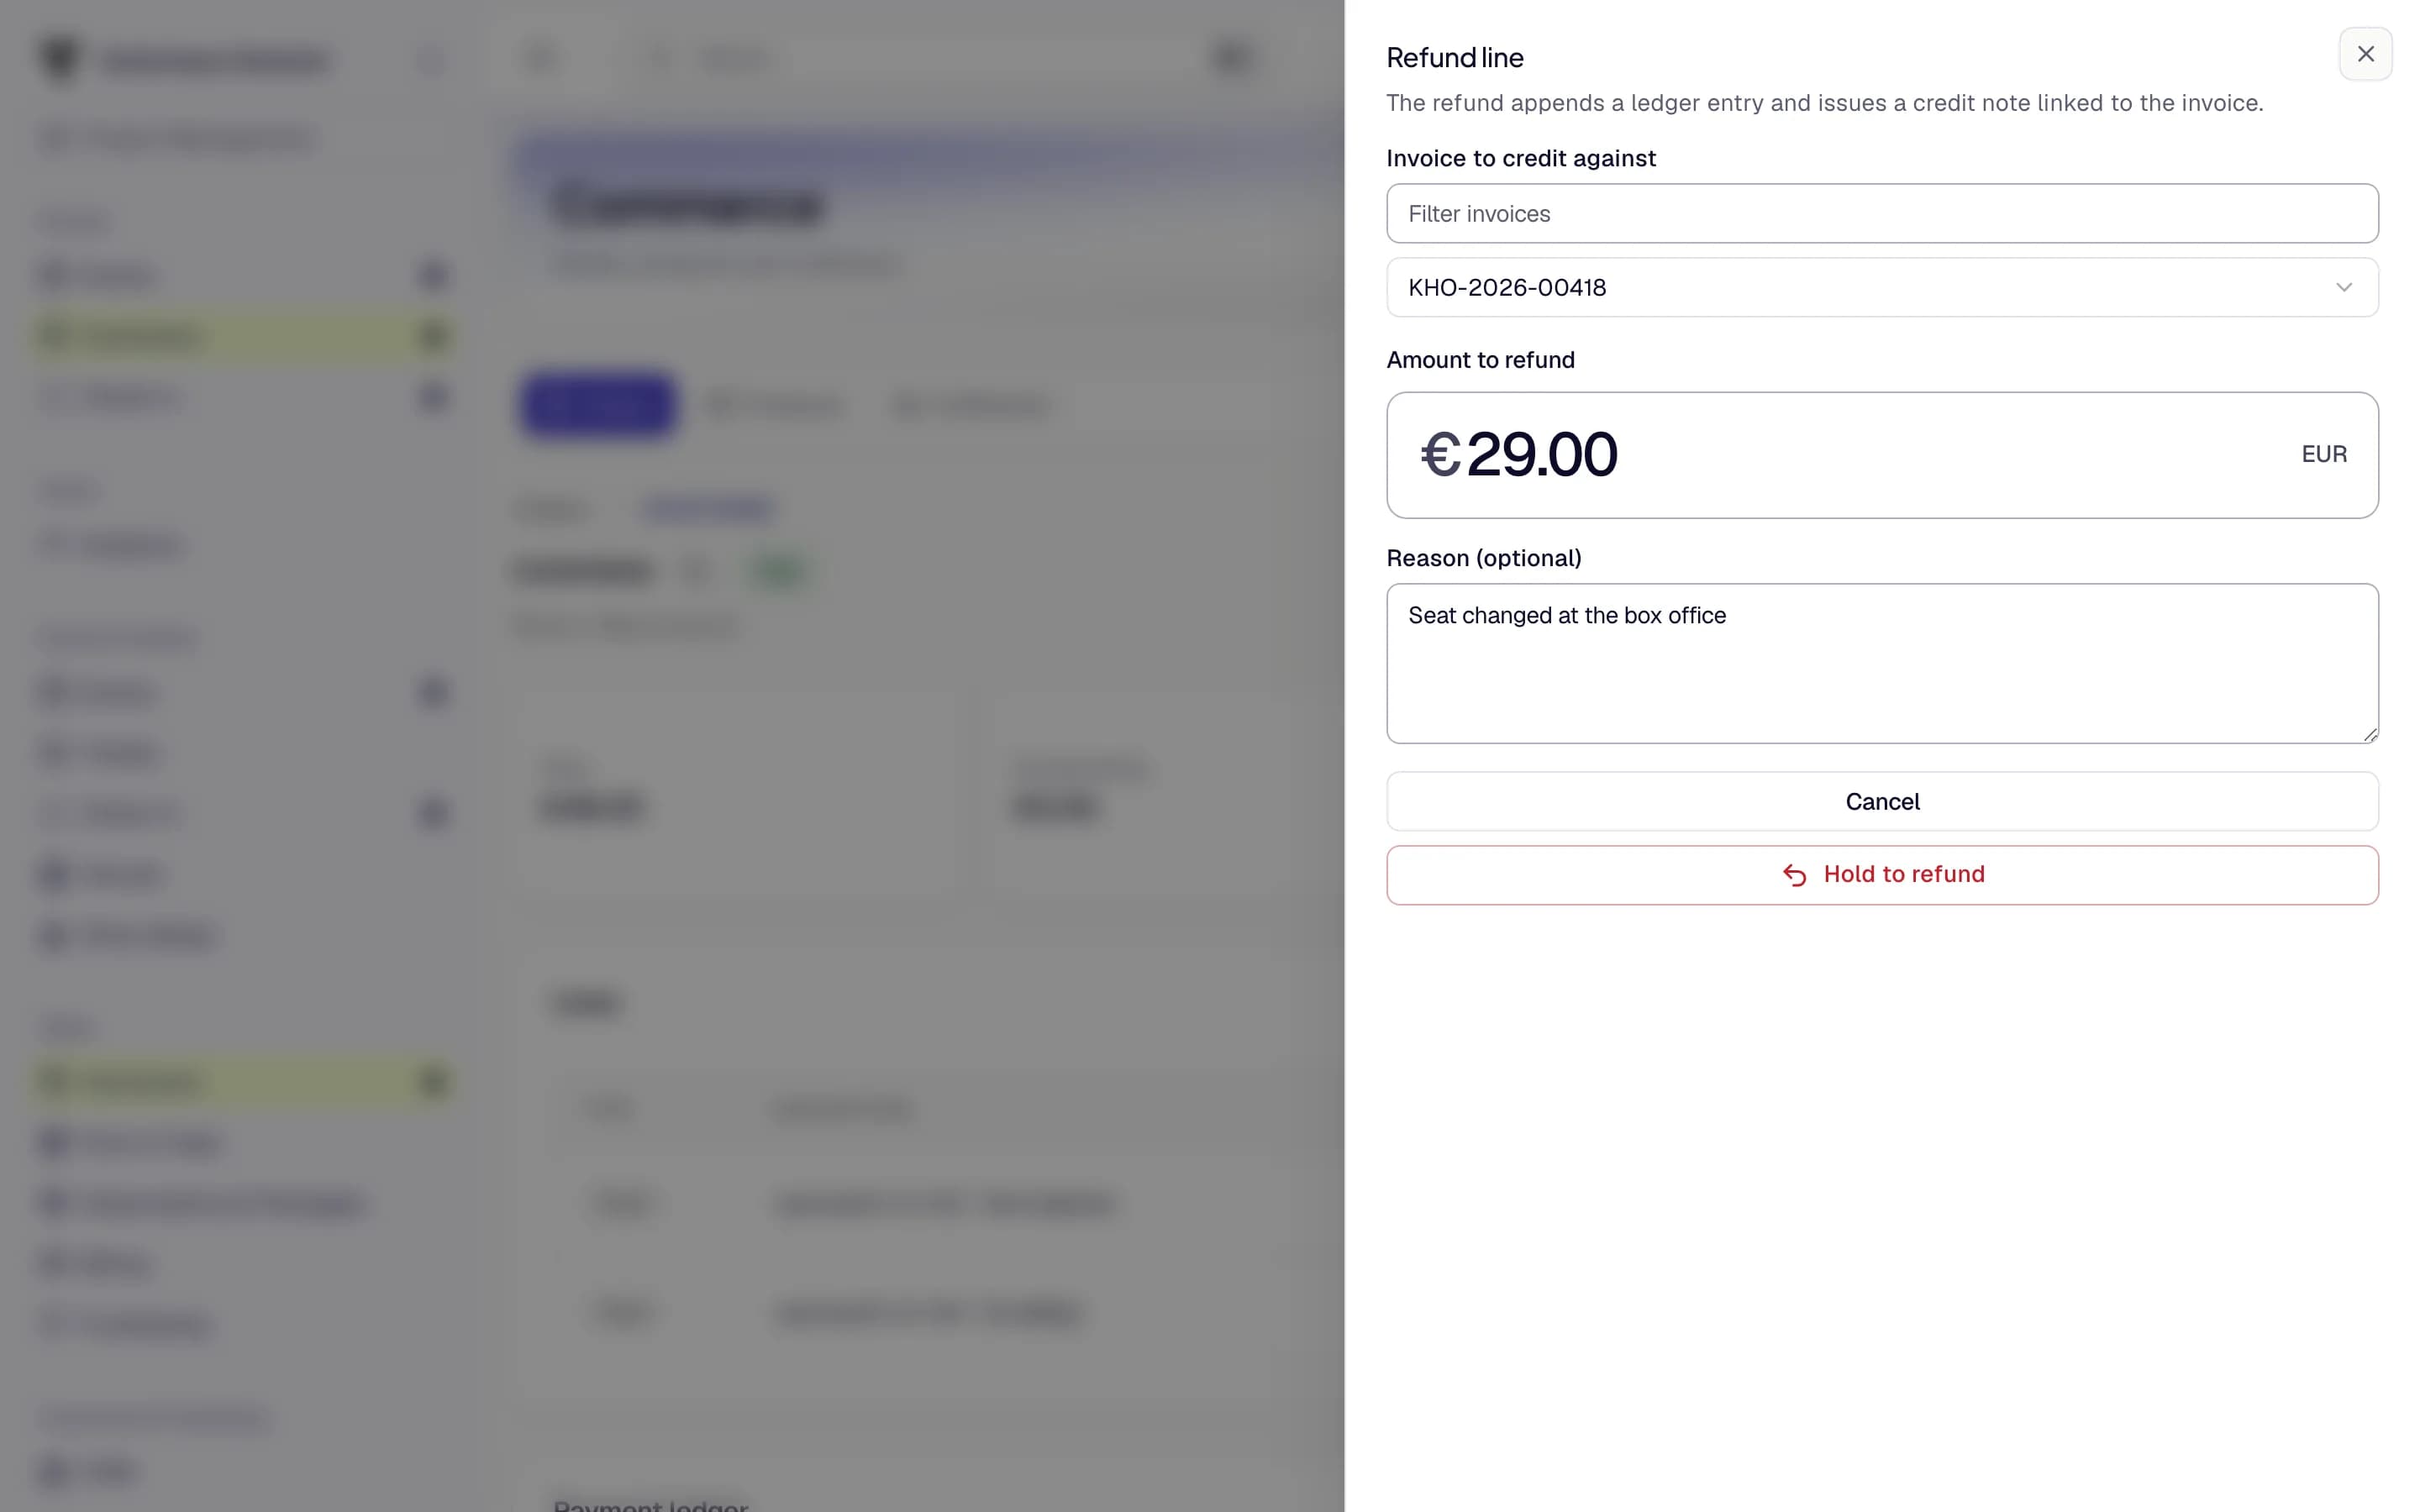
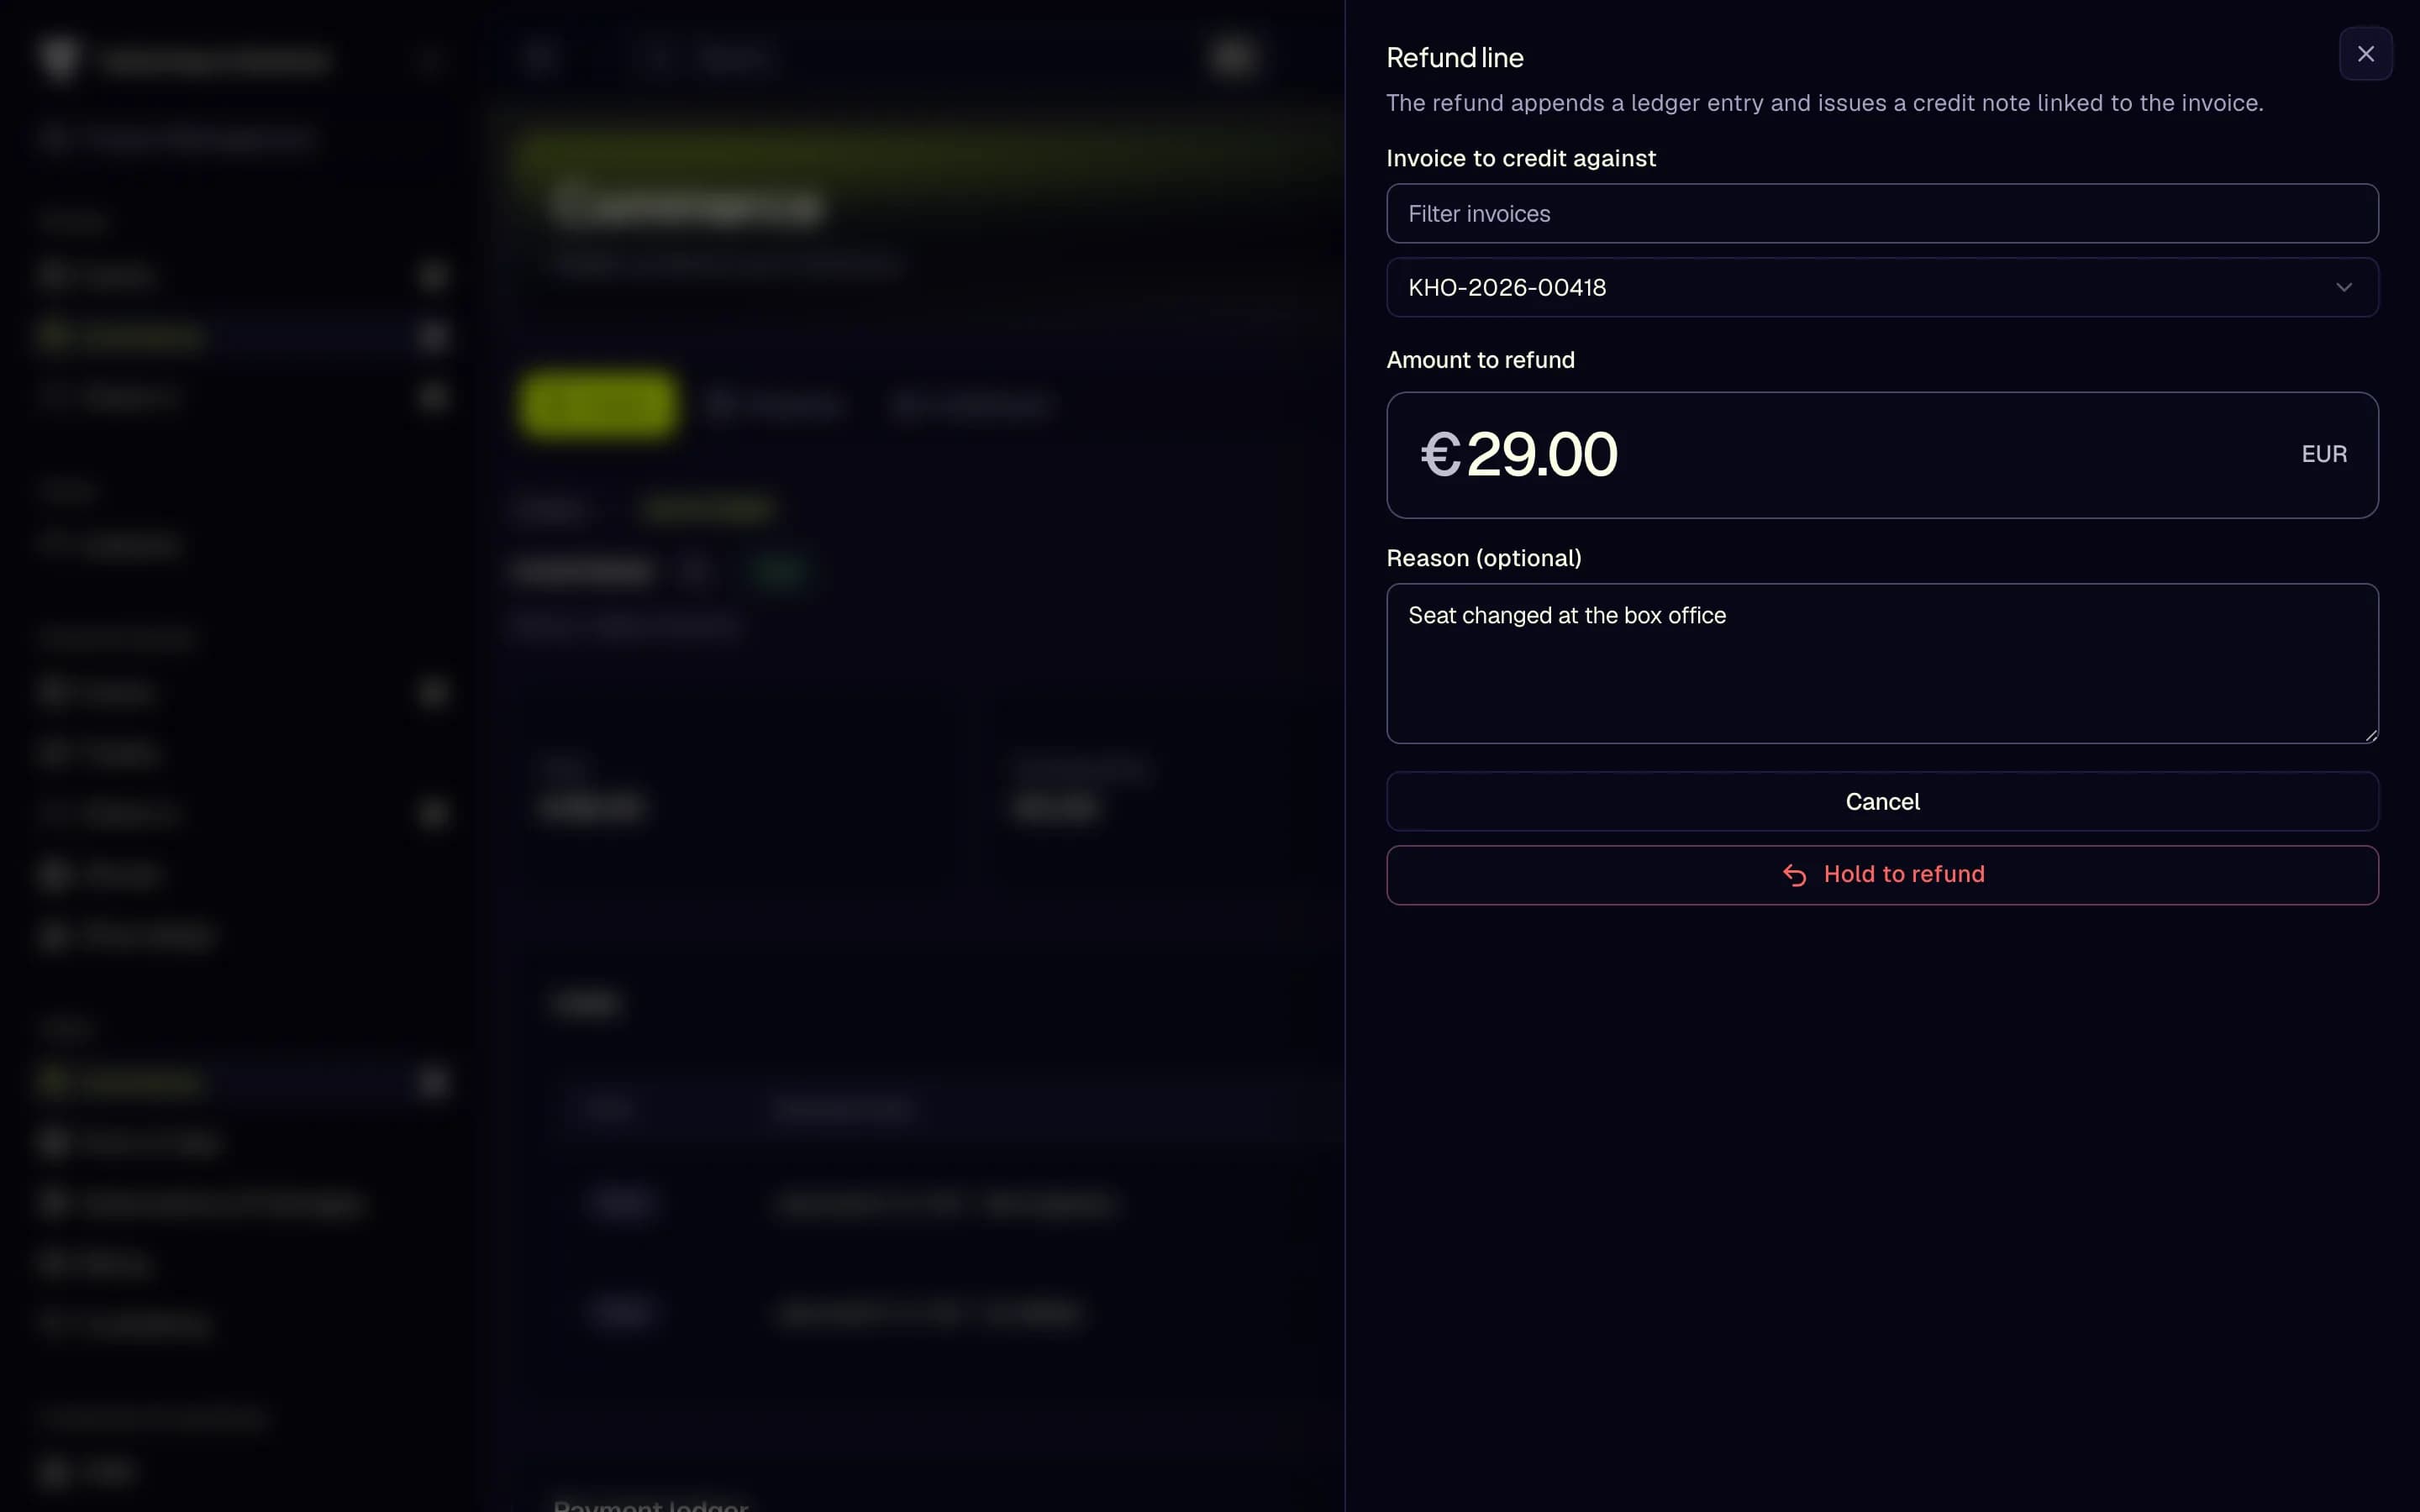
- Invoice to credit against
- Amount to refund
- Reason
- Hold to refund
- A line refund keeps the tickets valid. Use Refund orders when the tickets must be cancelled too.
- Refunds go back through the payment provider the buyer used. Free orders have no invoice and cannot be refunded.
- A refund cannot be undone. Agree refunds outside the event's refund policy with the project lead first.
- Chargebacks are answered in the payment provider's dashboard, not in TixFin.
Details: Orders and Point of Sale · Payments
8. Invoices, credit notes and exports
Where: Sales → Billing → tab Invoices Who can do this: View billing to read and download, Manage billing to cancel an invoice
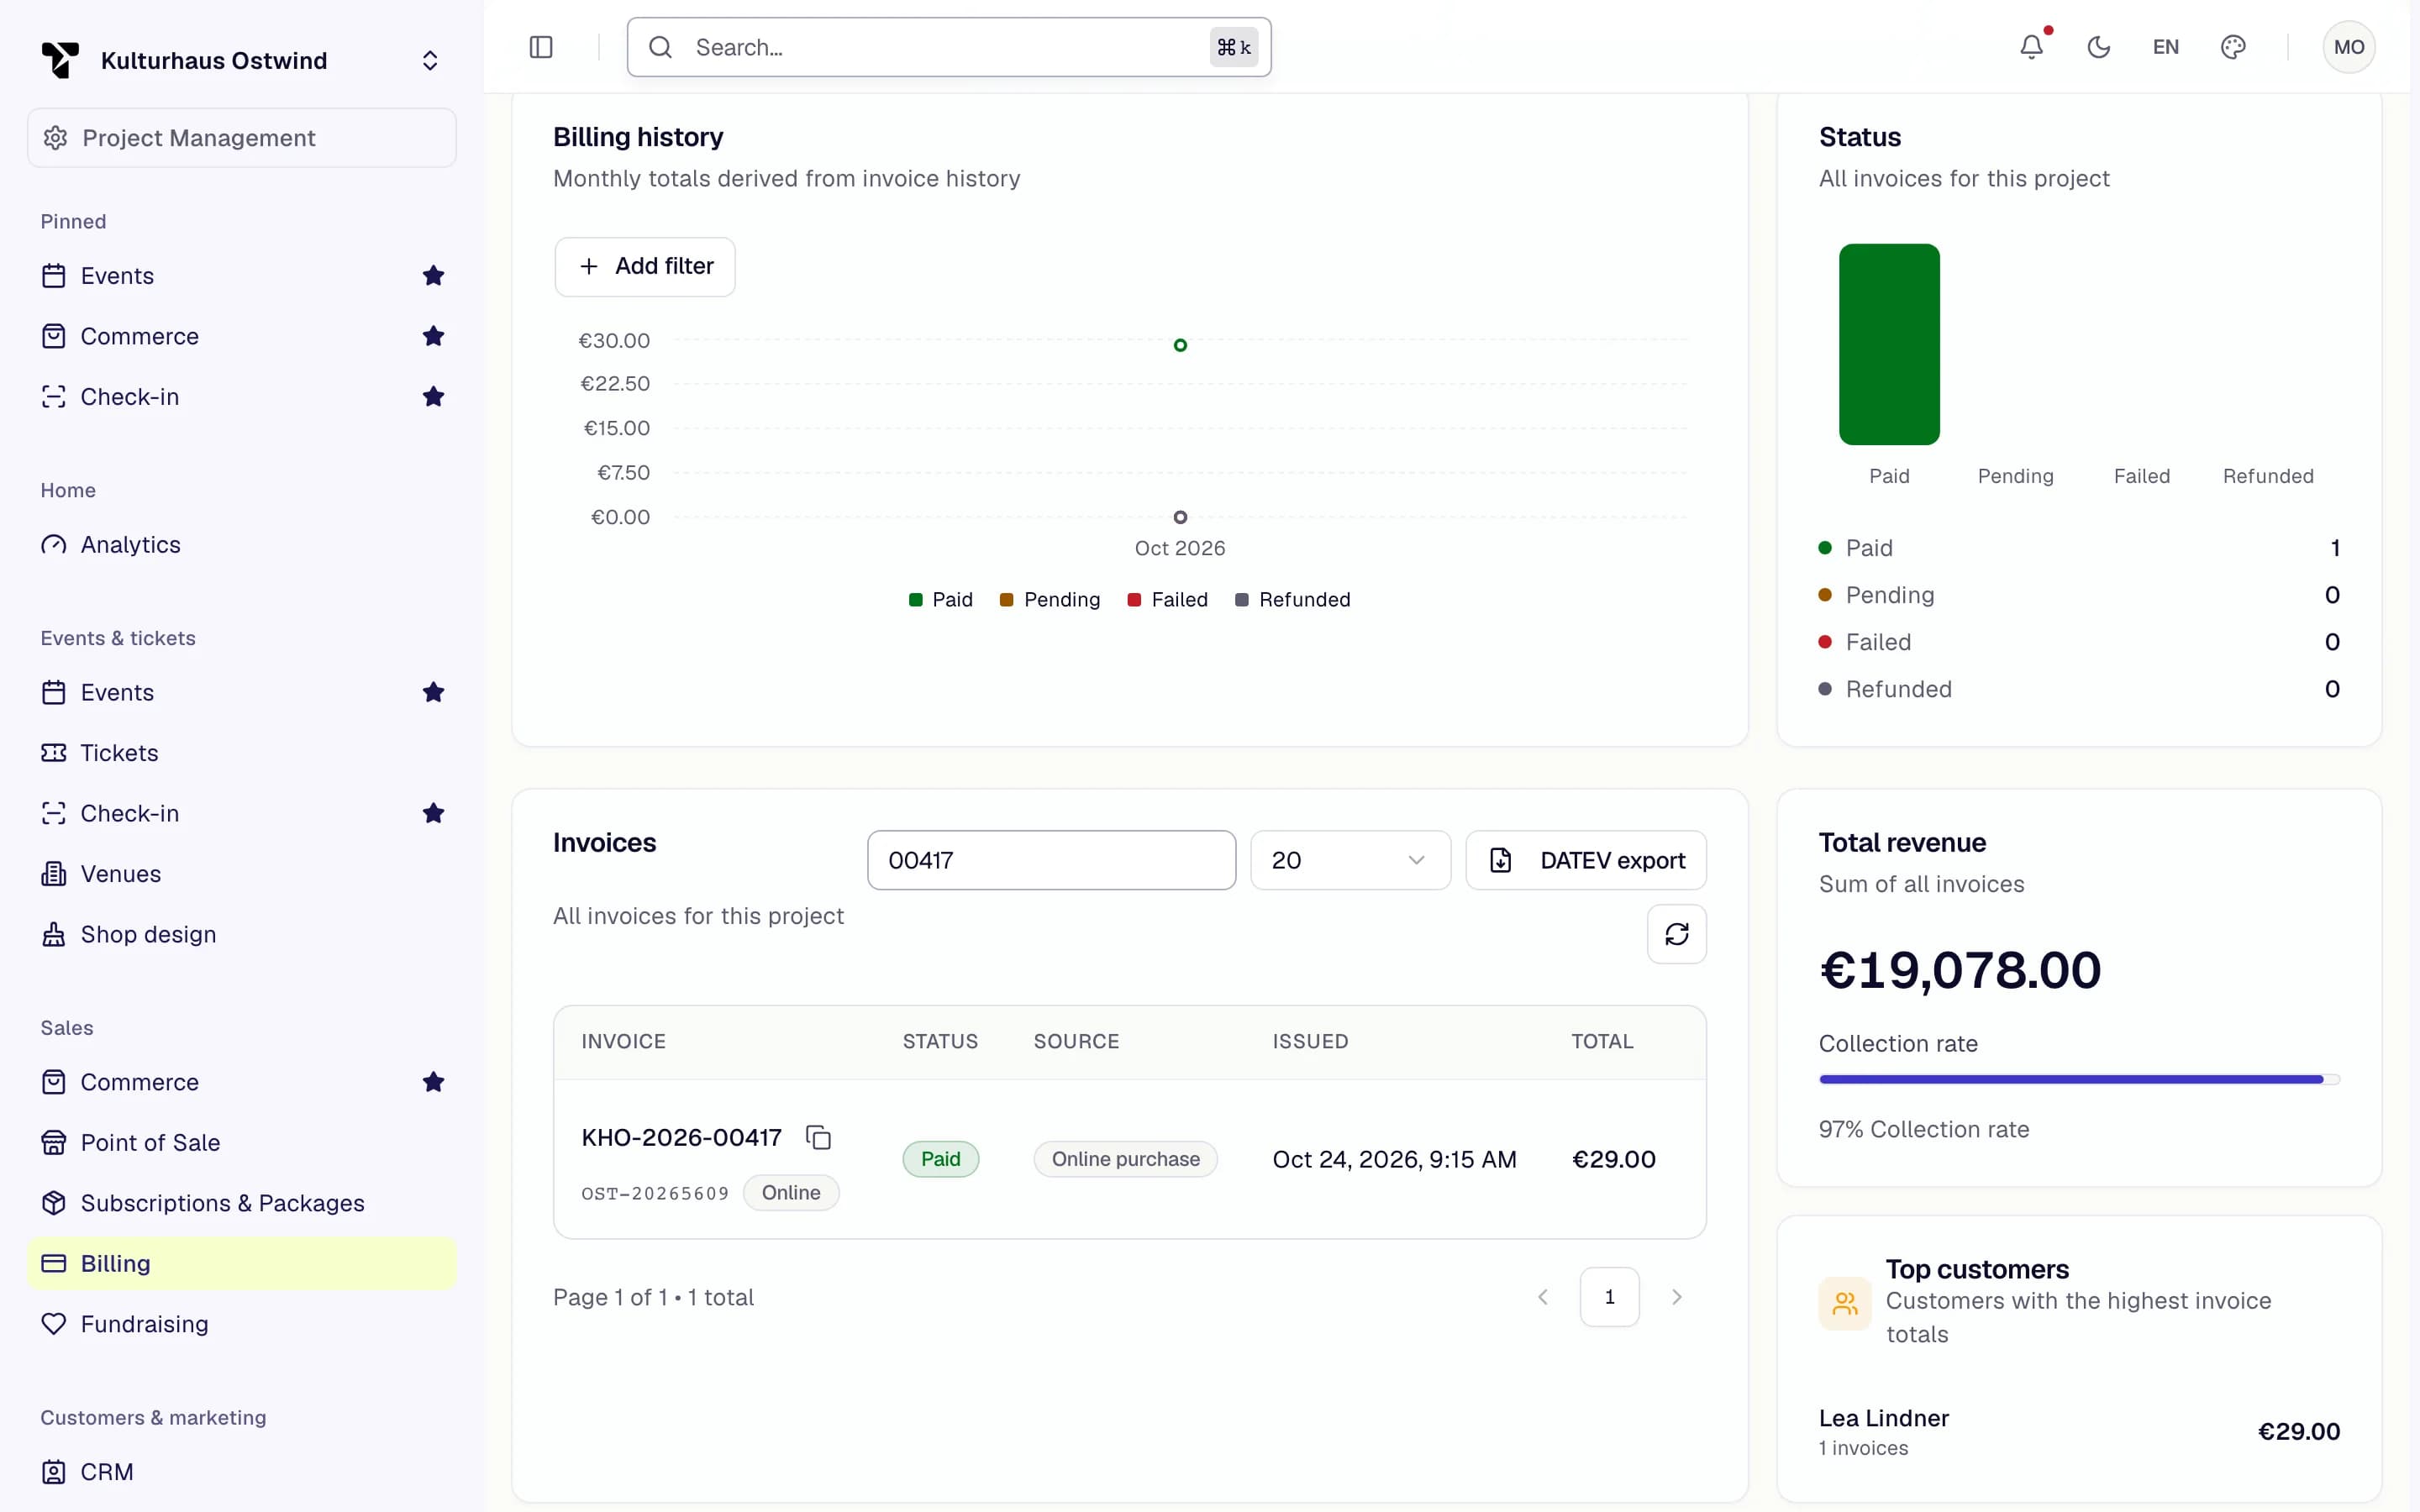
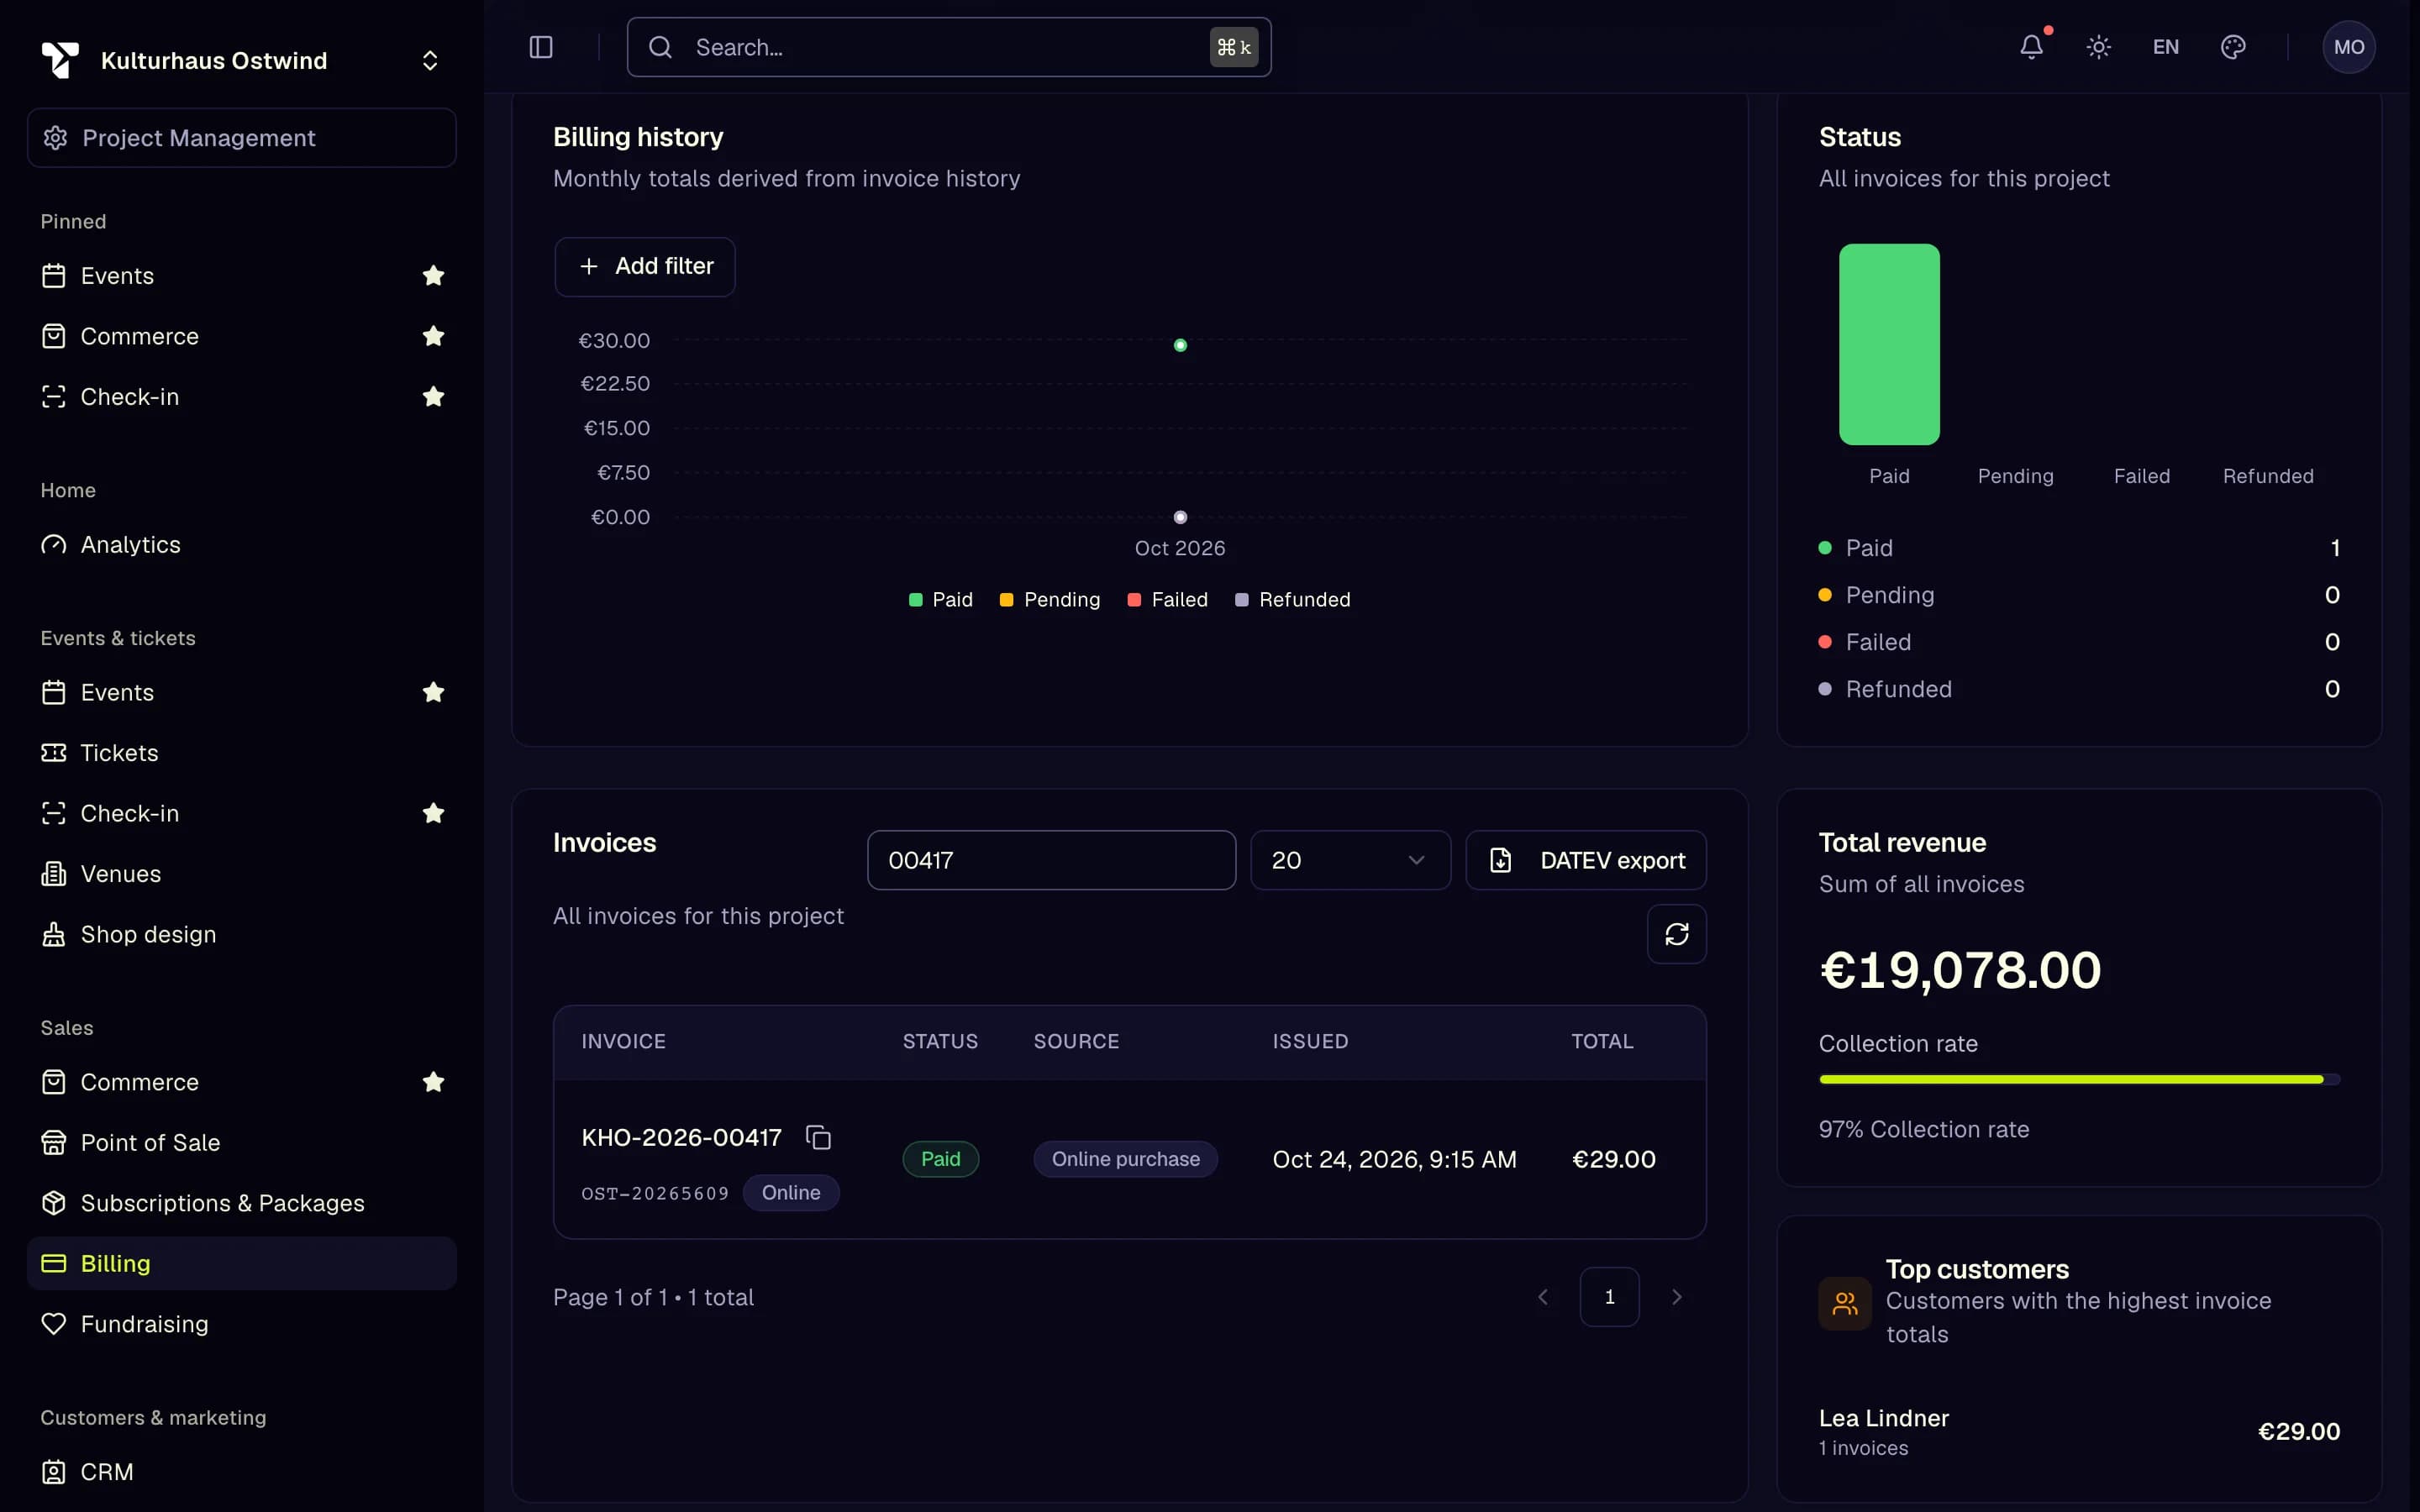
- Search by invoice number
- Open the invoice
- Status
- An issued invoice can never be edited or deleted. Correct it with a credit note and issue a new one.
- Point of Sale invoices are not e-mailed. Download the PDF and send it yourself if the buyer asks.
- Check the DATEV account length under Compliance with your tax adviser before the first export.
Details: Invoicing
9. Tax reviews
Where: Billing → Billing Documents → Tax, tab Reviews Who can do this: View tax, Manage tax and Review tax. Project Accountant has all three.
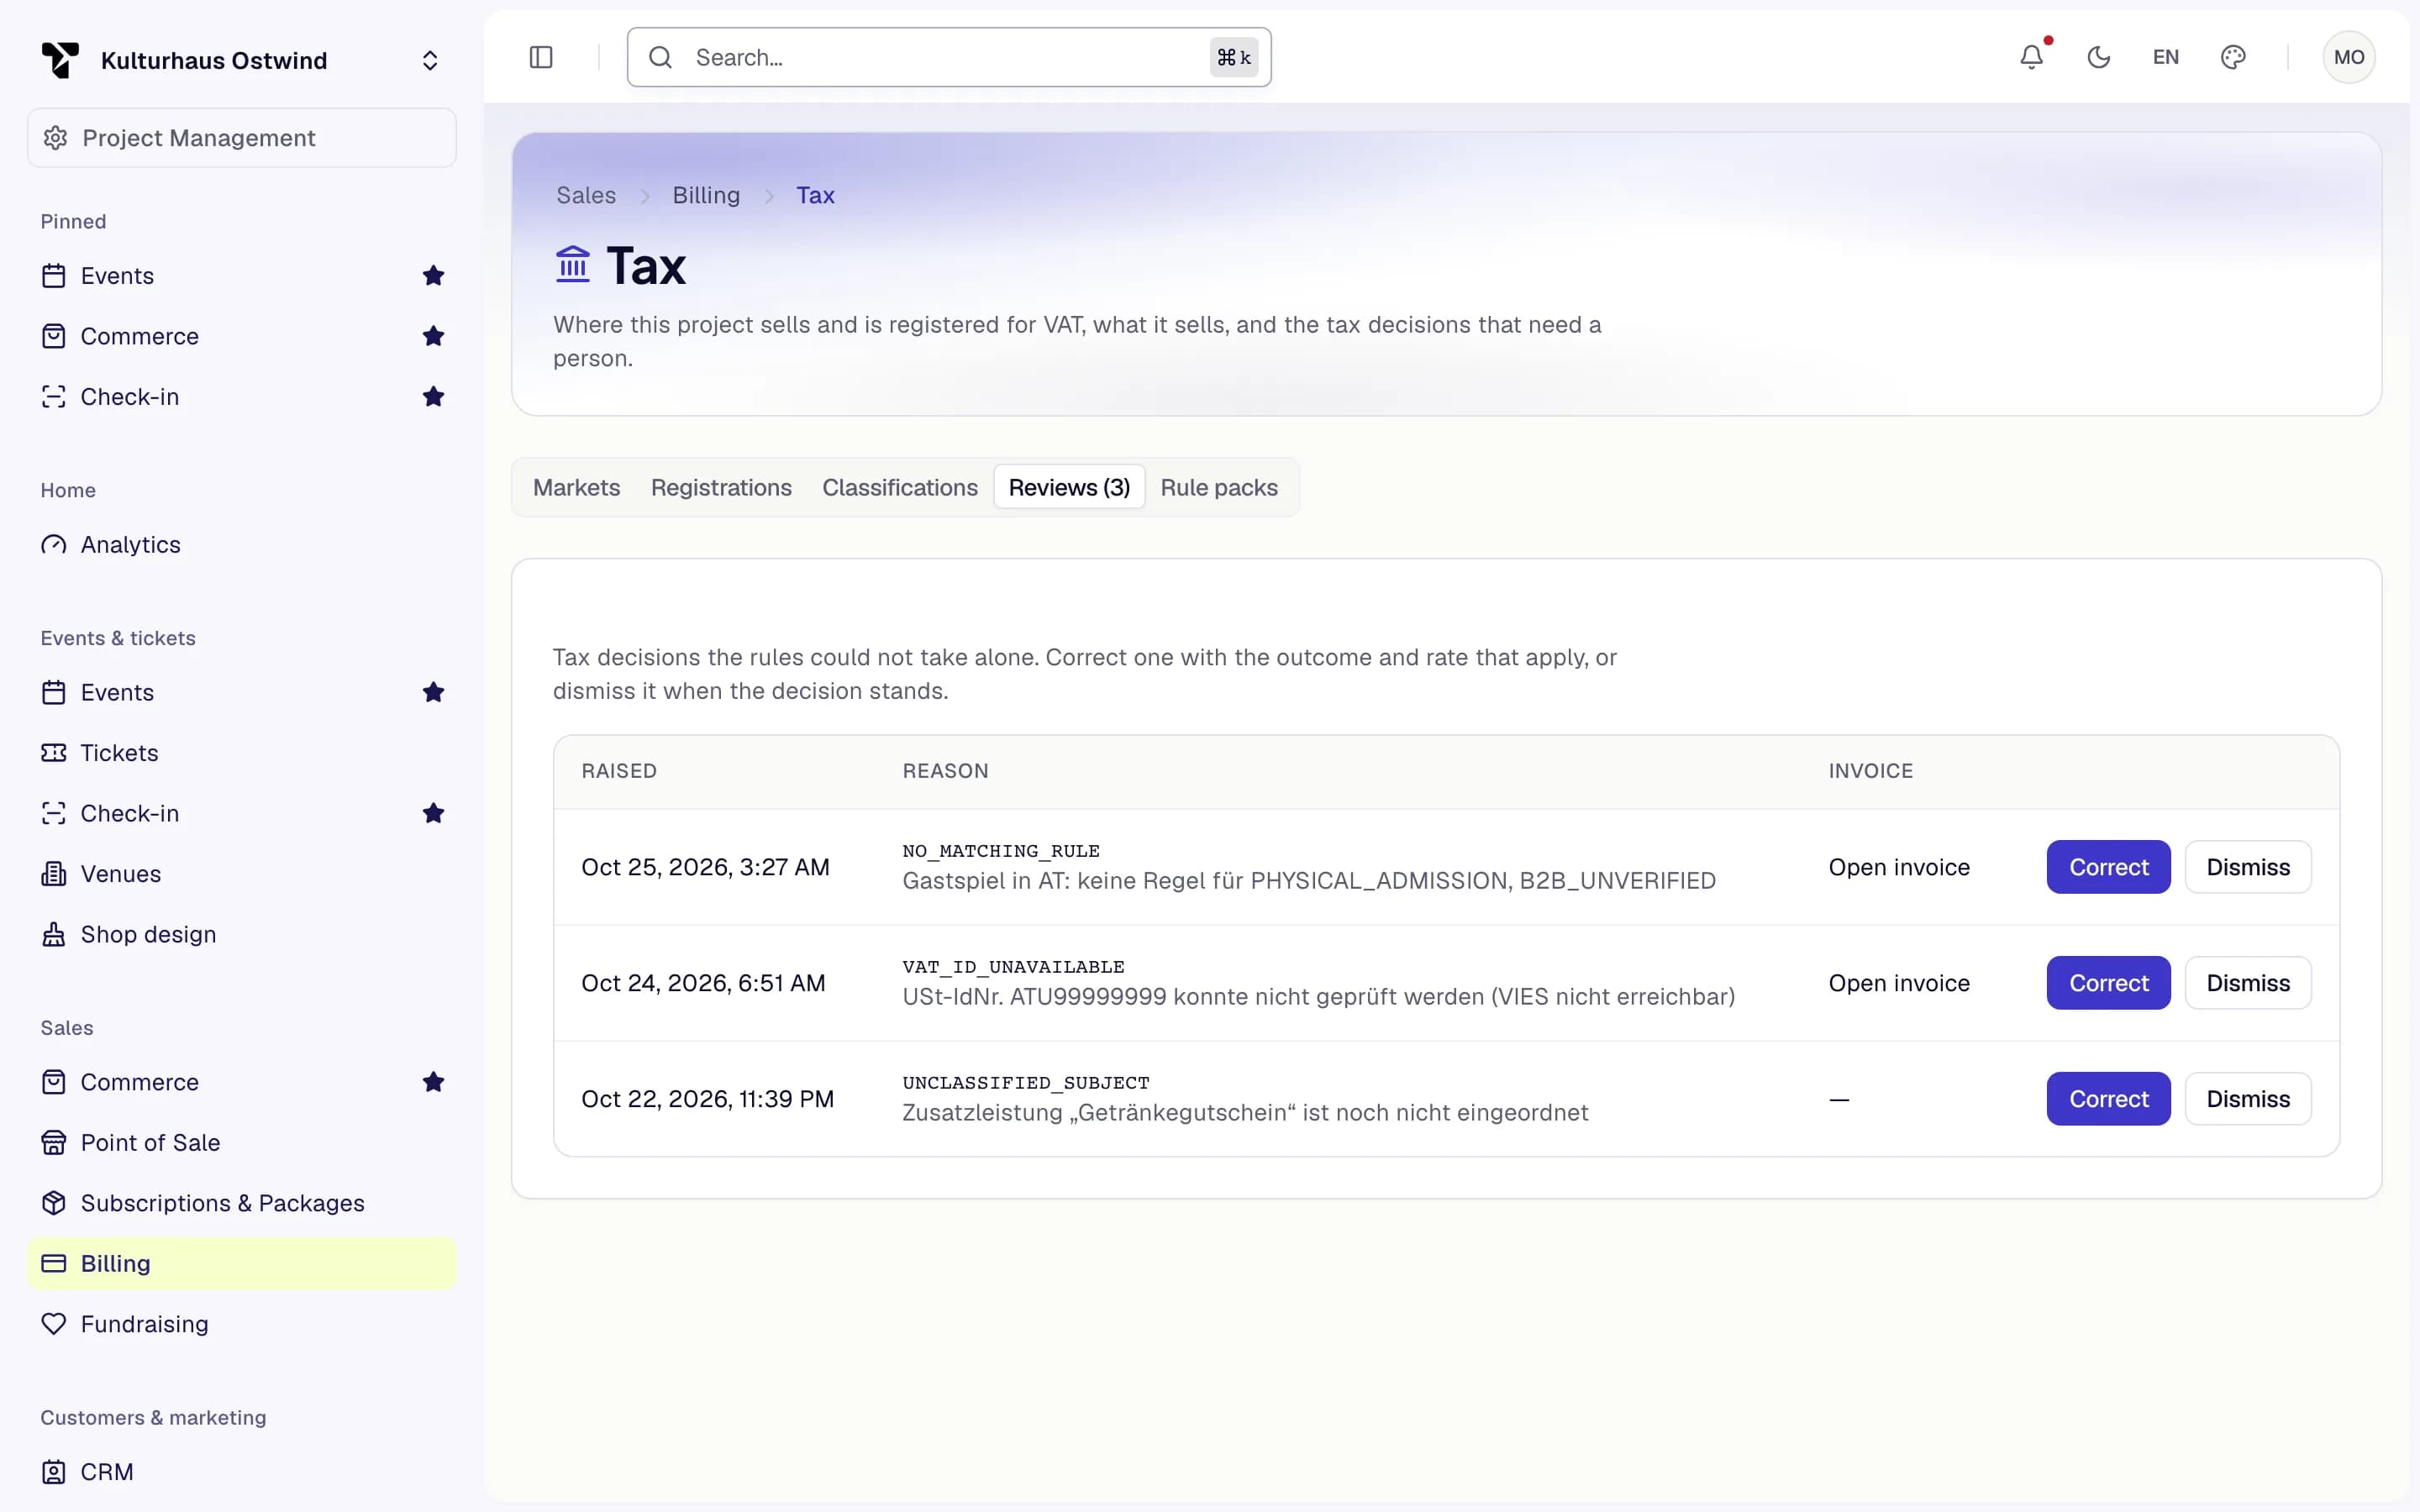
- Reviews
- Open invoice
- Correct
- Dismiss
- Classifications
- A correction is recorded with your reason and the original decision stays on file. Note an evidence reference where you have one.
- Unclassified items always end up in review. Classify new ticket types and products as soon as they exist.
Details: Tax