
 TixFin
Scan tickets at the door
Choose the event, scan entry and exit, read the verdict, enter codes by hand and look back at scans
The scanner checks each ticket against the server and tells you, in colour, words, icon and vibration, whether to let the guest in.
Where: App → Scanner. From My Hub, tap Ticket Scanner. From the organiser home, tap Manage → Ticket scanner. Who can do this: members with Scan tickets, and temporary scanners
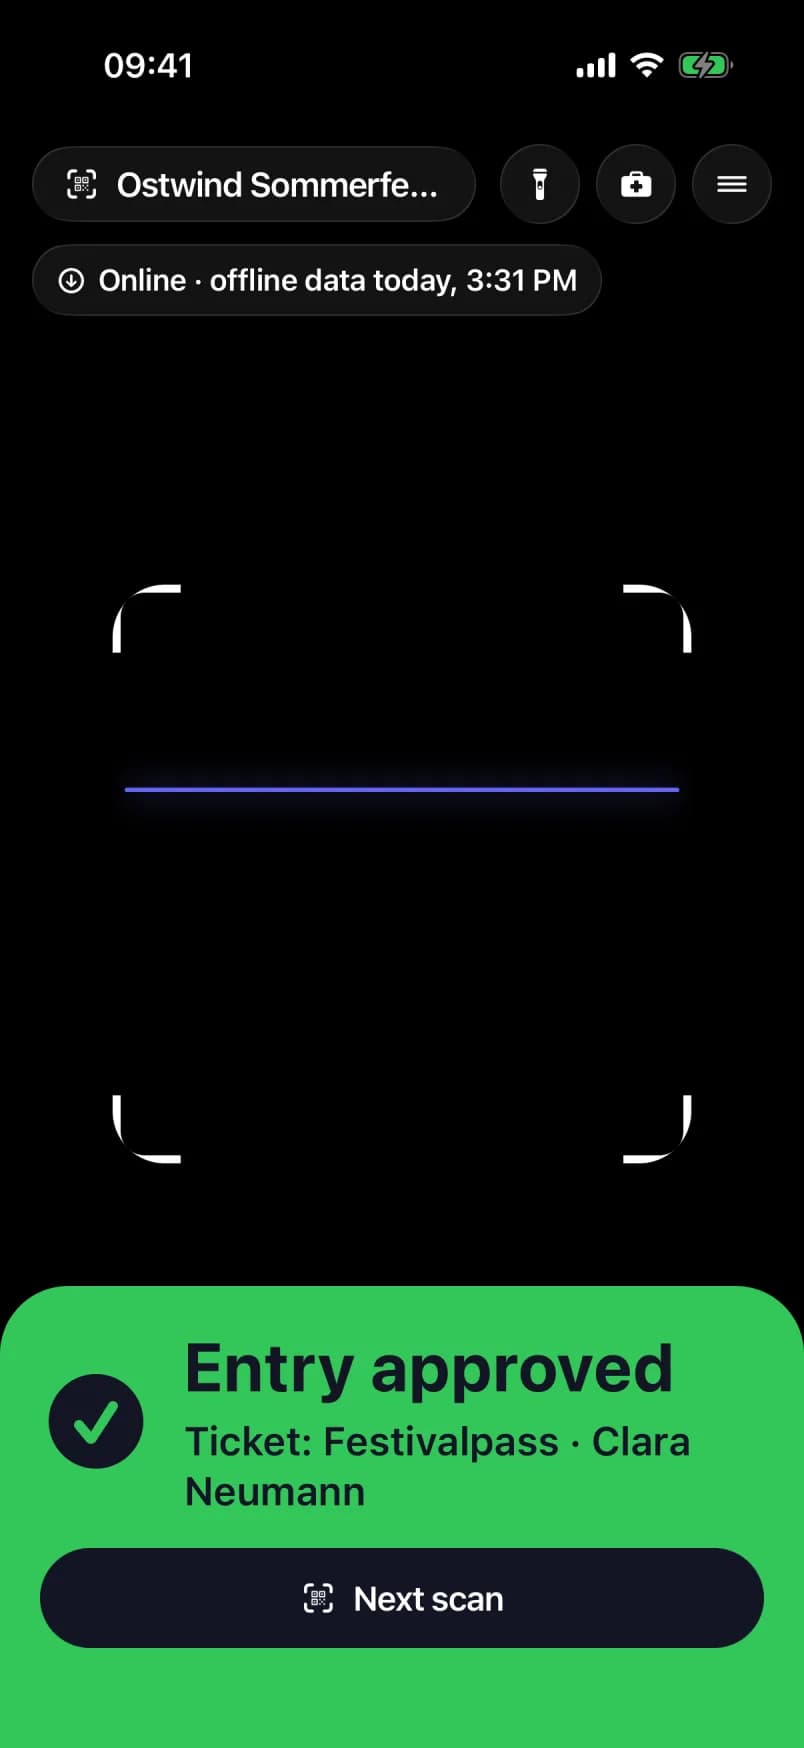
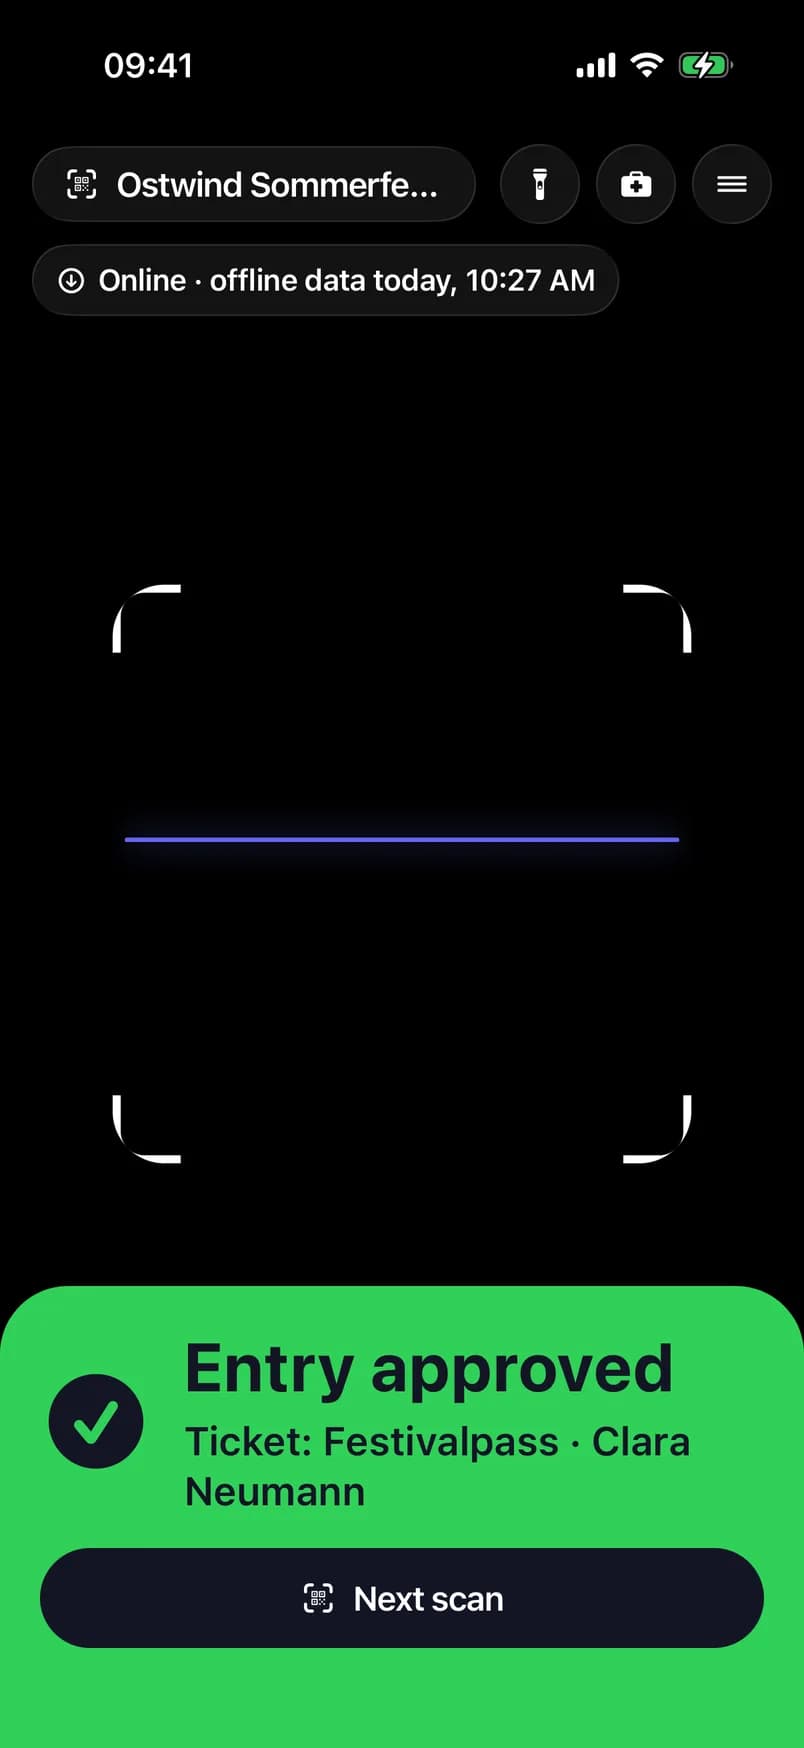
- Tap the event name to change
- Scanner menu
- Torch
- Read the verdict
- Next scan
Choose where you scan
The offline data for that event downloads at the same time (Scan offline). In scanner mode, and on a temporary scanner, the event is fixed.
Event is not today. If the chosen event ended before today or starts after today, a pill under the event name says Event ended … or Event starts …. Tap it to choose another event. Otherwise every guest is refused with "Ticket not found".
Scan a ticket
Info looks a ticket up without marking it ("Ticket found"). Holding the same code in front of the camera does not scan it twice. On a phone with NFC, switch from QR Code to NFC and tap Start NFC scan to read an NFC ticket.
Read the result
| Result | Colour | What it means | What to do |
|---|---|---|---|
| Entry approved / Exit registered | Green | The ticket is valid. It shows the ticket type and name | Let the guest in or out |
| Already scanned | Orange | The ticket was scanned before, at Scanned … | Don't admit. Send the guest to a supervisor |
| Entry refused / Exit refused | Red | The reason is on the second line (below) | Don't admit |
| Not checked | Yellow | The server did not answer. The ticket may still be valid | Don't admit without checking. Tap Retry, or Check offline |
Each result has its own icon and vibration, so you never rely on colour alone. With VoiceOver or TalkBack on, the app reads the result aloud.
Reasons for a refusal:
- Ticket not found: a code from another event or not a ticket. Check that the right event is chosen.
- This ticket has already been scanned.
- This ticket is not valid: cancelled, refunded or not yet valid.
- This ticket is not checked in, so it cannot exit.
- This is not a ticket code.
- This ticket can no longer be used.
When the server does not answer
The app waits at most 5 seconds for the server. After that it gives up and shows Not checked instead of keeping you waiting. Tap Retry to ask again. If the event's offline data is on the device, Check offline decides the scan from that data (details).
Enter a code by hand
If a QR code won't scan, for example on a cracked screen:
Scanning pauses behind other screens
The camera only reads codes while the scanner is in front. While Safety, Scan history, Settings or Manual entry is open, a code held in front of the lens is not scanned. Close that screen to scan again.
Look back at scans
Open the Scanner menu and choose Scan history. The header counts valid, duplicate and invalid scans. Filter by All, Valid, Duplicate or Invalid, and tap a row for its details. Clear history in the header menu removes the list from this device. The list holds this device's scans only, without Info lookups or Not checked scans. It is not available in scanner mode.
To scan from a computer or tablet browser instead, see Access control.
Common problems
- Camera Permission Required. Tap Grant Permission, or Open Settings and allow the camera for TixFin.
- "No event selected — tap to choose". Tap the pill and choose the event.
- Every guest is refused with "Ticket not found". The wrong event or check-in list is chosen. Check the event name at the top, and look for an Event ended or Event starts pill.
- A guest says the ticket was never used, but it shows "Already scanned". Ask for ID, check Scan history, and call your supervisor. Don't argue at the door.
- "No event assigned". This is a temporary scanner activated without an event. Ask the organiser to show the scanner's QR code in the app and activate the device with it (Scanner devices).