
 TixFin
Check-in lists
Create entry lists per door or ticket type, add questions for the door, see who is inside and export a list
A check-in list is a door list for one event. Limit it to certain ticket types (for example a VIP entrance), and scanners using it refuse every other ticket. Without lists, scanners admit every ticket of the event.
Where: Events & tickets → Tickets → Tools → Check-in Lists. Pick the event in the page header. The breadcrumb shows Check-in. Who can do this: Manage or edit ticket types
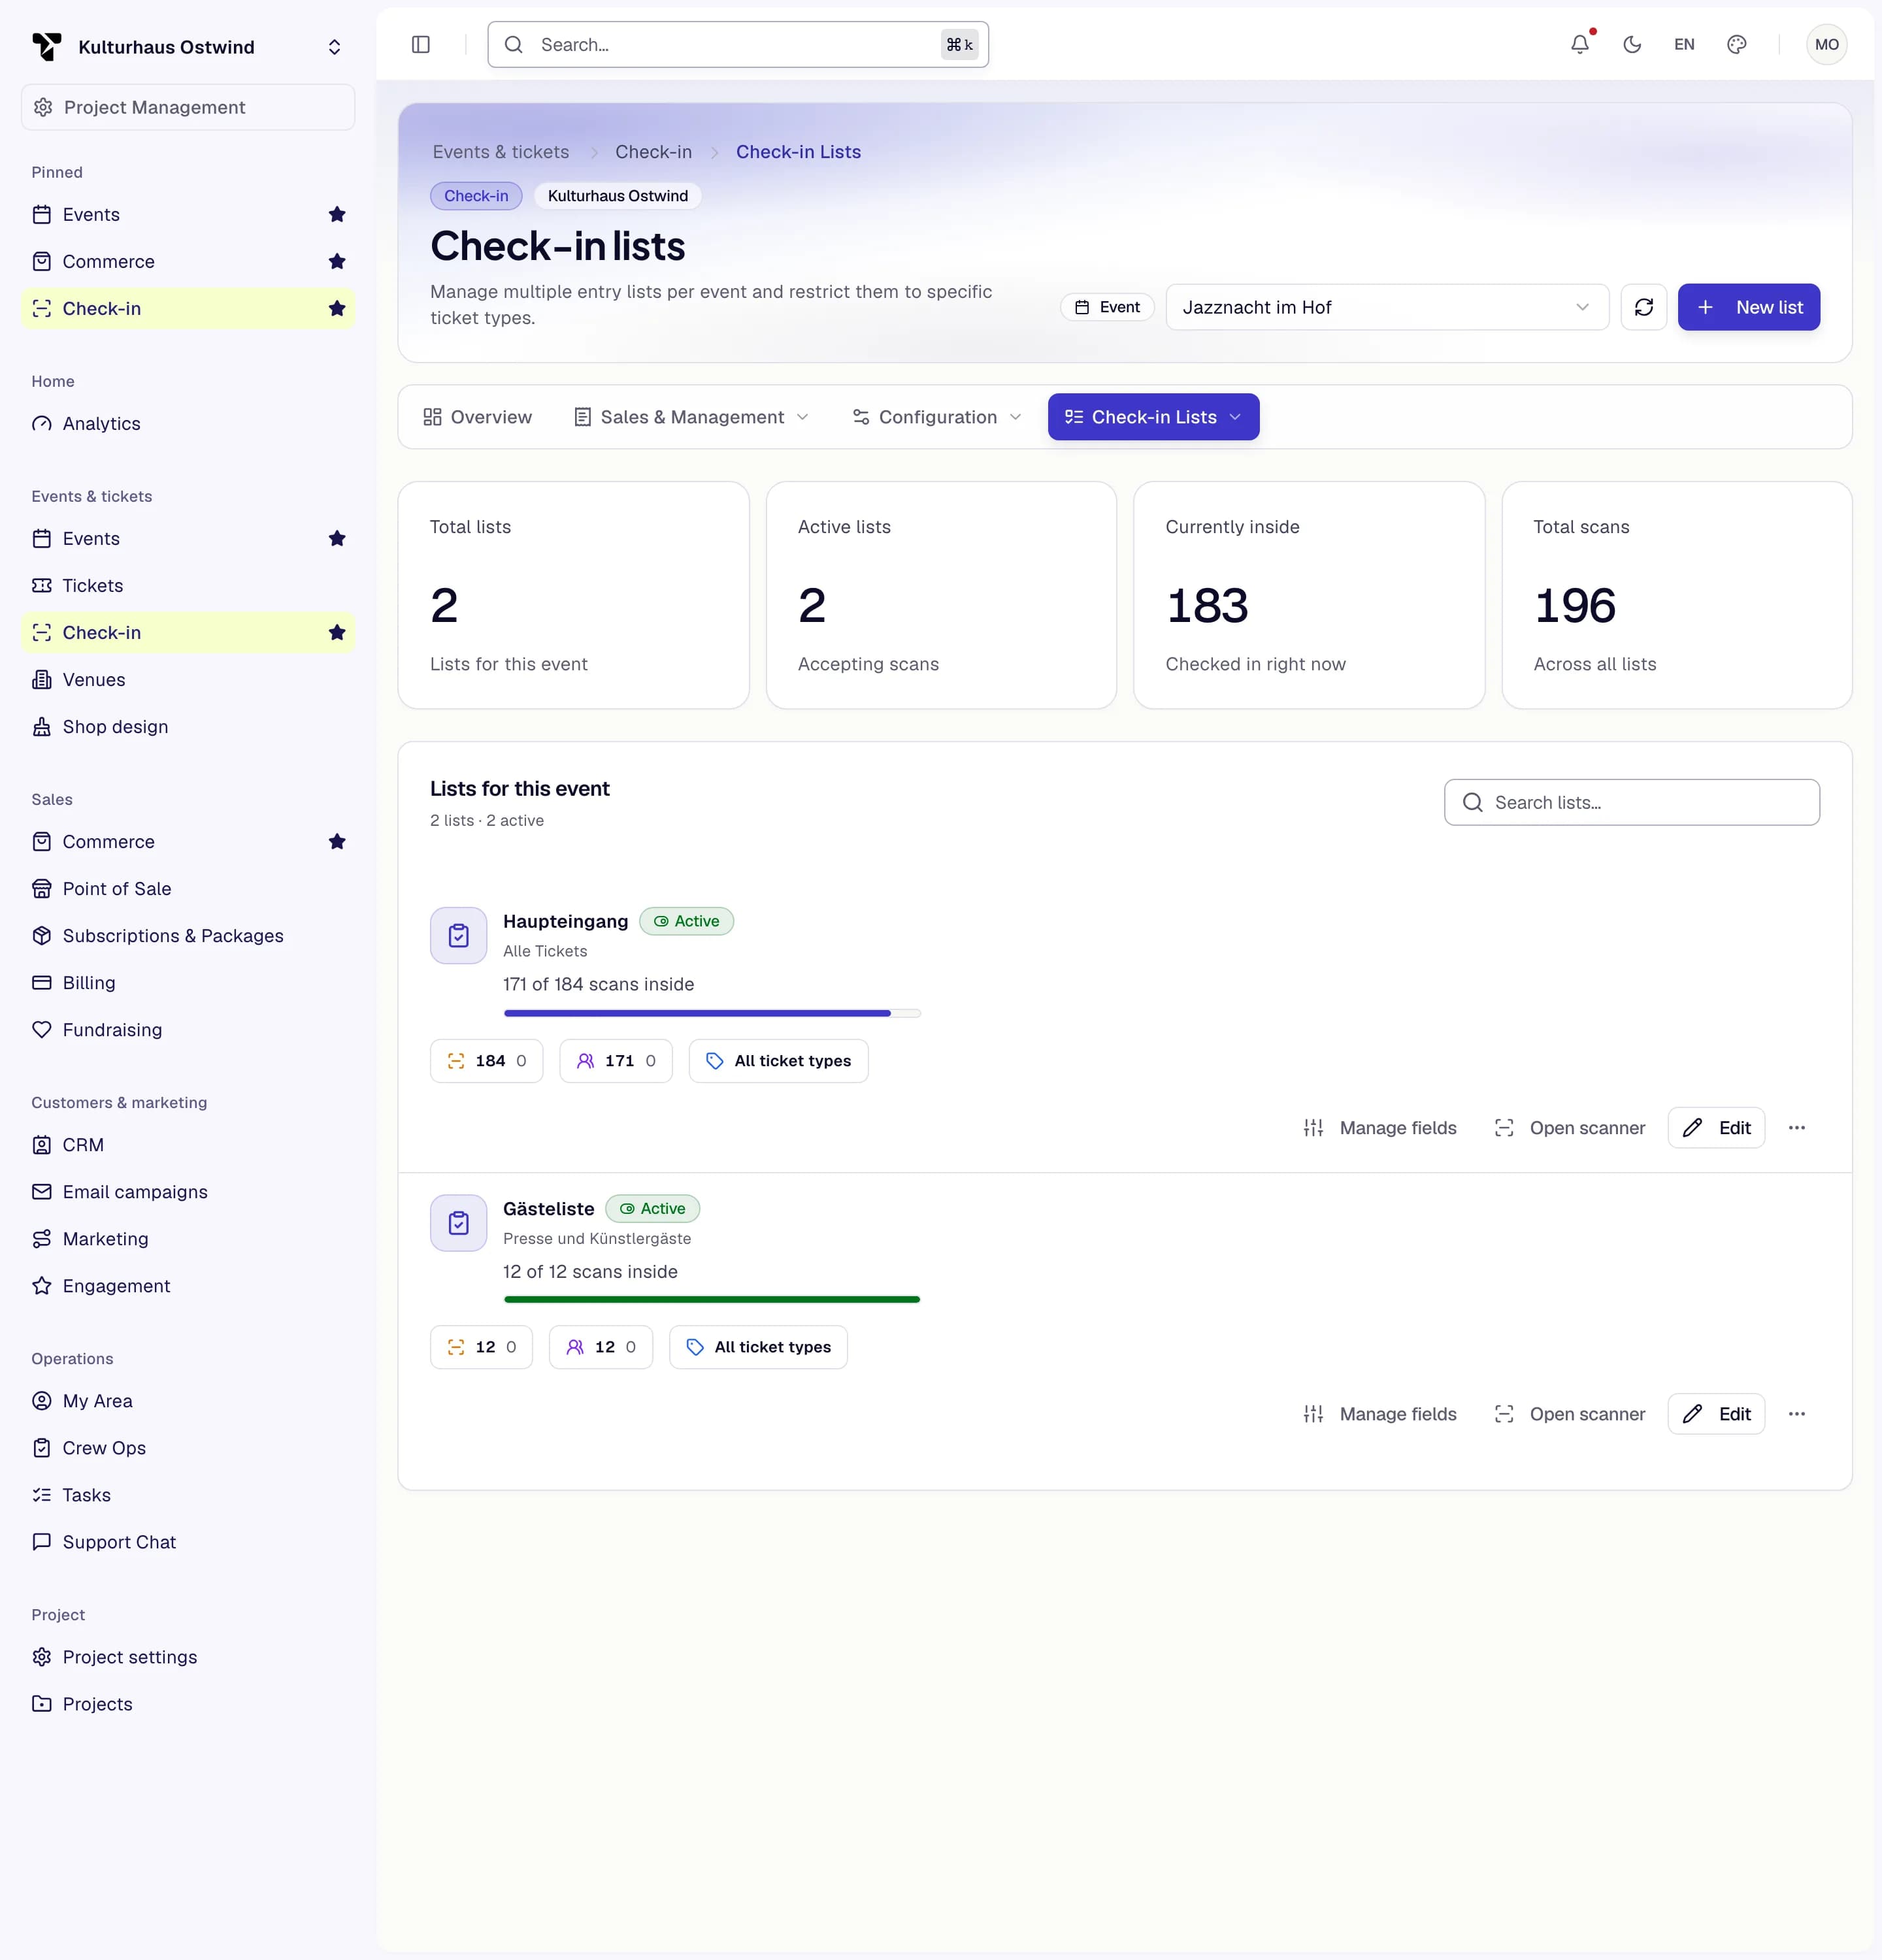
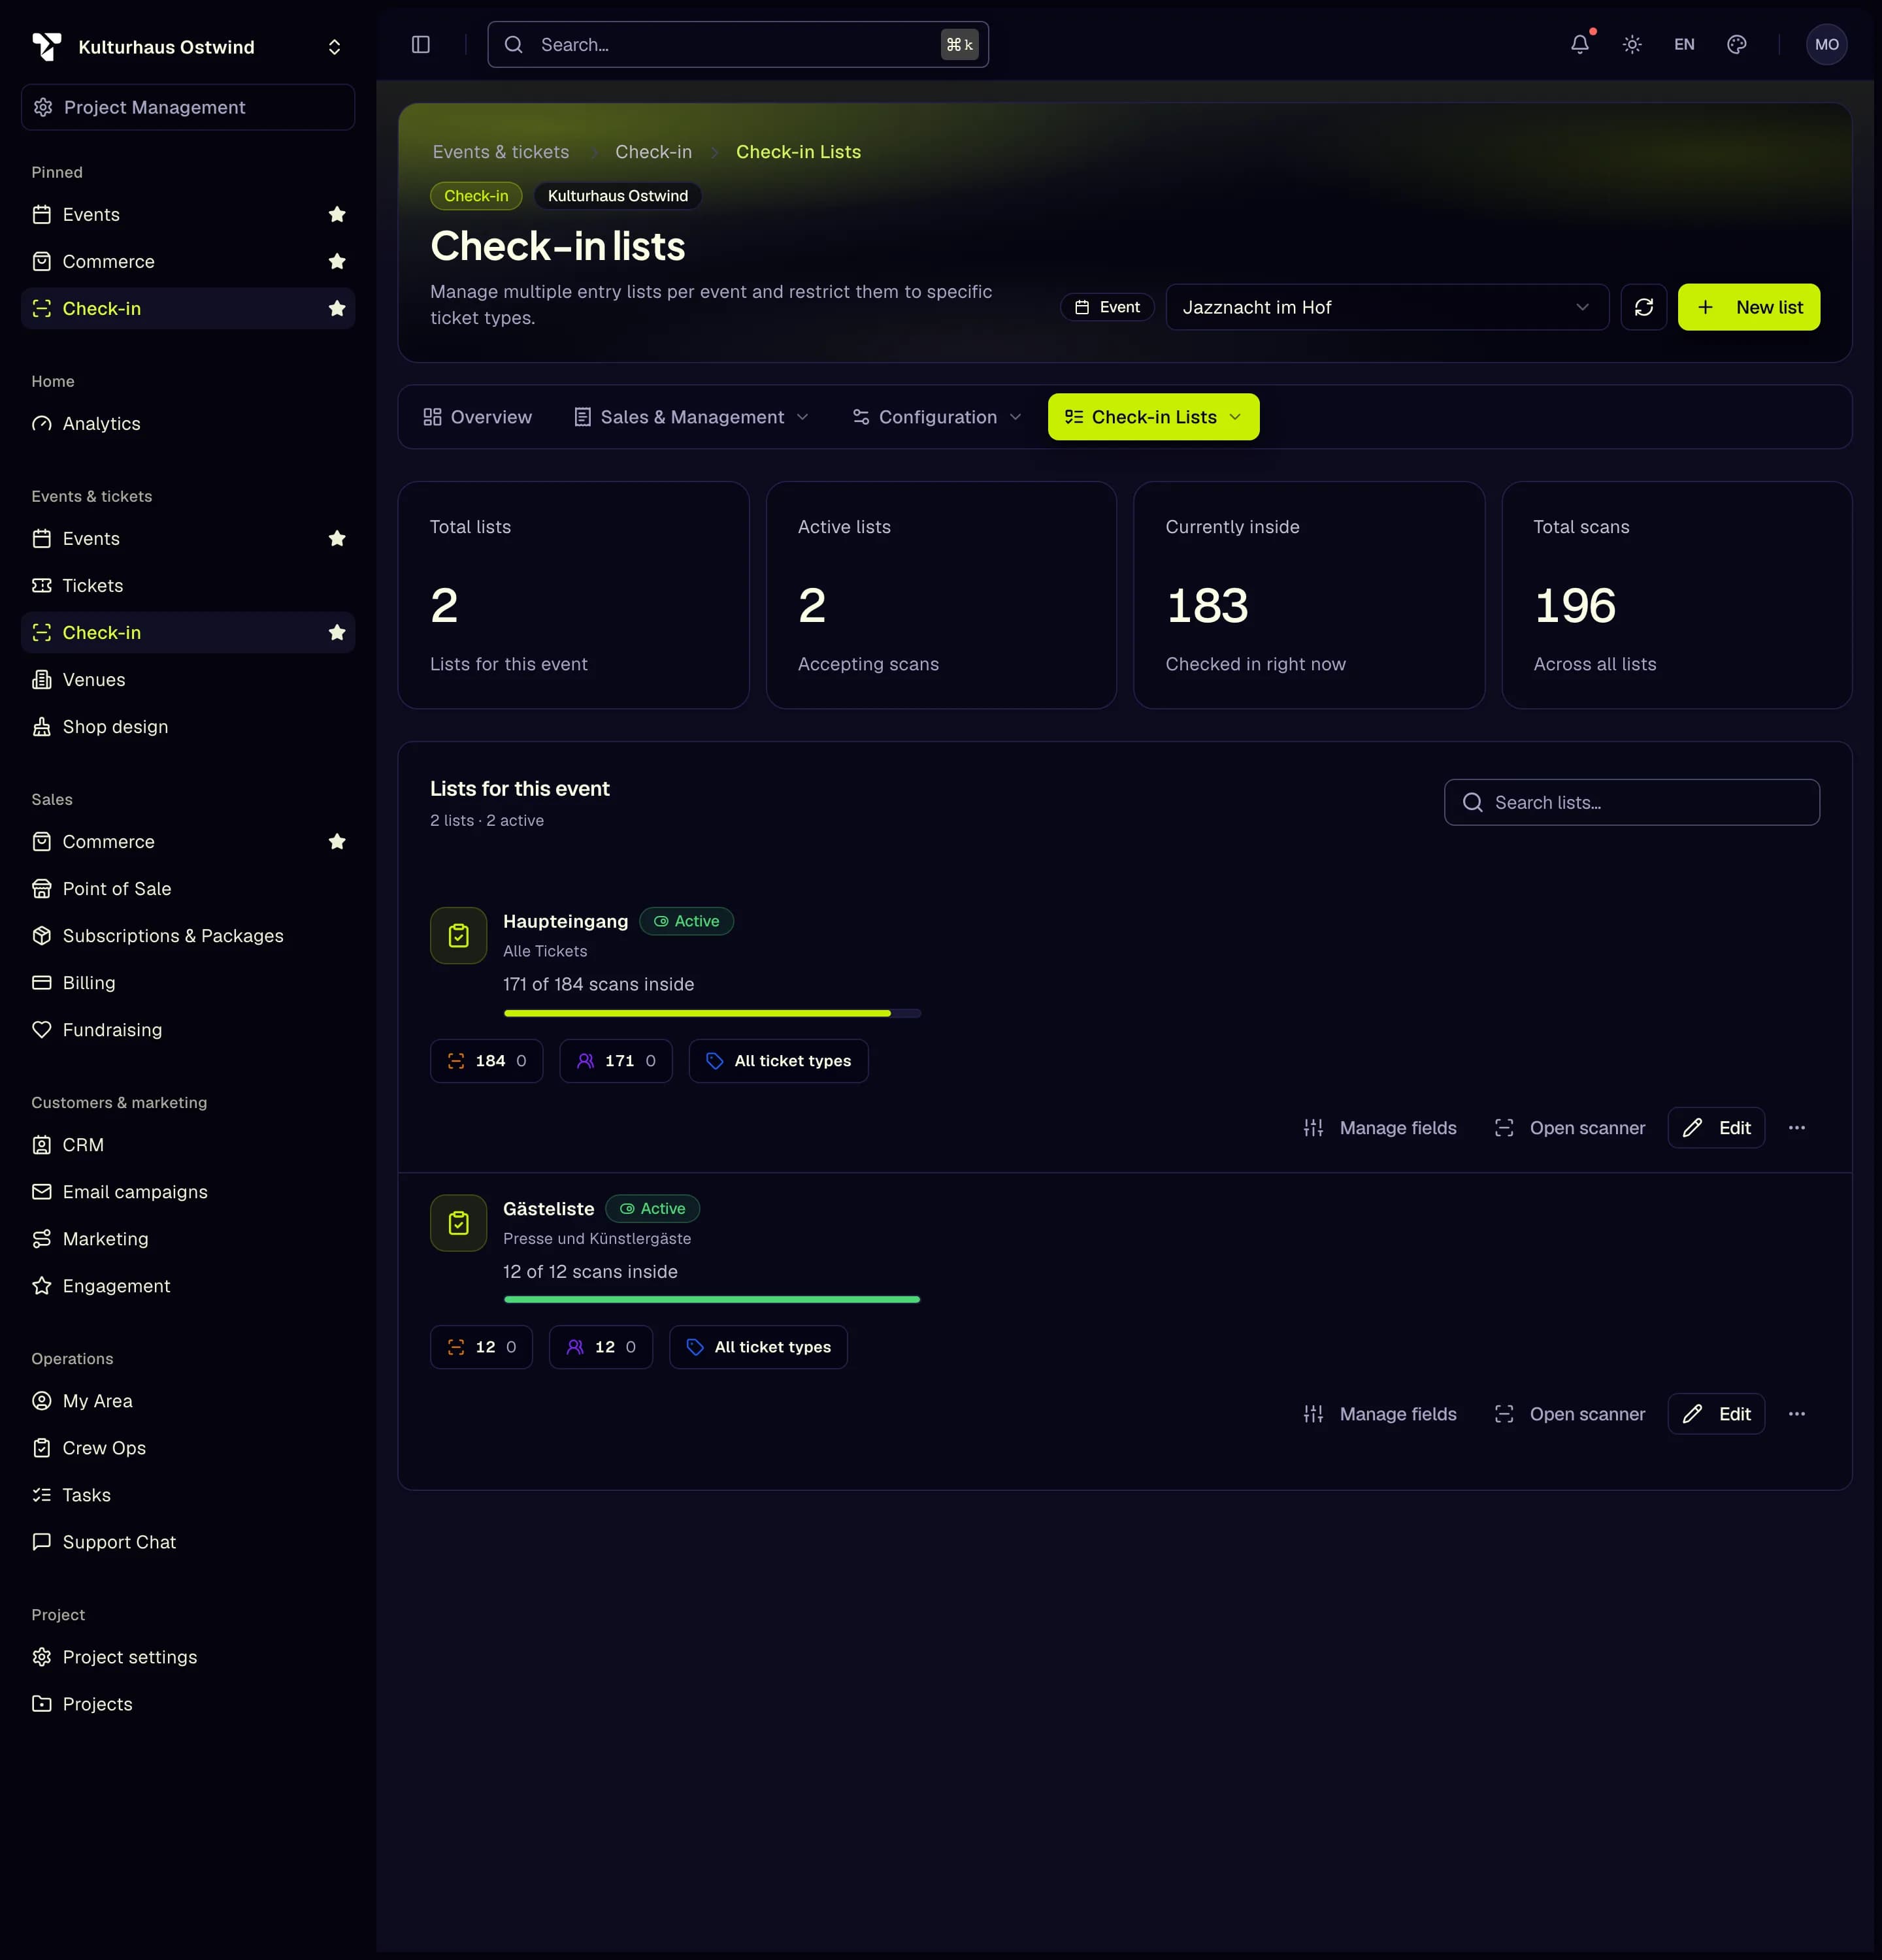
- Pick the event
- New list
- Currently inside
- Manage fields
- More actions
Create a list
A list linked to an access point shows "Access point: …" in the overview.
To scan with the list, click Open scanner on it, or choose it as Check-in list in the scanner or the app.
Ask for details at the door
Additional check-in fields are questions scanners answer after a successful entry, such as arrival time or a seat preference.
Inactive fields are hidden from the scanner. Sort order sets the order in the scanner dialog.
See who is inside
The cards at the top show Total lists, Active lists, Currently inside and Total scans for the event. Each list shows its own scans, how many are inside and how many checked out. Click Refresh for the latest numbers. The event page shows the same Live inside number for the whole event.
Check guests out automatically
Give a list an Automatic check-out time in its form, for example the closing time or midnight for a day pass. Every
day at that time, in the event's time zone, TixFin checks out everyone on the list who is still checked in, so
Currently inside starts each day at zero and re-entry works the next day. Someone who came back in after that time
stays inside. Each automatic exit shows in the attendance log as an exit from System · automatic check-out, and the
export names system:auto-check-out as who checked the guest out. Leave the field empty to switch it off.
Export a list
Open the list's menu and choose Export CSV. Keep a printed or saved copy as a backup for the door.
Change, copy or delete a list
From the list's menu:
- Edit: change the name, ticket types or availability.
- Duplicate: creates a copy with the same settings, named "… (copy)".
- Activate / Deactivate: stop or allow scanning with this list without deleting it.
- Delete: hold Hold to delete for about a second. This can't be undone.
Common problems
- "Select an event". Pick the event in the page header first.
- "No ticket types are available for this event." Create a ticket type before limiting a list to it.
- "You do not have permission to manage this project's check-in lists." Ask a project admin for the ticket type permissions.
- A guest is refused at this door. The list doesn't allow the guest's ticket type, or the list is inactive. Send the guest to the right entrance, or edit the list.