
 TixFin
Venues and Seat Maps
Create a venue, draw its seat map, link it to an event and sell seated tickets
A venue is a place where your events happen. A venue can have one or more seat maps: the layout buyers pick their seats from.
Where: Events & tickets → Venues Who can do this: Manage venues and seatmaps
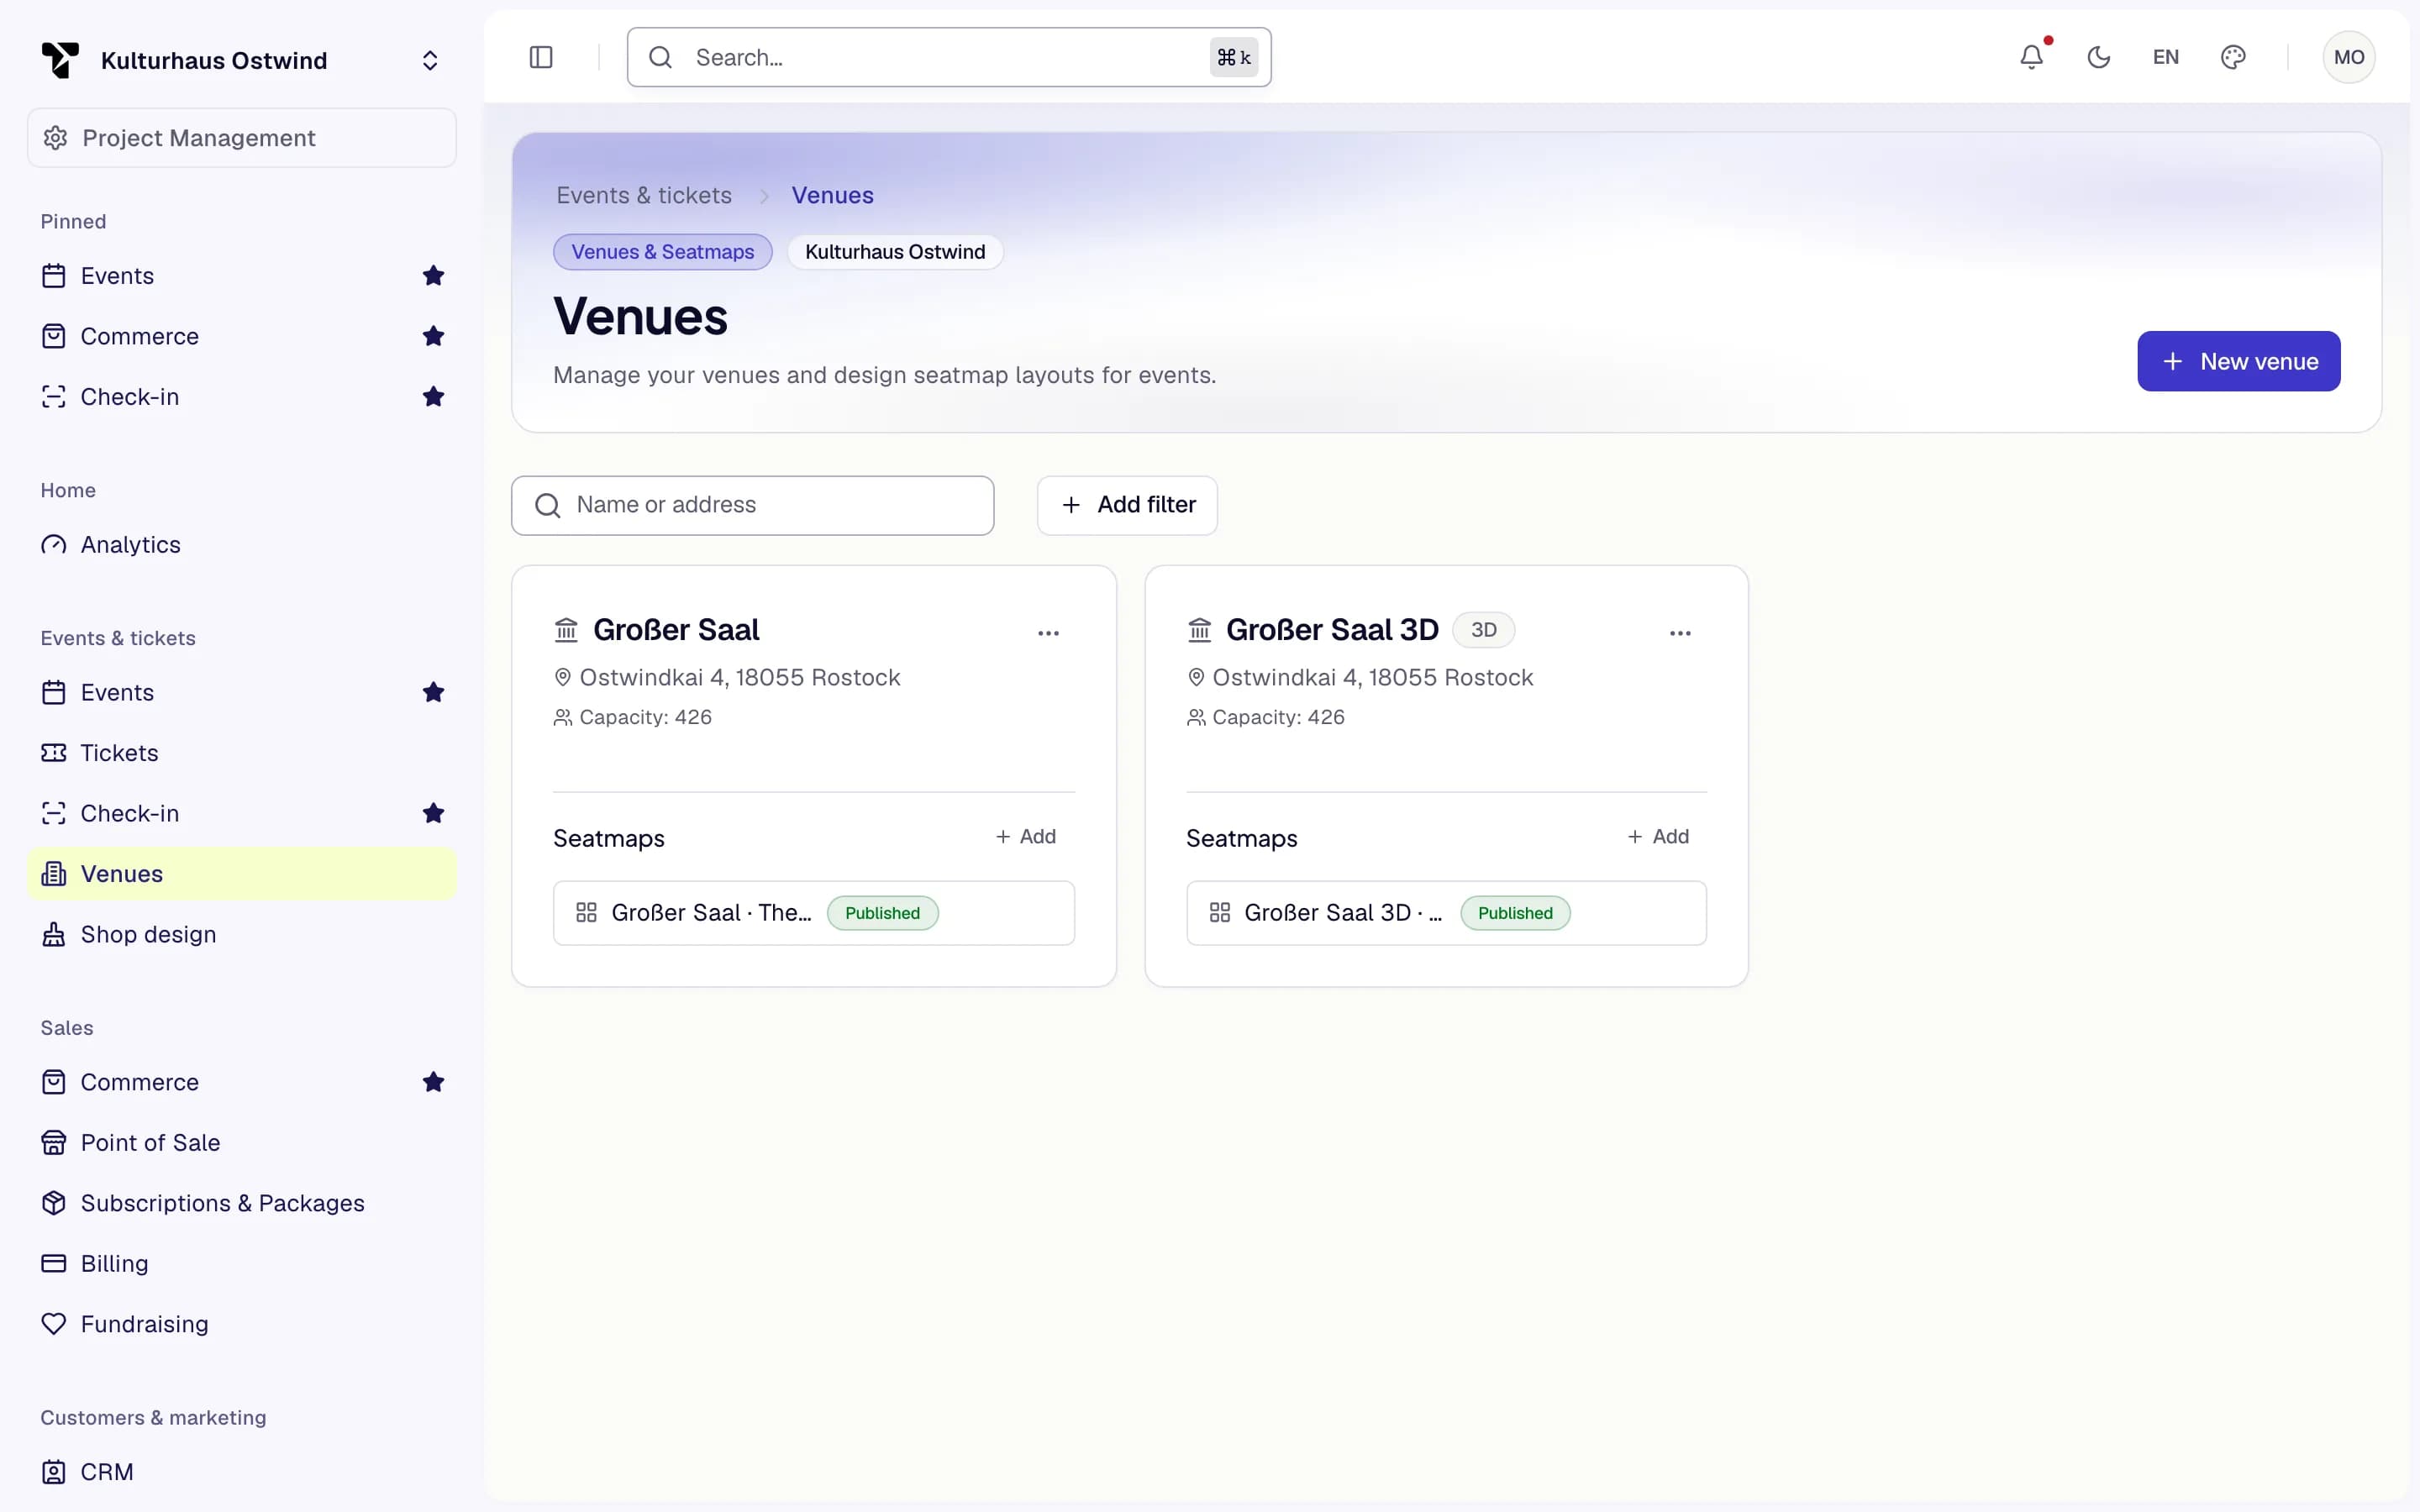
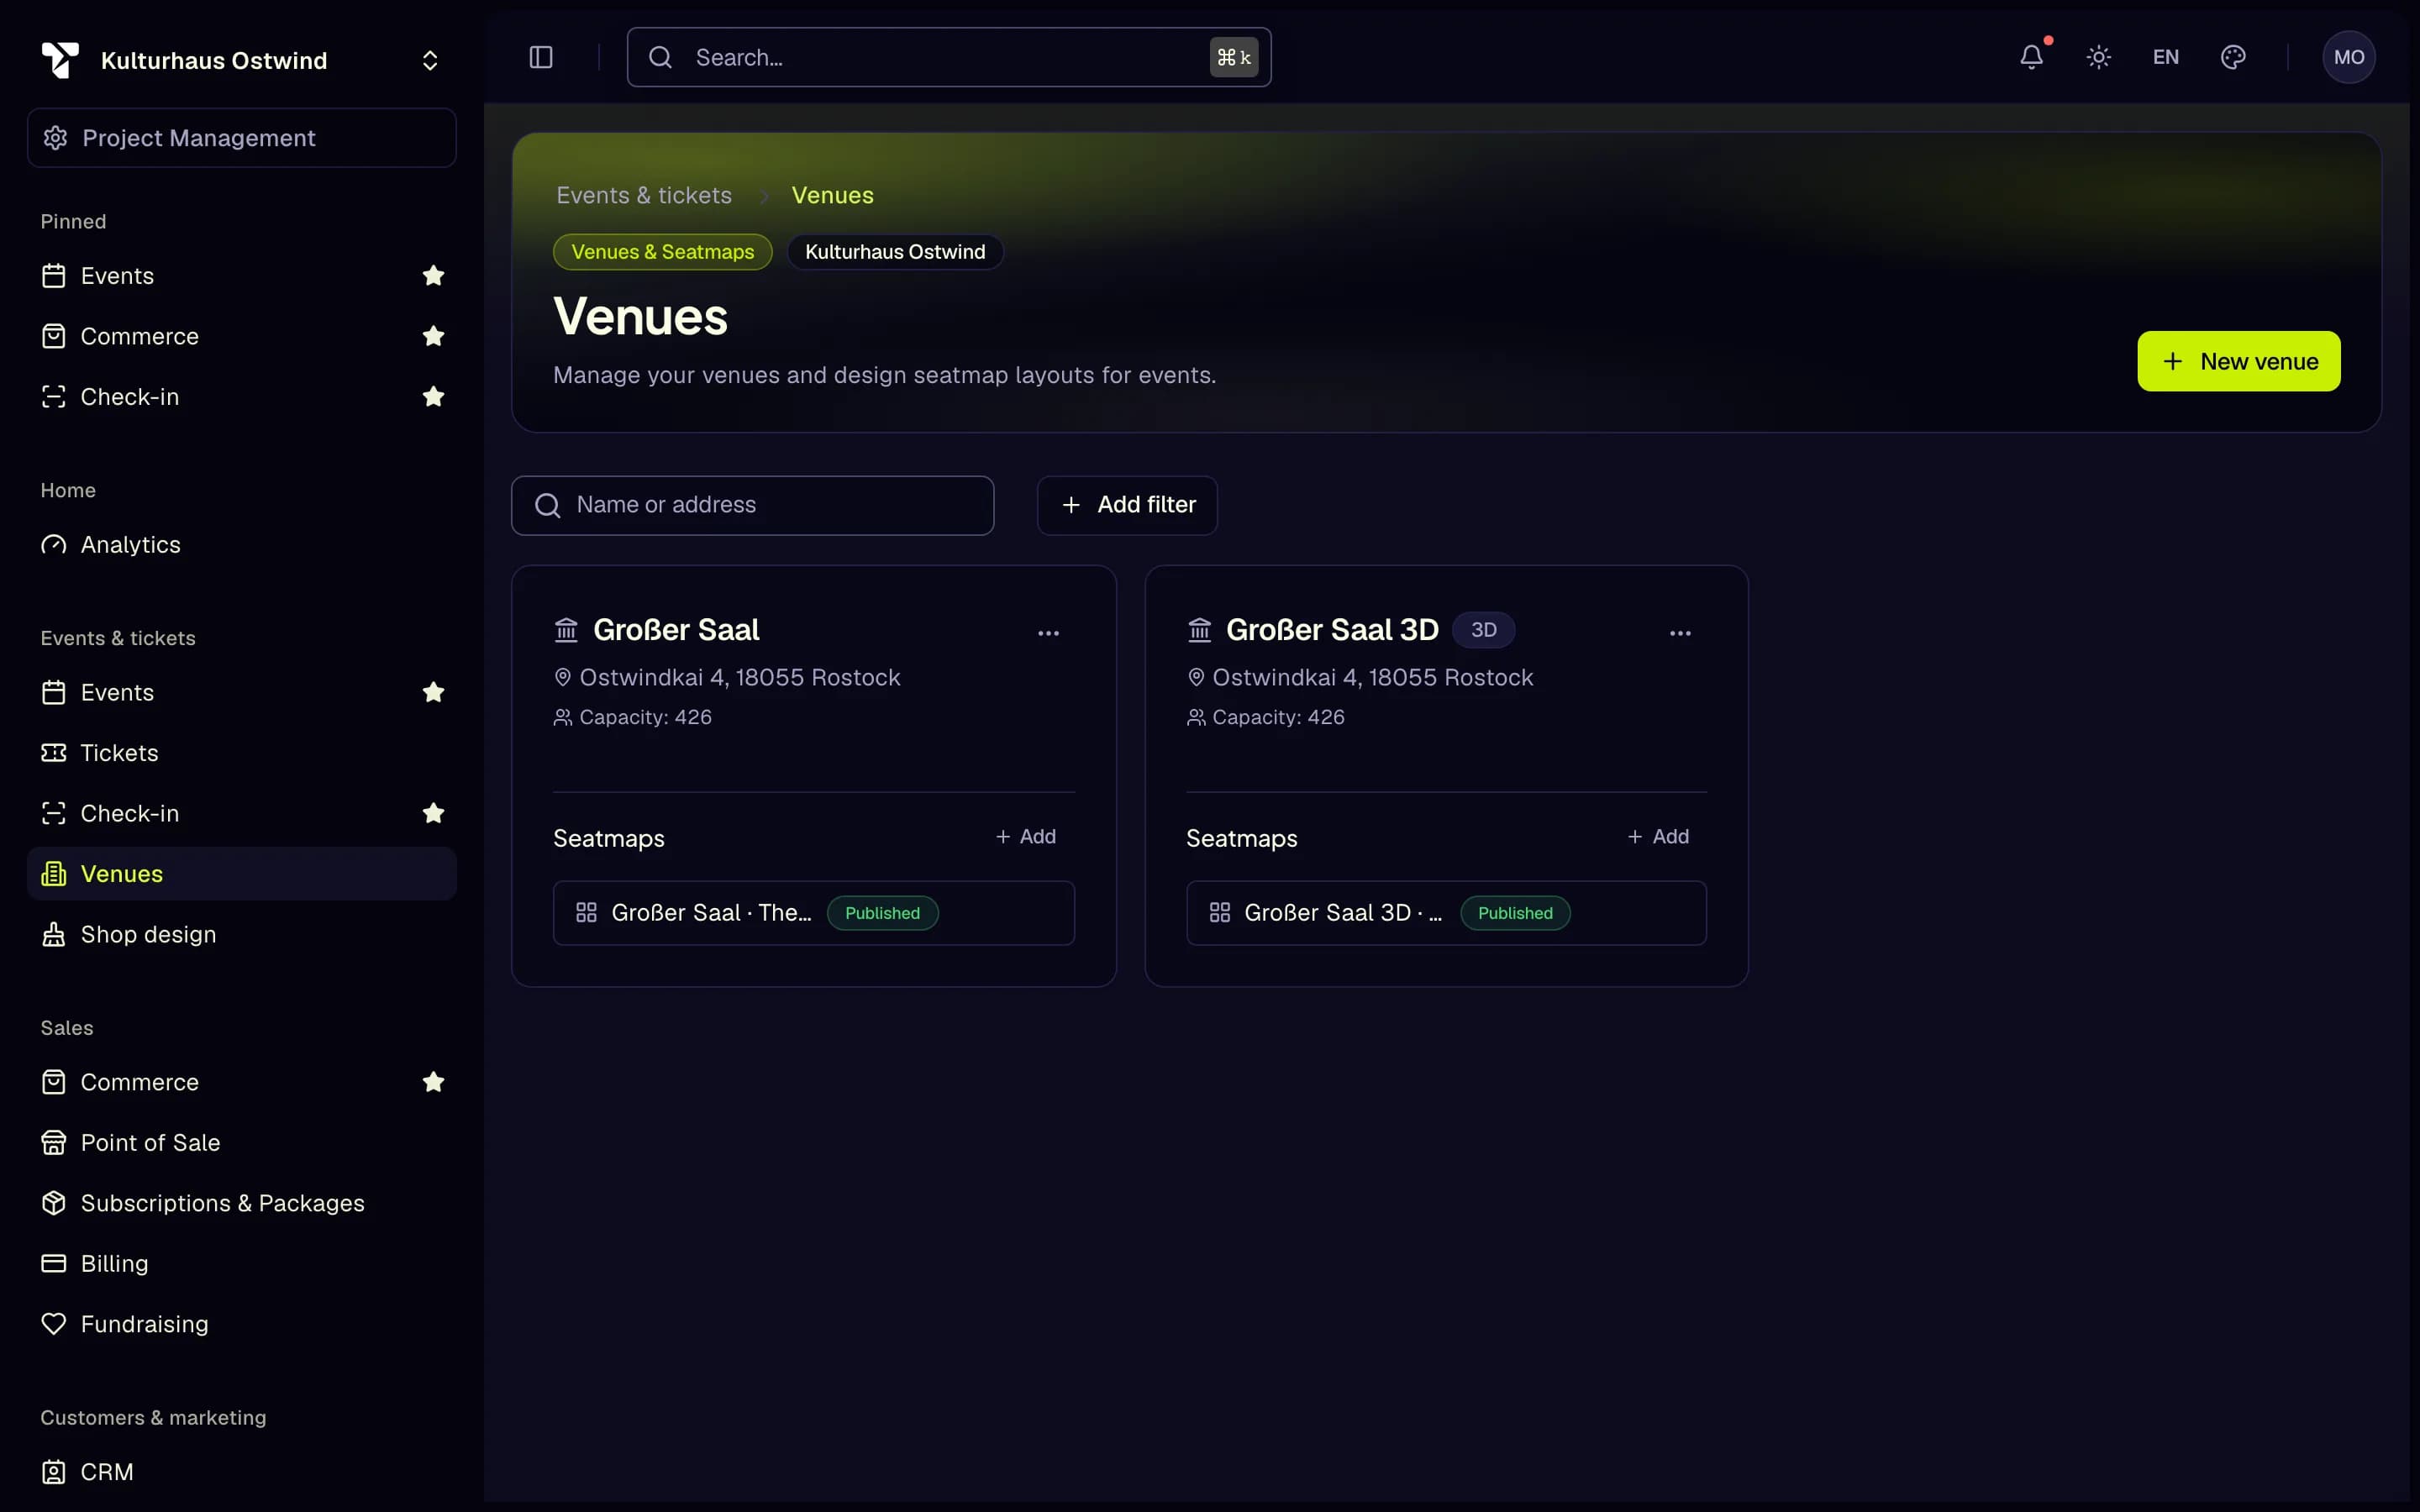
- New venue
- Venue card
- Add a seat map
- Seat map status
Sell seated tickets: the whole flow
Create the venue. Open Events & tickets → Venues and click New venue. Enter a Name (required), and optionally address, capacity and timezone. Choose the Venue type: 2D (flat seat map) or 3D (3D model venue). Click Create.
Create a seat map. On the venue card, click Add next to Seatmaps, give it a name, and click Create & Open Editor.
Draw the layout with rows, grids, tables and sections (see below) and click Save.
Link the seat map to the event. In the event form, pick the Venue, then the Seatmap. In the event wizard, use the Venue step.
Make a ticket type seated. Open or create a ticket type for the event and set Seating to Seated (uses the event's seat map). The option appears only once the event has a seat map.
Assign sections to the ticket type. Back in the editor, select a section and choose its Ticket type in the properties panel. Its name and price are copied into the section.
Validate and publish the seat map: click Validate, fix any issues, then Publish.
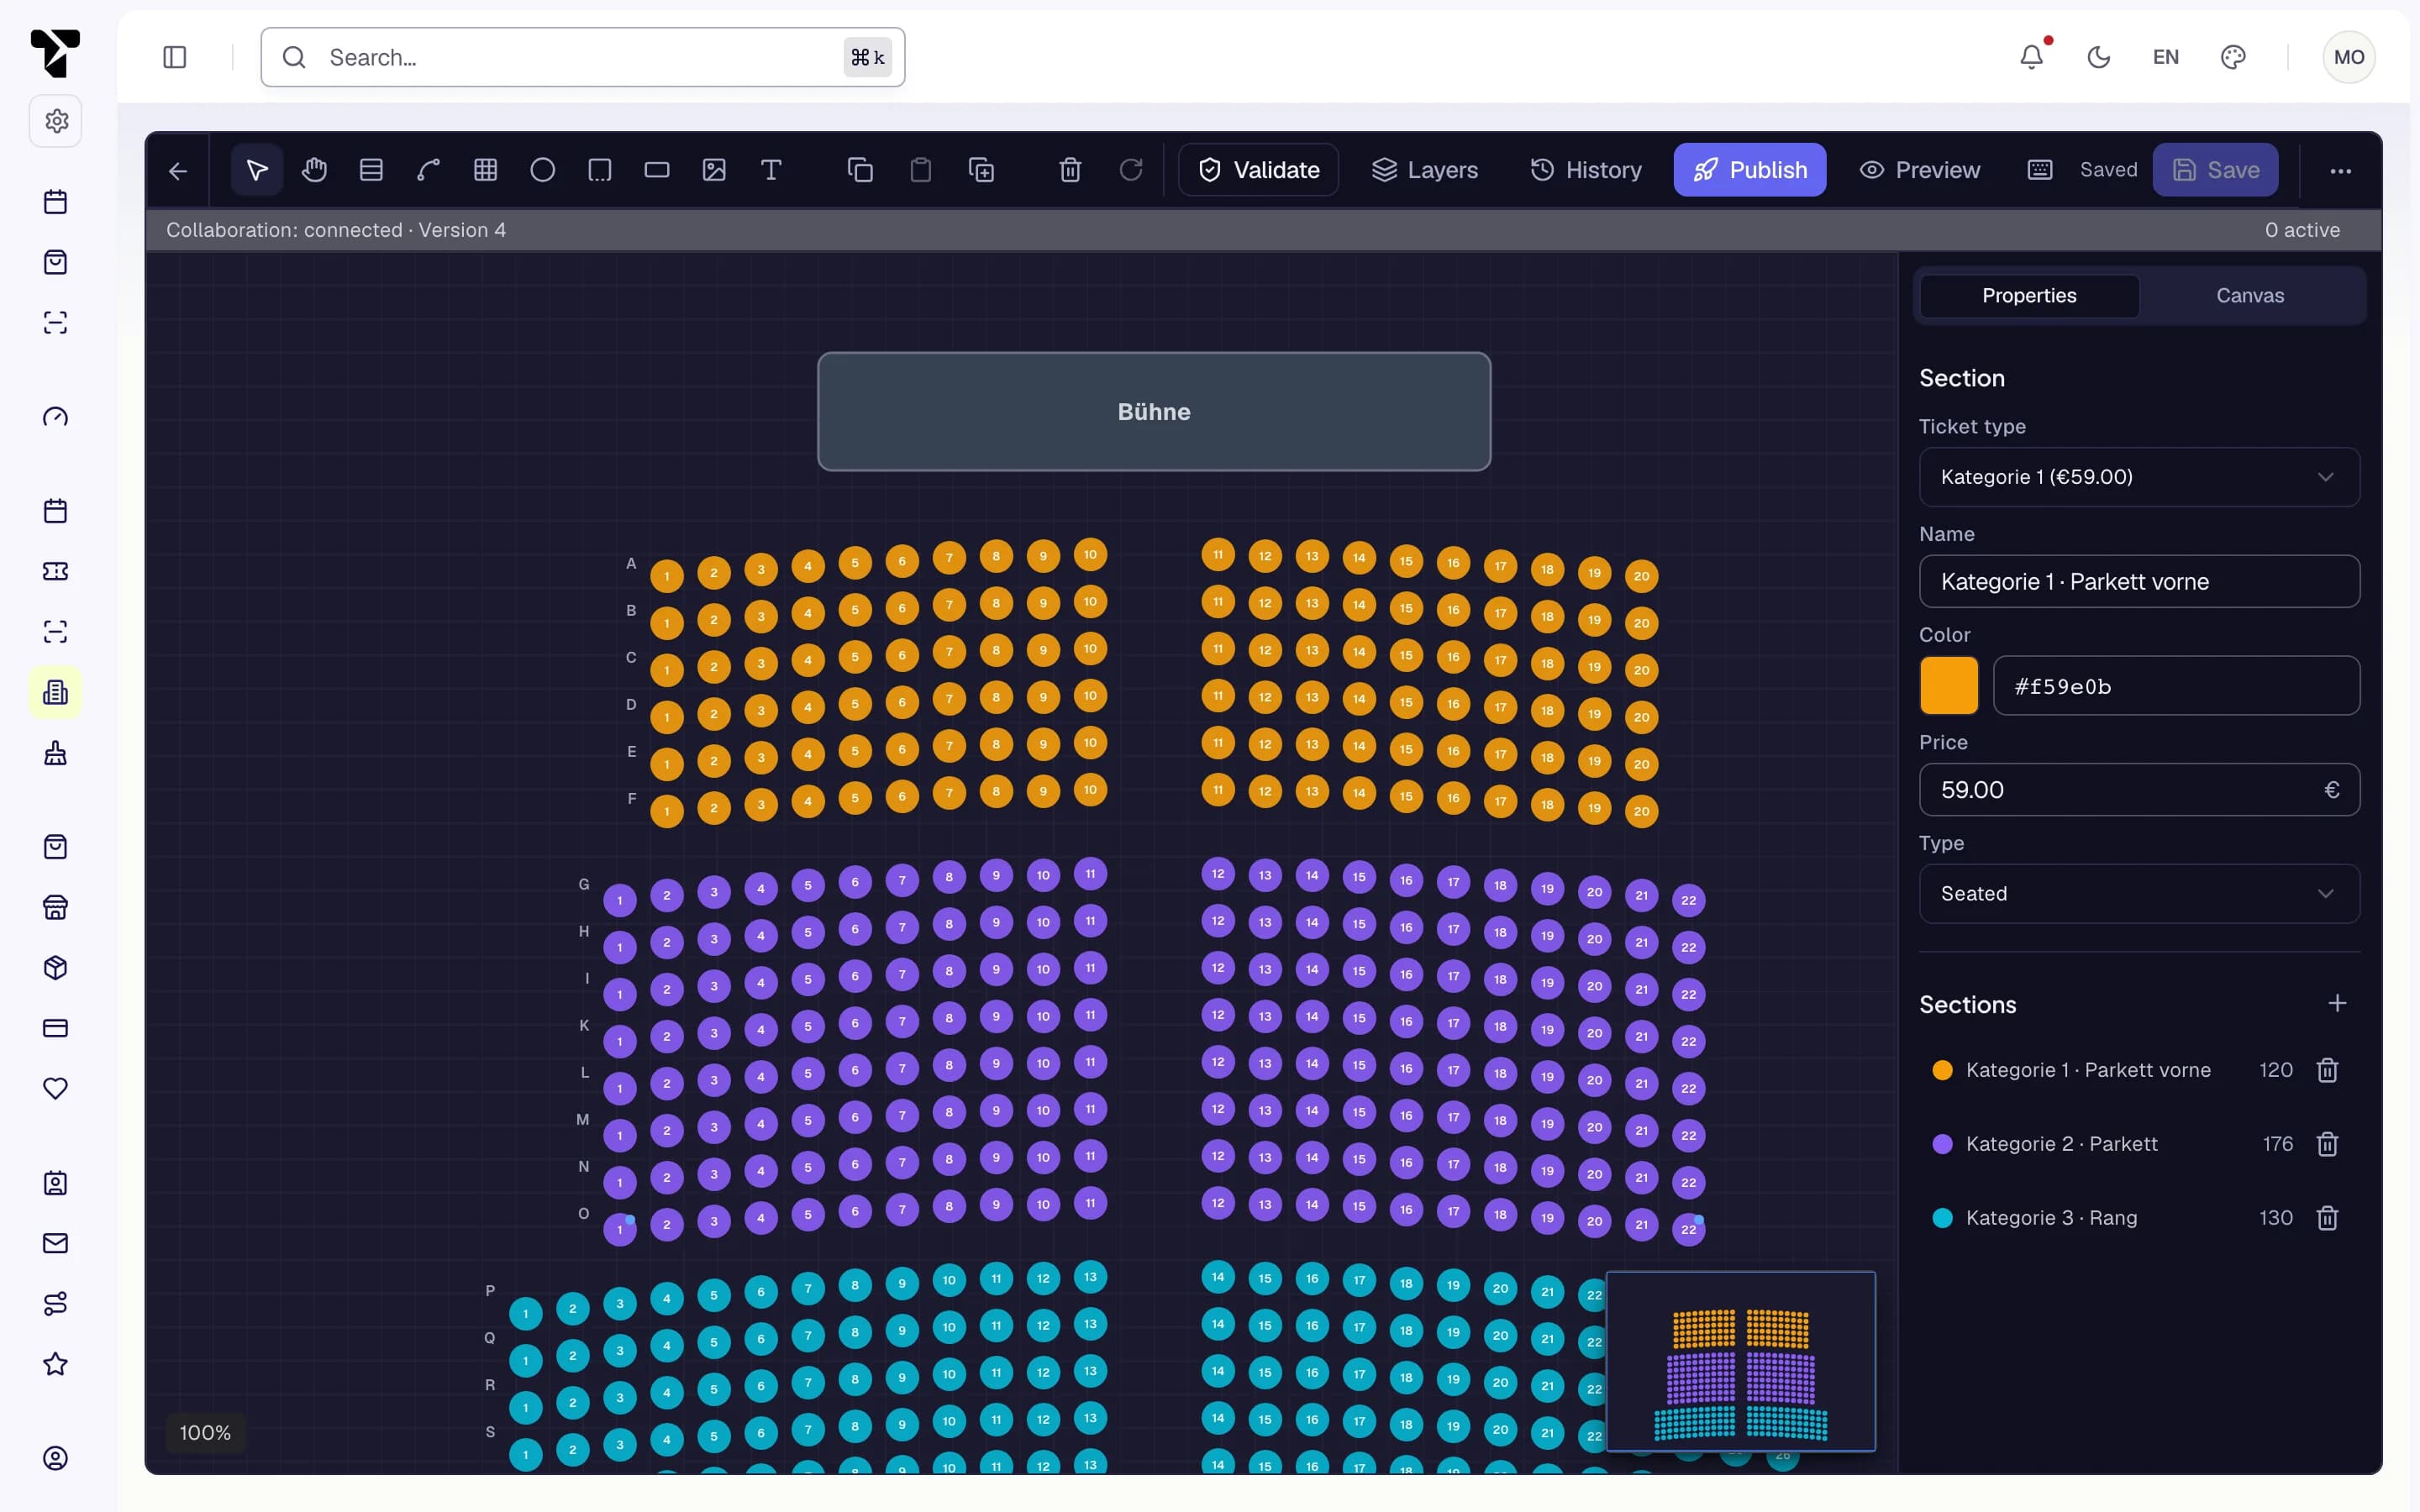
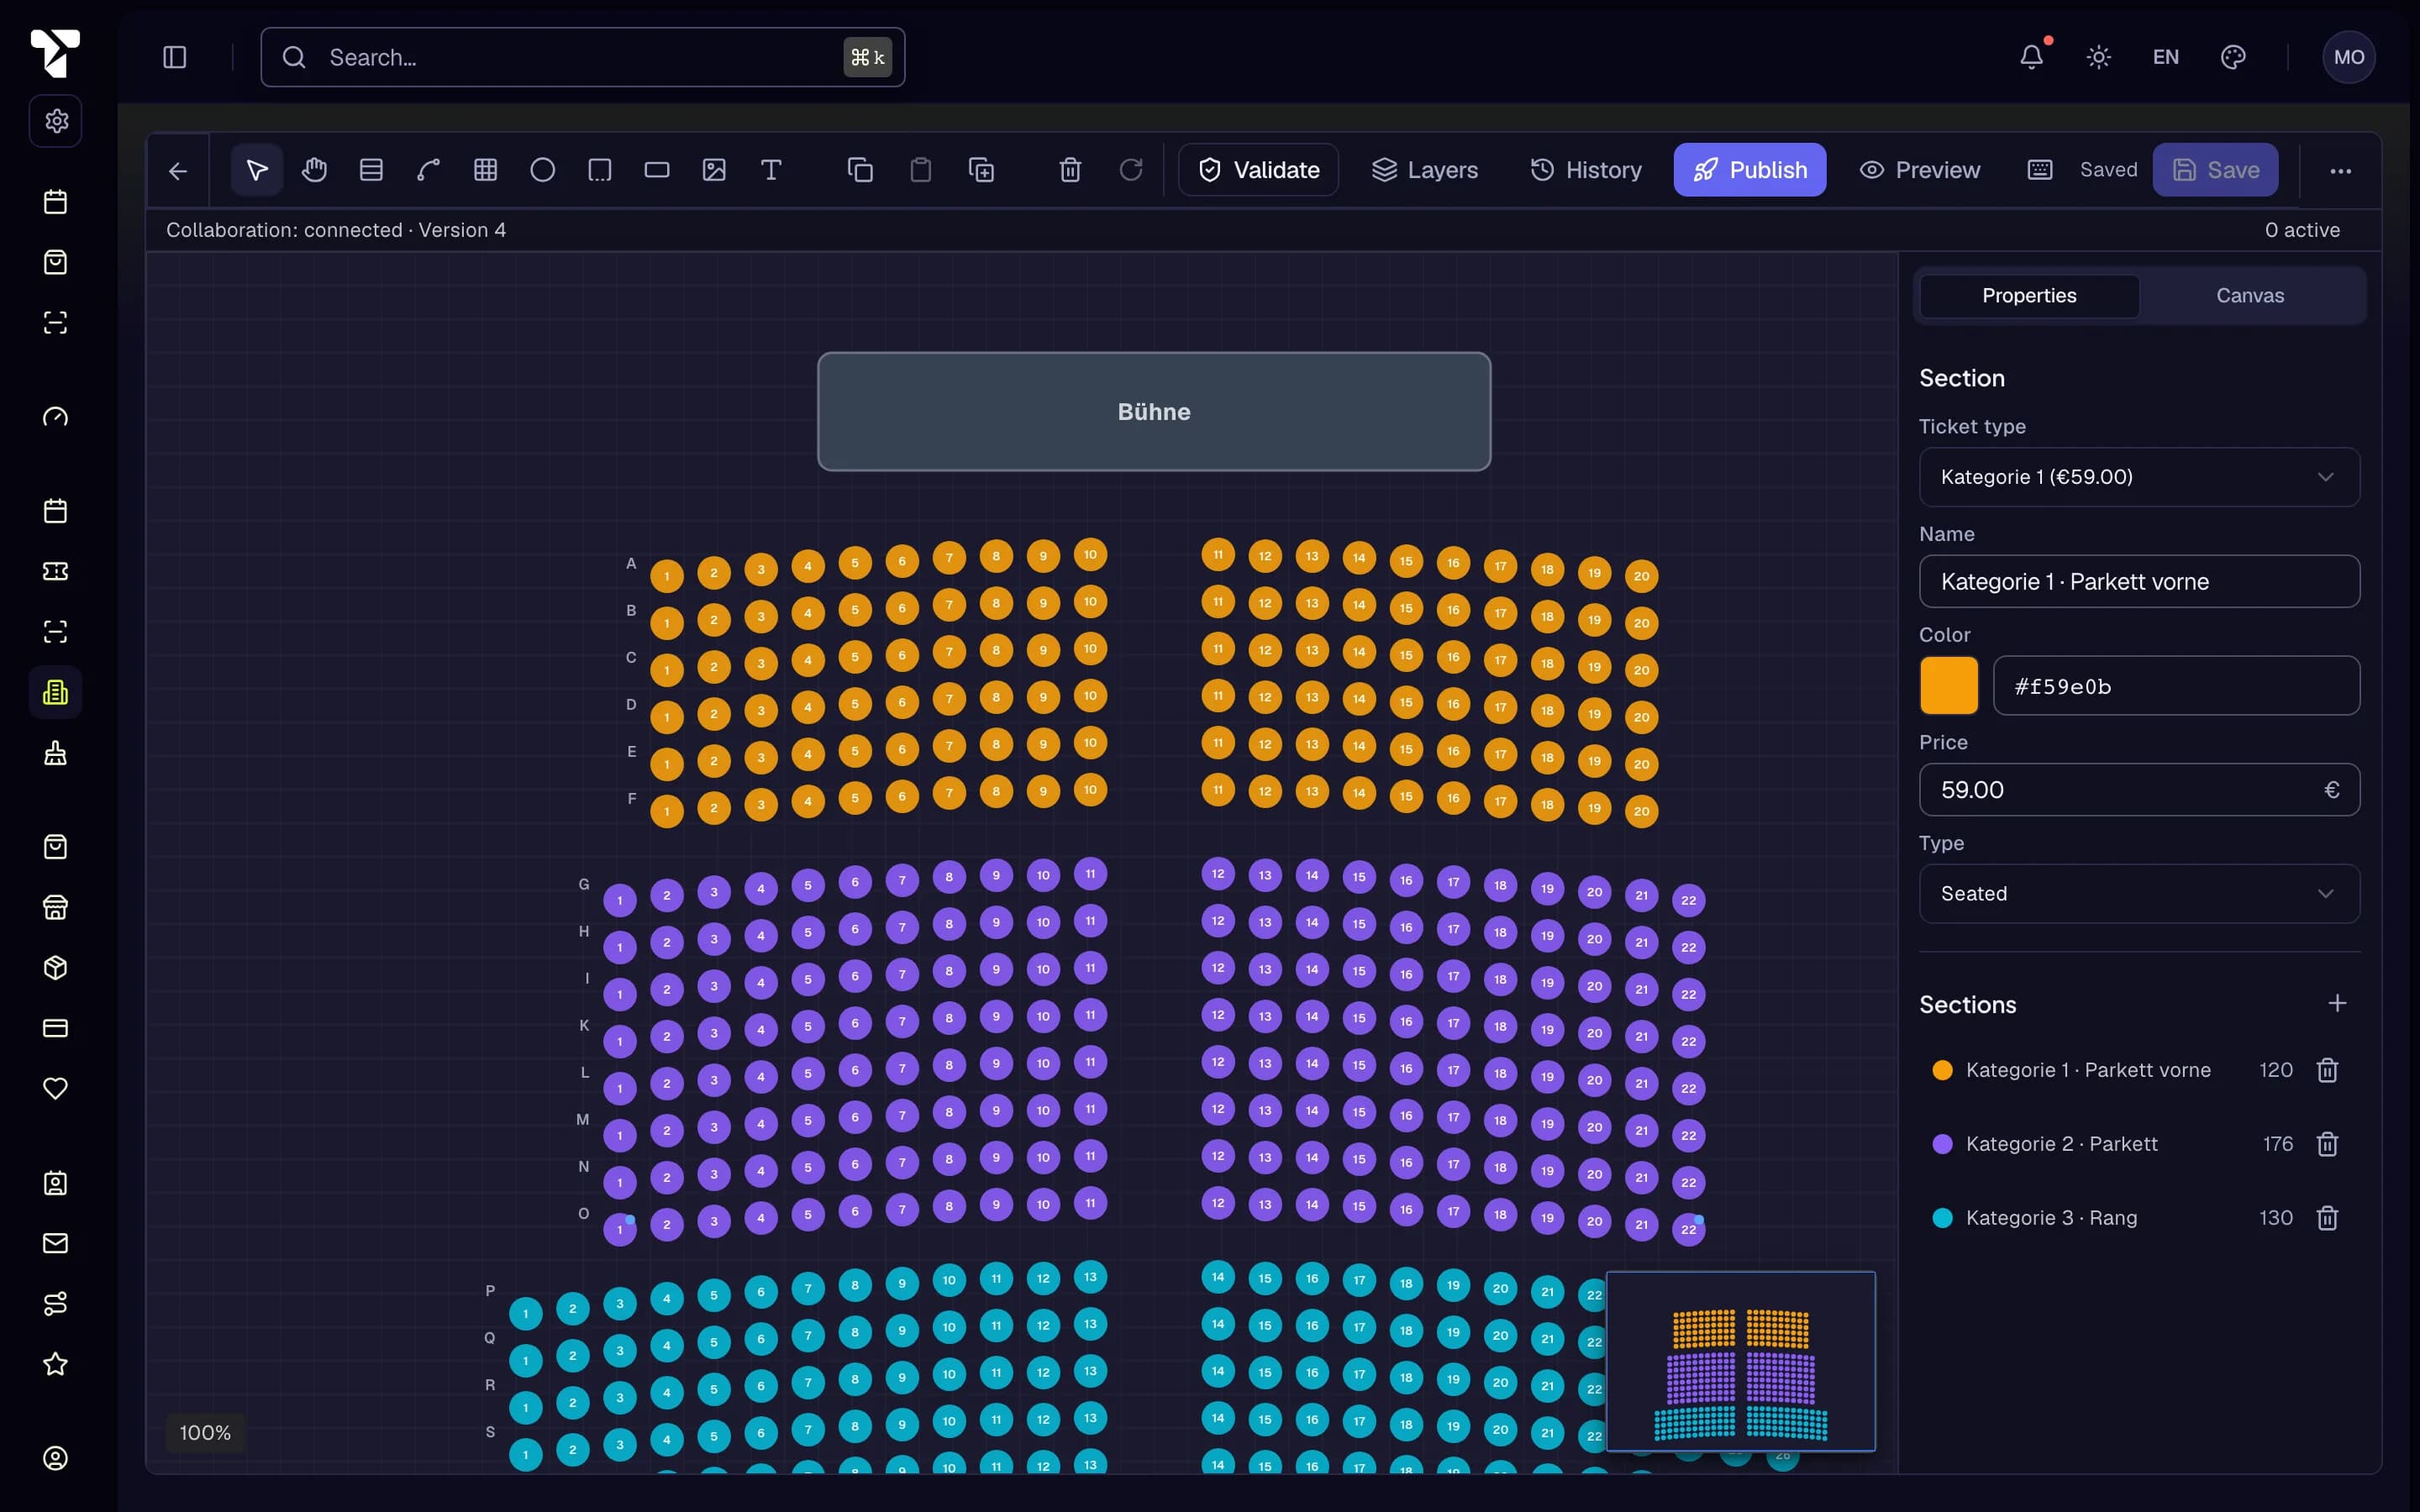
- Drawing tools
- Save
- Ticket type of the section
- Validate
- Publish
Draw a seat map
The toolbar holds the drawing tools. Keyboard shortcuts in brackets.
| Tool | What it adds |
|---|---|
| Select (V), Pan (H) | Select and move items, move the canvas |
| Add row (R) | A straight row: row label, seat type, number of seats, spacing |
| Add curved row (C) | A curved row: seats, radius, arc and start angle |
| Add grid (G) | Several rows at once: start row label, rows, columns, spacing |
| Add table (T) | A round table with a number of seats |
| Add section (S) | A section that groups seats and carries the ticket type and price |
| Add stage, Add sponsor area, Add text label | Orientation elements for buyers |
| Add facility | A bar, food, toilets, accessible toilets, an exit or entrance, first aid, cloakroom, lift or information point, with an optional label |
Also available: copy, paste, duplicate, delete, rotate by 45°, align and distribute, undo and redo, zoom, Grid snap, and toggles for row labels and seat numbers. Preview (P) shows the map as buyers will see it.
Properties
Select an item to edit it in the Properties panel:
- Seat — row, seat number, section, ticket type, type (Standard, VIP, Accessible, Restricted View, Companion, Table), ticket tier, accessible.
- Section — ticket type, name, colour, price and kind (seated, standing, VIP, accessible).
- Facility — its type, chosen from the icon palette, an optional label (up to 80 characters), and its size. Facilities are never seats: buyers cannot select them and they add nothing to capacity.
- Canvas — canvas size, grid and seat statistics.
If the section's ticket type list is empty, no ticket type uses this seat map yet: set a ticket type of the event to Seated first.
Templates
Save as Template stores the current layout for reuse; Apply Template starts from a saved one. When creating a seat map you can mark it Use as template.
Sell whole tables and lounges
For nightlife tables and lounges, give the table's section its own ticket type and switch on Sold by table in the ticket type's settings.
- A buyer who picks one seat of a table gets the whole table. All of its seats are held and bought together, one ticket per guest at the type's price. Nobody can book a single chair.
- Two buyers can never book the same table: the first to hold it gets it.
- Set a Minimum spend per table if guests should spend that much at the venue. TixFin never charges it. It is shown in the shop, to door staff when they scan a guest's ticket, and at the bar in the till's Booked tables list.
- A table of more than eight seats cannot be booked online yet.
- Refunds and chargebacks work per ticket, as for any seat.
Validate and publish
Validate opens Seatmap Validation and shows Publishable or Not publishable, with the issues to fix — for example a section missing a ticket type, a seat without a section, duplicate seat numbers or overlapping seats.
Publish saves pending changes, asks for an optional Revision label, and publishes with Validate & publish. History lists earlier revisions and can restore one.
Several people can edit the same seat map. If someone else saved in the meantime, the editor shows a conflict and lets you reload the server version or keep your local changes.
What buyers see
On the event page in your shop, a seated ticket type leads to seat selection. Buyers pick up to eight seats or use Best available seats, then confirm. The seats are held for 15 minutes while they check out. A seat's price is its section's price if set, otherwise the ticket type's price.
The plan shows your text labels and facilities. Each facility is drawn with its icon and label, the legend lists each kind on the plan, and screen readers announce it by name ("Bar, Foyer-Bar"). A facility with an unknown type, no size or a label over 80 characters stops Validate & publish until you fix it.
Sponsor areas show their logo when the logo was uploaded in the editor and the area has a label; screen readers read the label as the logo's name. A sponsor area without a label is not shown to buyers. Saving refuses a logo linked from another website.
Buyers who do not want to use the map, for example with a screen reader or the keyboard, switch to List above it. They choose a section (with its price and free seats), a row, then the seats, which name their attributes (aisle seat, accessible, restricted view). The list shows only seats that are free right now, follows the same live updates as the map, and holds the seats in the same way. The map is the default.
The seat map stays current while it is open. When a seat is taken, held or released elsewhere, the shop's map updates within a second or two, and the seat maps at your box office and in the till's seat dialog within a few seconds. If the live connection is unavailable, the shop re-reads the seats every 15 seconds and the box office every minute, and both whenever the tab comes back into view. Live updates start once the event is on sale (published seat map, active, not cancelled, not over); for a draft event the box office re-reads every minute and when the tab comes back into view.
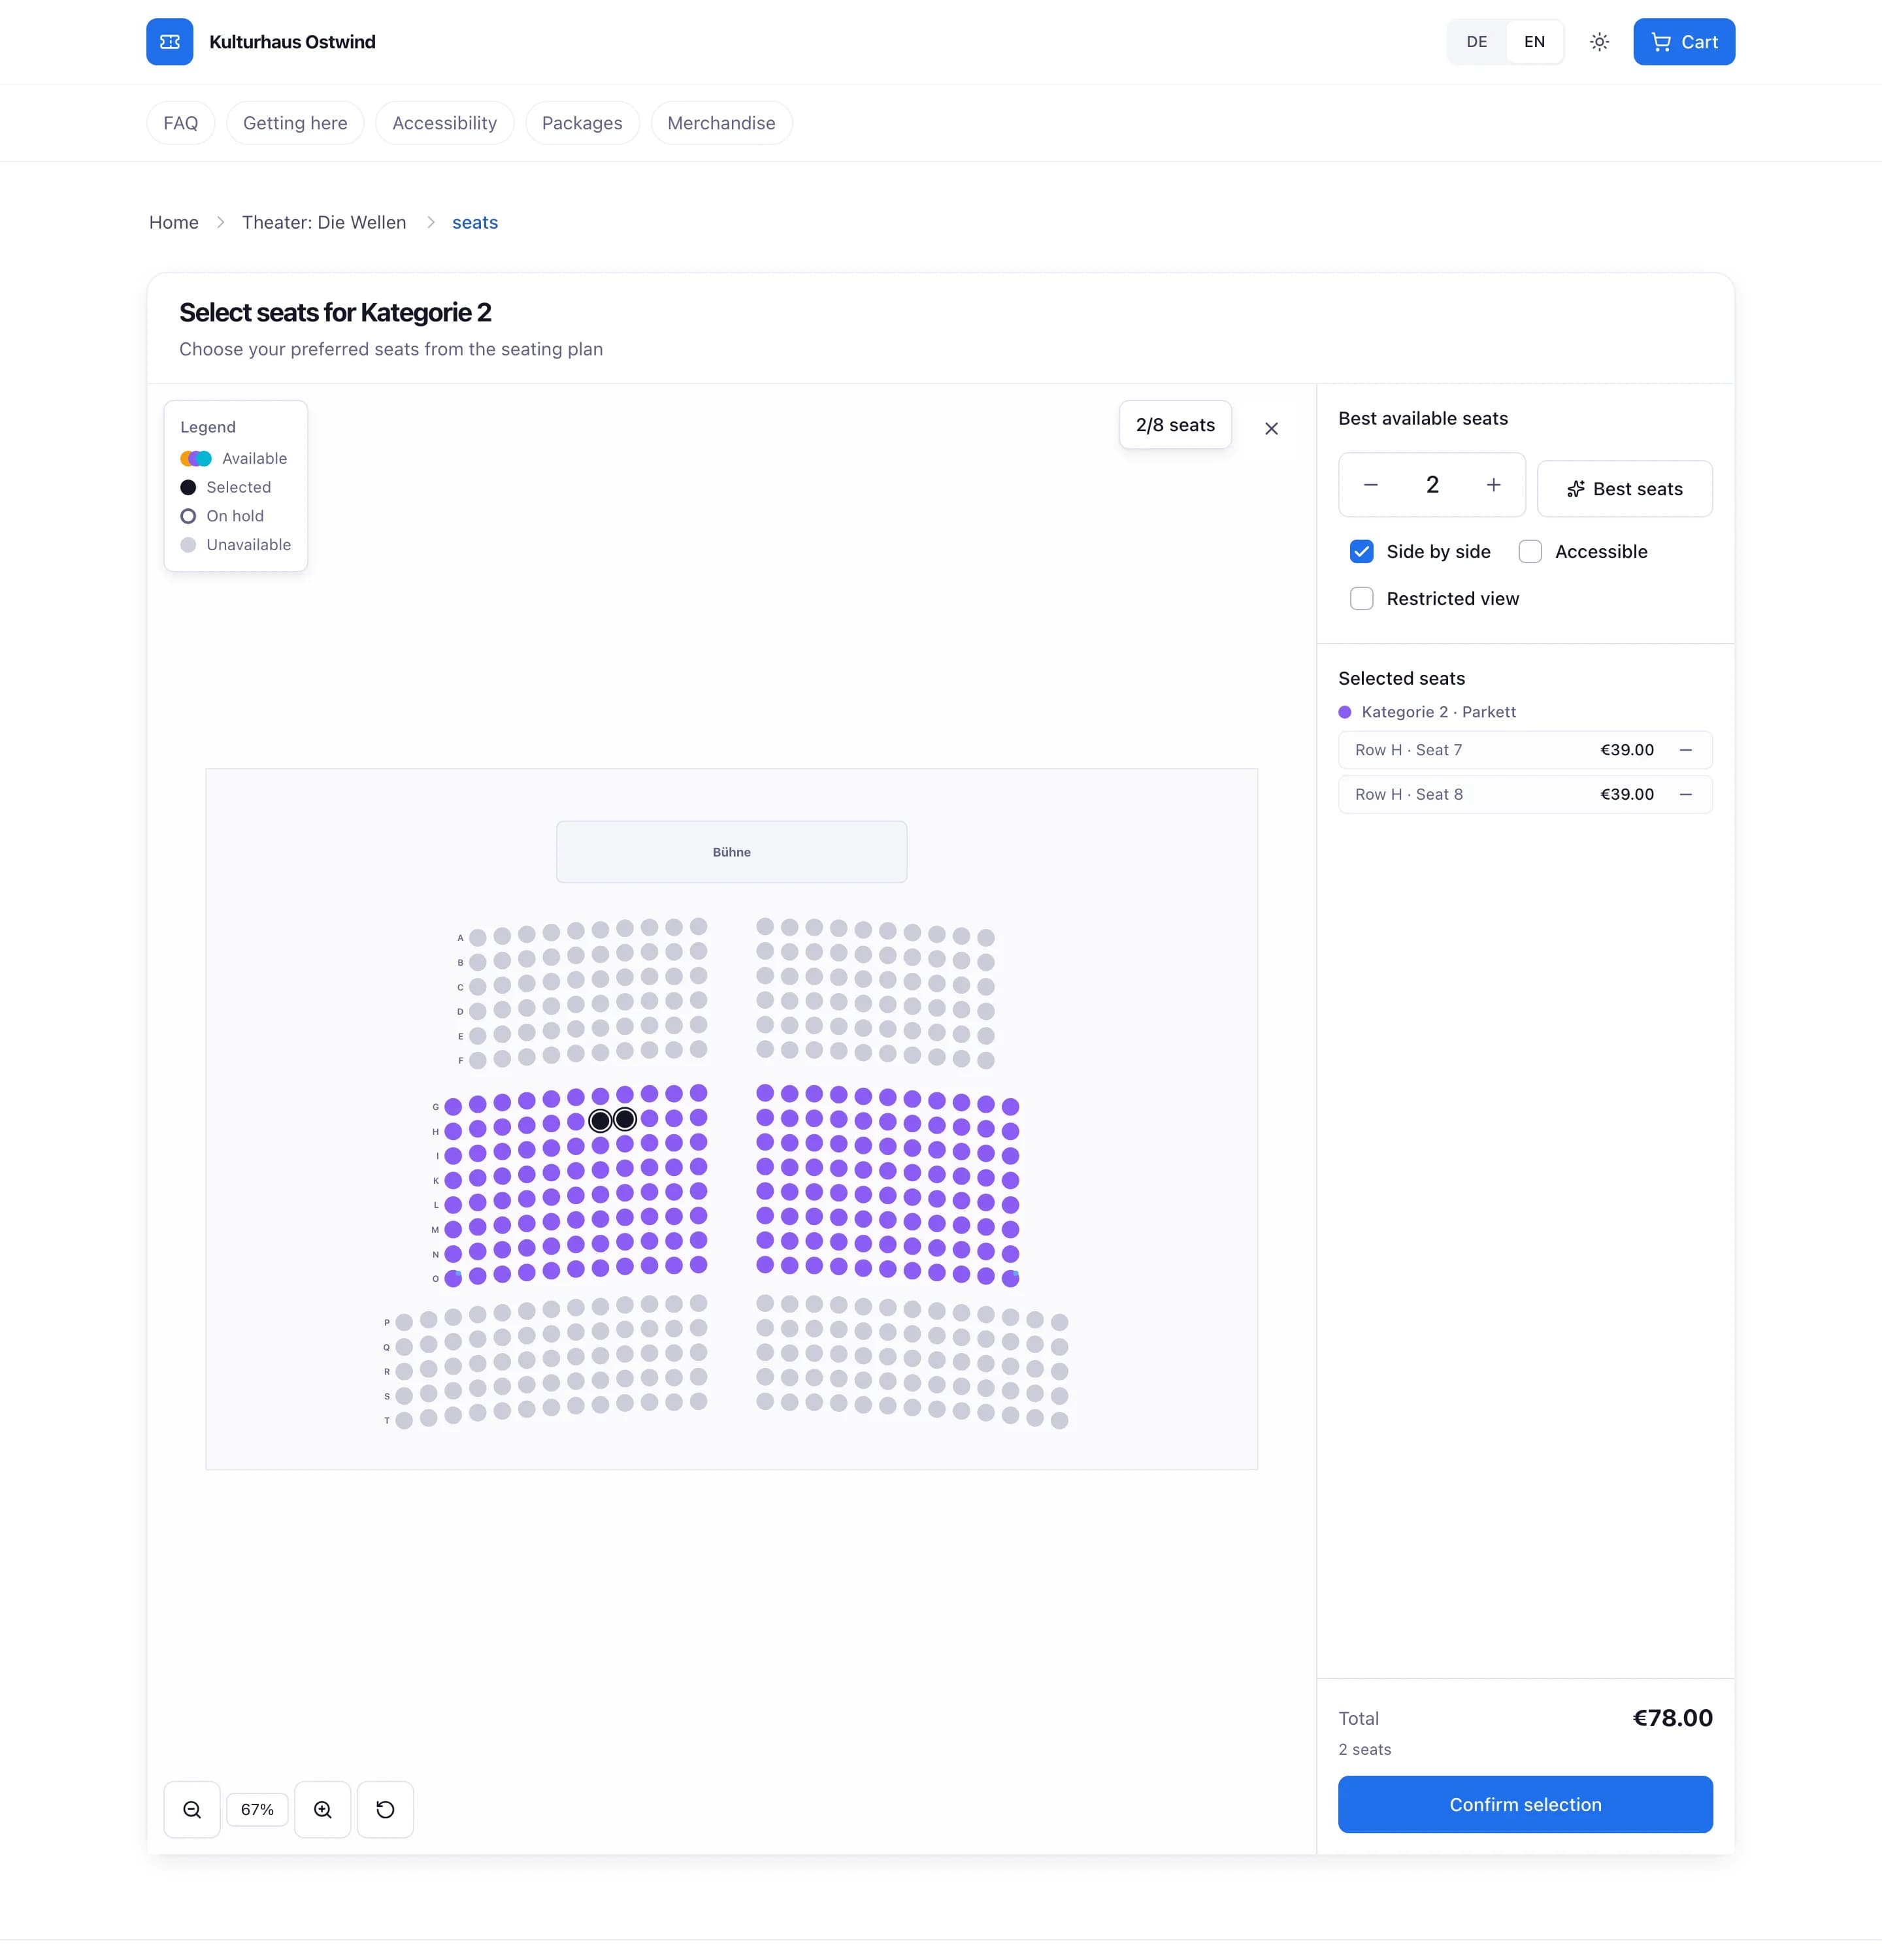
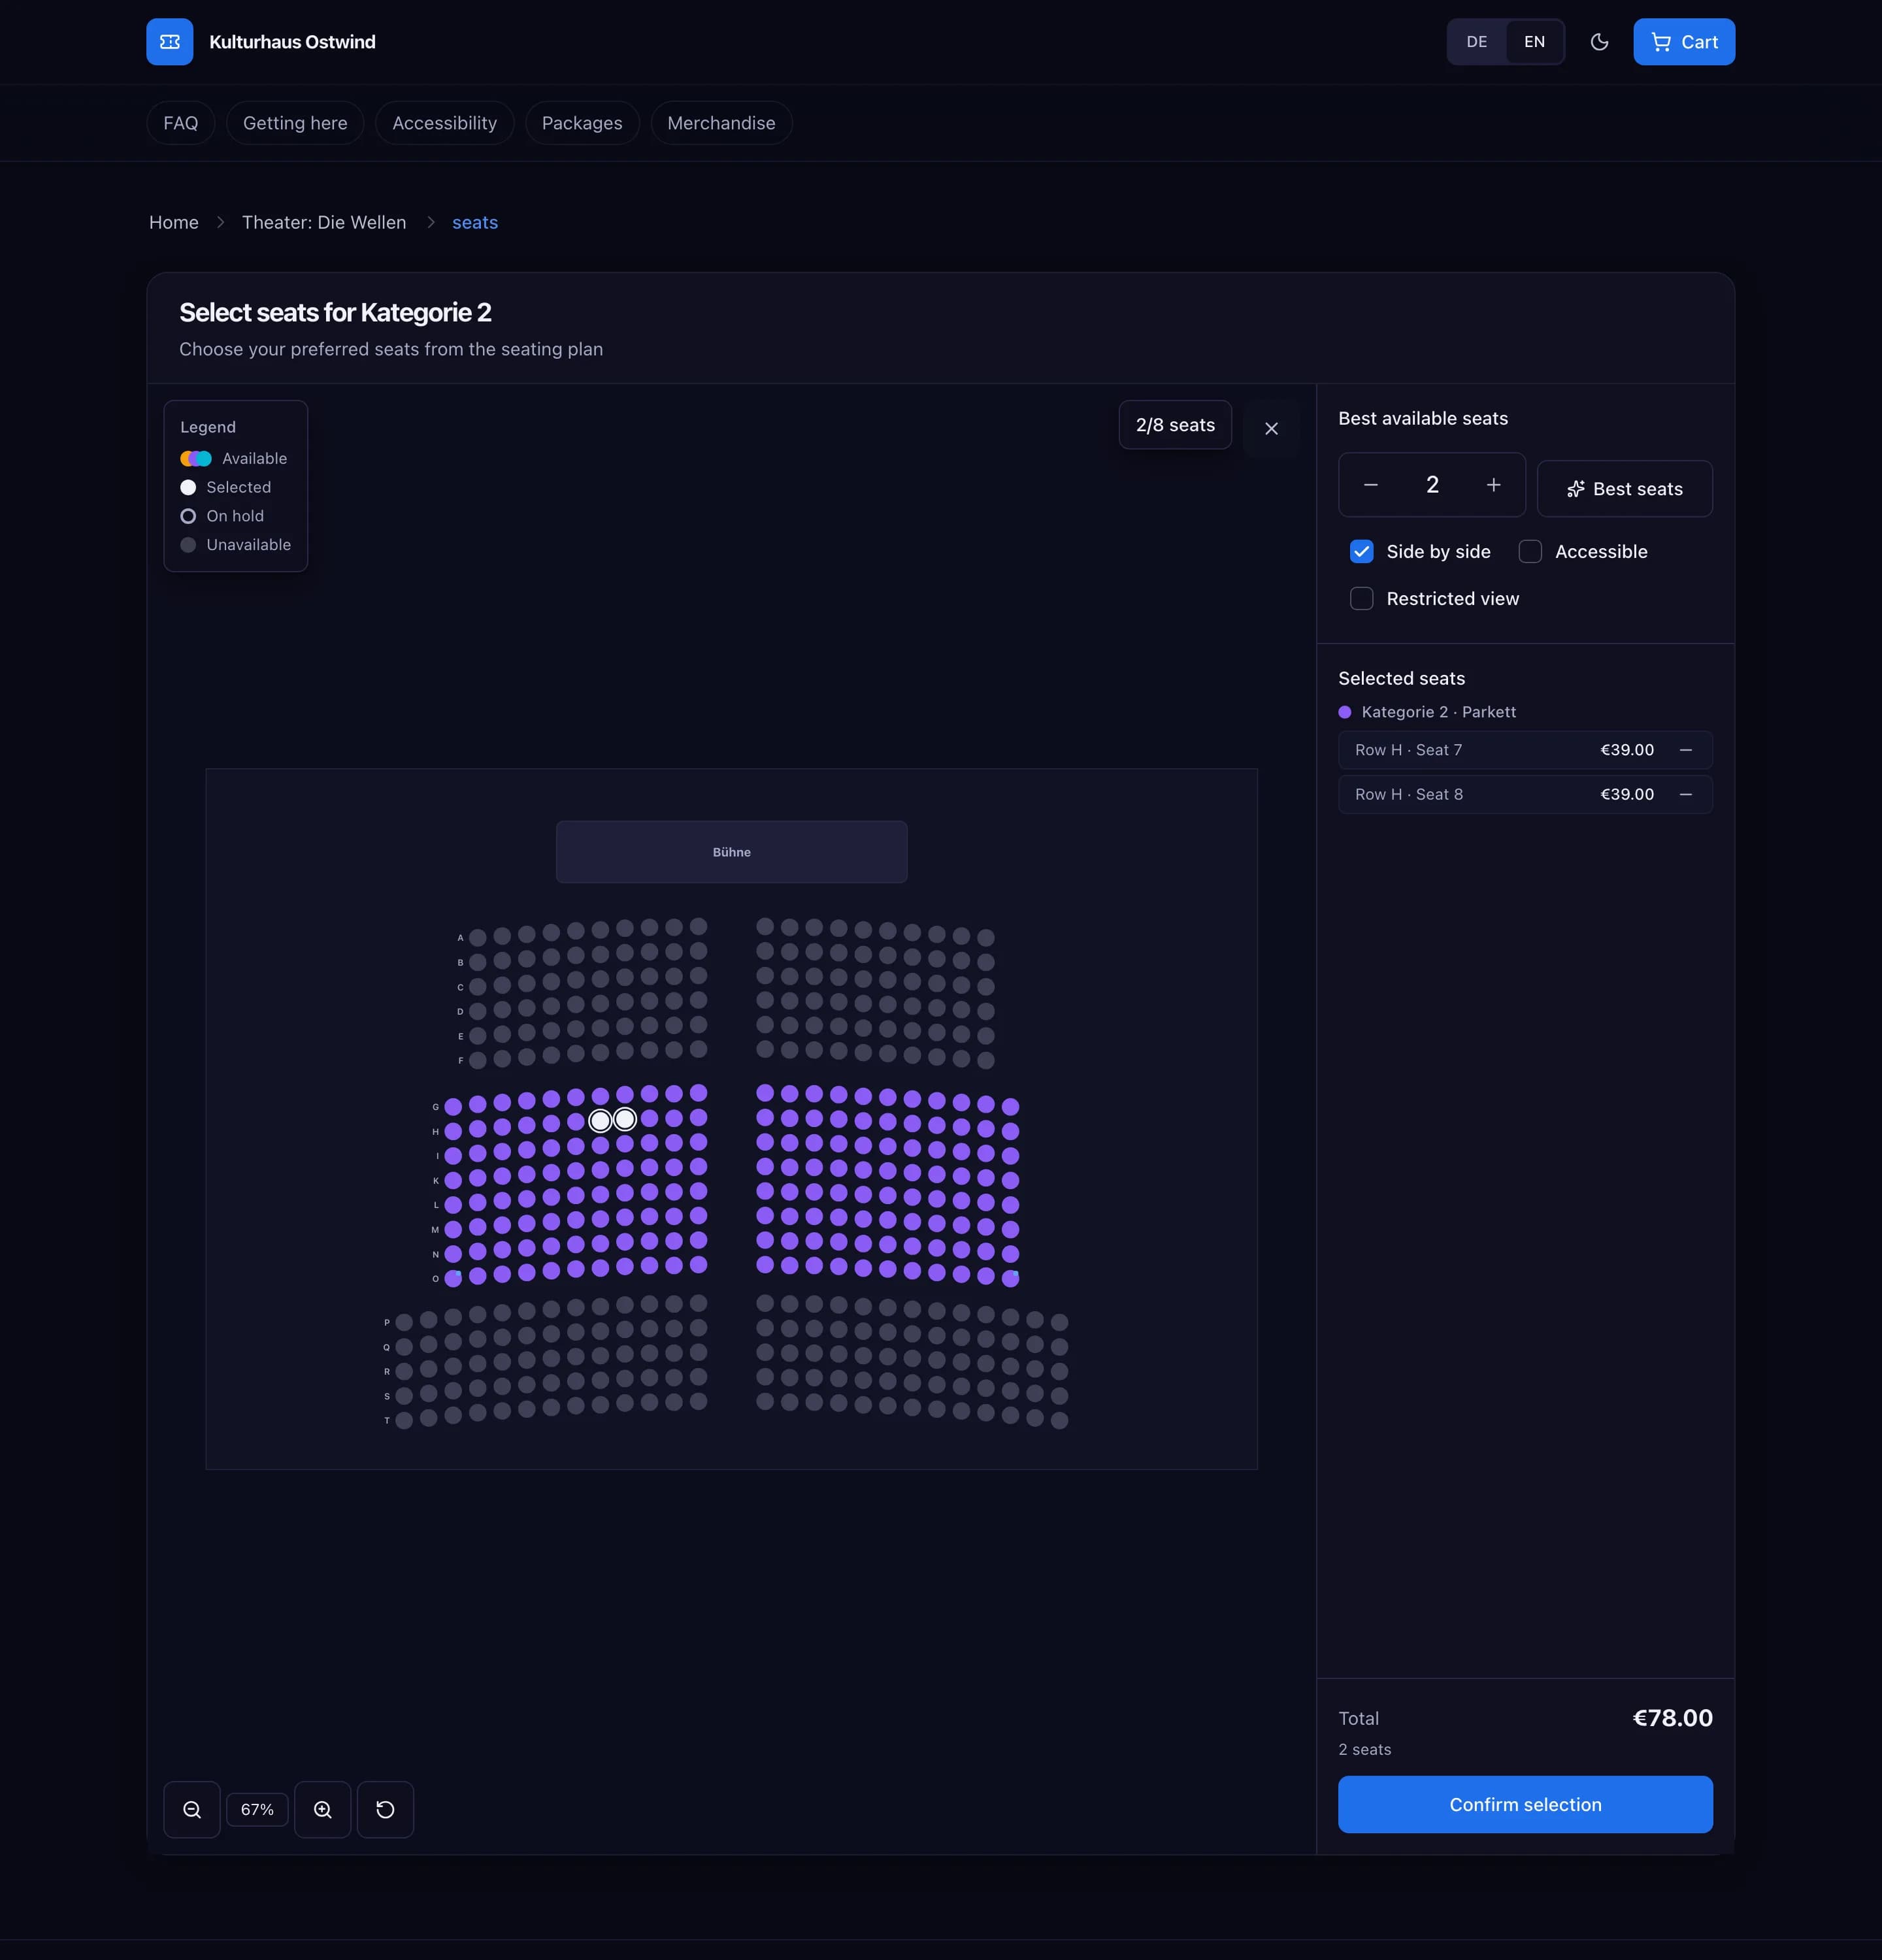
- Tap the seats you want
- Best available seats
- Your selected seats
- Confirm selection
Common problems
- "Cannot publish: resolve the validation errors first." Click Validate, fix each issue listed, then publish again.
- "The event has no seatmap, so this ticket type sells as general admission." Link a seat map to the event first (step 4 above).
- A section's ticket type list is empty. No ticket type of the event is Seated yet. Set one to Seated first.
- "Layout conflict detected". Someone else saved the seat map. Choose Reload (use server state) to take their version, or Keep local changes to keep yours.
Reference
- Seat map statuses: Draft, Published, Archived.
- Deleting a venue also deletes all its seat maps. Hold Hold to delete for about a second to confirm. This cannot be undone.
- Seat maps in the event wizard need a plan that includes seat maps.
- For 3D venues the editor shows a 3D view of the venue model; the model itself cannot be uploaded from the dashboard.
- The editor is built for desktop screens.