
 TixFin
Your shop
Get your project's public shop online, offer vouchers and discounts, and answer buyers' questions
Every project has its own public shop where buyers find your published events and buy tickets. It runs at a subdomain you choose and looks the way you design it. This page is the organiser's view. What buyers see and do is in the ticket buyers section.
Where: Events & tickets → Shop design, Project → Project settings → Subdomain, and Sales → Billing for vouchers and discounts Who can do this: Customize shop design for the design and legal pages, Manage billing for vouchers, gift cards and discounts
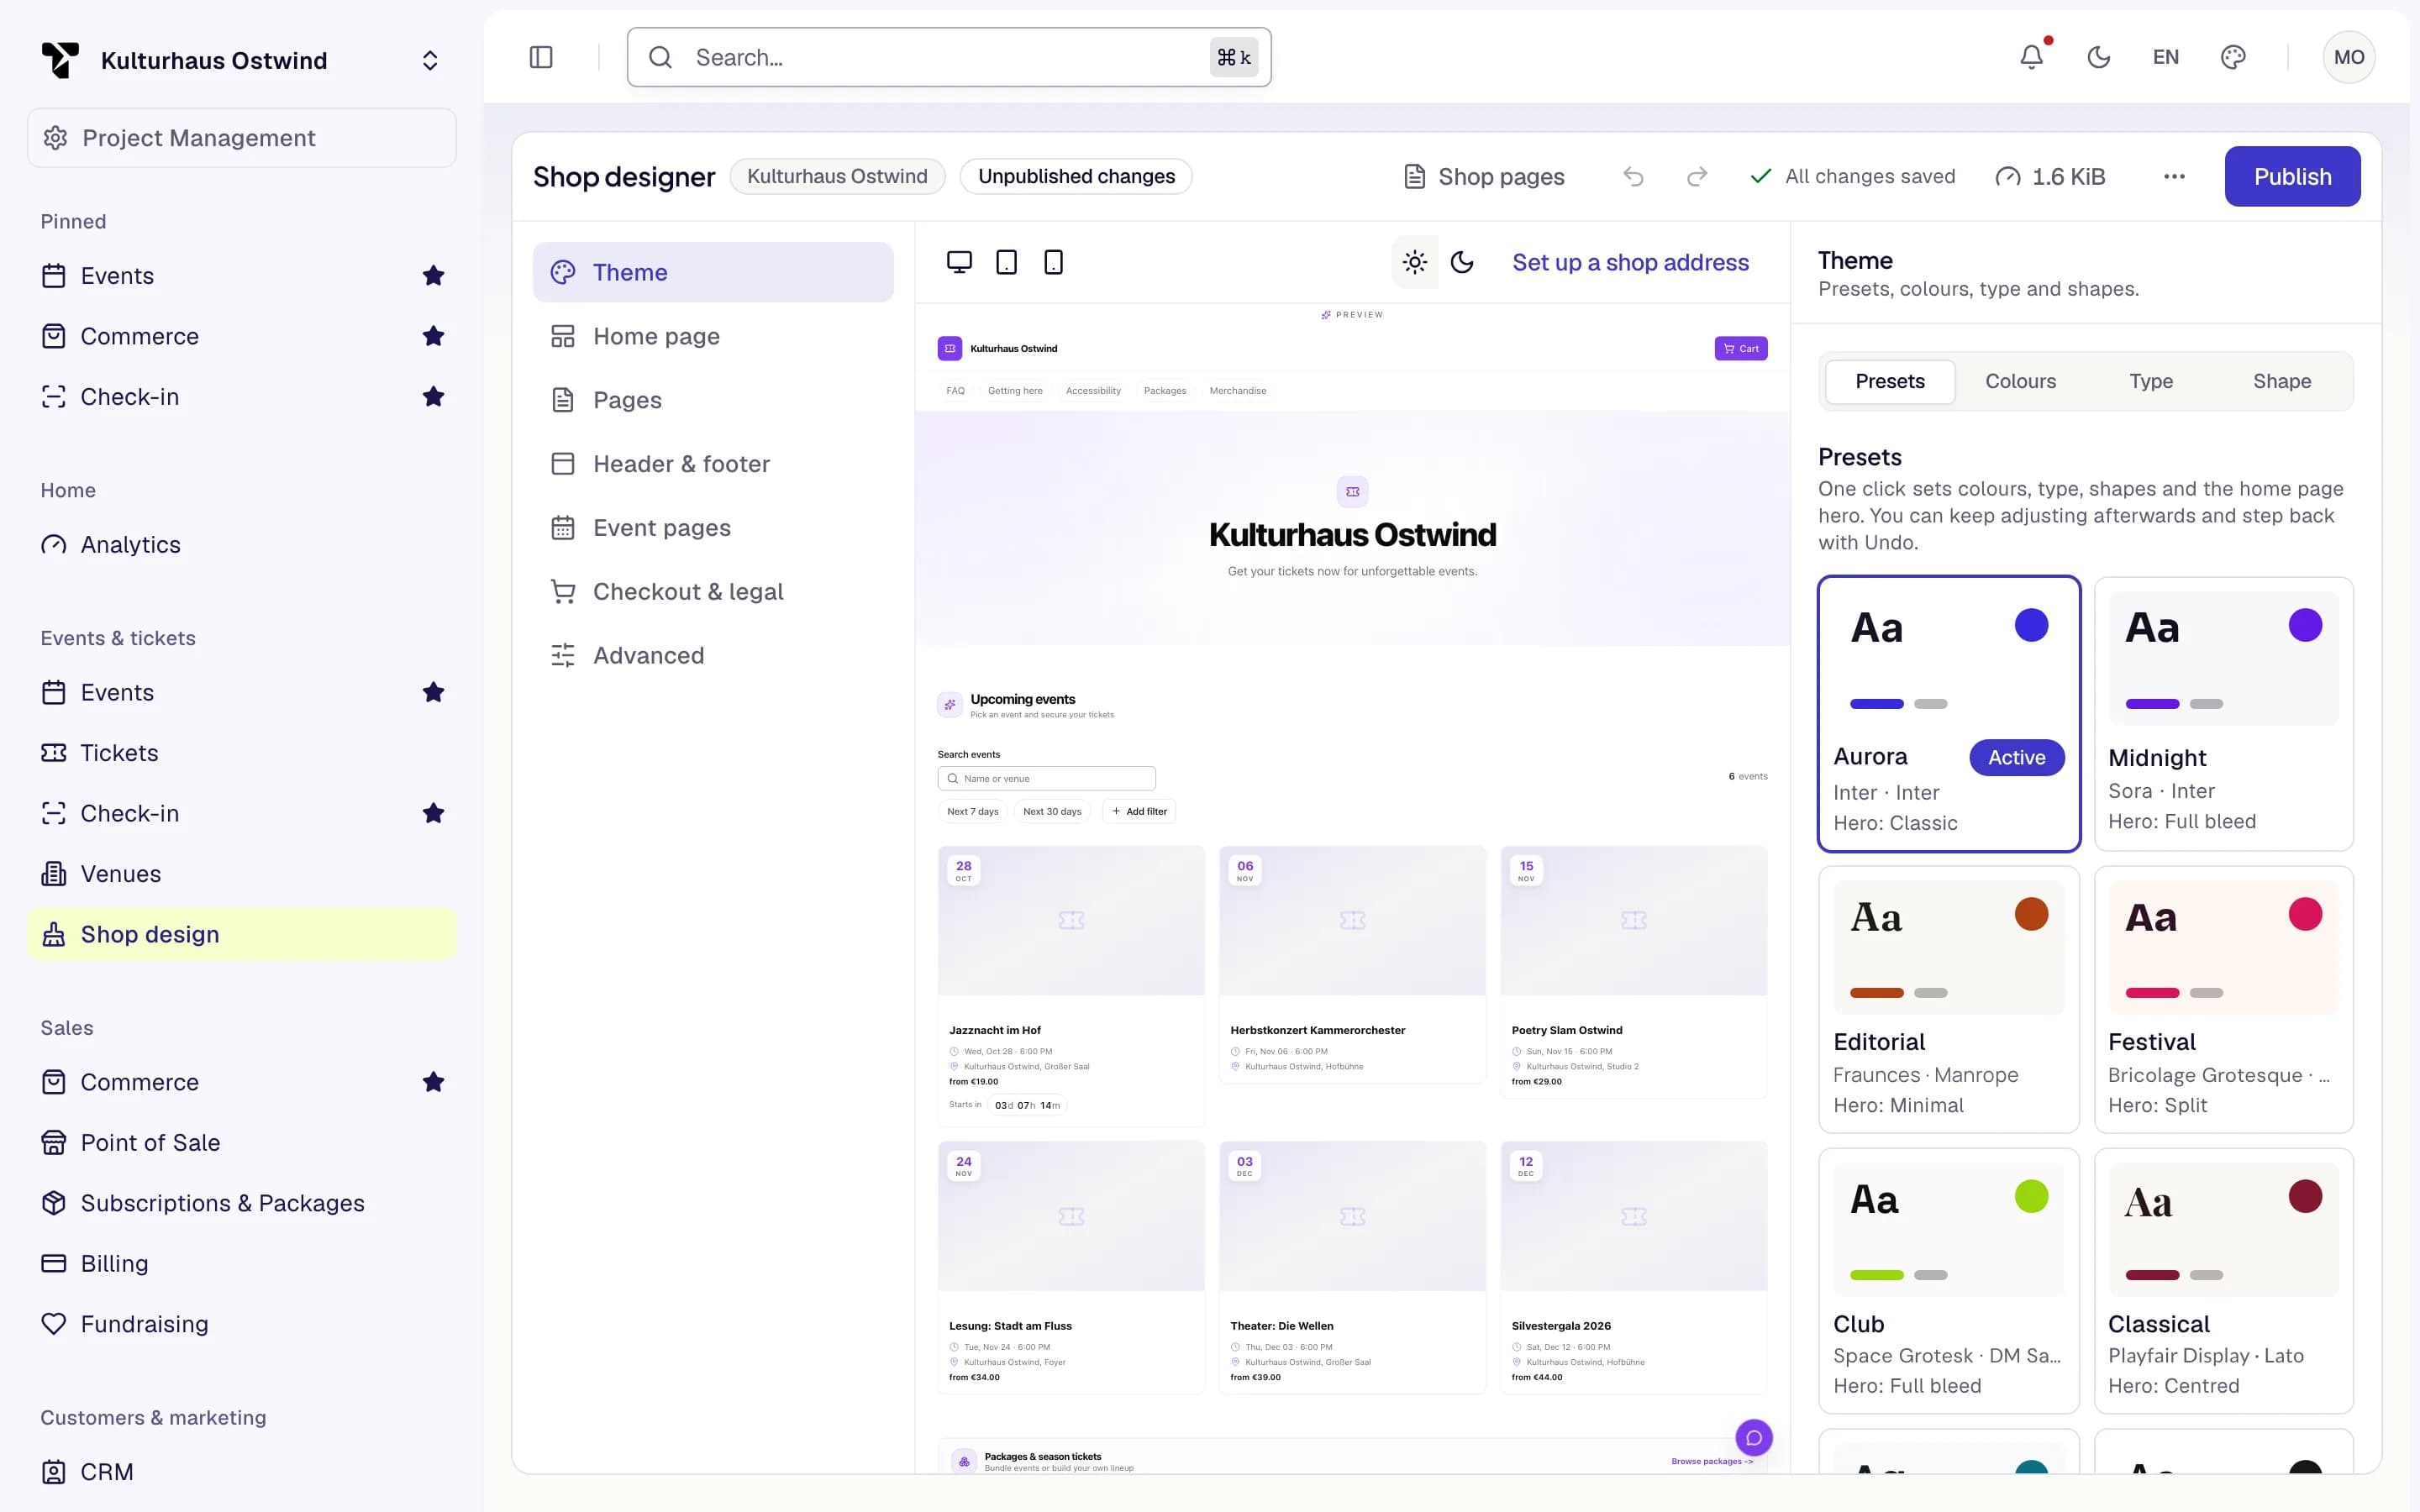
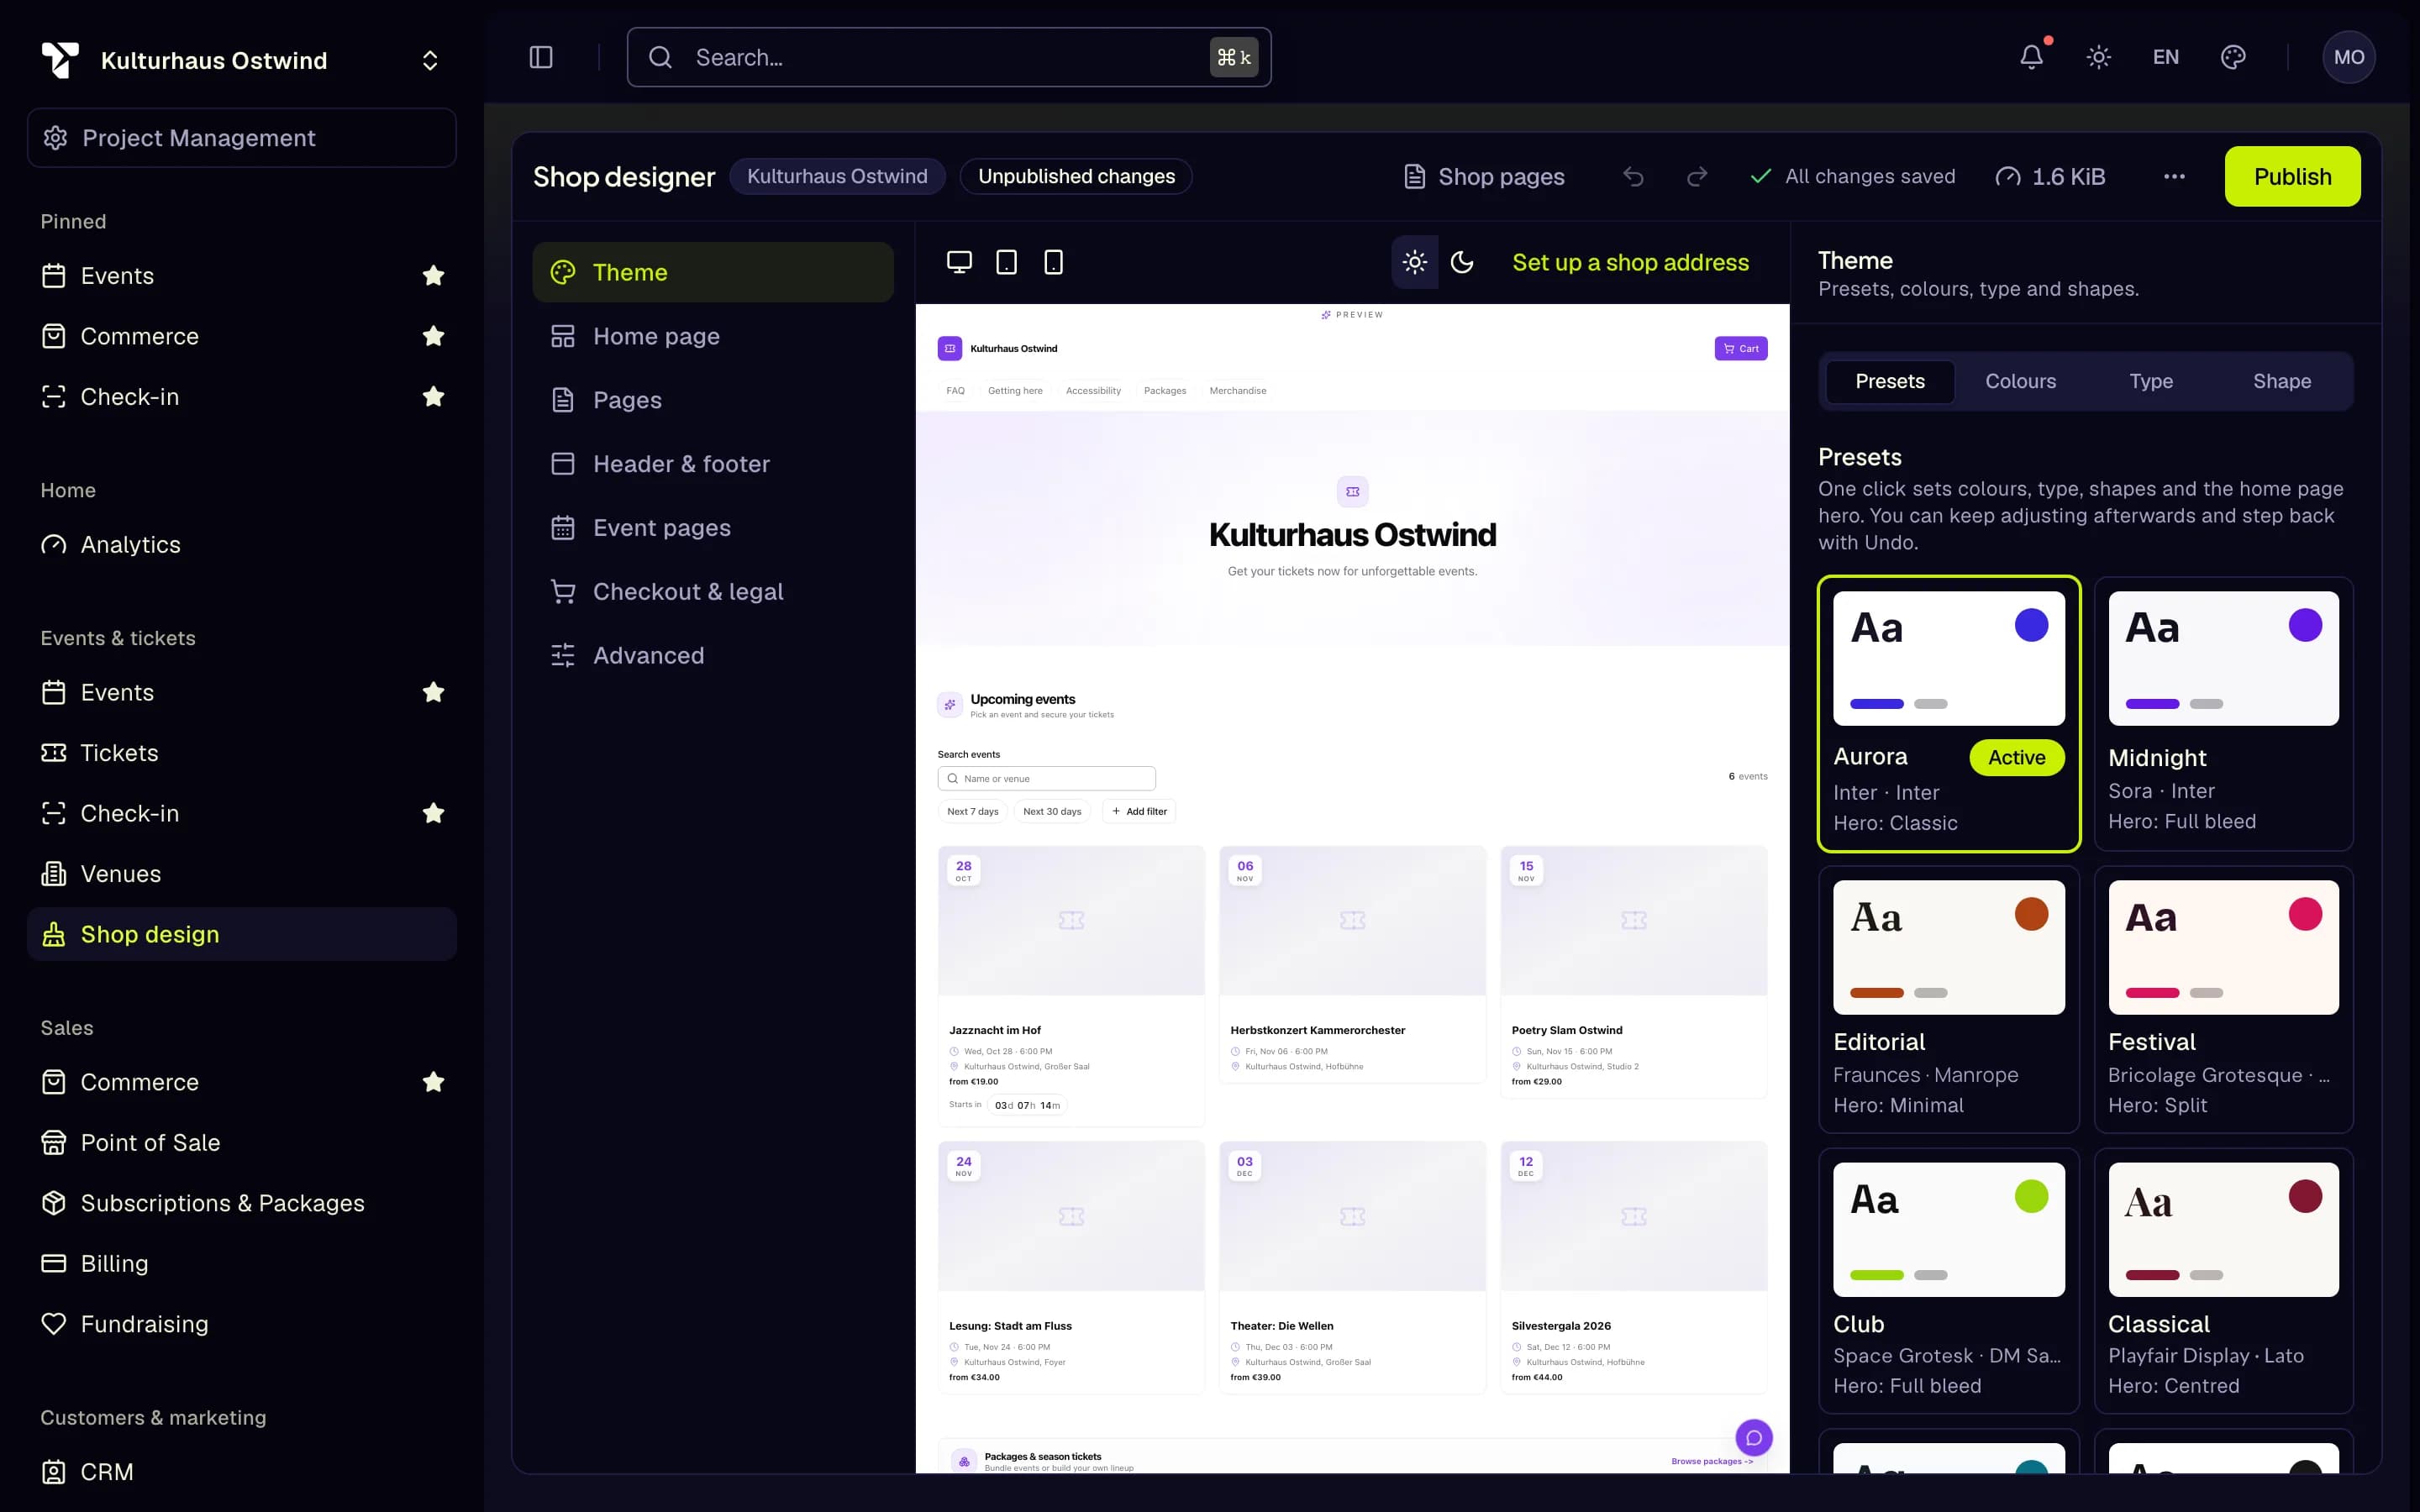
- Unpublished changes
- Theme → Presets
- Home page
- Preview devices
- Publish
Get your shop online
What buyers see
Buyers open your shop, pick an event, choose tickets (and seats for a seated event), and check out. Paid orders go to your payment provider's payment page and back. Free orders confirm by email. Afterwards buyers find their tickets in the email and, with an account, under My tickets. The steps from the buyer's side are in My tickets and Receipts and emails.
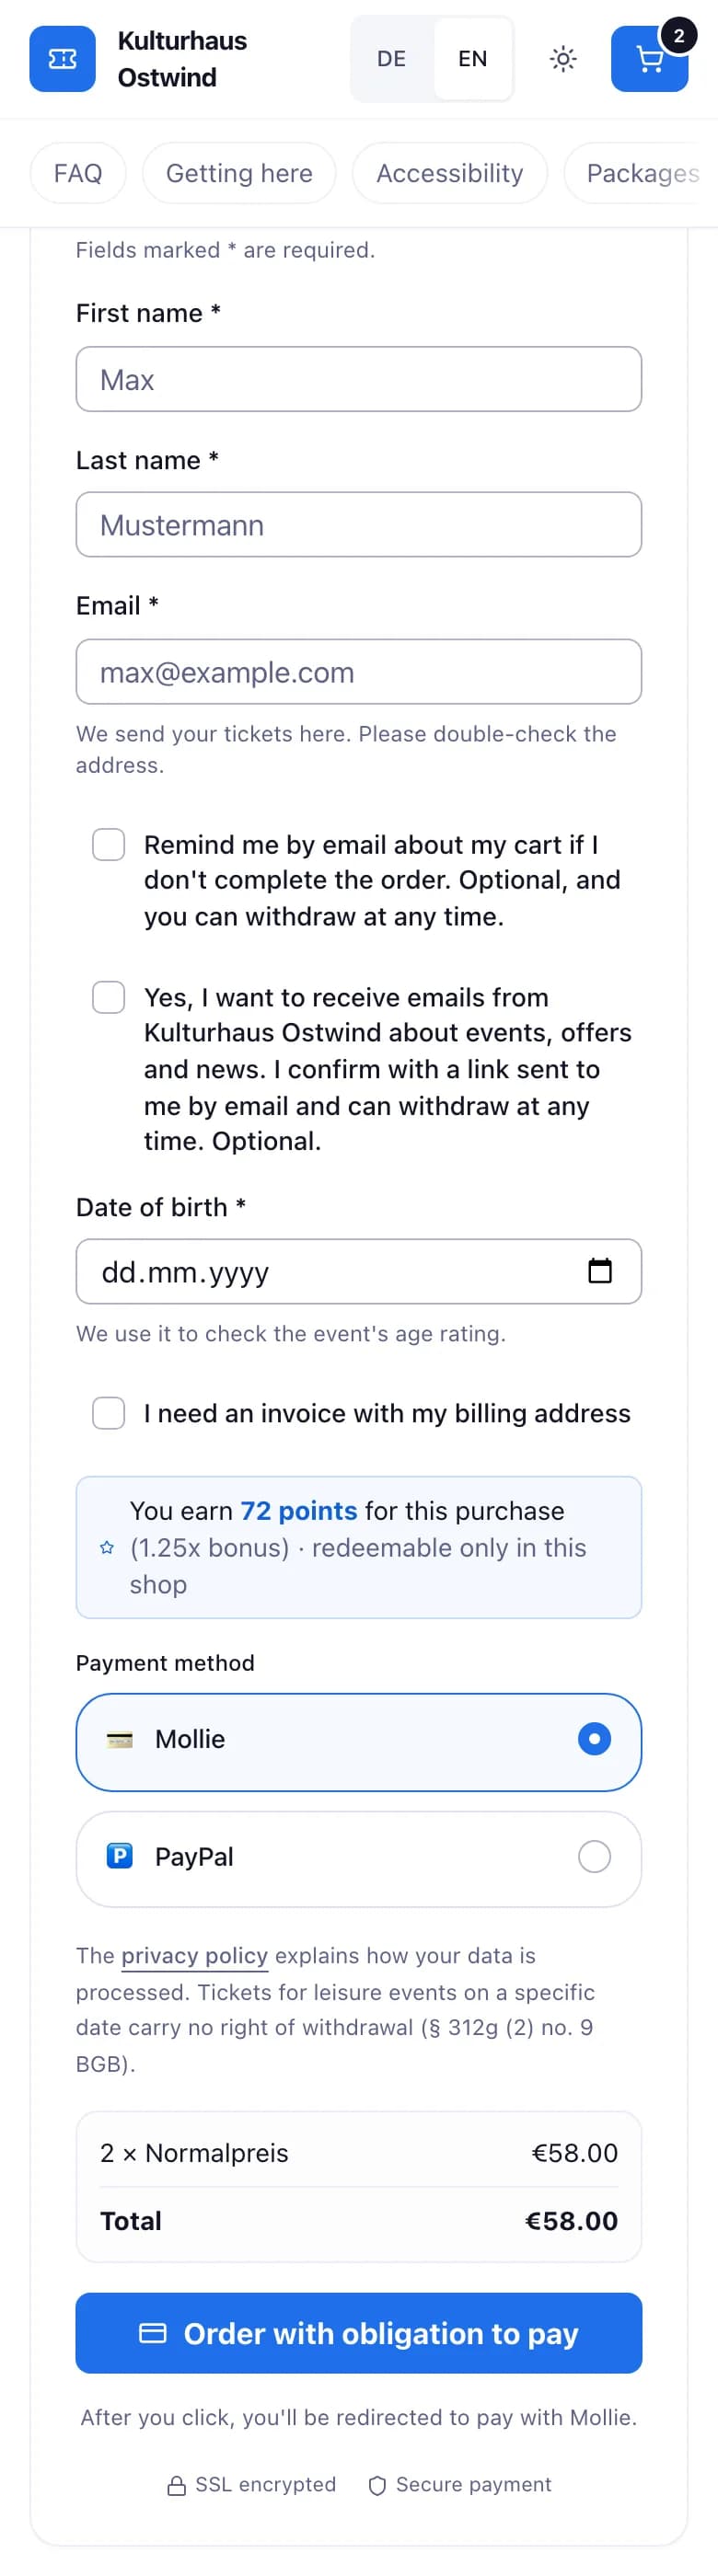
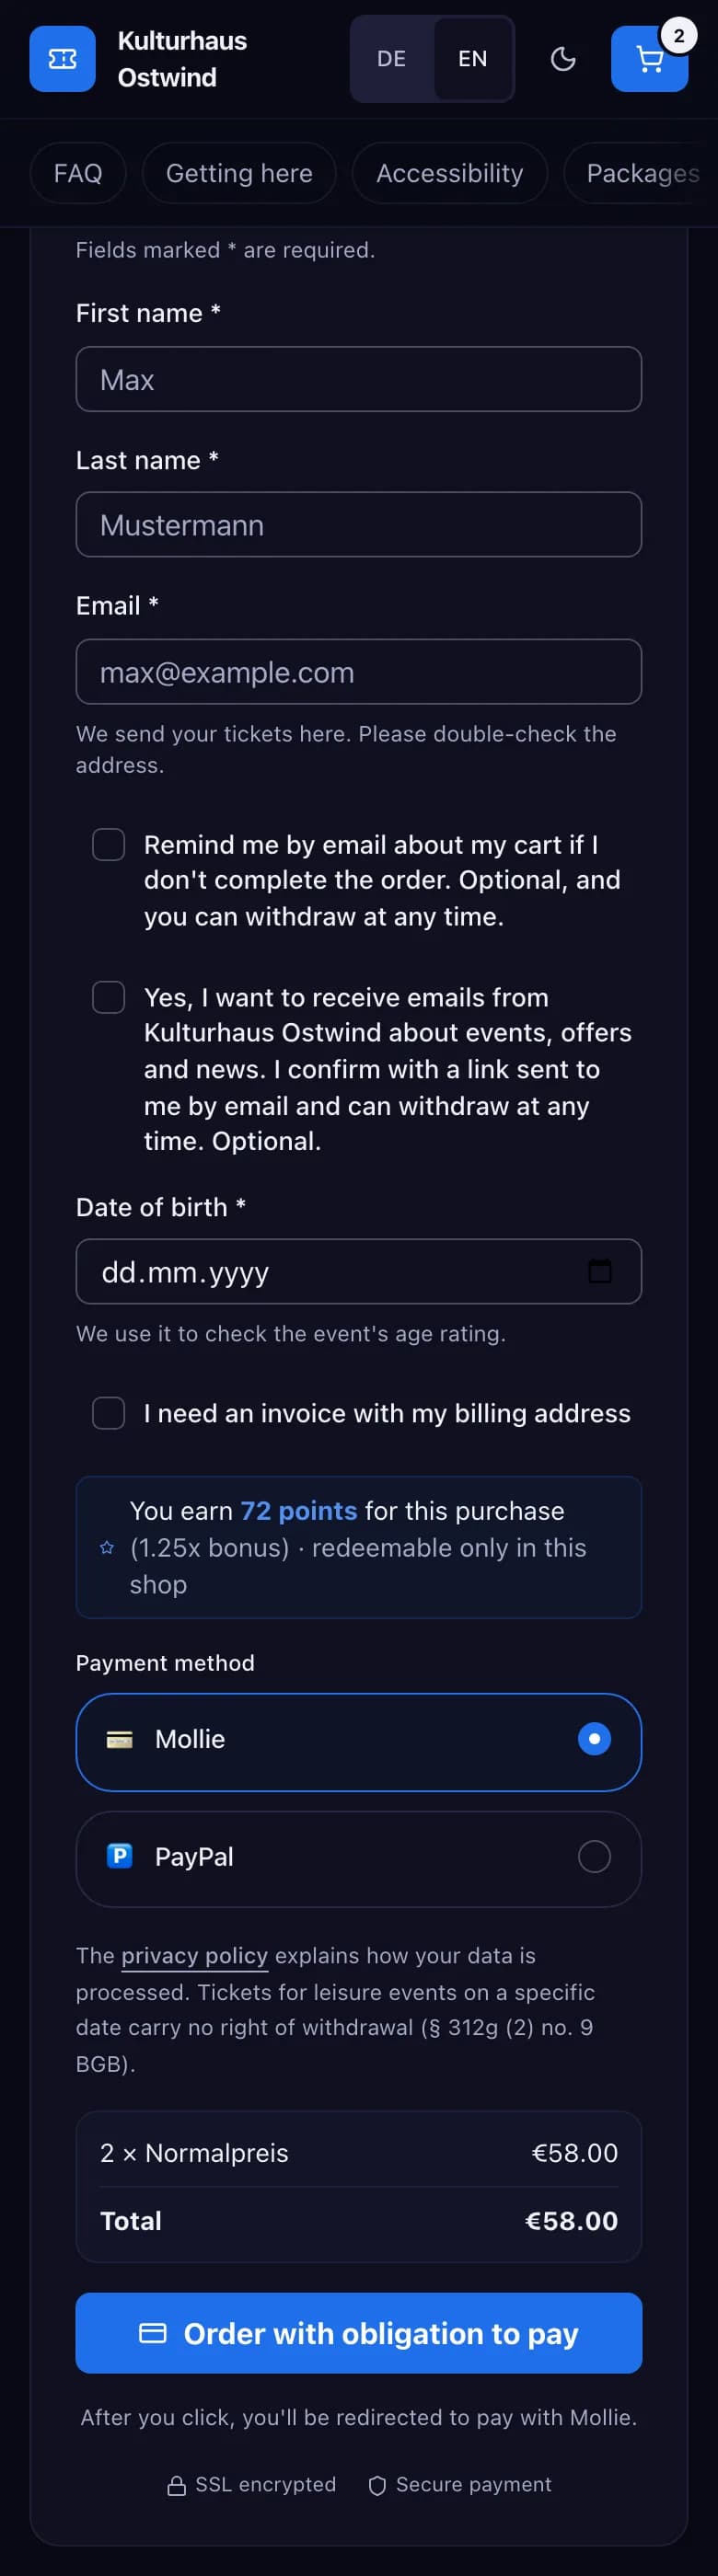
- Check your e-mail address
- Date of birth
- Invoice with billing address
- Payment method
- Order with obligation to pay
Offer vouchers and discounts
All of these live in Sales → Billing.
- Vouchers: click Create voucher and enter a Code (letters, numbers,
_and-, at least 3 characters), the Type (Percentage or Fixed amount), the Value, the Usage (Single use or Multi use with Max uses) and whether it is Active. Buyers enter the code at checkout and see the new total before they pay. - Discount actions: automatic discounts without a code. Create one with a Name, a Scope (Project, Event, Ticket or Multiple tickets), a Discount type and Discount value, and for multiple tickets a Min ticket quantity. An inactive action is not applied. Discount actions can be deleted but not edited.
- Gift Cards: click Issue gift card, enter the Initial balance (in cents) and optionally an Expiry date. A code is generated. Buyers can pay with it at checkout. Movements shows every redemption.
- Checkout Recovery: under Recovery settings, switch on reminders for abandoned checkouts, set when they go out and whether they offer an incentive.
Answer buyers' questions
With the plan feature Support chat, your shop shows a chat button. Buyers enter their email and message, and you answer under Operations → Support Chat. To let buyers also open a chat from their ticket page, switch on Buyer support chat under Project settings → Support Tickets.
Waiting lists and lotteries
For high-demand events, you can let buyers join a waiting list when a ticket type sells out, or run a lottery for a limited allocation. Both are set up with your tickets. See Tickets.
Common problems
- "Your shop has no address yet." Choose a subdomain under Project settings → Subdomain.
- An event does not appear in the shop. It is still a draft. Publish it.
- Buyers see "Paid tickets are currently unavailable." No payment provider is set up. See Troubleshooting.
- The shop still shows the old design. You have unpublished changes. Click Publish in the Shop designer.