
 TixFin
Quick Start
From a new account to your first sale and check-in
This guide takes you through the whole flow once: register, create a project, add an event and tickets, set up your shop, make the first sale, and check people in.
TixFin is currently in beta. The live dashboard is beta.tixfin.com. Beta projects stay in testing mode and cannot sell live.
1. Register
Enter your first and last name, a username, your email address, your birth date (you must be at least 13) and a password of at least 12 characters with lowercase and uppercase letters, a number and a symbol. Or continue with Google or Apple, if offered.
Set up two-factor authentication when asked. TixFin requires it for working inside a project — see Account security.
On your first visit a Welcome to TixFin! dialog offers a guided tour. You can restart it any time from the account menu at the bottom of the sidebar.
2. Create your project
A project is your organisation, venue or promoter account. Events, ticket types, your team, your shop and billing all belong to a project.
Open the project switcher at the top of the sidebar and click New Project.
Type — choose Club (recurring venue with opening hours), Event or Custom.
Details — the Name is required. Description, location, logo and banner (PNG, JPG or WEBP up to 5 MB) are optional.
Schedule (optional) — timezone and dates or opening hours.
You land in Project settings. Its overview shows the Ready to sell checklist, which links to every remaining setup step.
Want to look around first? On the Type step, Create demo sets up a demo project in one click: an event six weeks ahead, a small seat map, a seated and a free ticket type, a published test shop and a sample order booked in your name; publishing the event is your first step on its overview. A demo never takes money — no payment provider can be connected and paid tickets are not on sale; it sells at most 50 tickets a month — and it never appears in public listings or search engines. You can have one demo at a time; delete it under Project details.
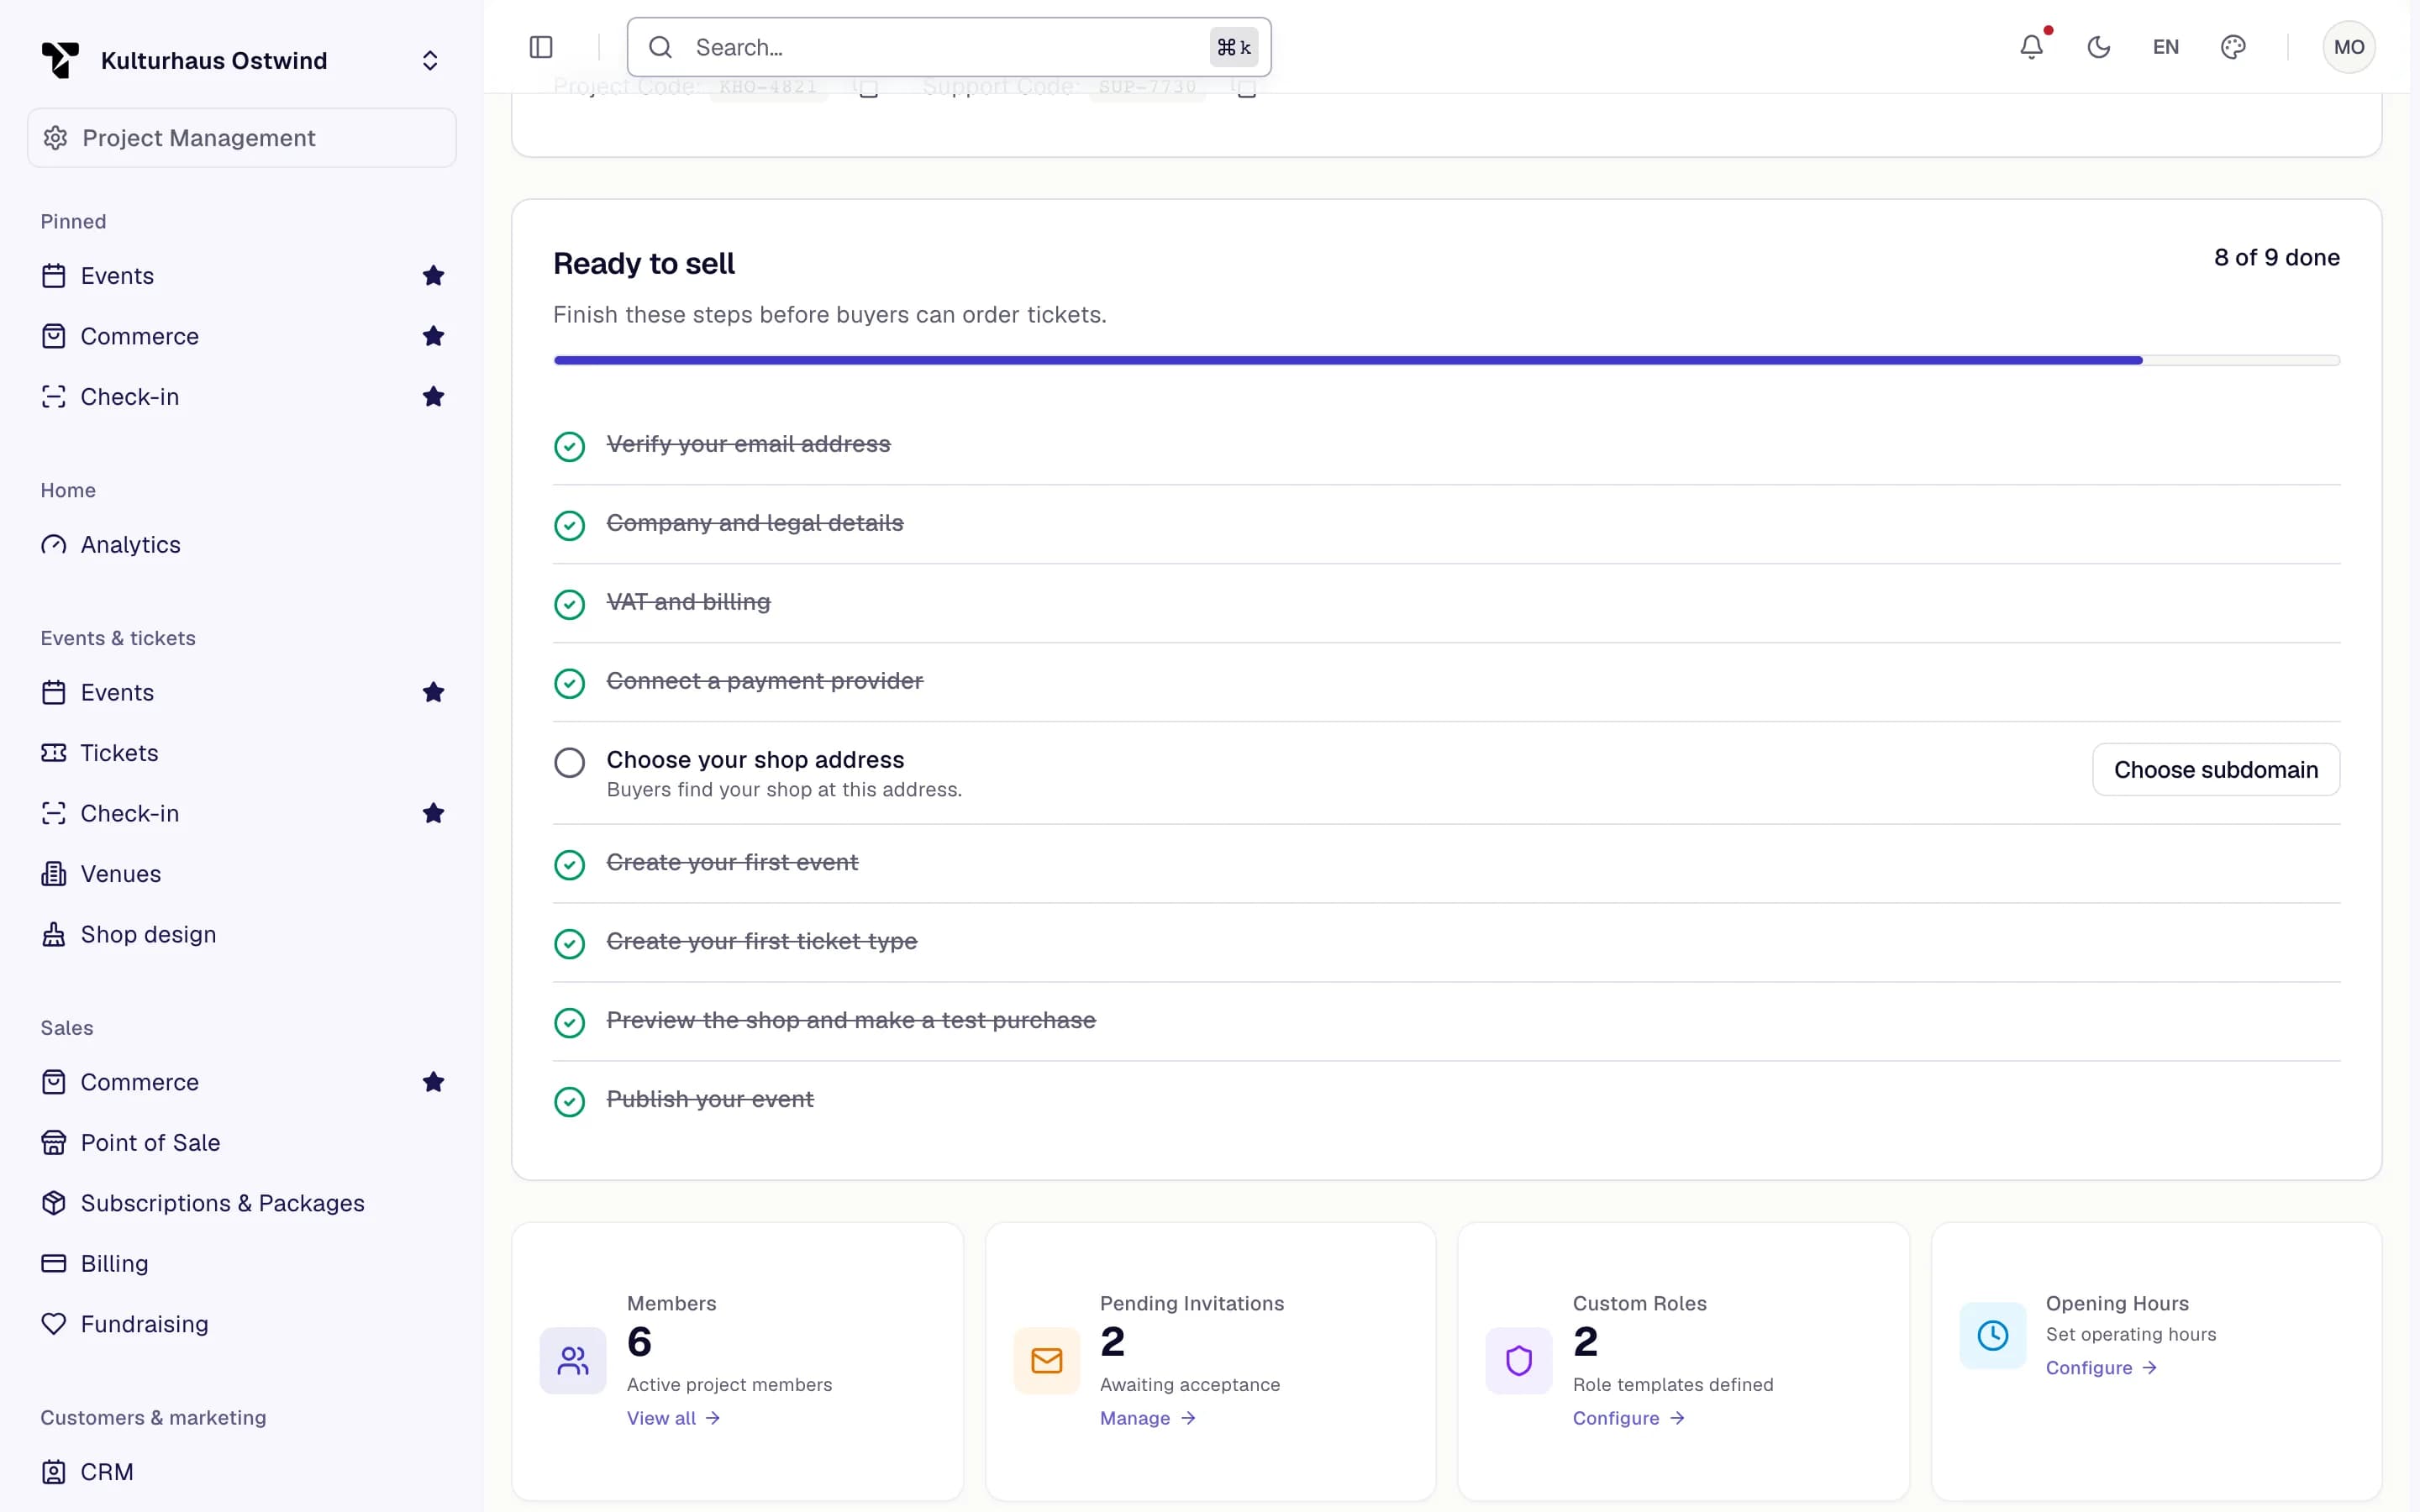
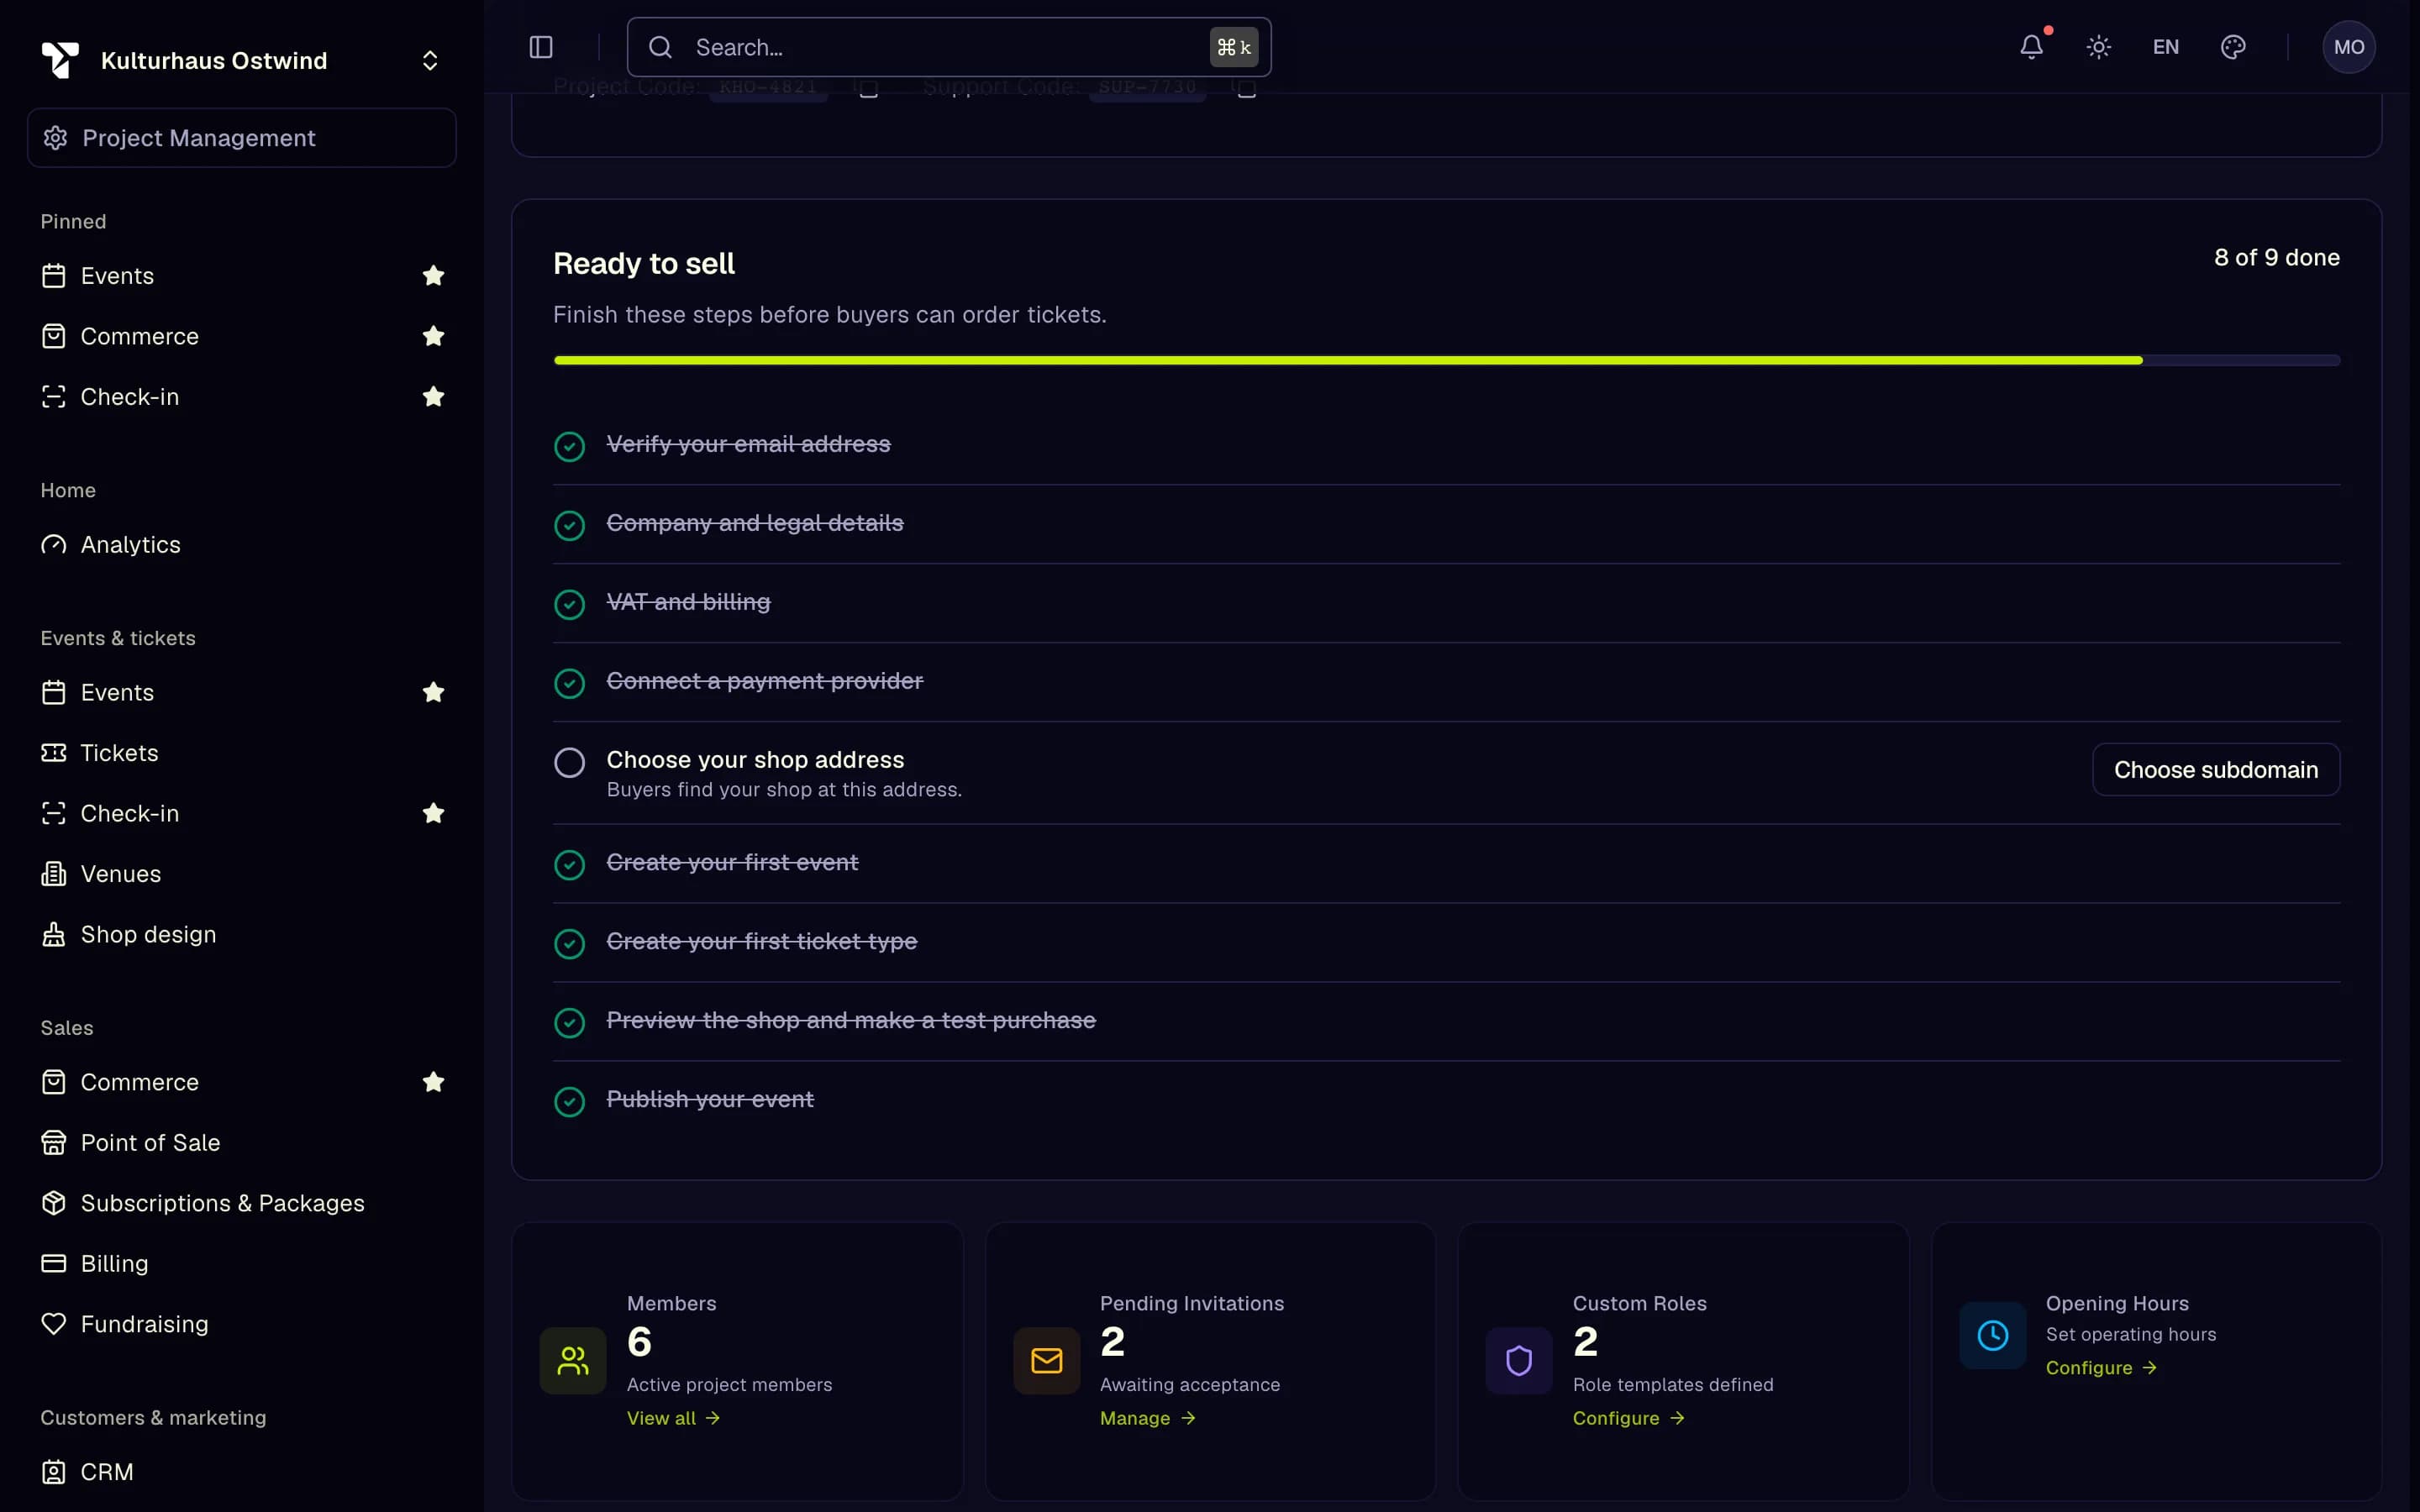
- Project switcher: New Project
- Ready to sell checklist
- Setup progress
- Open the next setup step
3. Enter your legal details and connect payments
- Open Project settings → Billing & Legal and fill in Company Information, Billing Address, and your VAT ID or tax number under Contact & Tax Settings. These appear on every invoice and order confirmation.
- Open Sales → Billing → Payment Methods, switch on Mollie, PayPal or Adyen and enter the credentials from your provider account. The provider then shows Set up.
Without your own payment provider you can only issue free tickets. Details: Payments.
4. Create your first event
Open Events & tickets → Events, click New event and choose With form. (With wizard walks you through the event and its ticket types in one go.)
Enter the Event Name, Starts at and Ends at — these are required — and optionally location, description, timezone, branding and a refund policy.
For seated events, pick a Venue and Seatmap — see Venues and seat maps.
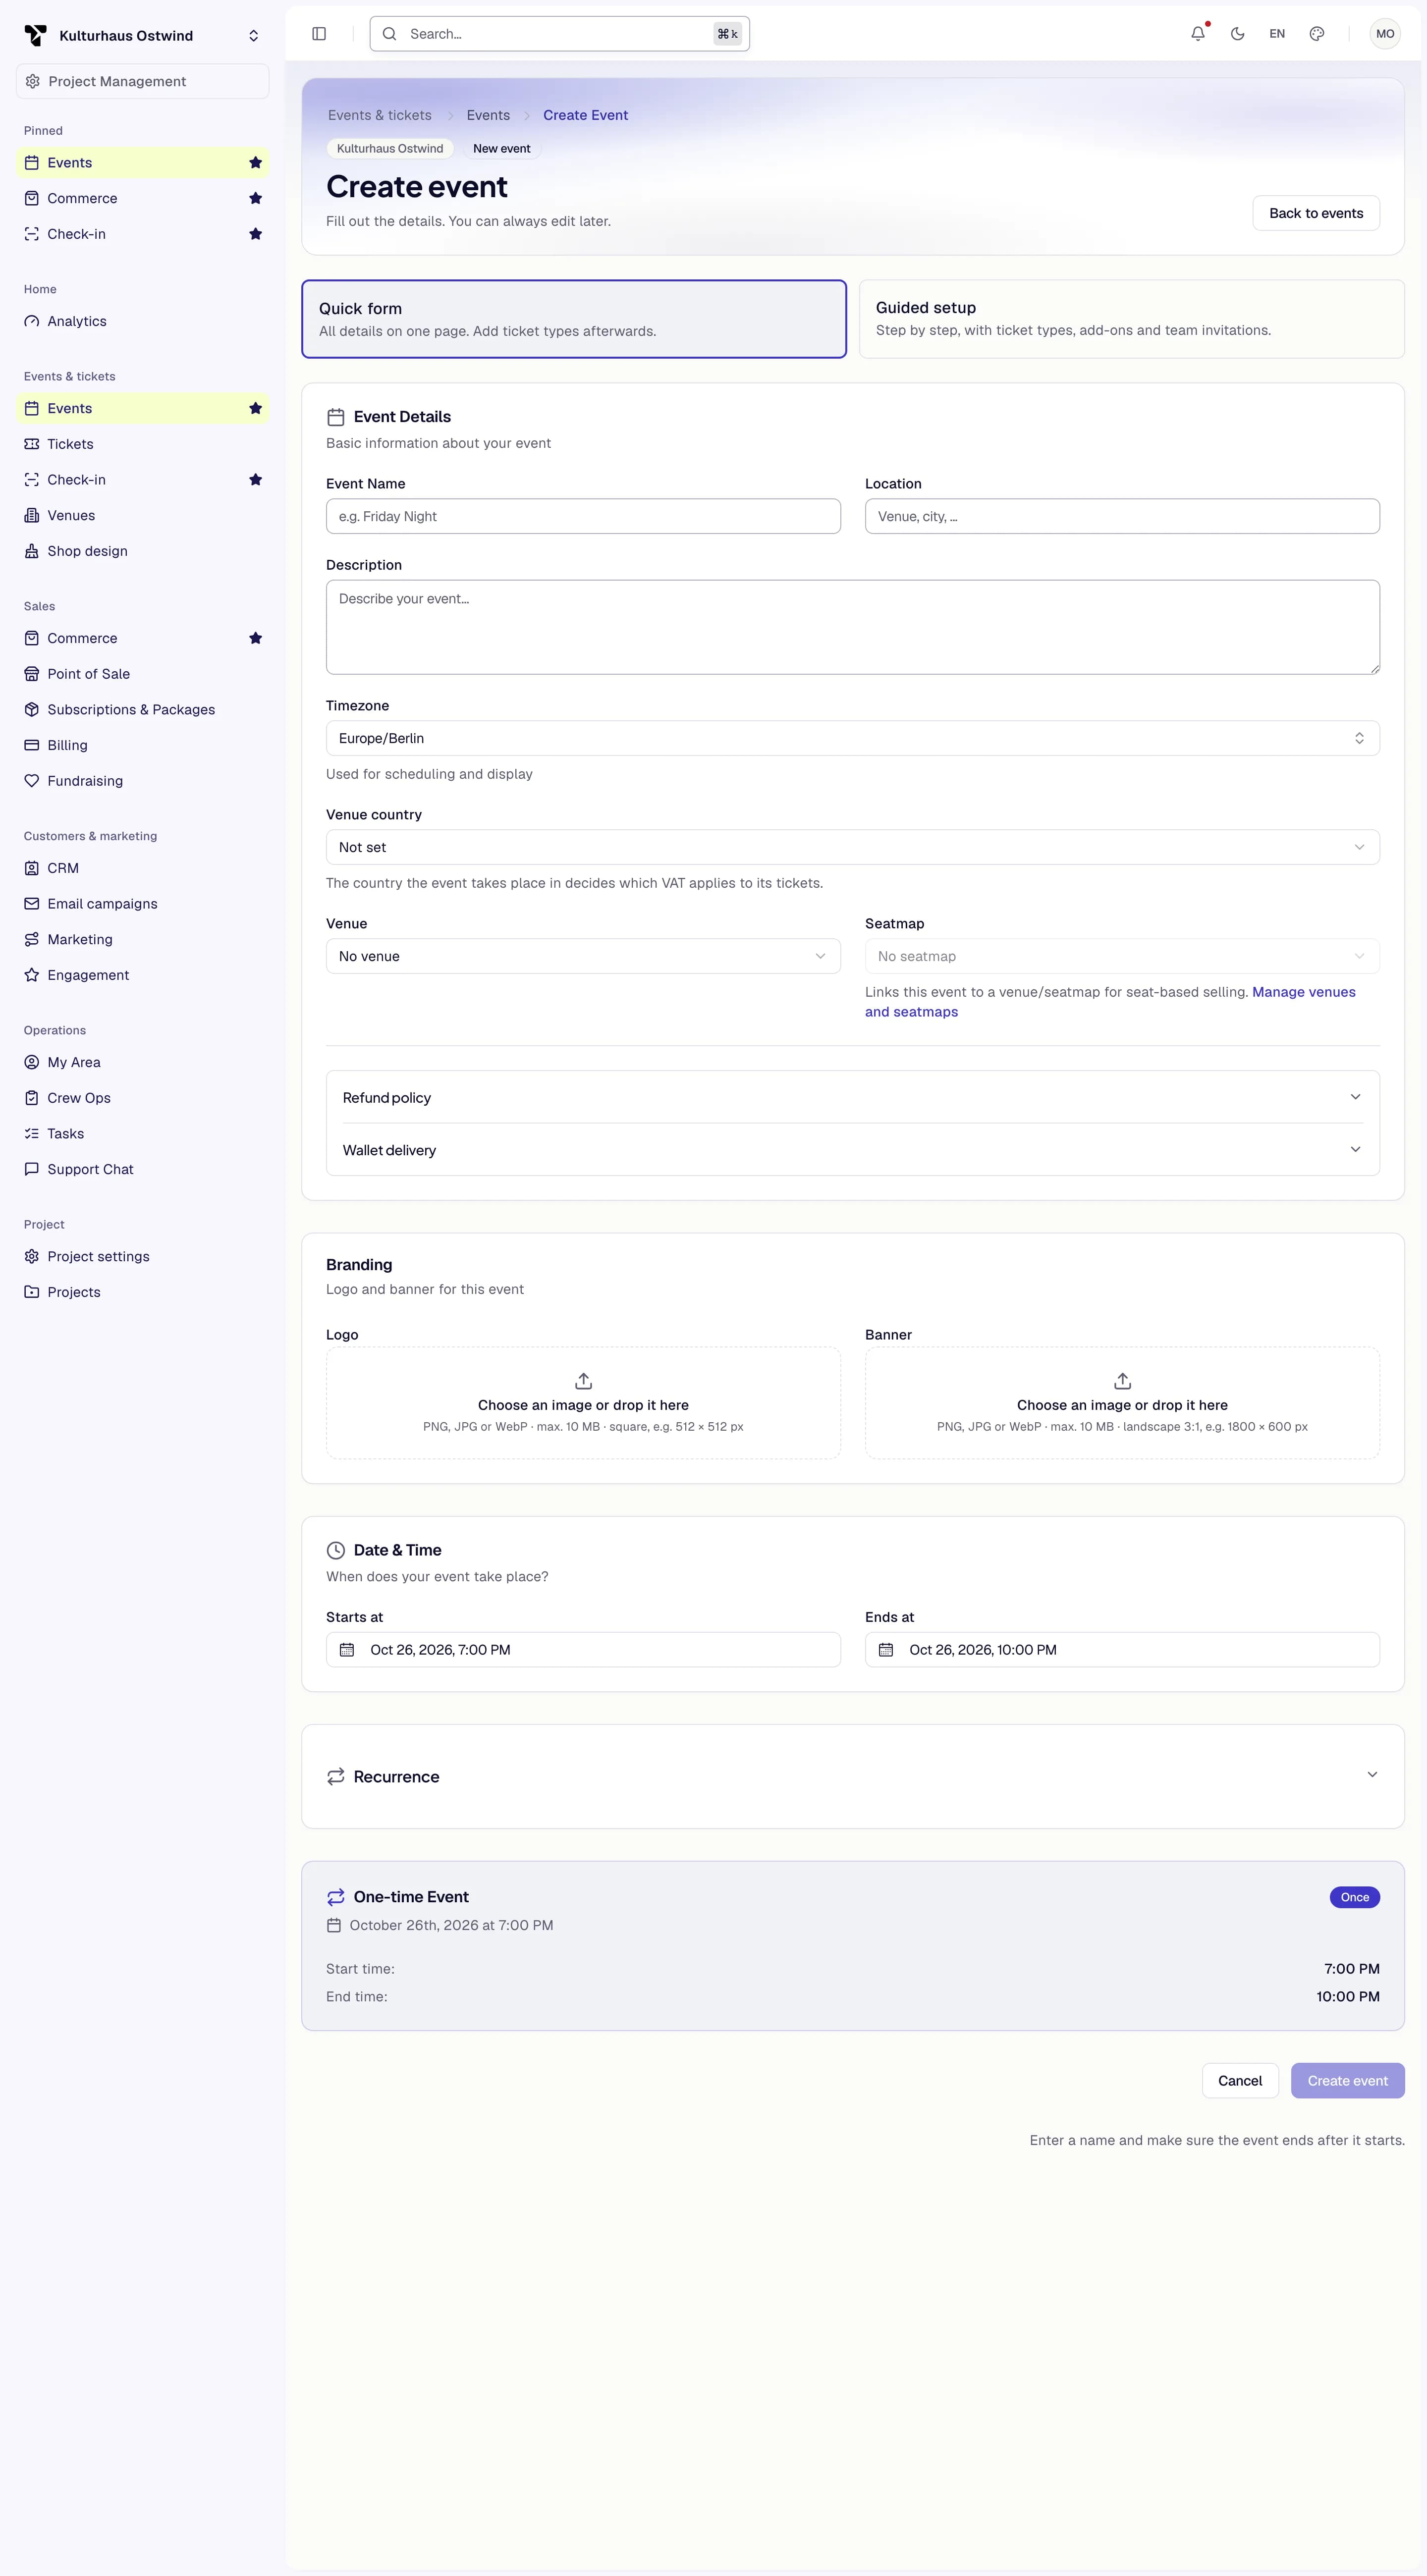
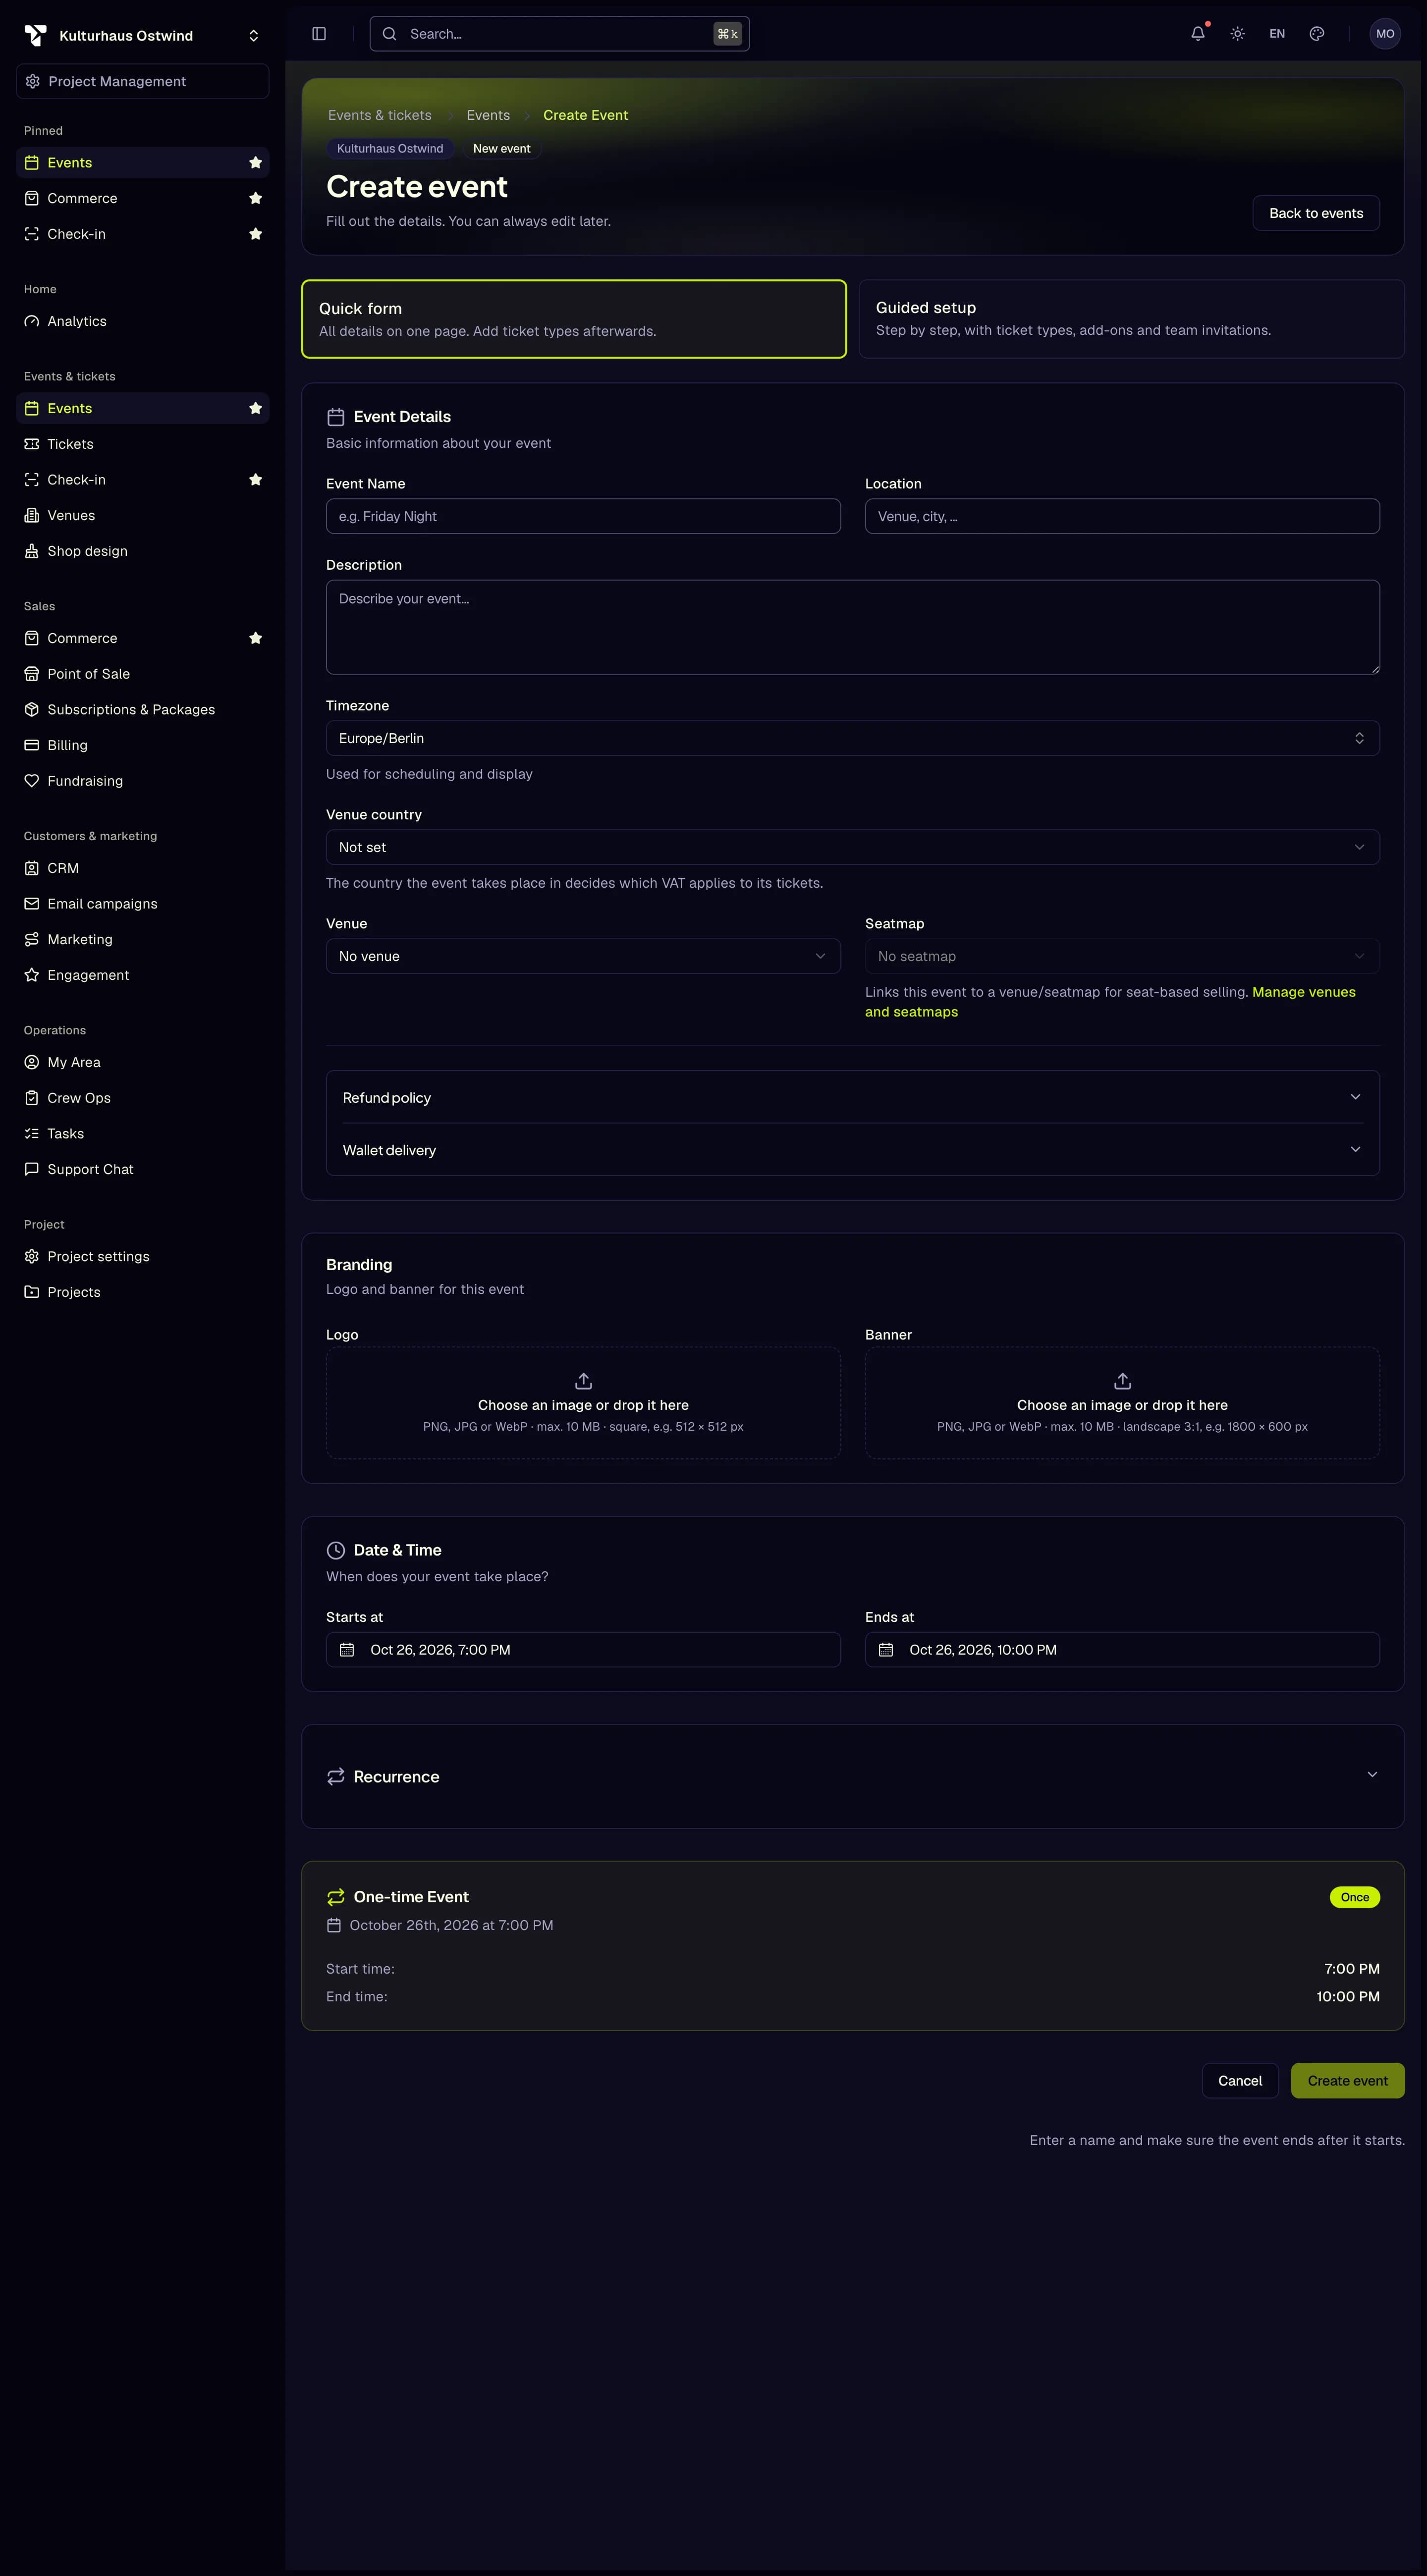
- Event Name (required)
- Starts at and Ends at
- Venue and Seatmap
- Create event
5. Create ticket types
Open Events & tickets → Tickets → Configuration → Types, pick the event in the page header, and click New ticket type → With form.
Enter the Name, Currency and Price, and optionally the Total stock and a description.
Under Schedule controls, keep Inherit from event or set when the ticket is visible, purchasable and valid.
New ticket type → With wizard (the Ticket Wizard) is a guided alternative with price phases, waitlist, wallet passes and more. See Ticket management.
6. Set up your shop
- Choose your shop address: Project settings → Subdomain. The subdomain is locked for 7 days after each change.
- Design the shop: Events & tickets → Shop design — pick a preset, set your brand colour, and click Publish. See Shop Designer.
- Add your legal pages: imprint, terms, privacy and withdrawal policy. See Shop legal pages.
7. Publish and make the first sale
Open the event and click Publish. The dialog checks that the event has a ticket type, is not in the past, that your legal details are complete and, for paid tickets, that a payment provider is set up. Fix anything it lists.
After publishing, copy the event link shown under Event in the shop.
Open the link and make a test purchase: choose tickets, enter your details, and click Order with obligation to pay (or Order for free).
Find the order under Sales → Commerce → Orders. The buyer receives an order confirmation with a link to the tickets.
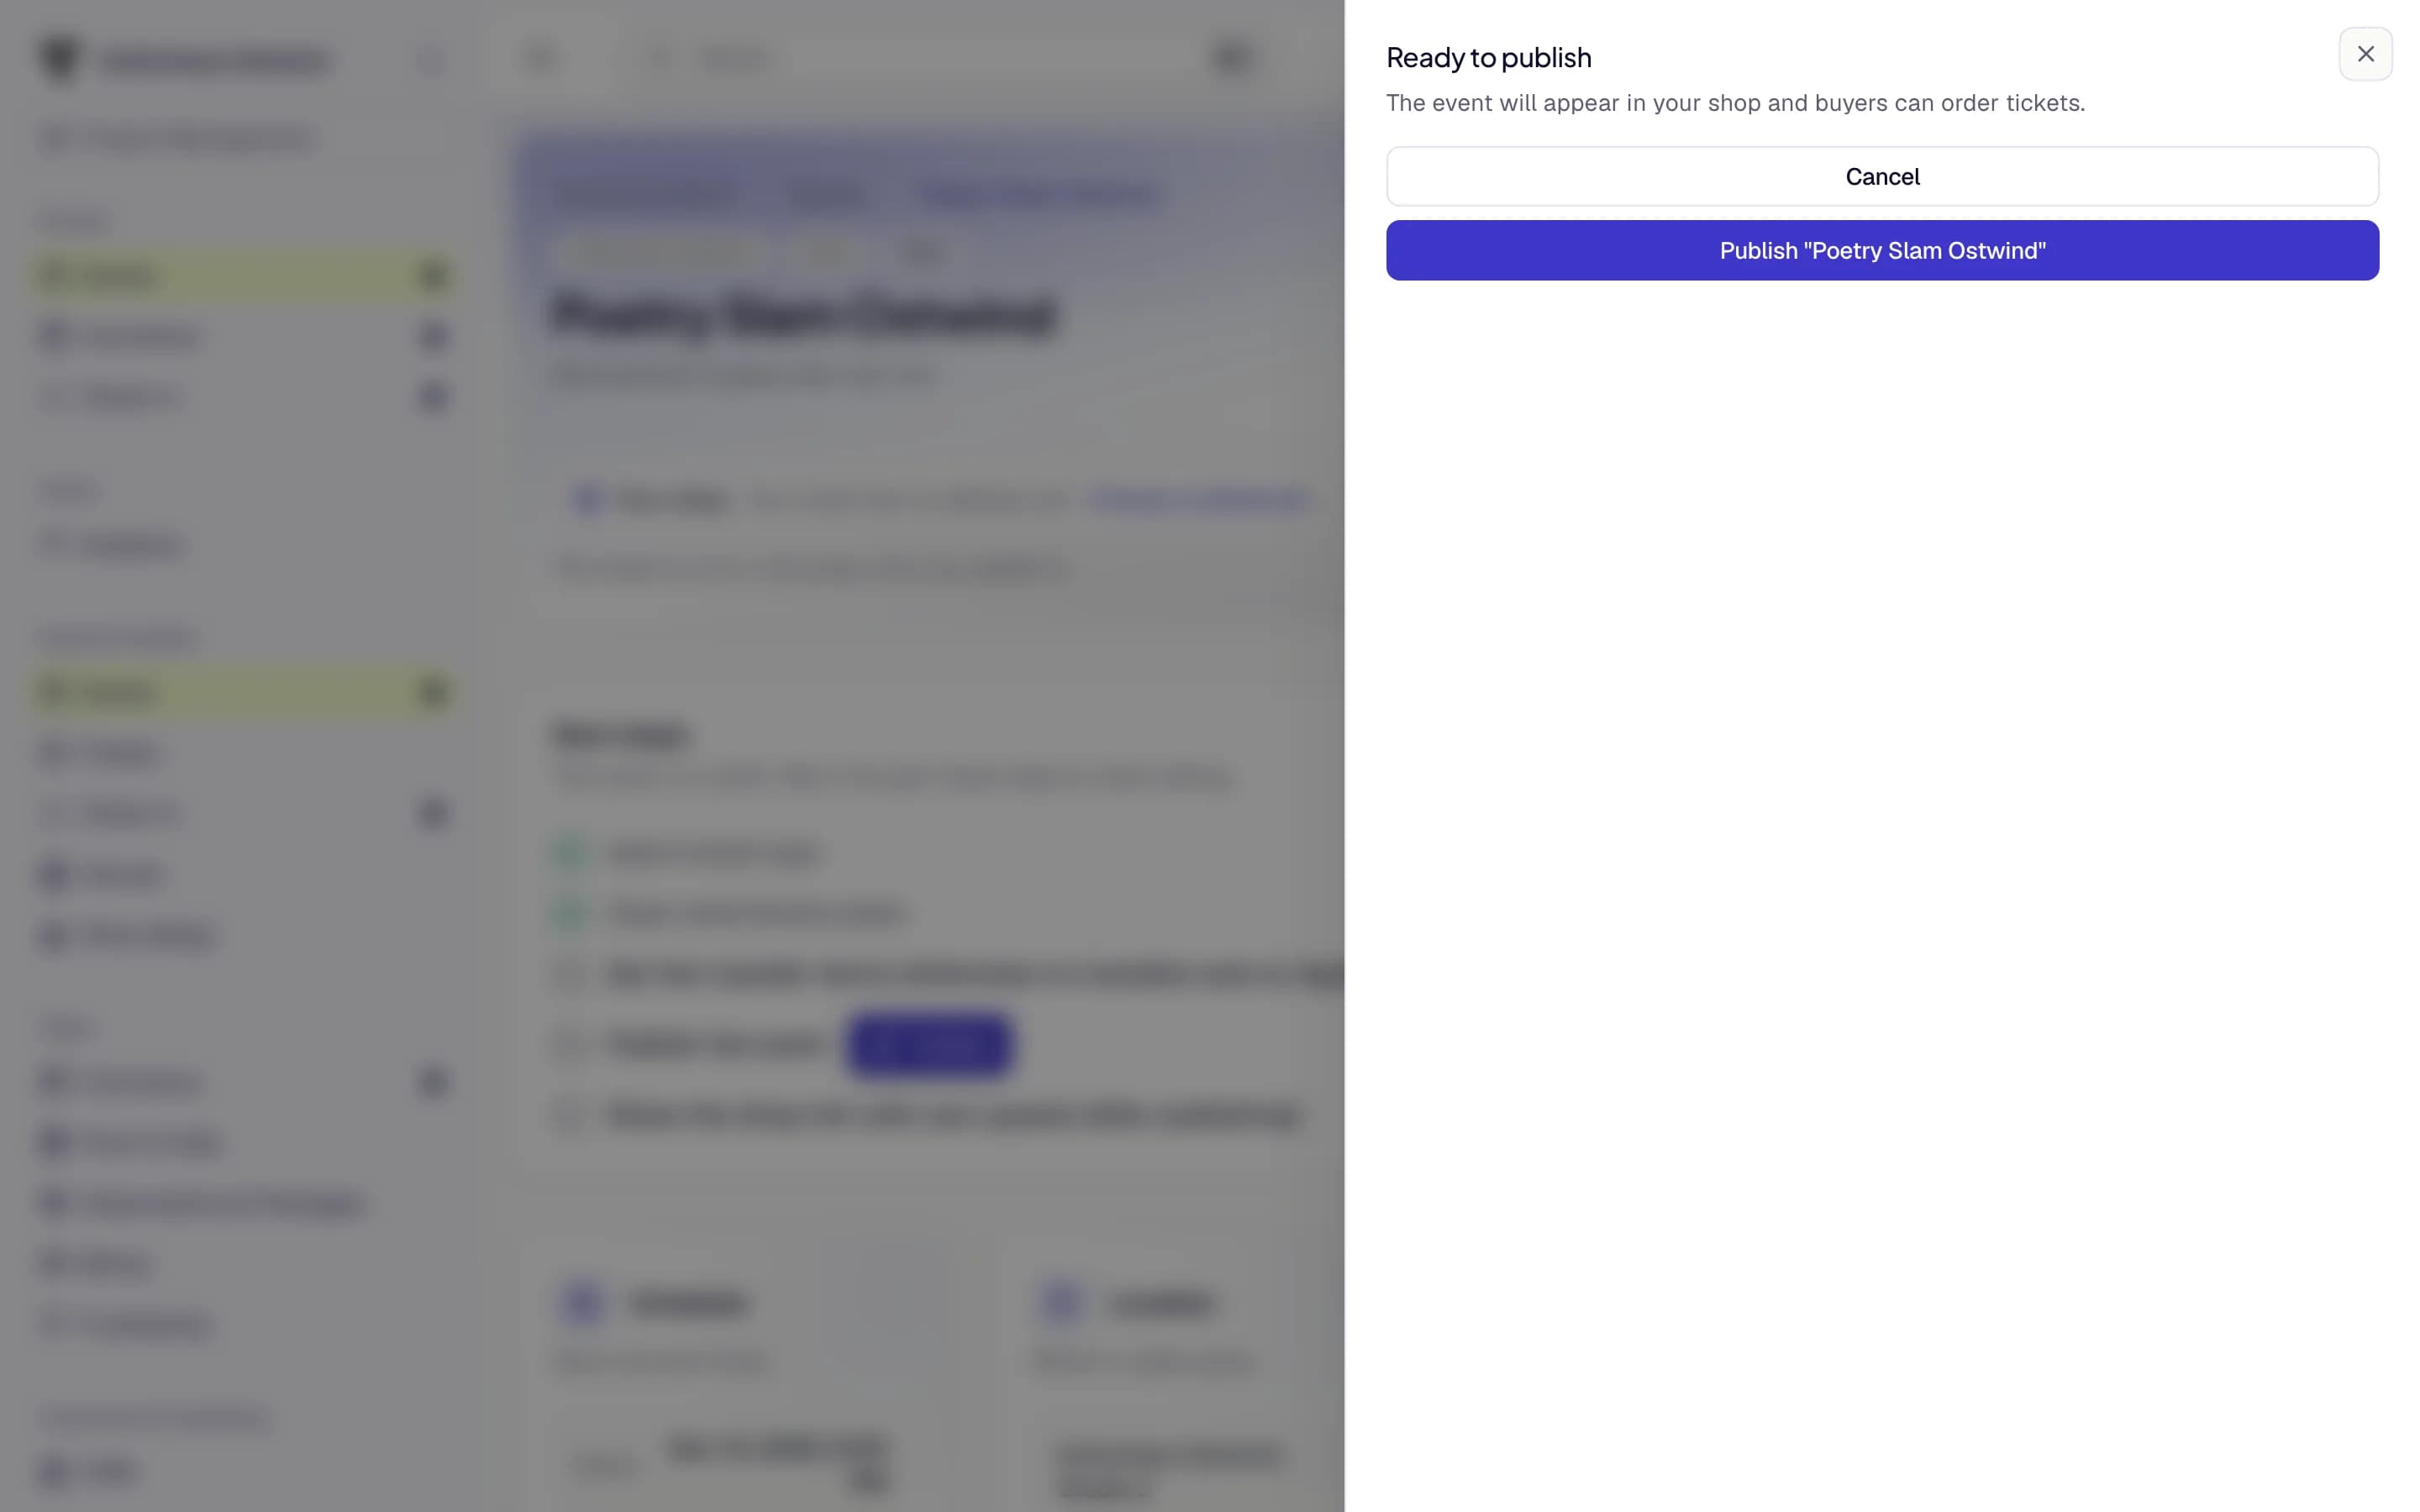
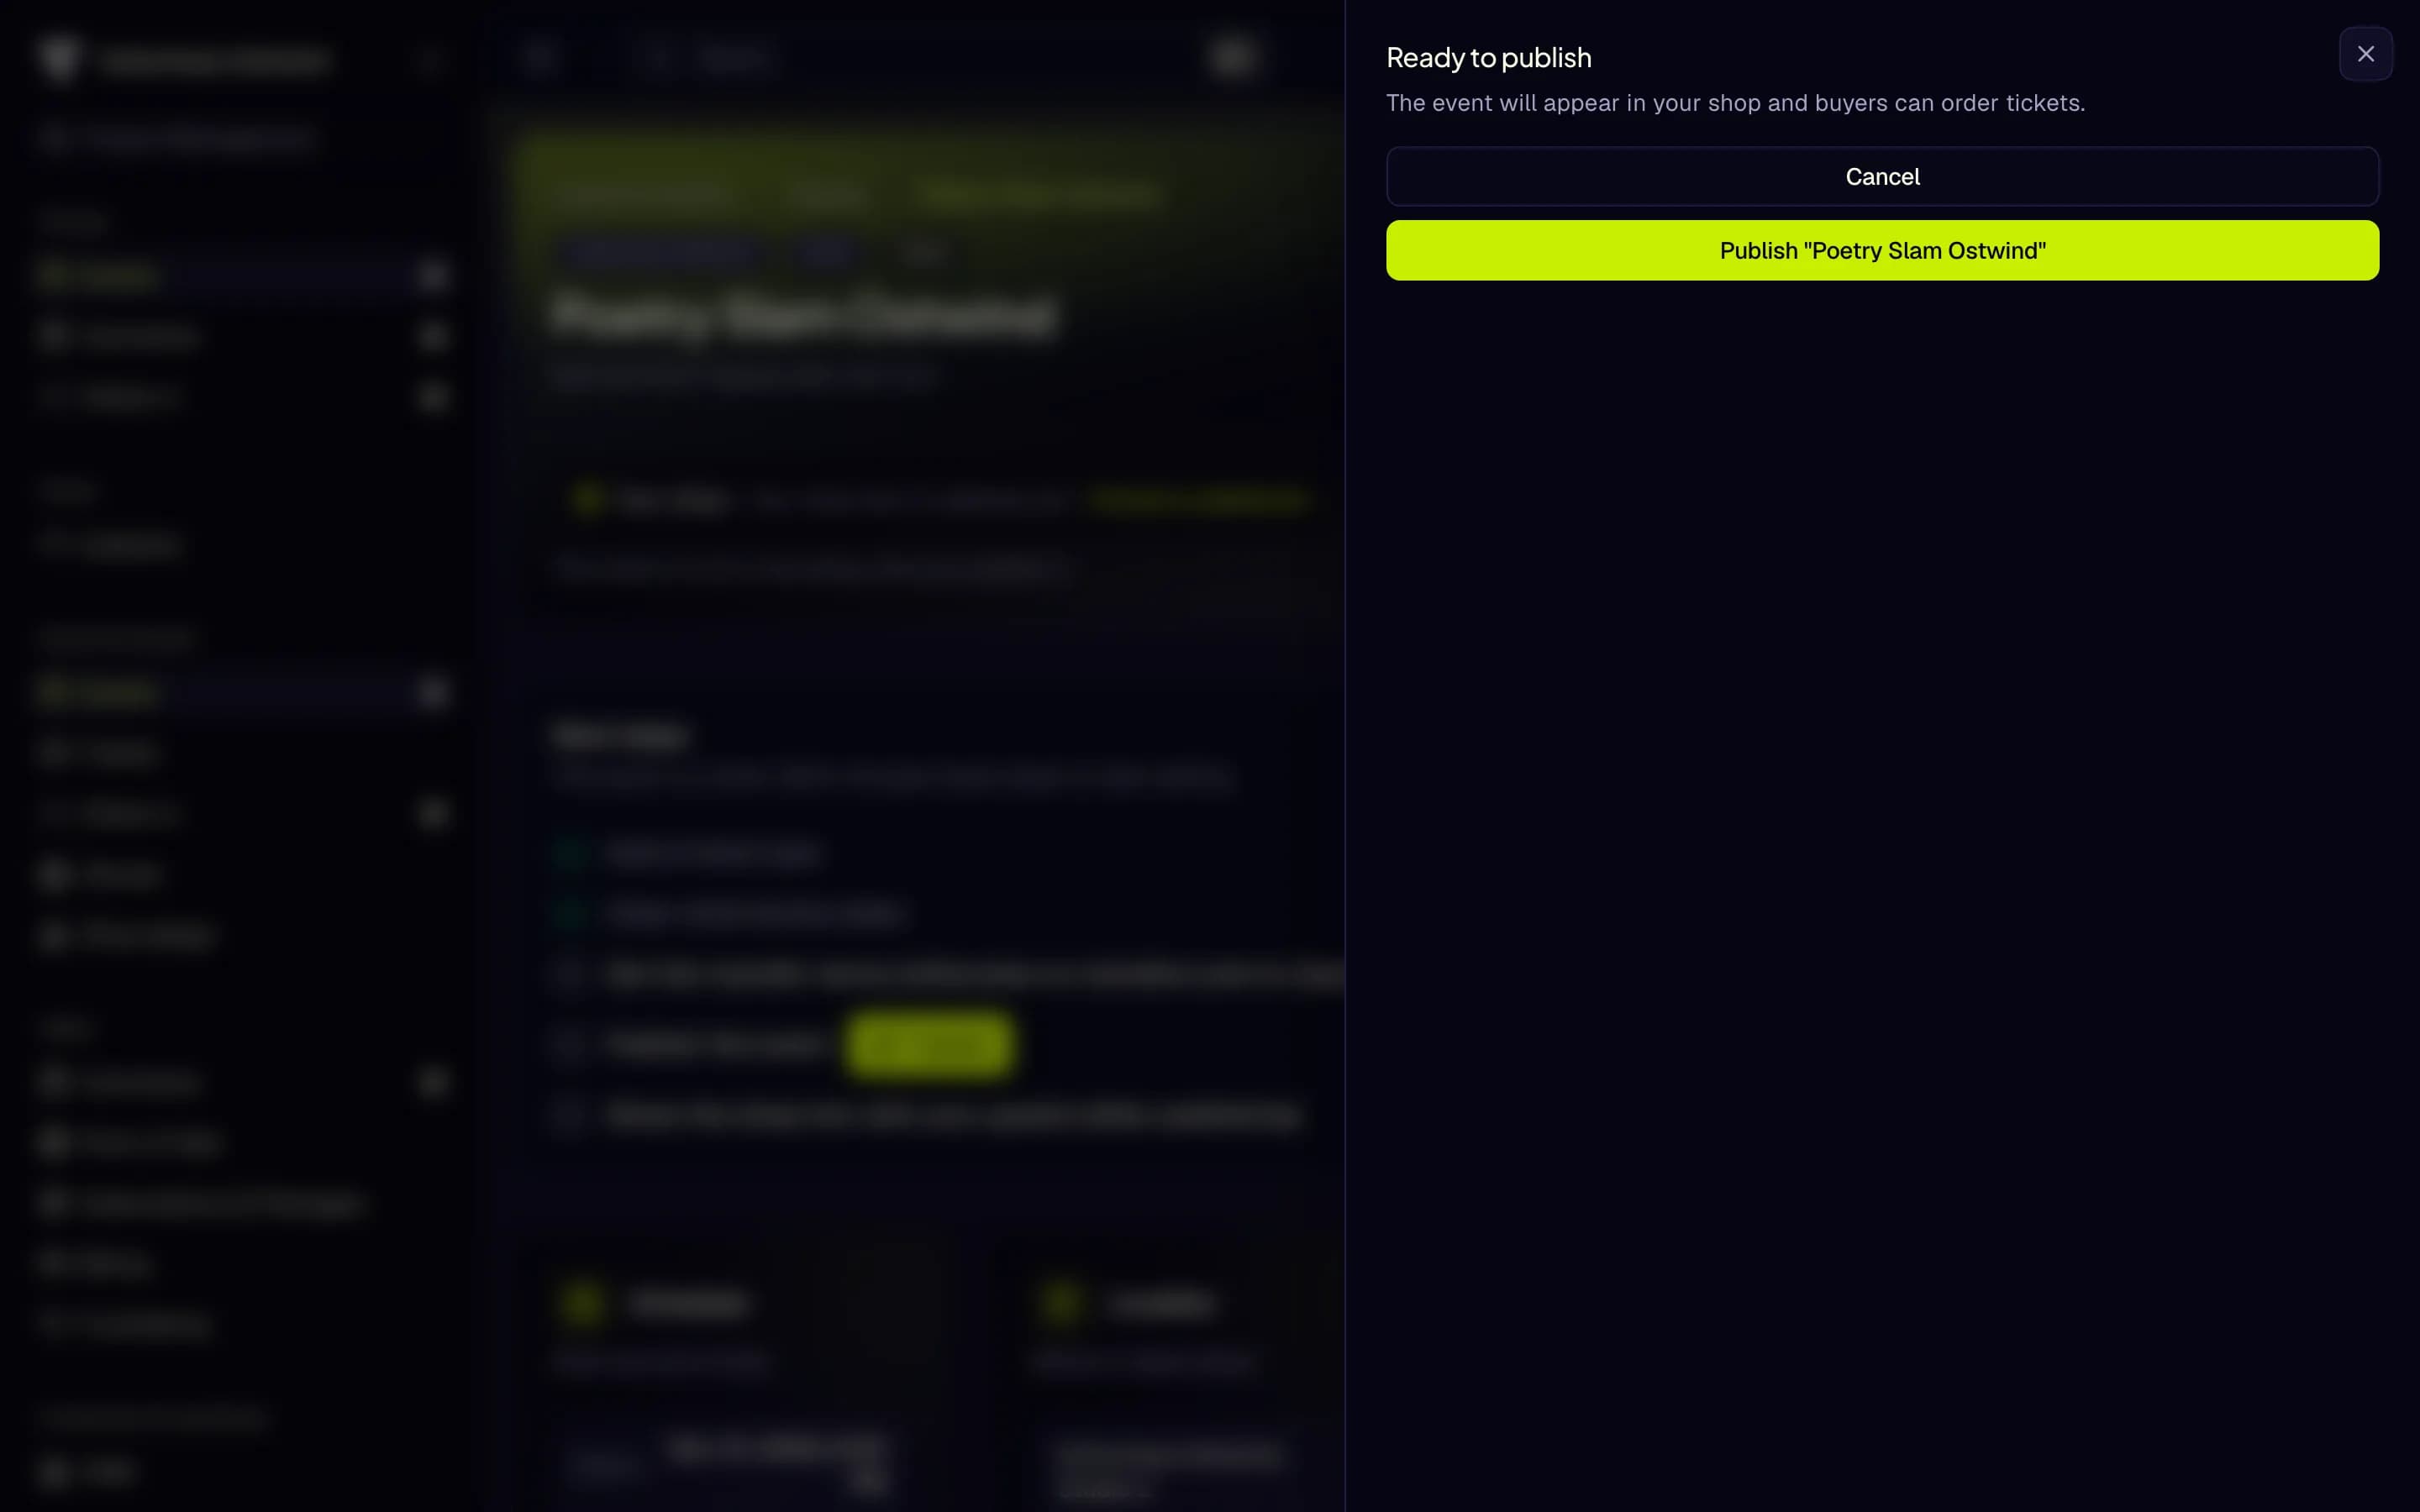
- Publish checks passed
- Publish the event
8. Check people in
Invite door staff under Project settings → Invitations (role Project Staff or the Scanner template), or create Temp Scanners.
On the day, open Events & tickets → Check-in (or the mobile app), select the event and, optionally, a check-in list.
For an unreliable connection, click Download snapshot beforehand — see Offline & Manual Check-In.
Click Start camera and scan each ticket. Entry approved means let them in; Scan failed shows why not.
The event page shows Live inside, the number of people currently checked in.