
 TixFin
Ticket design and delivery
How tickets reach buyers, and how to design the ticket, badge, certificate and wallet pass
Every ticket has its own QR code. Buyers get it by email and in their account, and can add it to Apple Wallet or Google Wallet. You decide what the ticket looks like.
Where: Events & tickets → Tickets → Configuration → Types → Manage a ticket type → Designer Who can do this: Manage or edit ticket types
How buyers get their tickets
What buyers see is described in My tickets and Receipts and emails. Buyers with an account can send the confirmation to themselves again with Send confirmation again. There is no organiser button to resend a buyer's tickets.
A refunded or transferred ticket's QR code and wallet pass stop working. The scanner checks every code against TixFin, so a copied code does not get a second person in.
Design the ticket
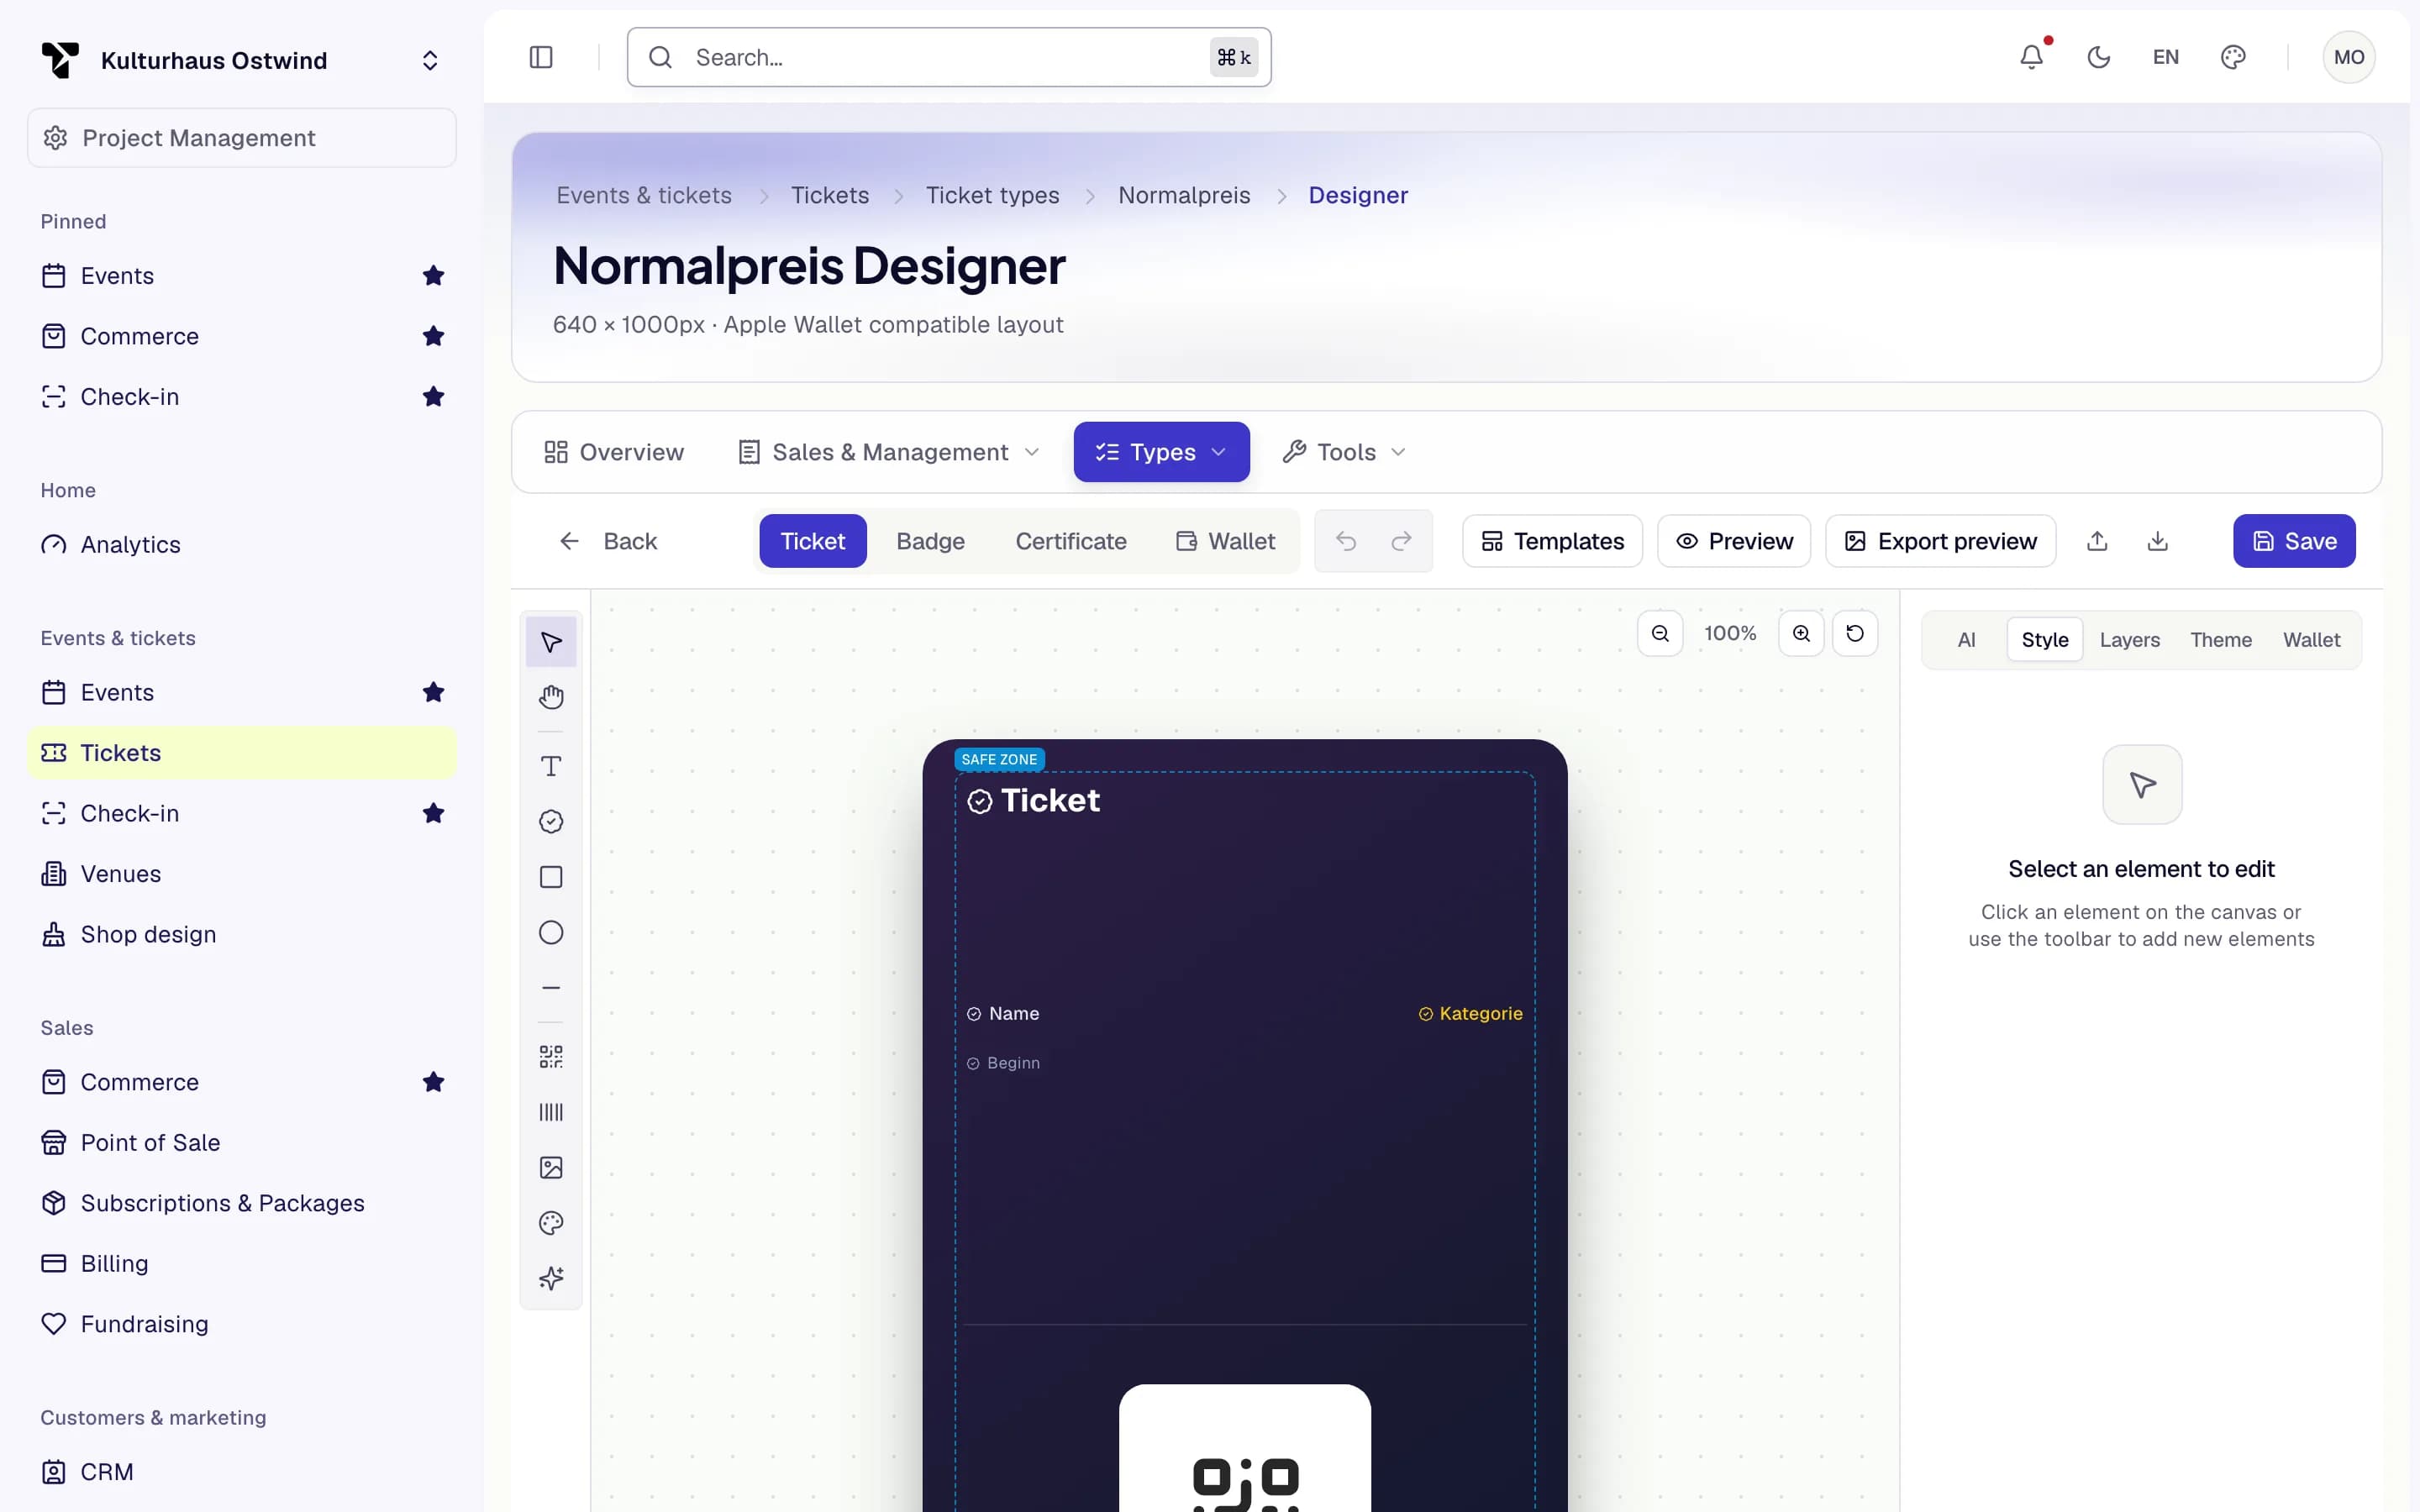
- Wallet tab
- Preview
- Save
The Wallet tab designs the Apple Wallet pass and the Google Wallet card: colours, logo, images, barcode and which fields show. Reset to defaults undoes your wallet changes; Copy ticket theme colors reuses the ticket's colours.
The ticket type's Appearance card holds the quick settings: logo, background, opacity and theme colours.
Badges and certificates
On the ticket type page:
- Badge designer designs the on-site badge. Export badges PDF downloads the badges of this ticket type as one PDF for printing. Printing at a check-in desk is described in Badge printing.
- Certificate designer designs the participation certificate. Switch it on under Participation certificate: Certificate enabled, optionally Send automatically to email it after check-in.
Common problems
- "Badge PDF could not be created". Try again later.
- A buyer says the email never arrived. Ask them to check spam and the address they used. With an account they can open the ticket in My tickets and click Send confirmation again.
- The wallet pass looks plain. Design it on the Wallet tab of the designer; without changes, default fields are used.